Witch Bottles & Orbs
These things are the brain child of Drachenfang on YouTube and they look fantastic are easy to make.
Materials Used:
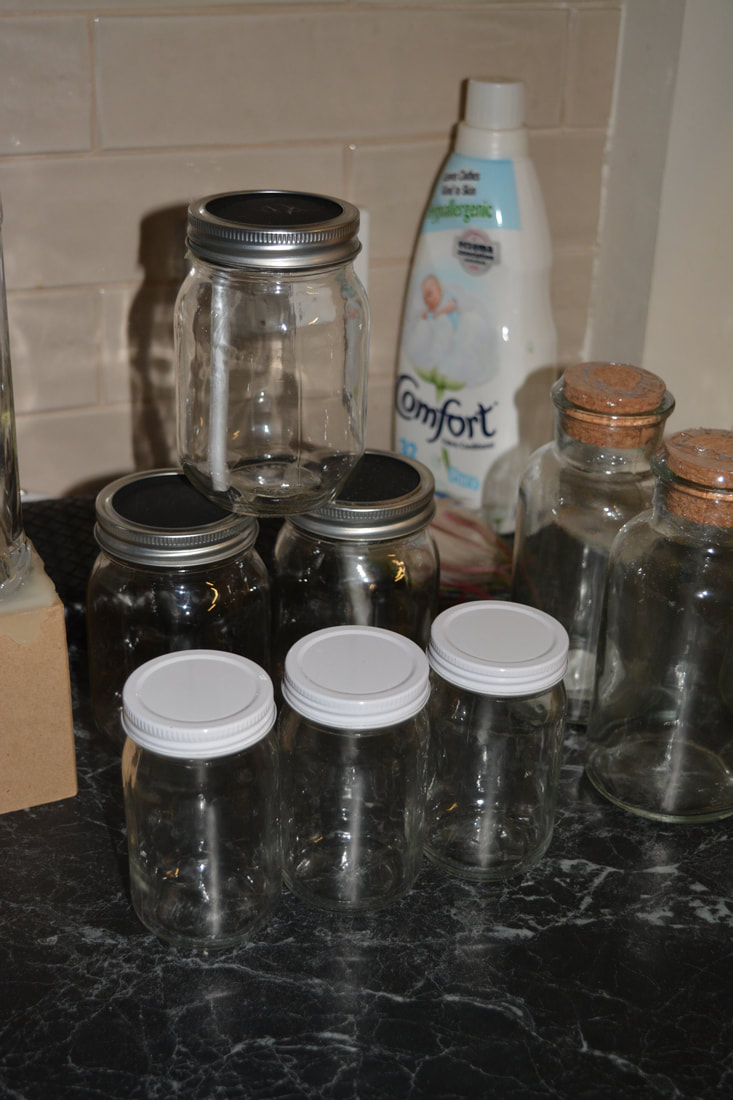
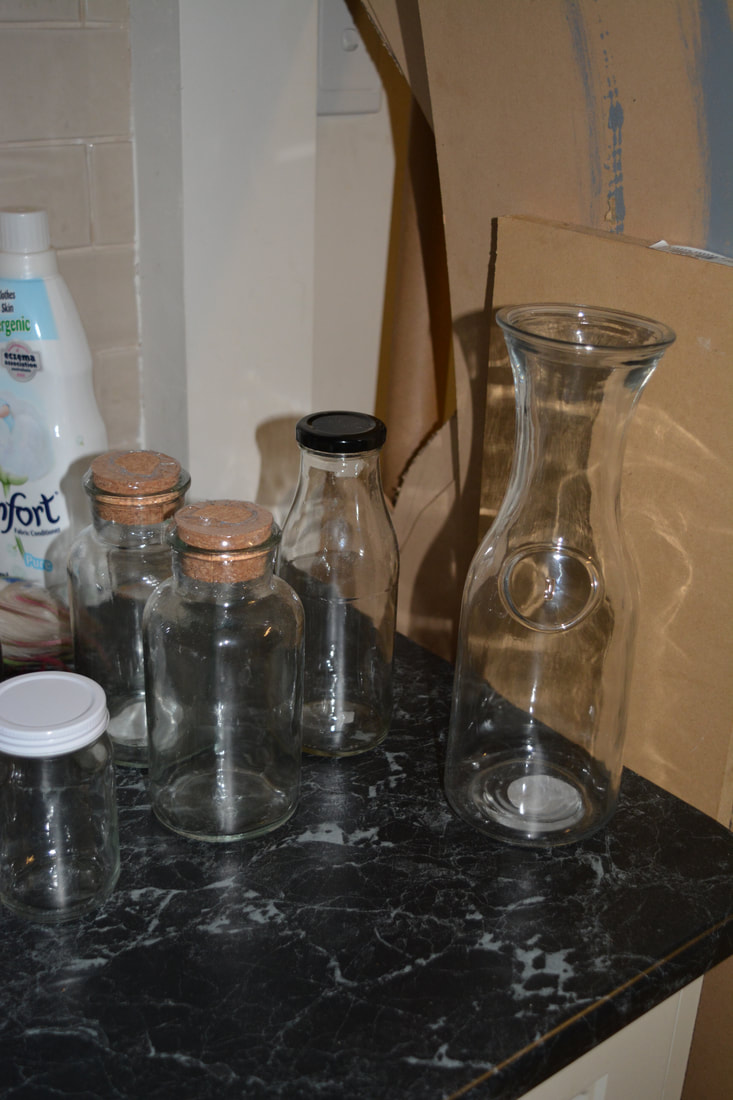
- Glass bottles
- Cotton wool
- Cardboard gift boxes
- Hot glue
- Water
- Balloons
- Shimmer powder (optional)
- Glitter (optional)
- Highlighters (in color of choice)
- Dish washing liquid
- Fabric softener
- Wood stain
- Paint brushes
- Sealer (vanish or spray sealer)
- Agitator (like a milk frother. Optional)
- Puck LED lights (for the bottles)
- Short strand of LED bright white lights (for the orbs)
- Paper mache paste (recipe below)
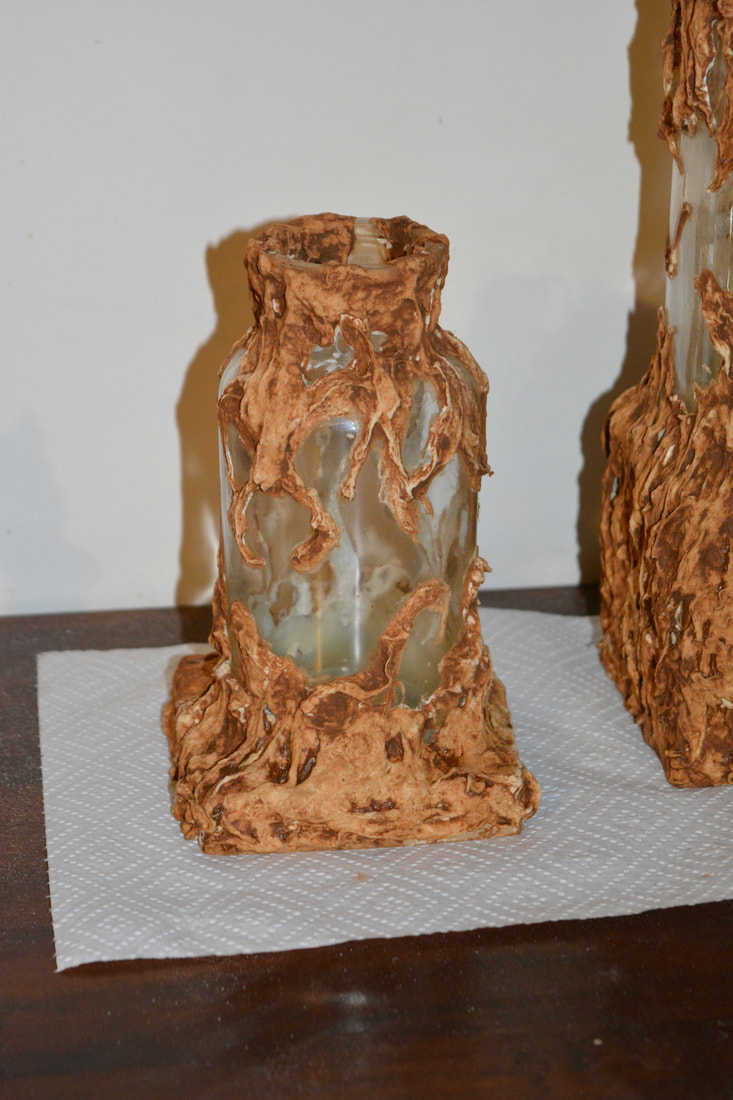
Witch/Wytch Bottles
Method:
- Our first two steps where to pull apart the cotton wool into strands or sheets that are thin as they have to be soaked in papermache paste.
- The other step was to make a batch of papermache paste.
- The amount of cotton wool we used was dependent on the number of bottles (5 packets of cotton wool), we used some of this cotton wool method on the pumpkins as well.
- Once the cotton wool was separated into strands or sheets that are thin (enough for the paste to soak them), we placed them in small batch in the papermache paste using a seperate bowl with a small amount of paste & worked the paste into it.
- We did this until all the cotton wool was soaked, it doesn't all always soak & we kept working the paste through as we applied it to the bottles.
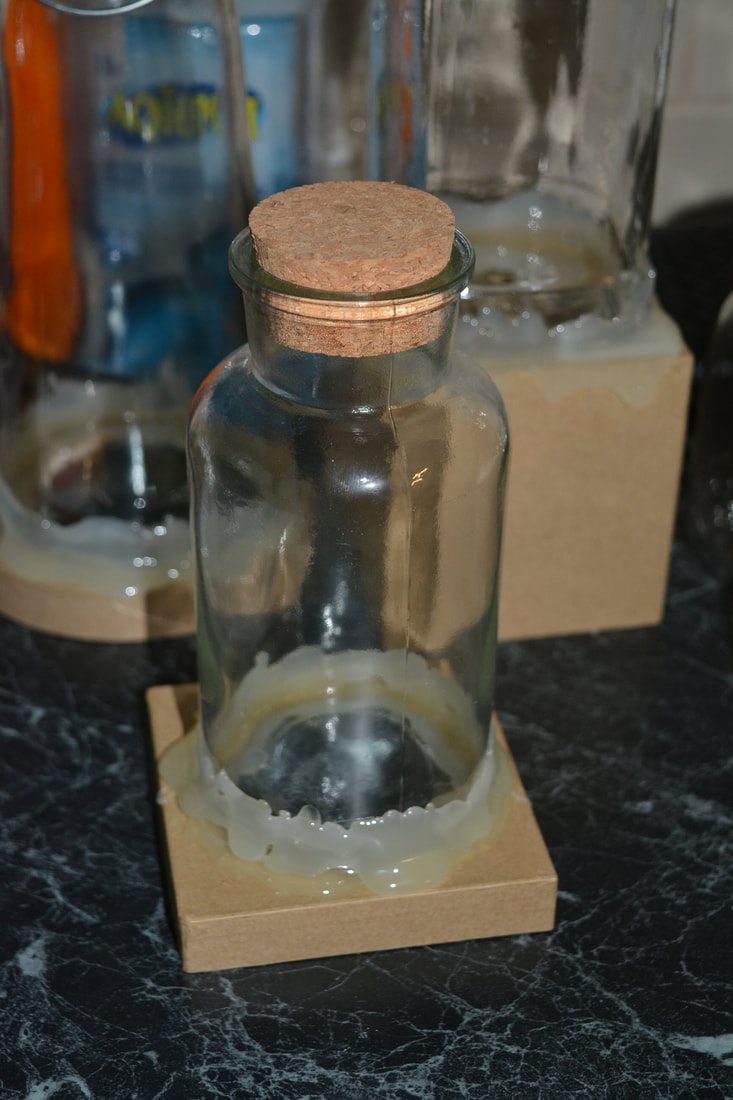
- Next we cut a whole in the bottom of the gift boxes smaller than the bottle but big enough to show the light puck.
- If the gift boxes we used had been coloured or patterned we would have added a layer of papermache over it to cover.
- The boxes we used where not coloured/patterned & we just left them.
- Then we used the hot glue to fix the bottle to the box.
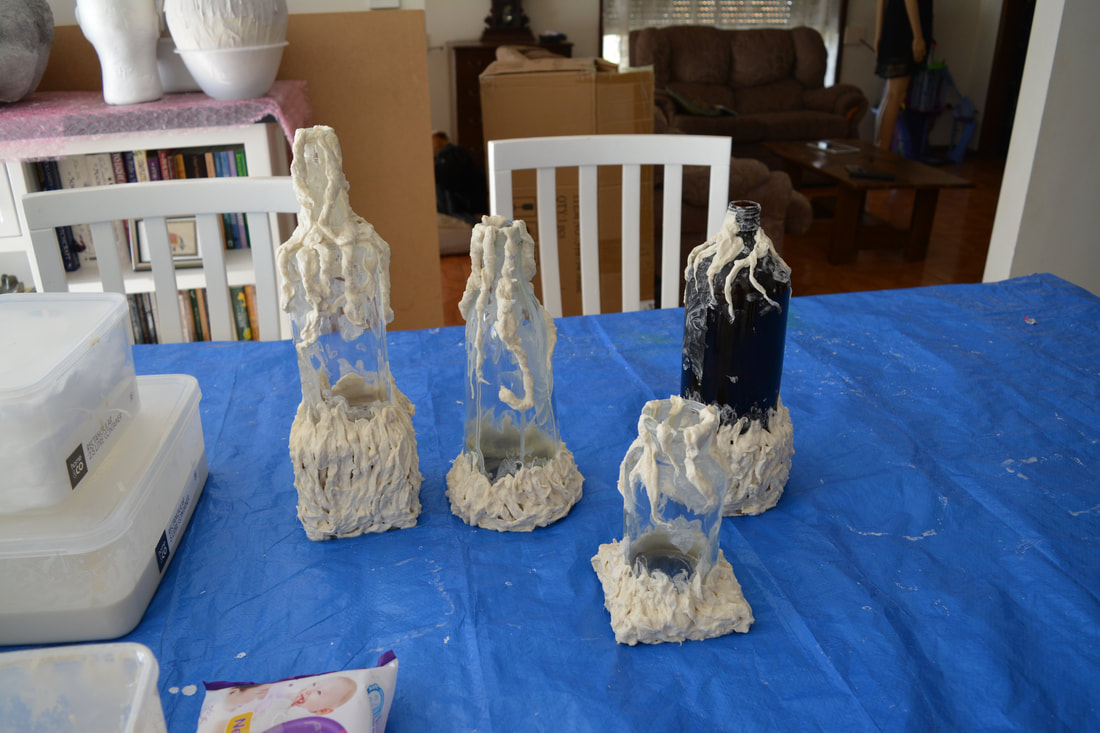
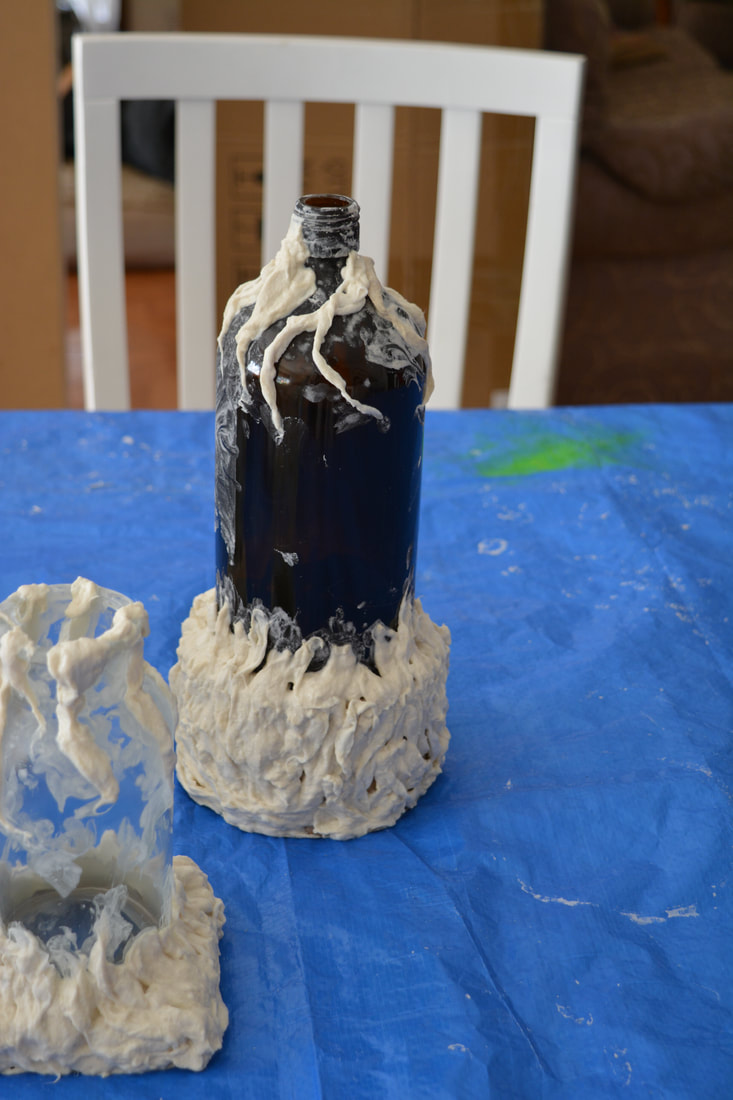
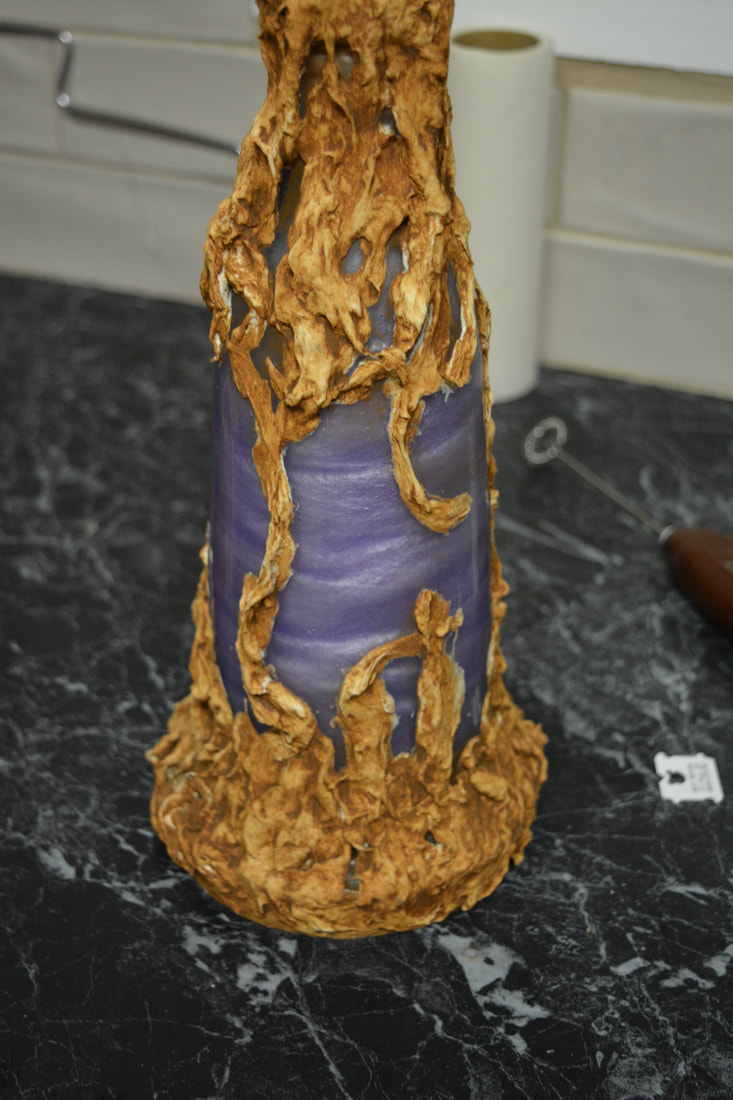
- Once the glue is cooled we started to run the strands of papermache paste soaked cotton wool around the base & up the side of the bottle so it looked like vines & roots growing up it.
- We found we had to be careful not to overload it as it began to slip off in places.
- We did squeeze of the excess paste out before we placed the cotton wool.
- Once that was done we started at the top & run the cotton wool down the bottle to the base.
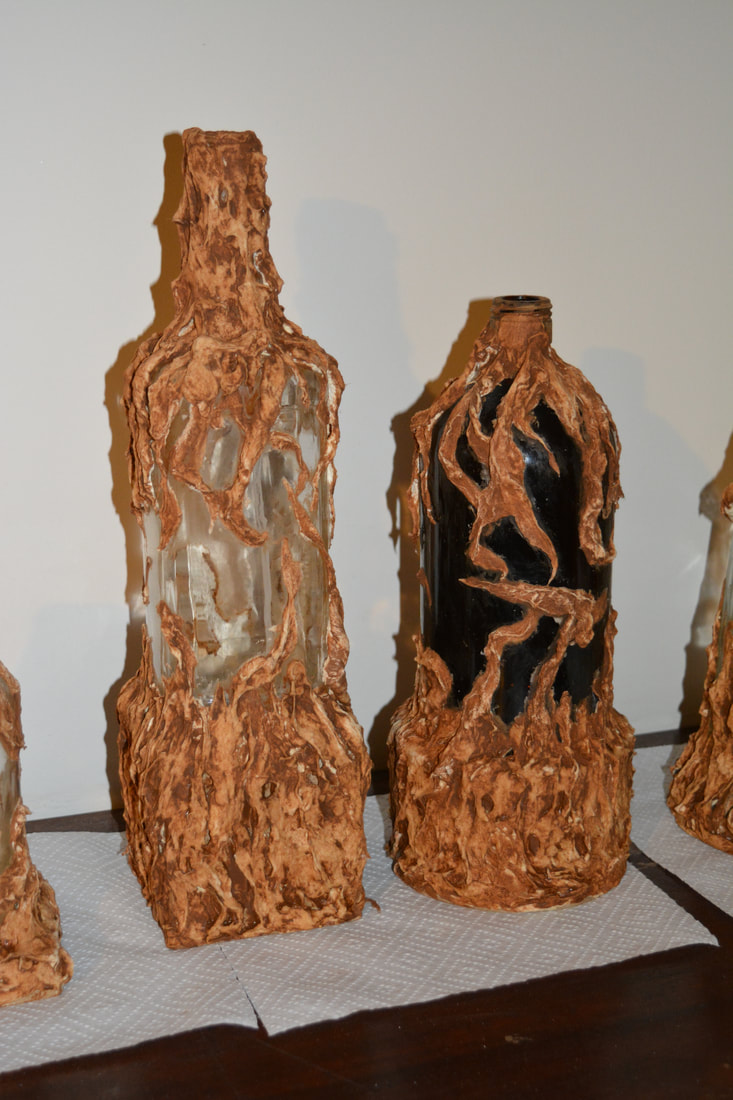
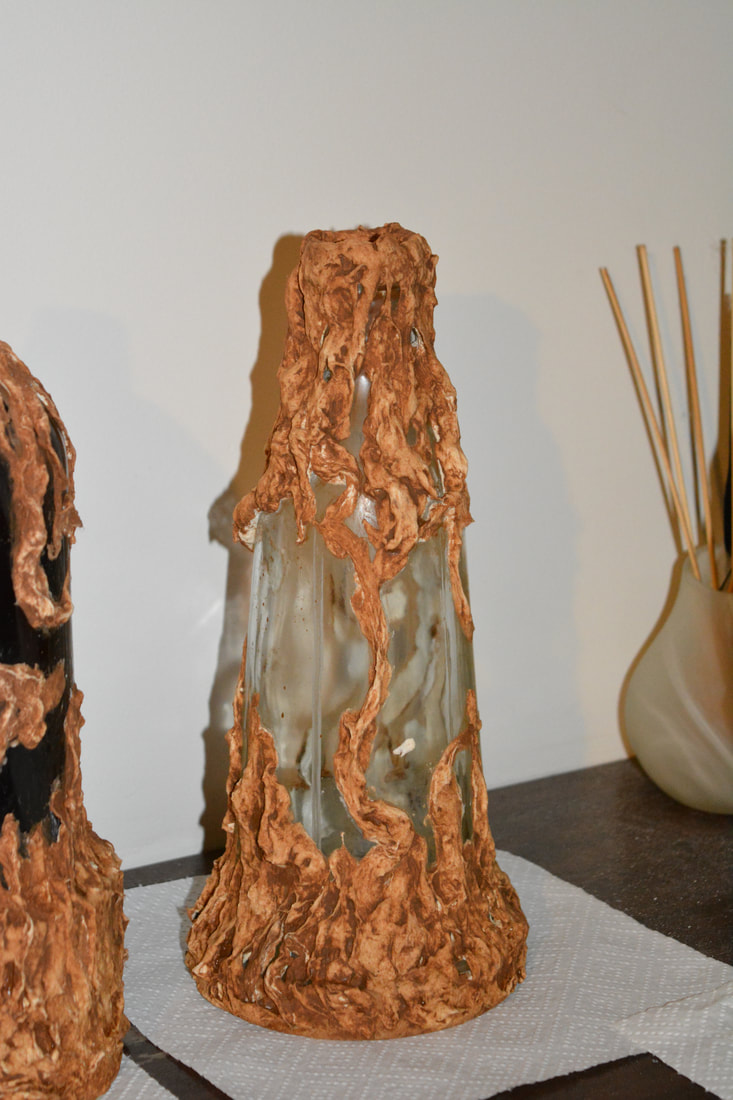
- We left lots of gaps as the object is to make it look like tendrils & vines growing over the bottle but to be able to see the fluid on the inside.
- Once the first lot is on we left them to dry for a few days & then more are applied.
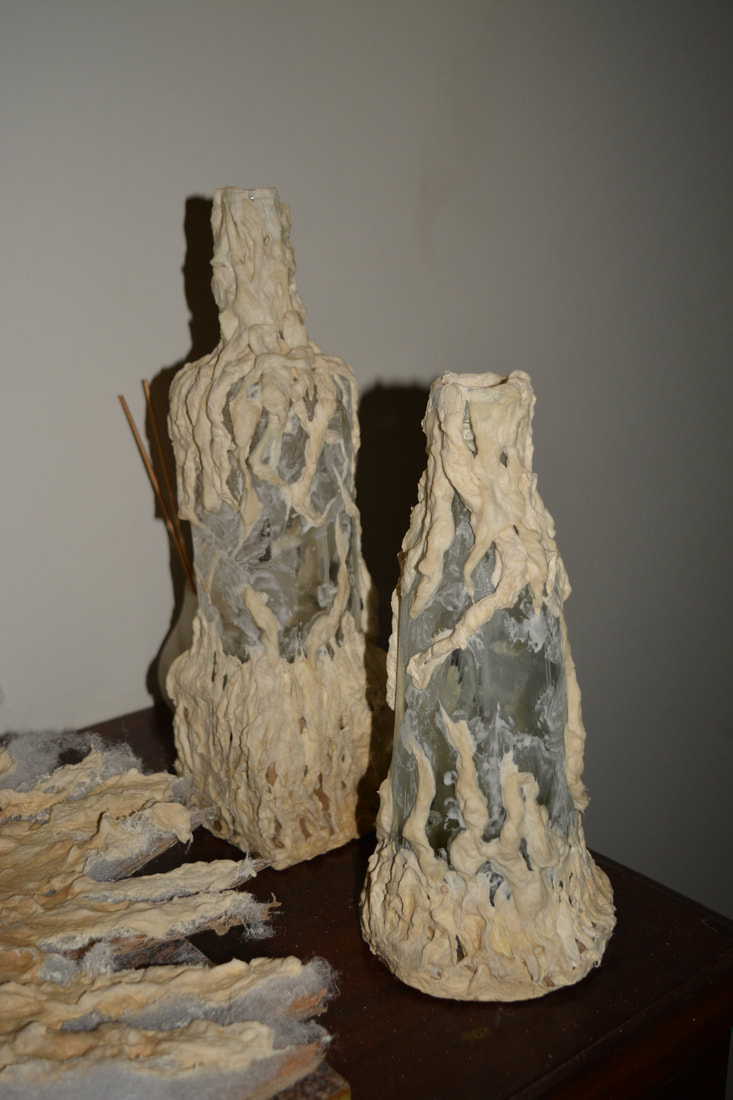
- We twisted lengths of the cotton wool to show a vine twist pattern & also separated some of the tendrils into fine filament fibres against the glass.
- Once the bottles where covered to the desired level we allowed them to dry & harden completely (we left them for a week).
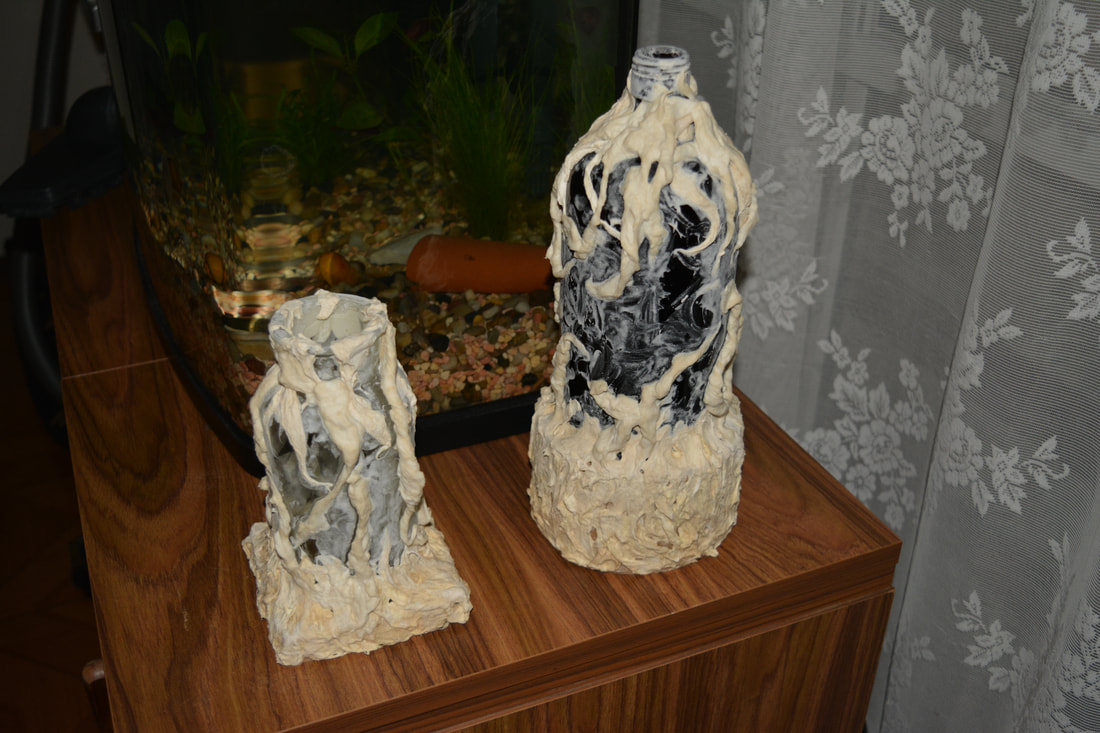
- Once dry we used wood stain to paint over cotton wool vines.
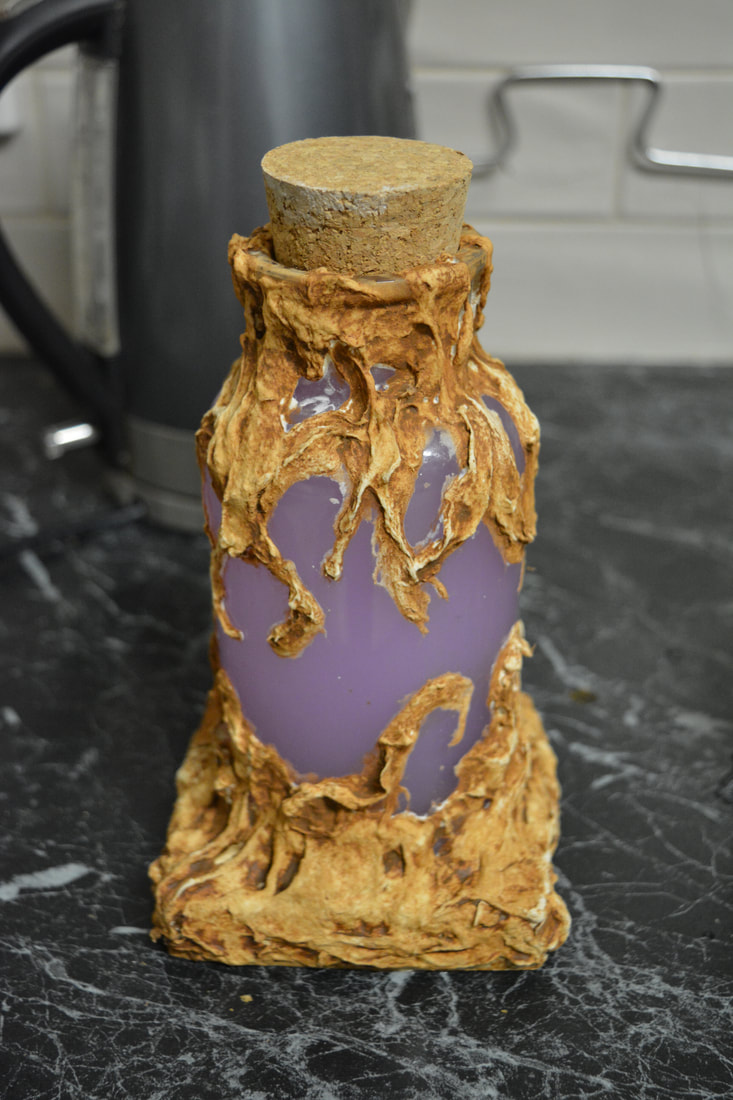
- To create the fluid we pulled apart the highlighters keeping the colours seperated into batches & placed the ink soaked sponge into a saucepan add about 500ml of water & placed it on the heat until it simmered.
- We let it simmer for 2 minutes, took it off the heat allow it to cool.
- When cooled we took out the sponges and squeeze out the excess into the water mix.
- Once the bottles where stained & the water mix is cooled we poured into the bottle & sealed them with their caps or corks.
- We also made some of them with fluid & shimmer powder &/or glitter.
- These ones we are still trying to figure out how to agitate them so the powder & glitter doesn't settle (August 2018).
- We used puck lights under the bottles to shine through the wholes we cut in the boxes that light up the fluid in the bottles.
- At this point we are only sitting them under the bottles but when I find the Velcro I have we will afix them.
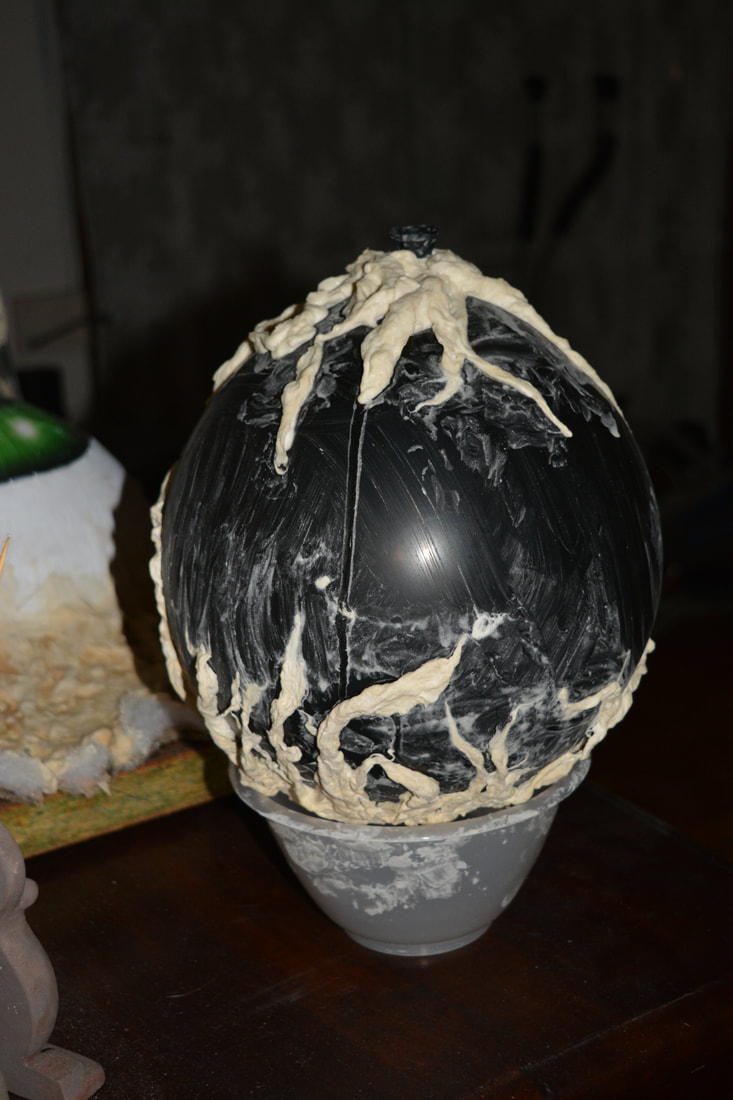
Witch Orbs
Method:
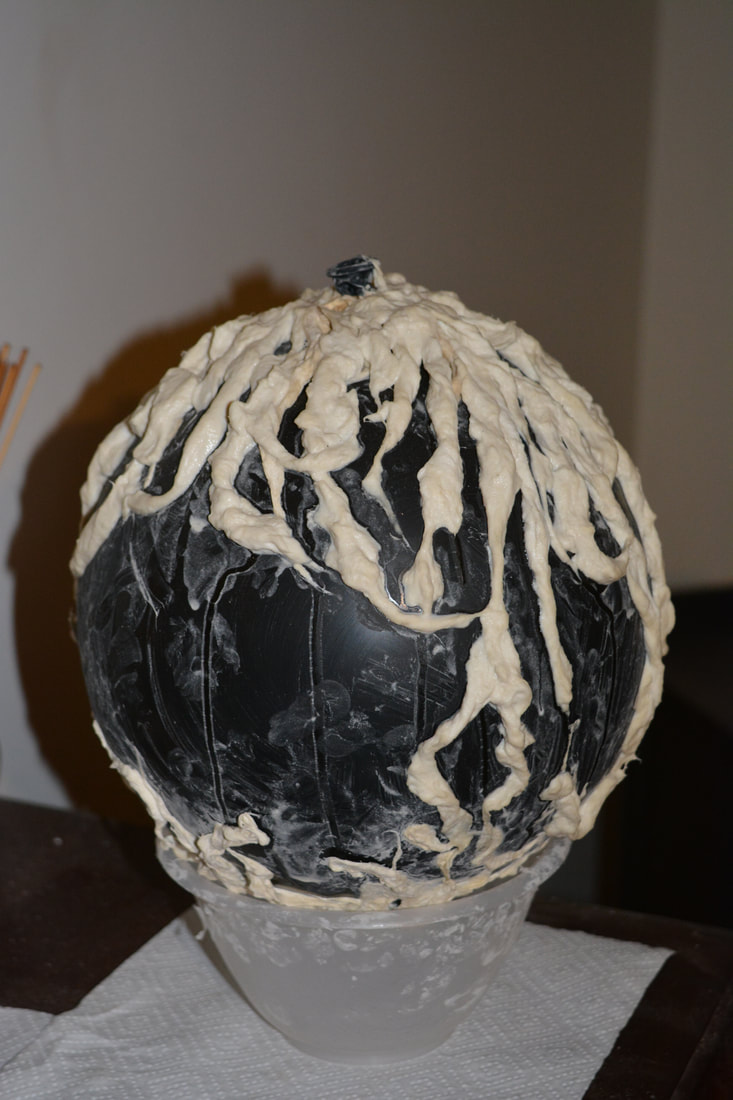
- We blew up the balloon to the desired orb size. Sat it in a small mixing bowl to hold it still but it still moves around a bit once we started so we had to keep adjusting it.
- Using the cotton wool soaked in paper mache paste we used the same method as with the bottles & layered it on the top of the balloon.
- This one takes a bit longer to layer & let dry as we could only do one side at a time.
- Once we finished layering enough to create the same effect as in the bottles it was going to be left to dry for a week.
- The balloon did begin to deflate so we stained it after a few days.
- Then left it for the remainder of time to dry.
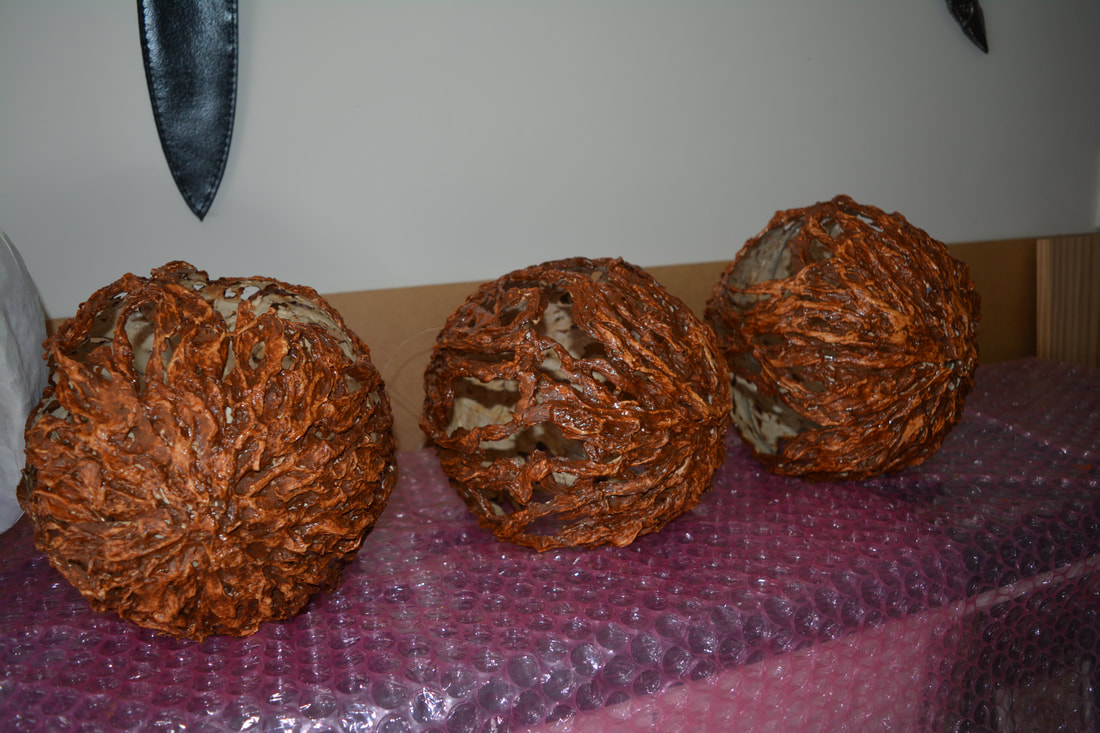
- Once it was dry we let the balloon down & we where left with a great vine/tendril knotted orb.
- At this point we vanished the outside and inside to water proof it, it was probably already water proof but just in case.
- To give it the creepy glow we used a short strand of led battery operated lights mixed in polyester filling then we gently stuffed the lights and filling into the orb.
- These orbs will be used inside and outside in the yard display and windows this year 2018. My front trees are not big enough to hang to them yet so they will be suspended with fishing line from other points in the yard instead.
- To date the orbs are proving to be a little fragile and won't store well, we will make one using a papermache base and papermache clay to see if that improves their strength but at this point we are of the mind set that they may be too fiddly in the long run.
- We will post pics of the all when done, although we may not reuse them in the future.


|
|
|