Projects We are Currently Working On
Hello crafty halloweeners,
With the current world state we are fairing better than most countries however the constant in & out of lockdown we experience is making it difficult to get anything done.
J & I are planning to get back into things asap, we will plod on with what we can when we can & updates will be posted here & on the facebook page.
The list below is now things that we plant to do at some point but might not get finished this year. When we have completed them we will move them to other sections.
Last year we made a candy shoot that worked well for lolly bags to be given out and although numbers were down we still gave away 300 of them.
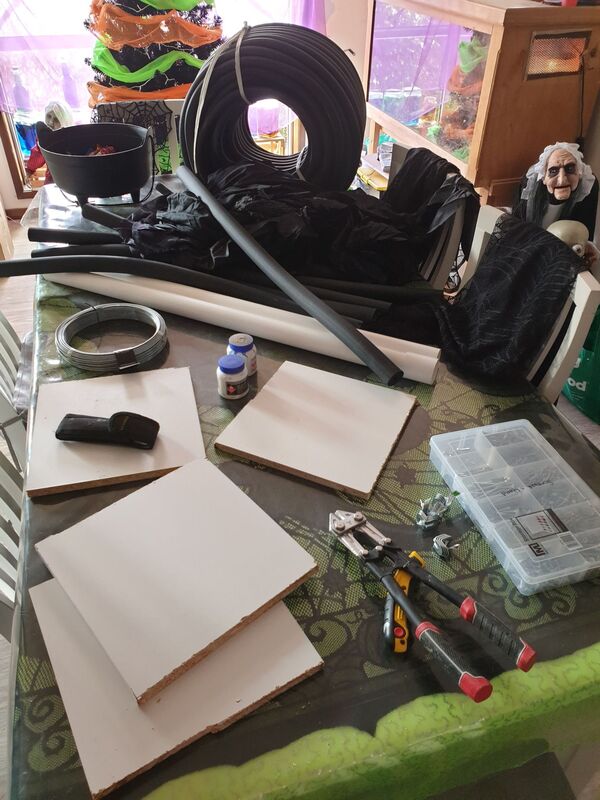
Planned Projects
- Giant Bats
- Wooden Block Garden Pieces
- More insulation foam Gravestones/Tombstones
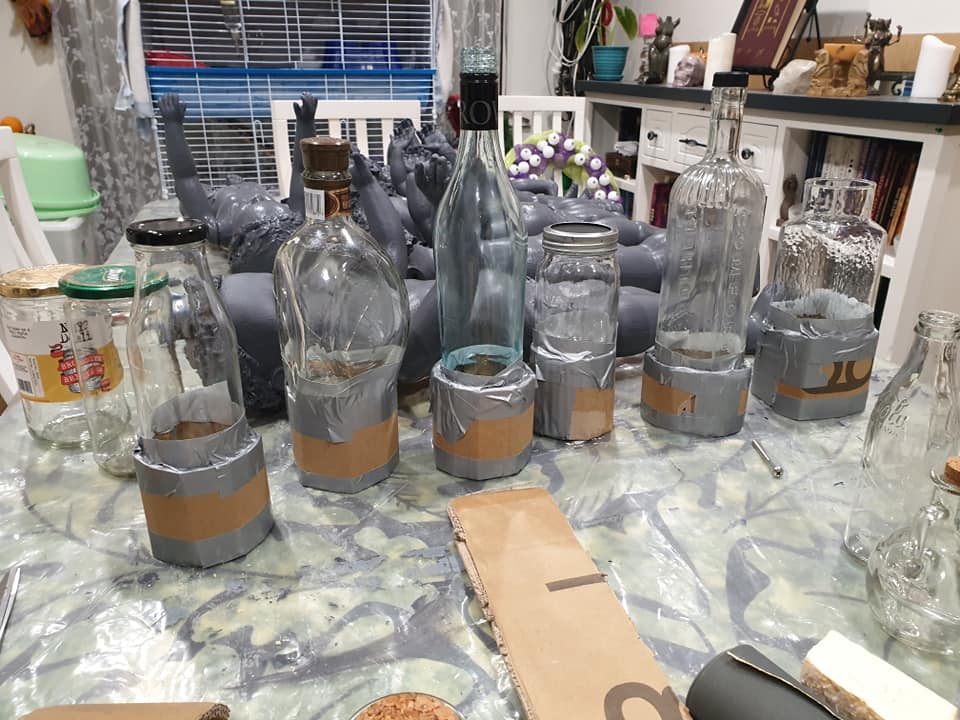
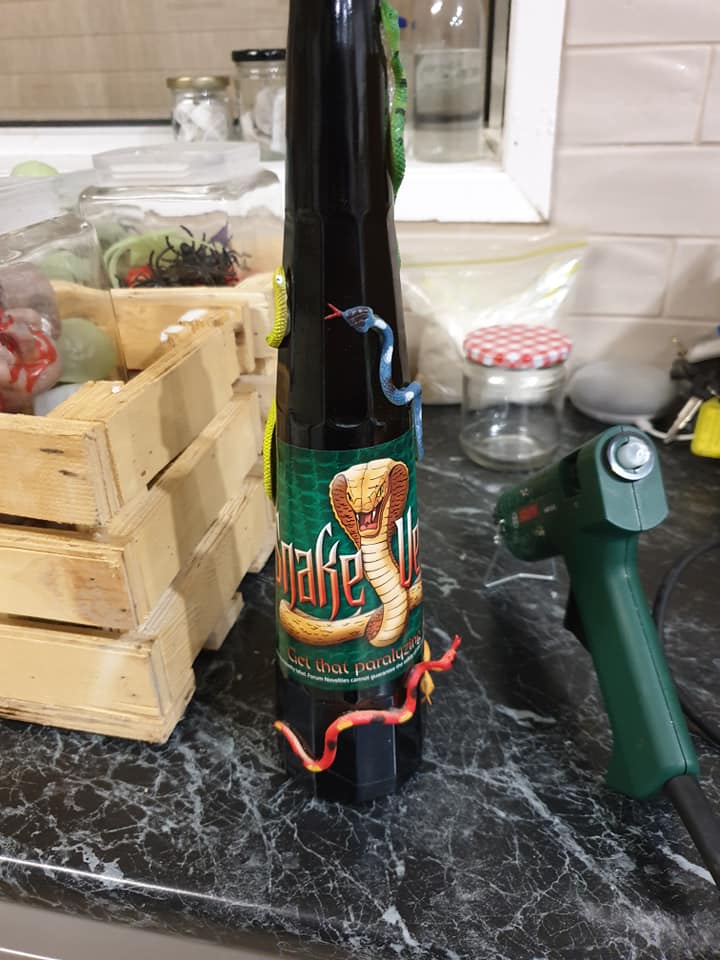
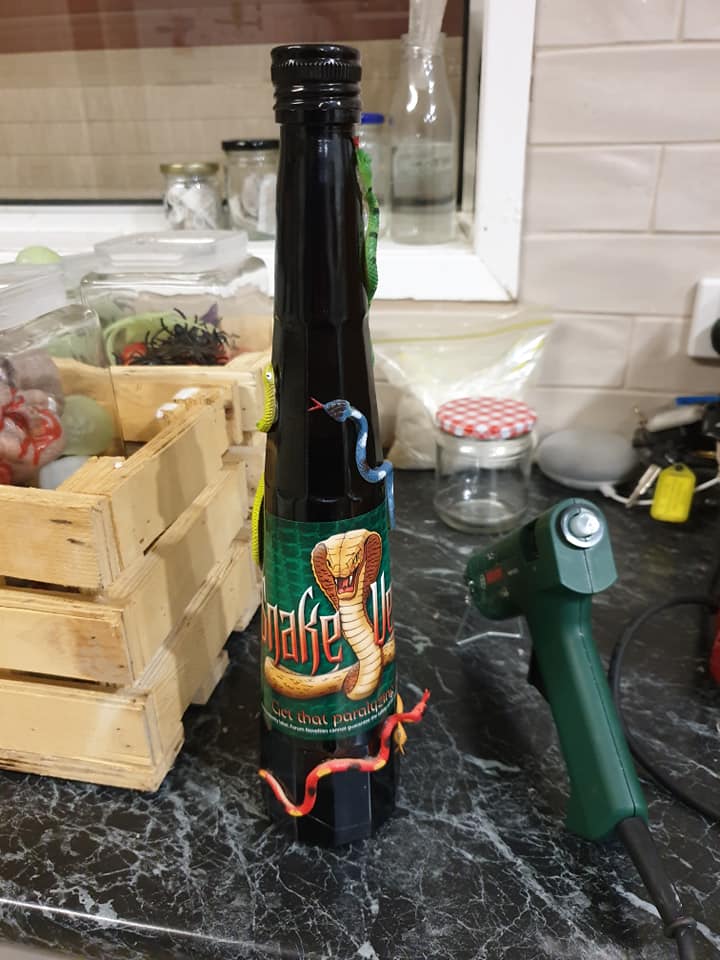
- More Wytch Bottles
- Burning Embers (for 3 witch's cauldron)
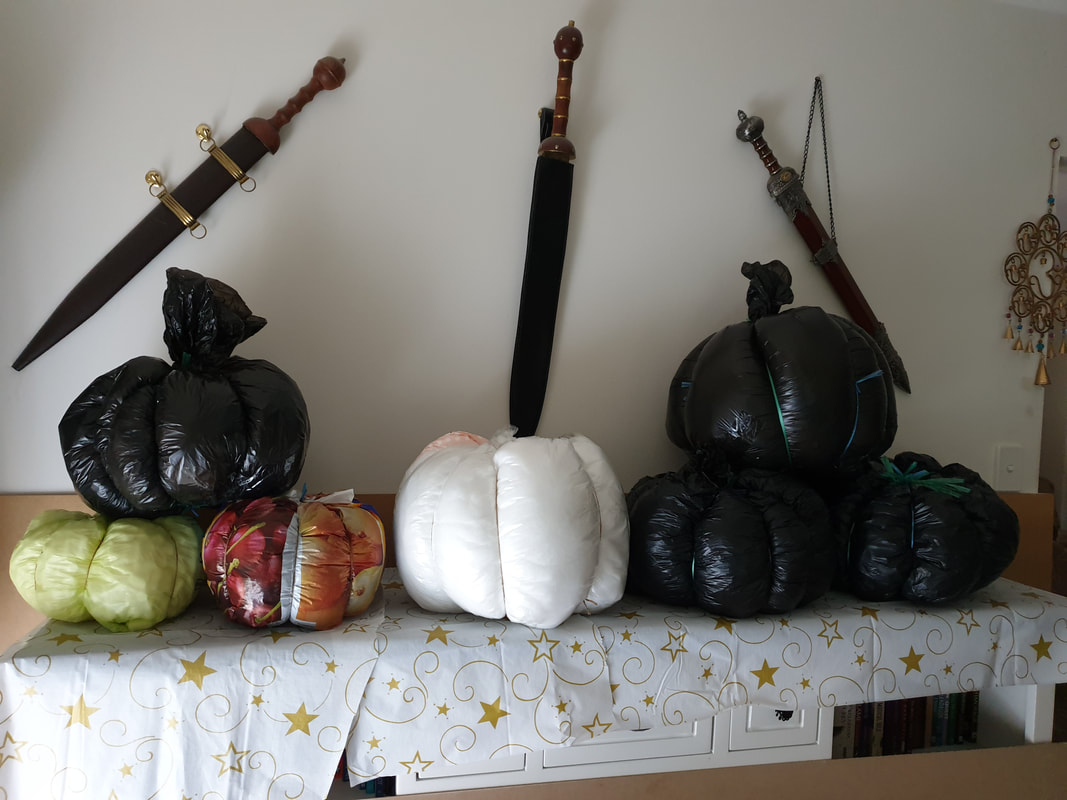
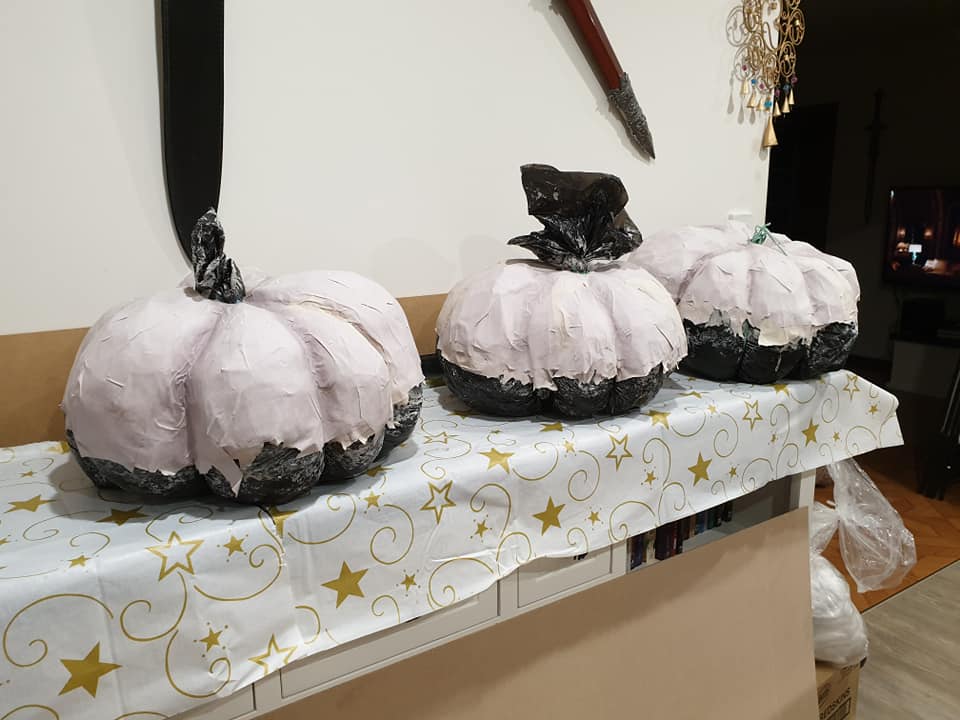
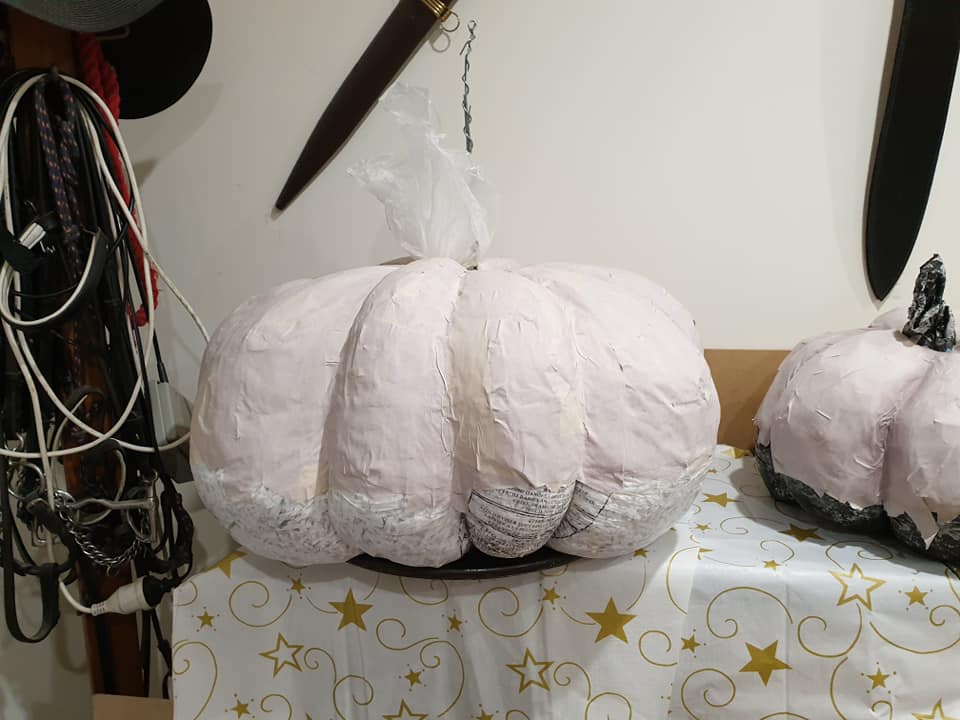
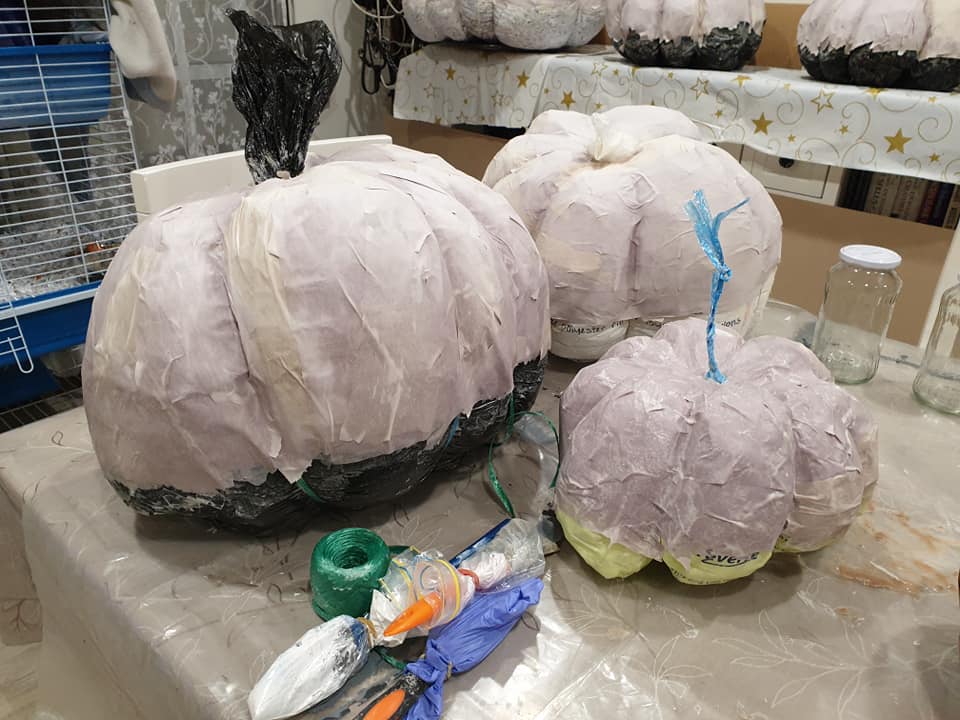
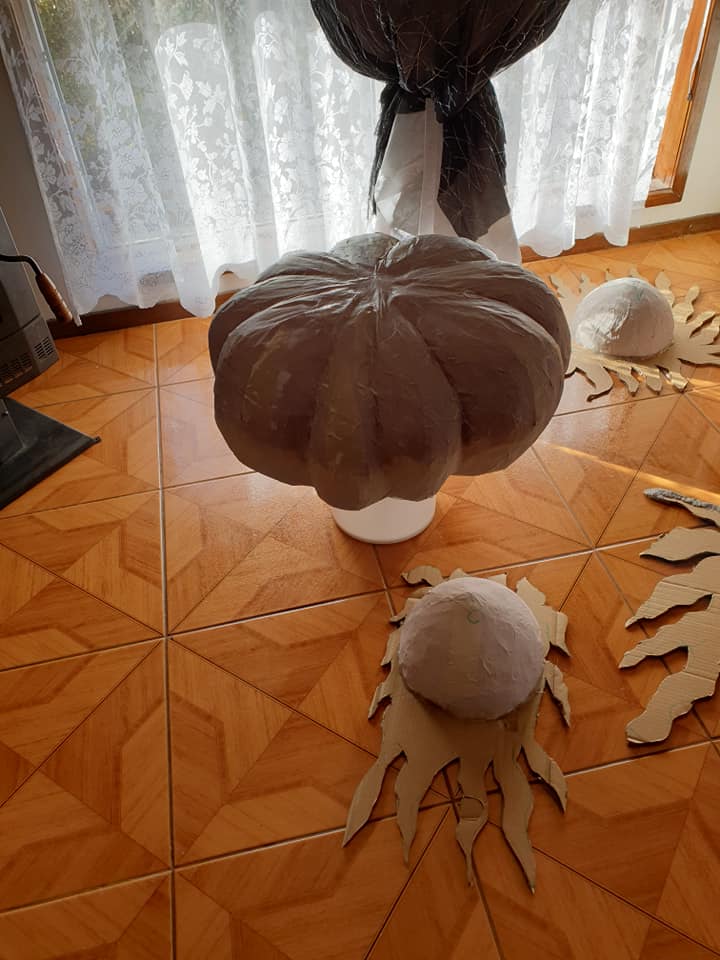
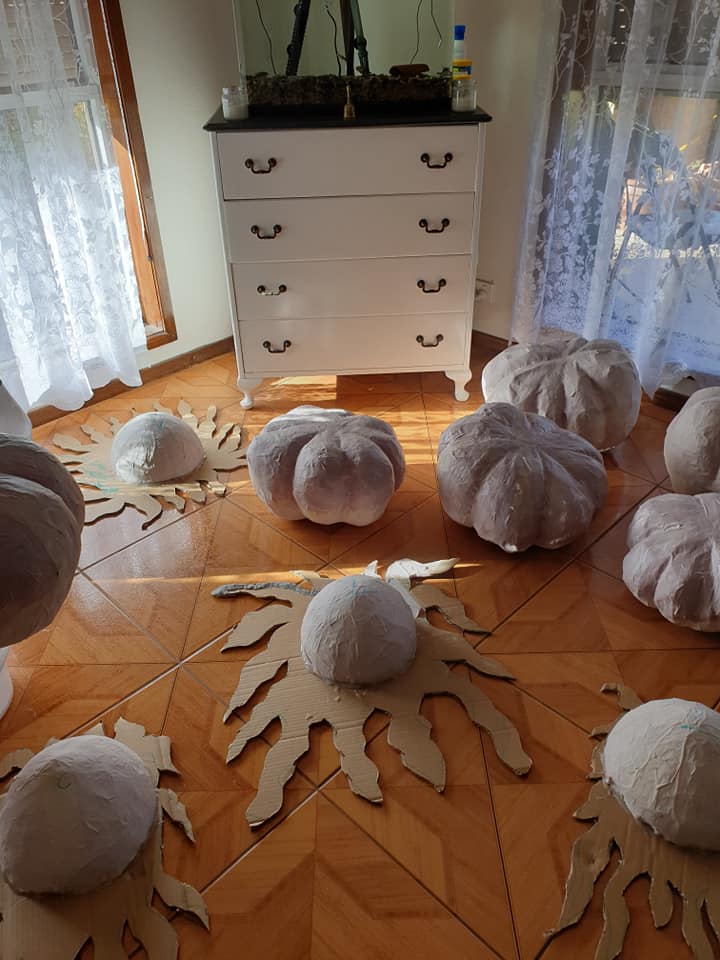
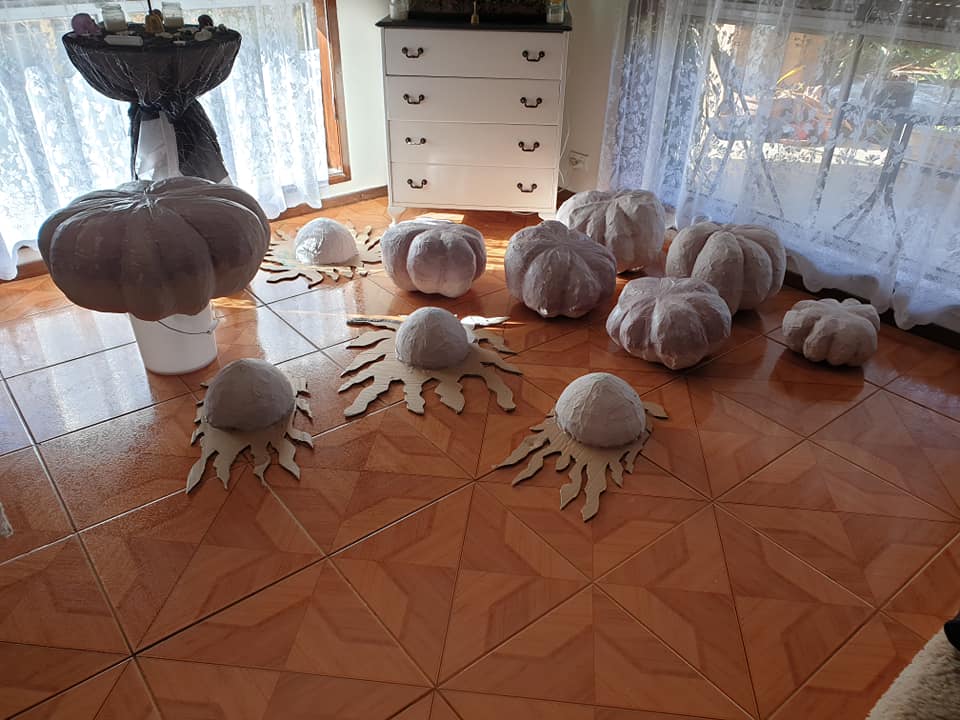
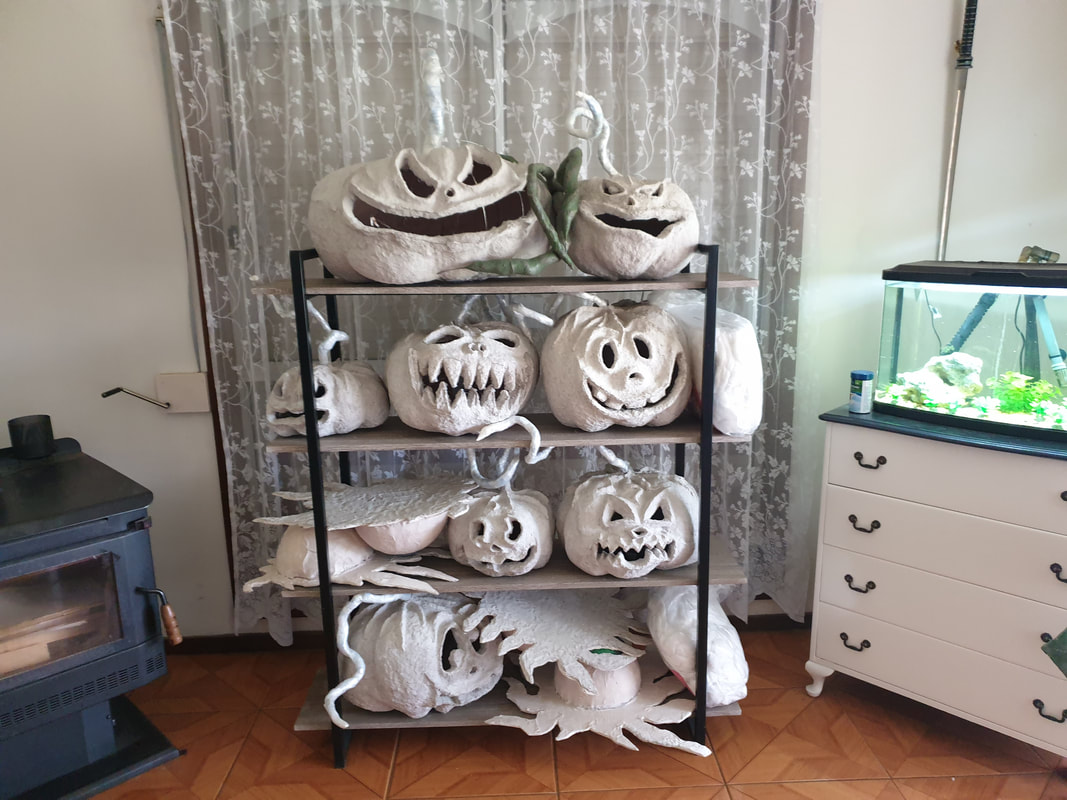
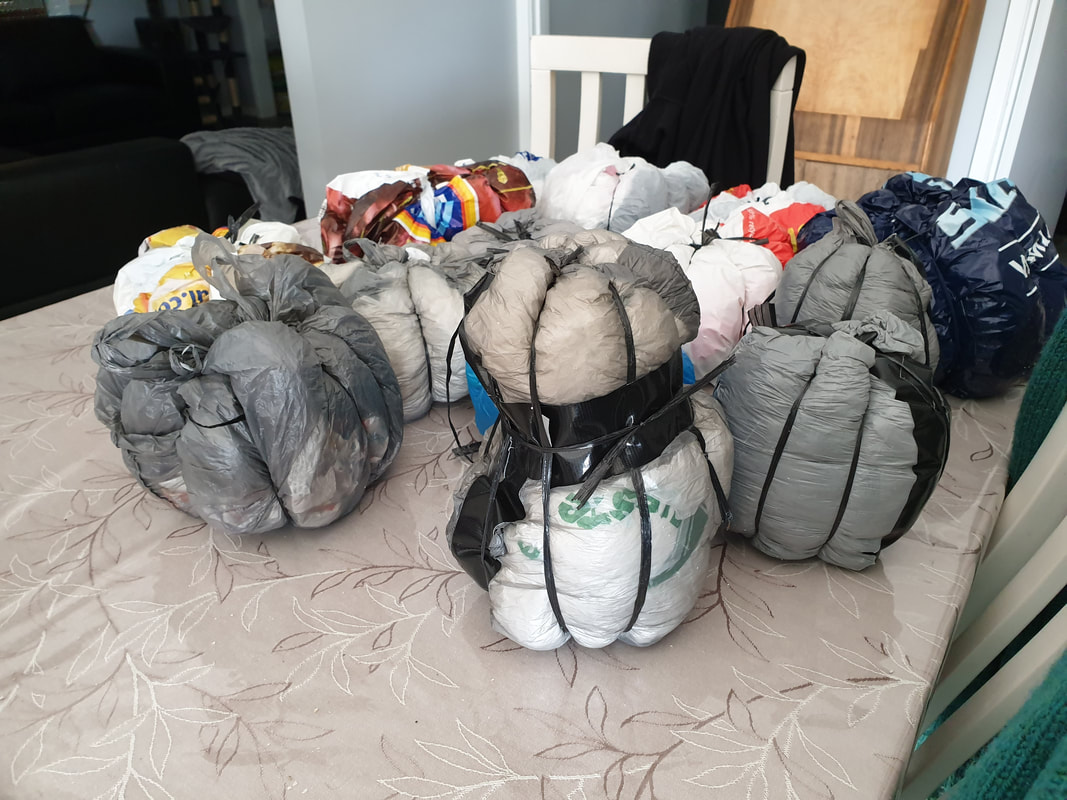
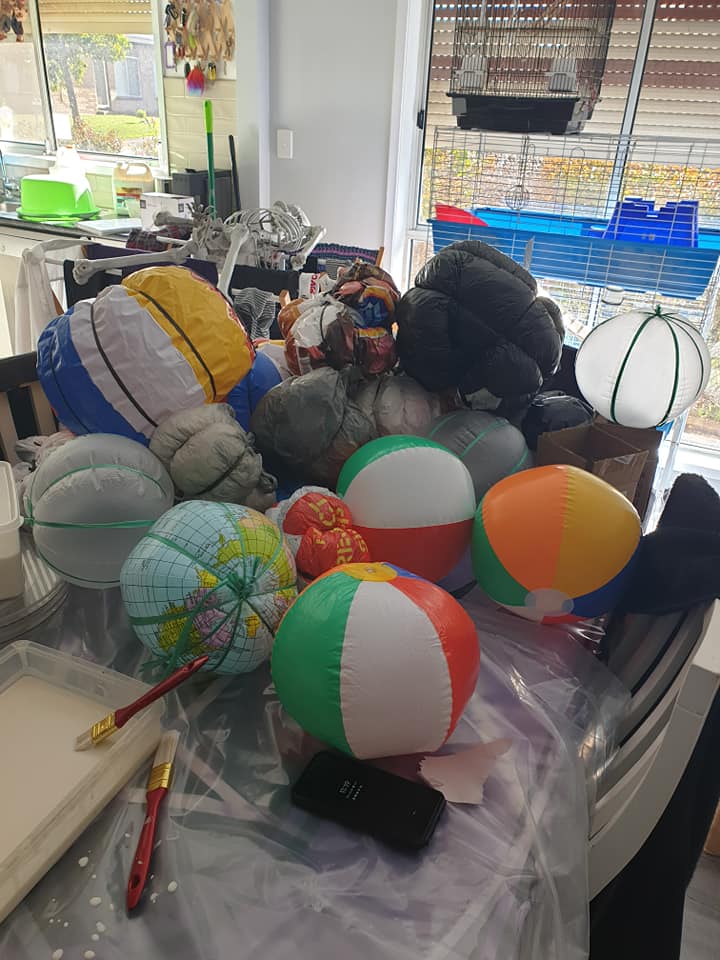
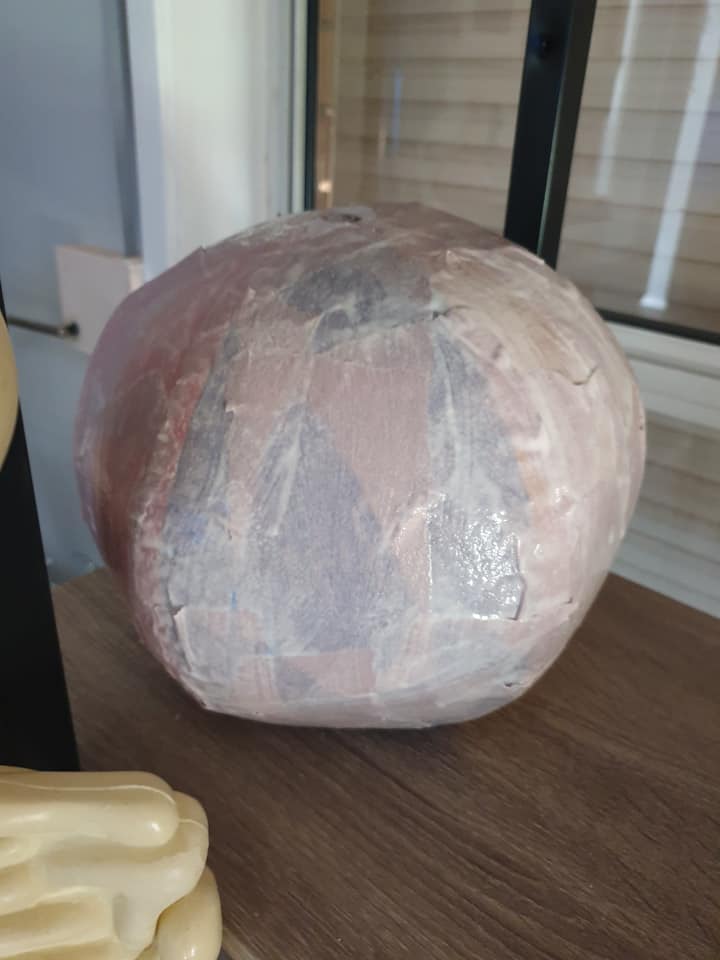
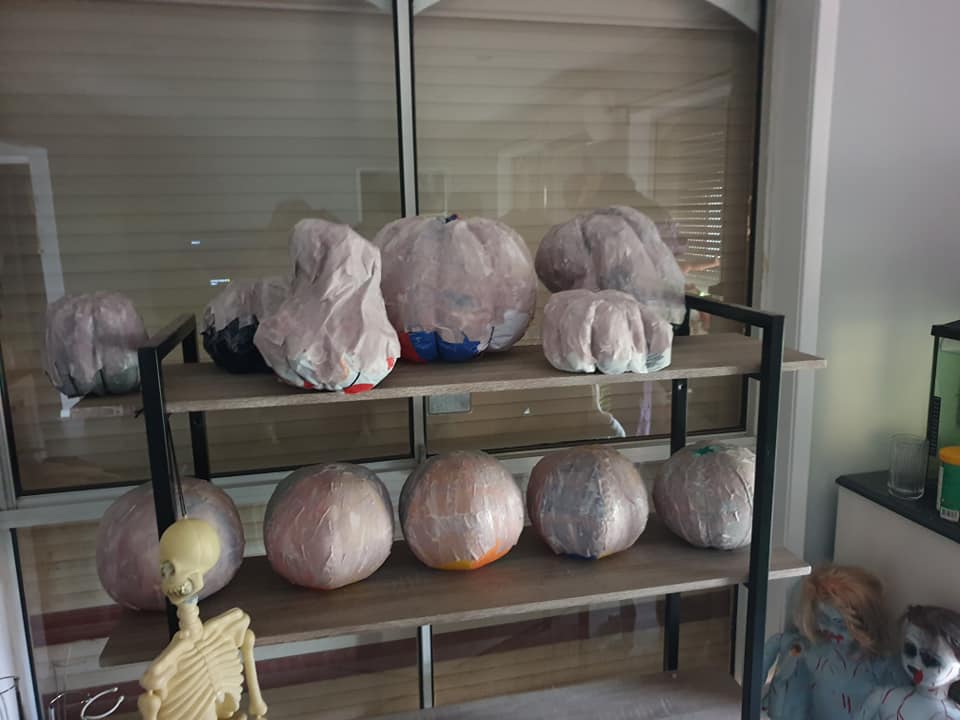
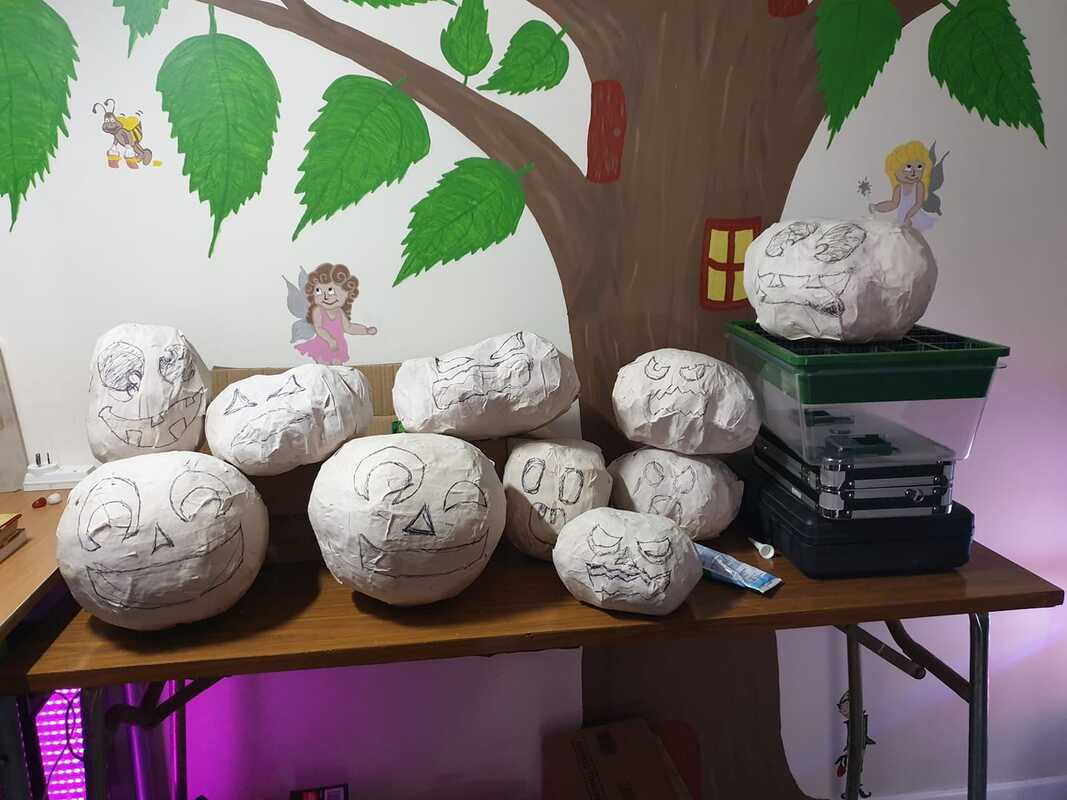
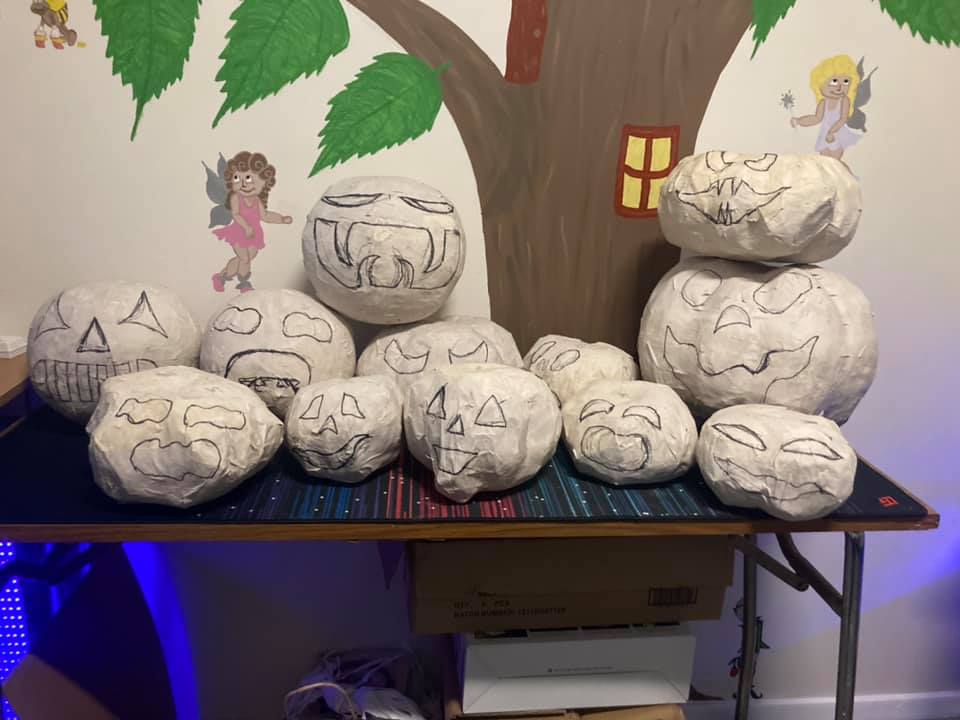
- Papermache pumpkins
- Signs - Wooden & Foam
- Lanterns (for graveyard)
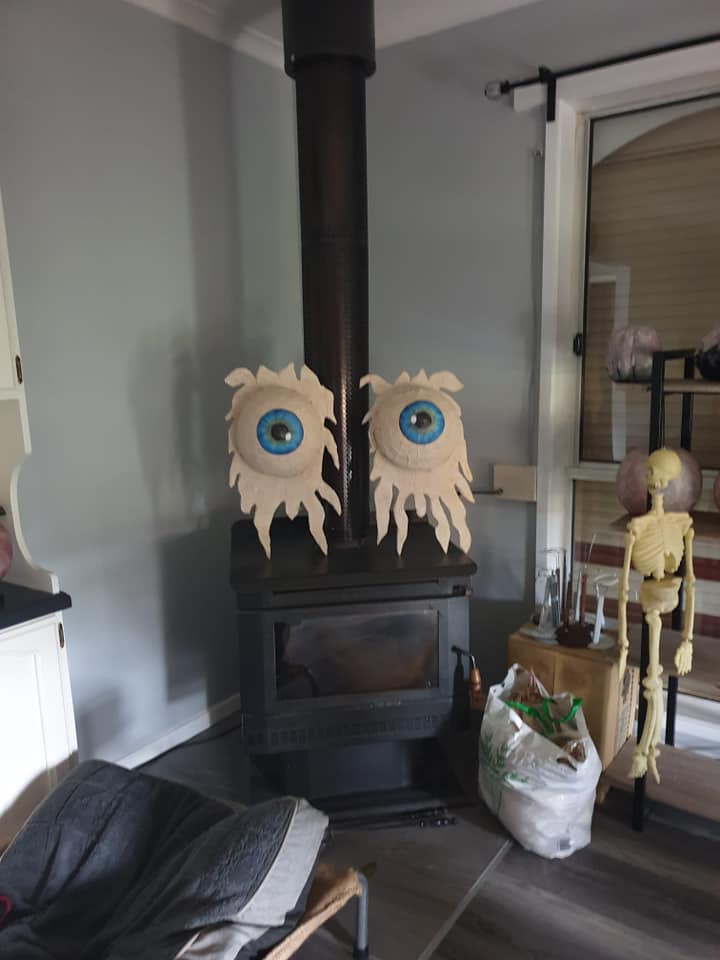
- Papermache Eyeballs
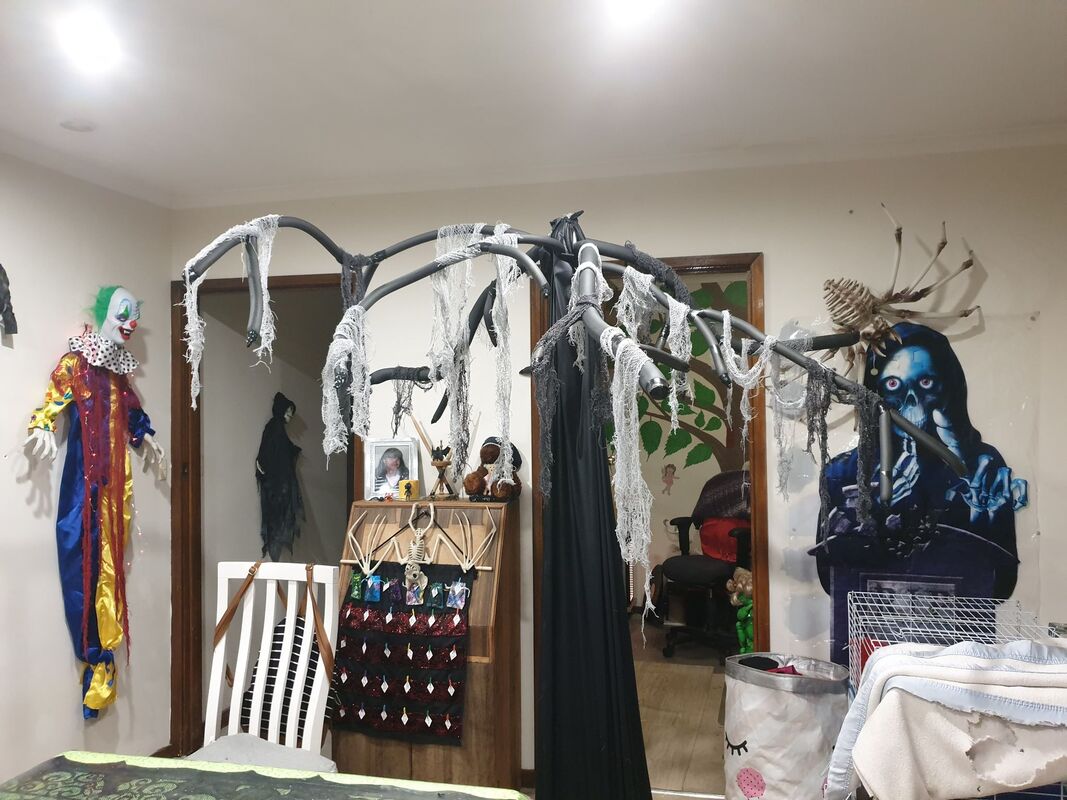
- Creepy Trees
- Papermache Pumpkin Monster Man (sentinel)
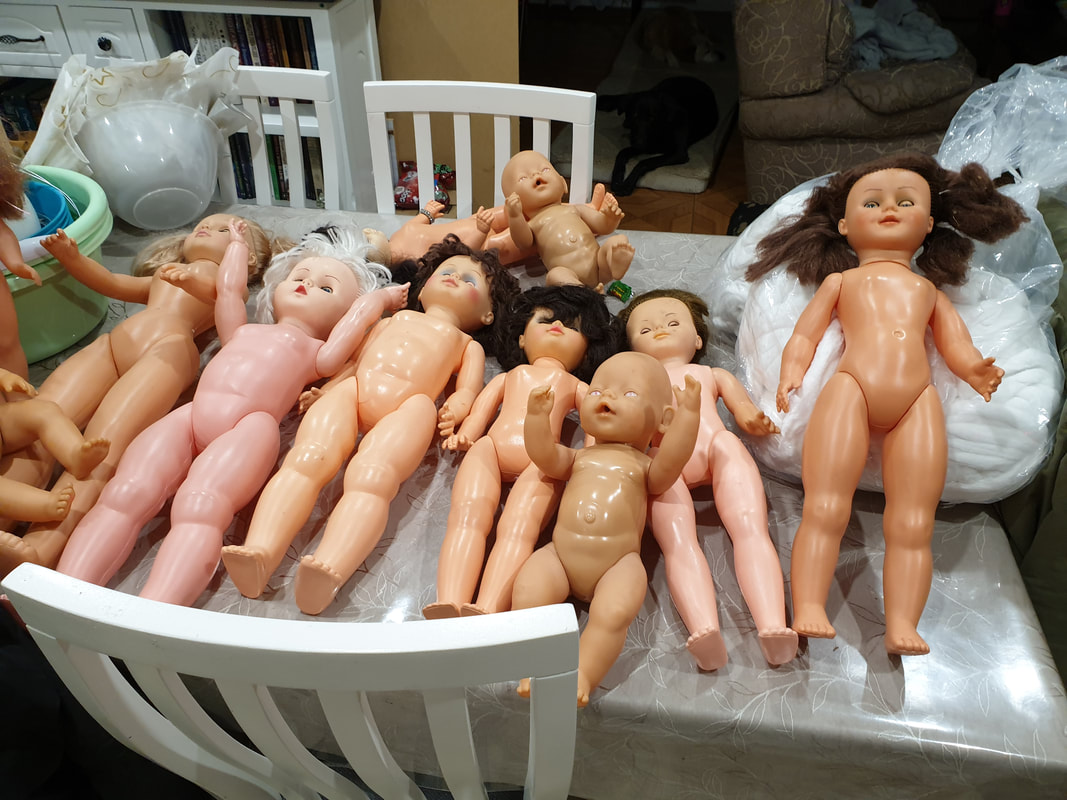
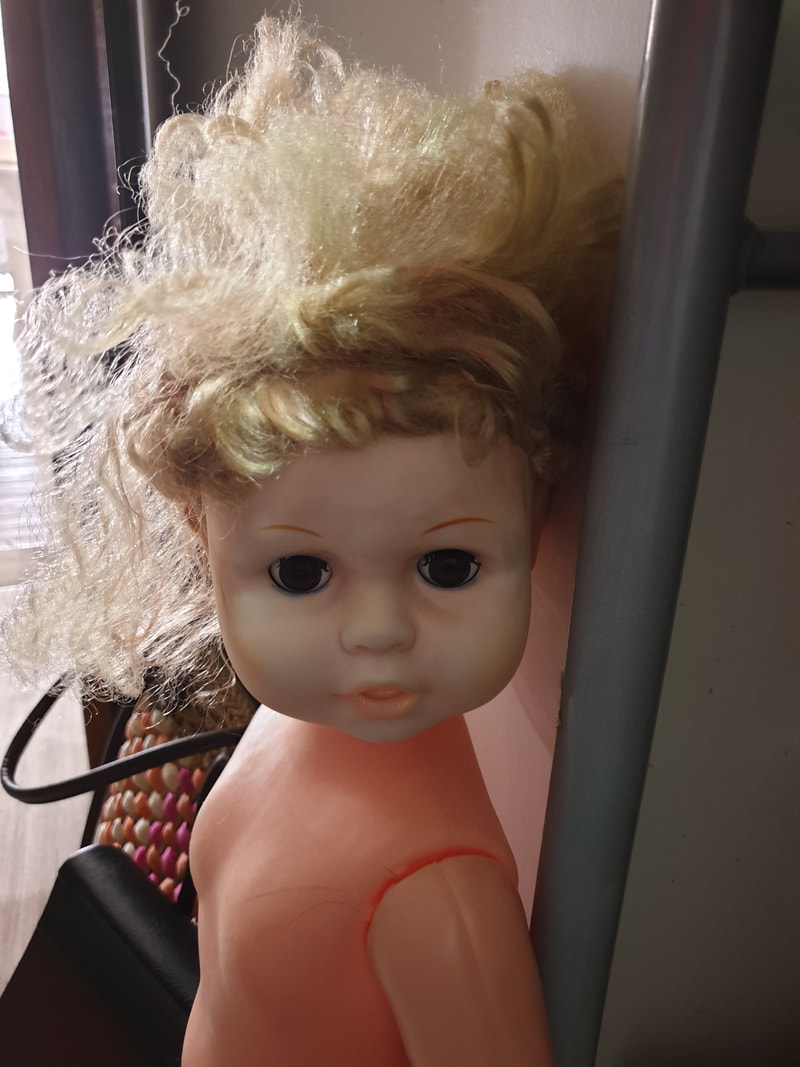
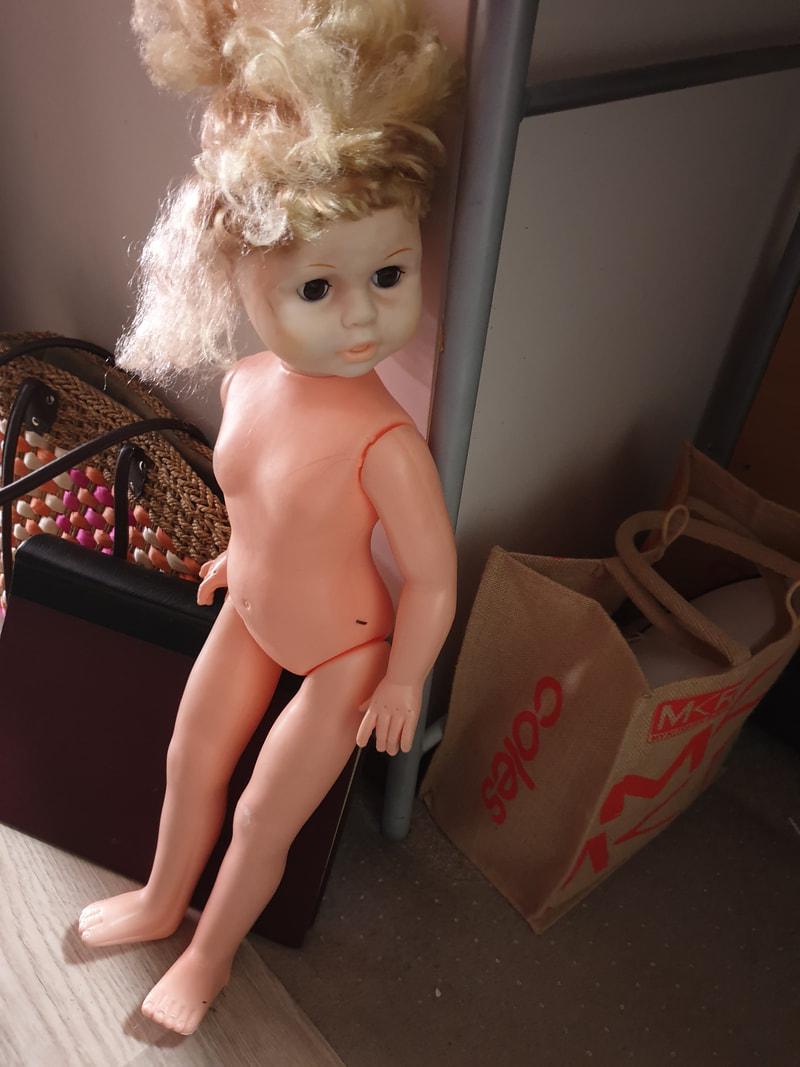
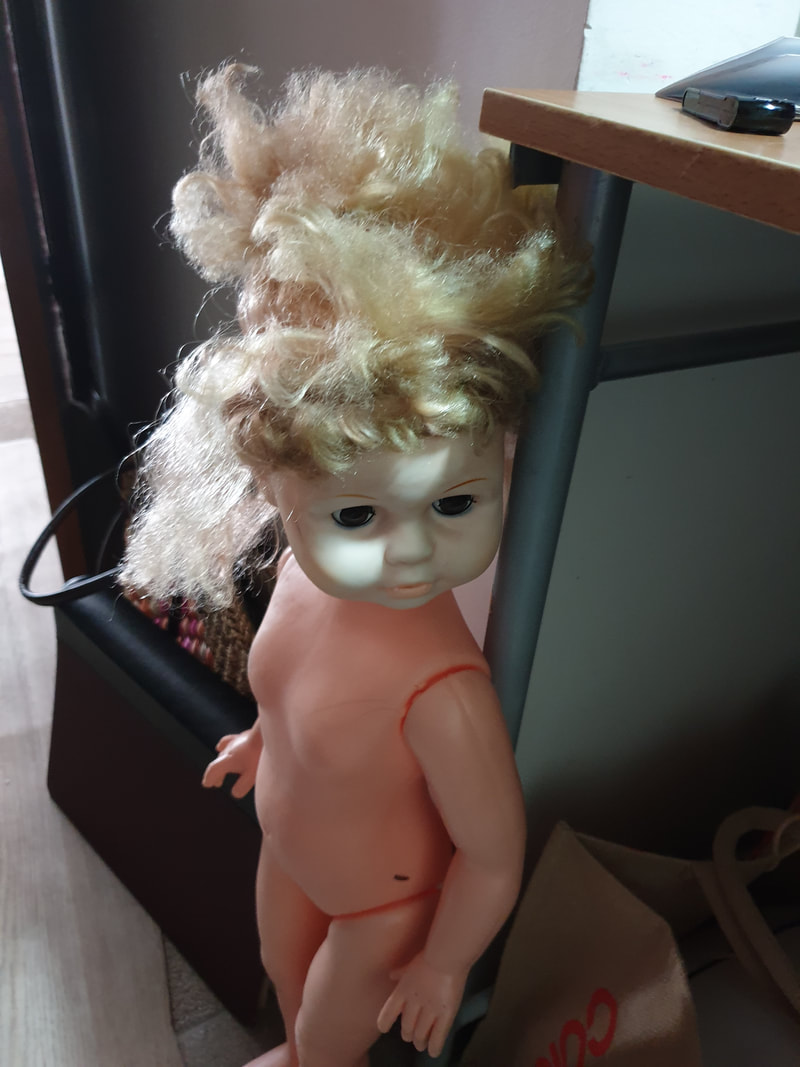
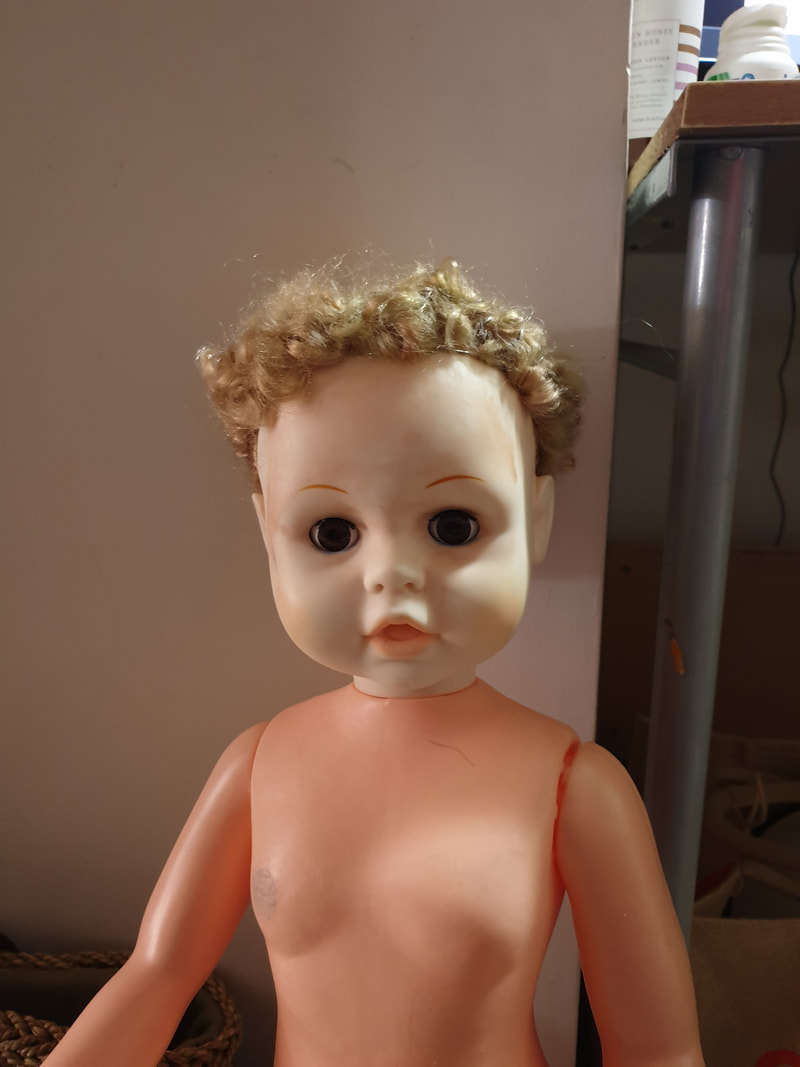
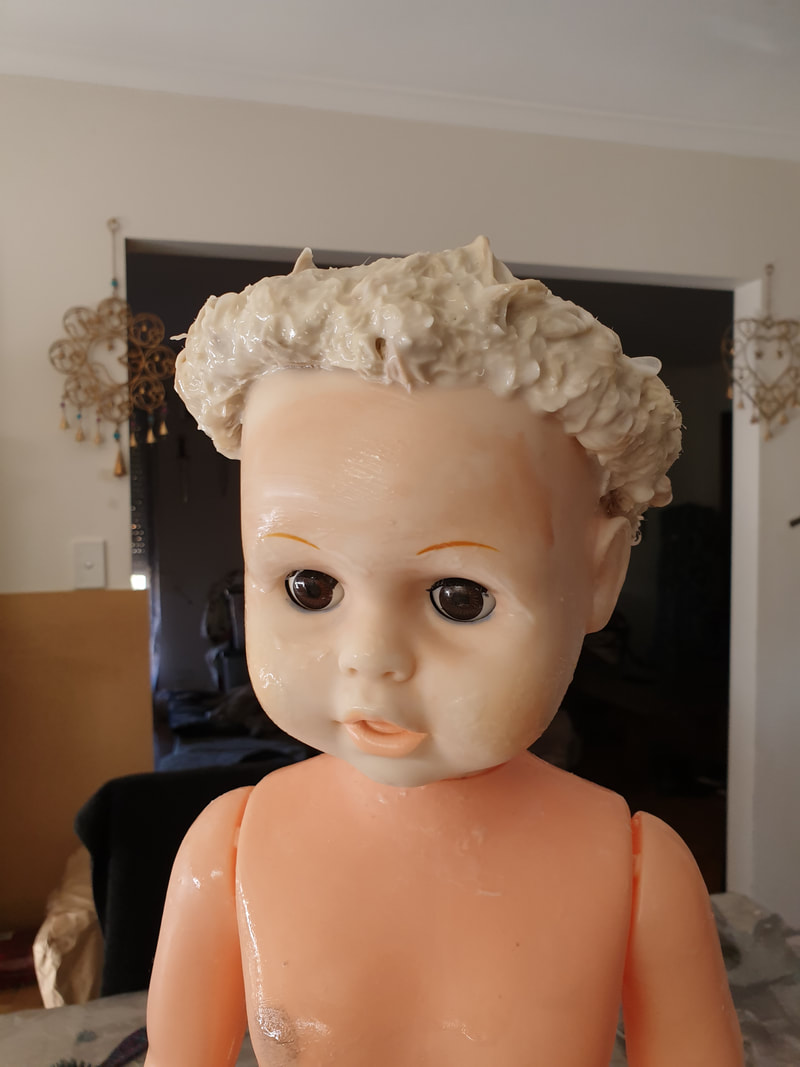
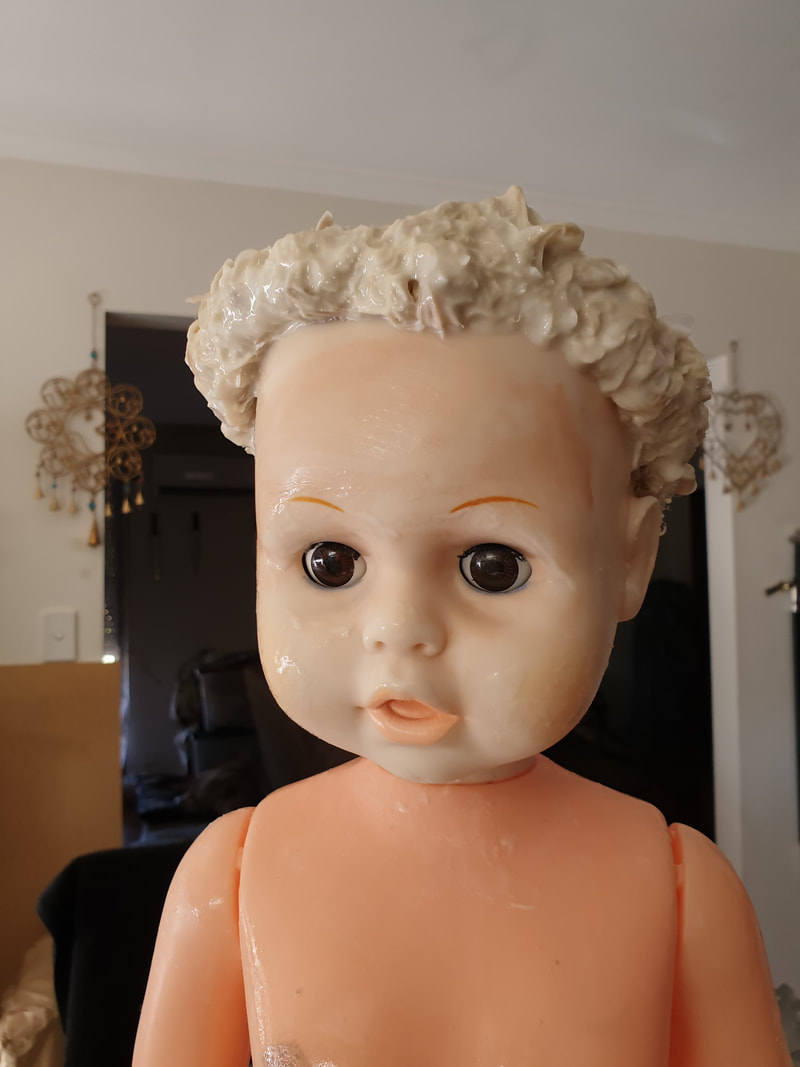
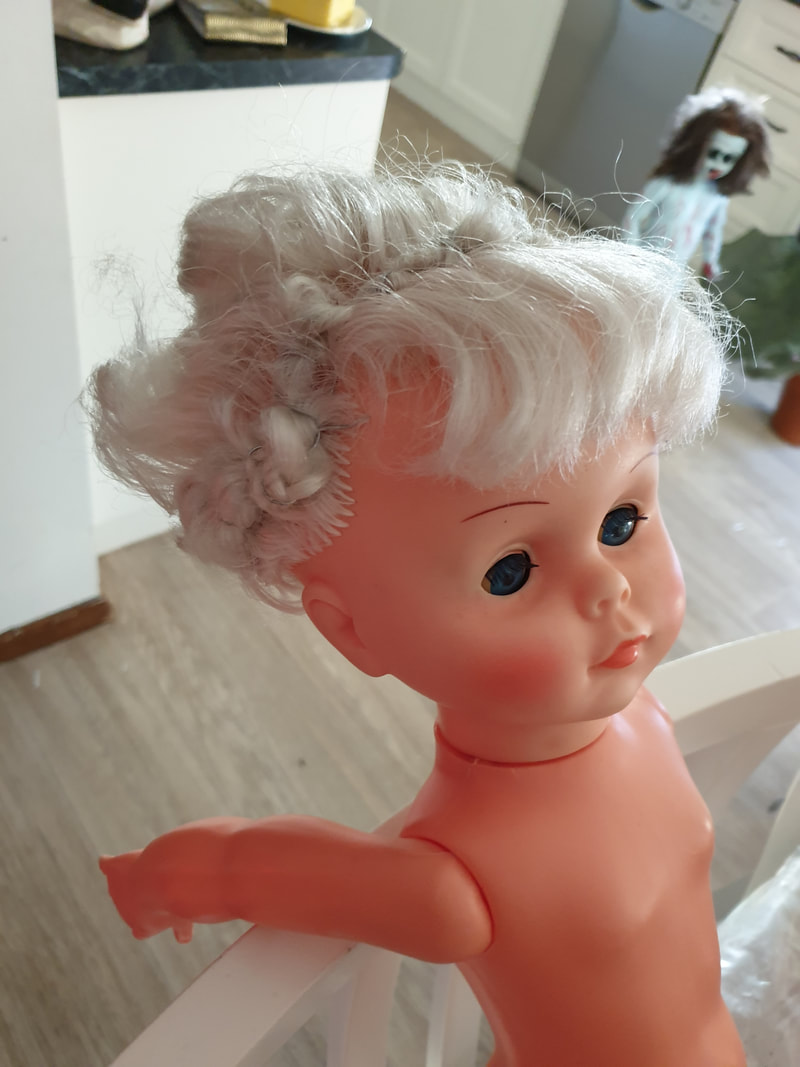
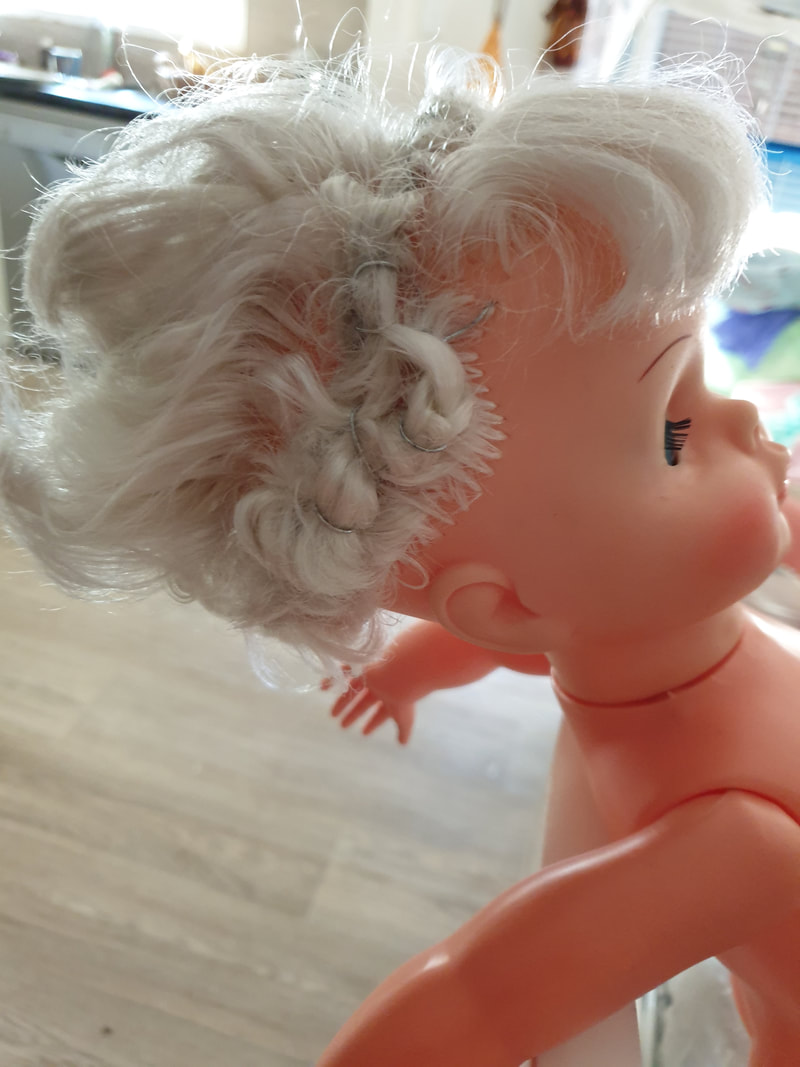
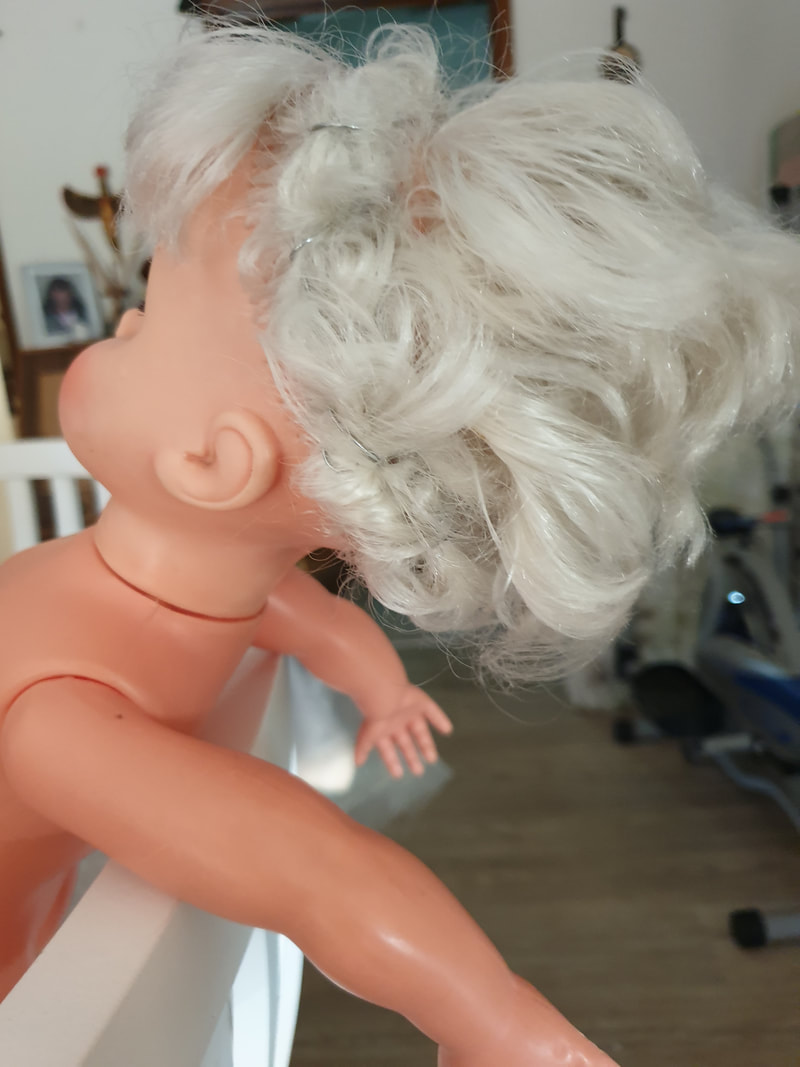
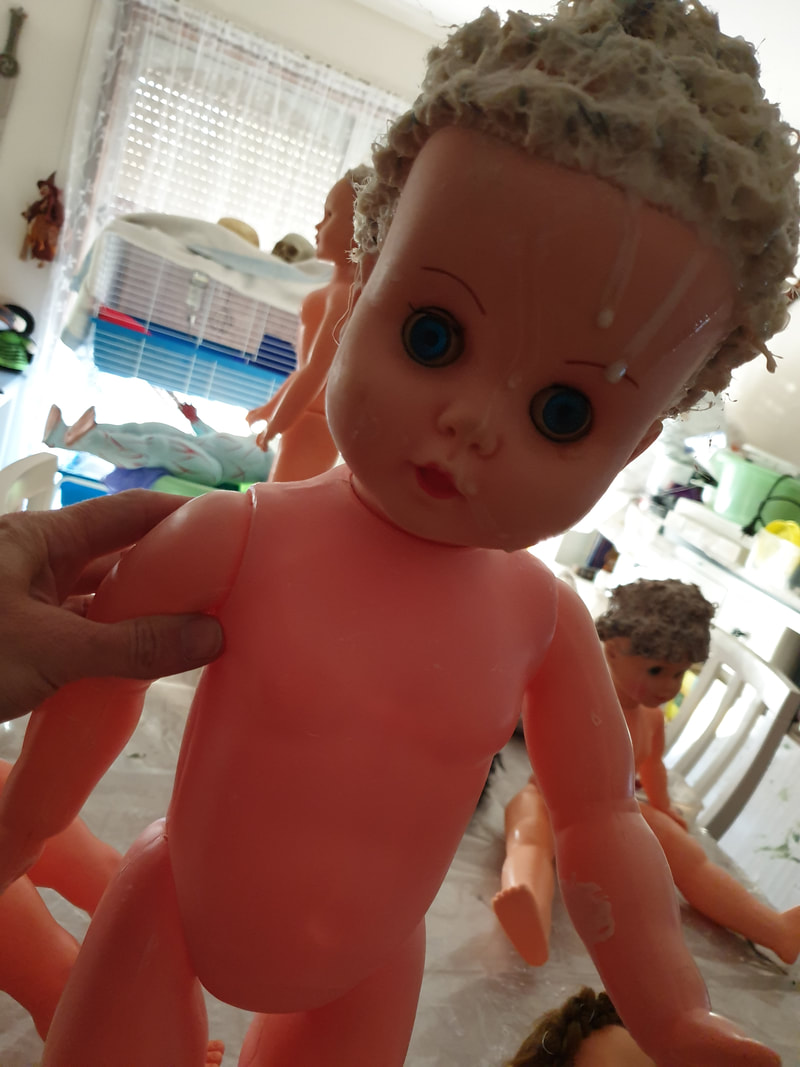
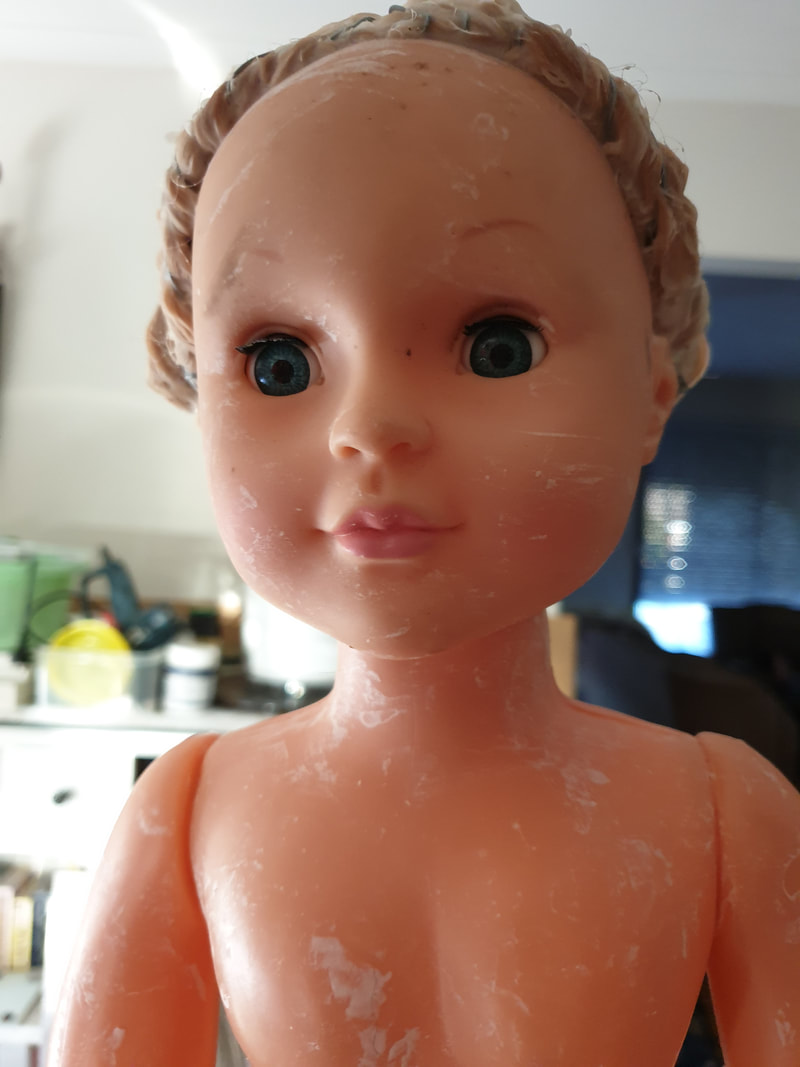
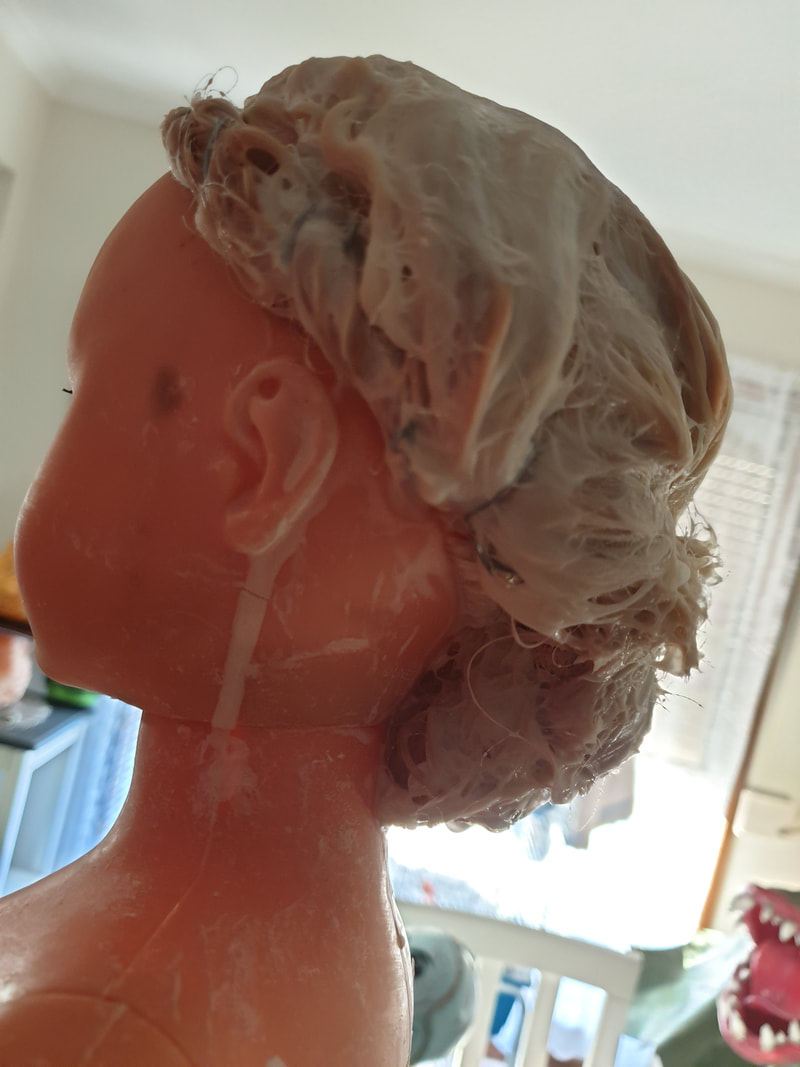
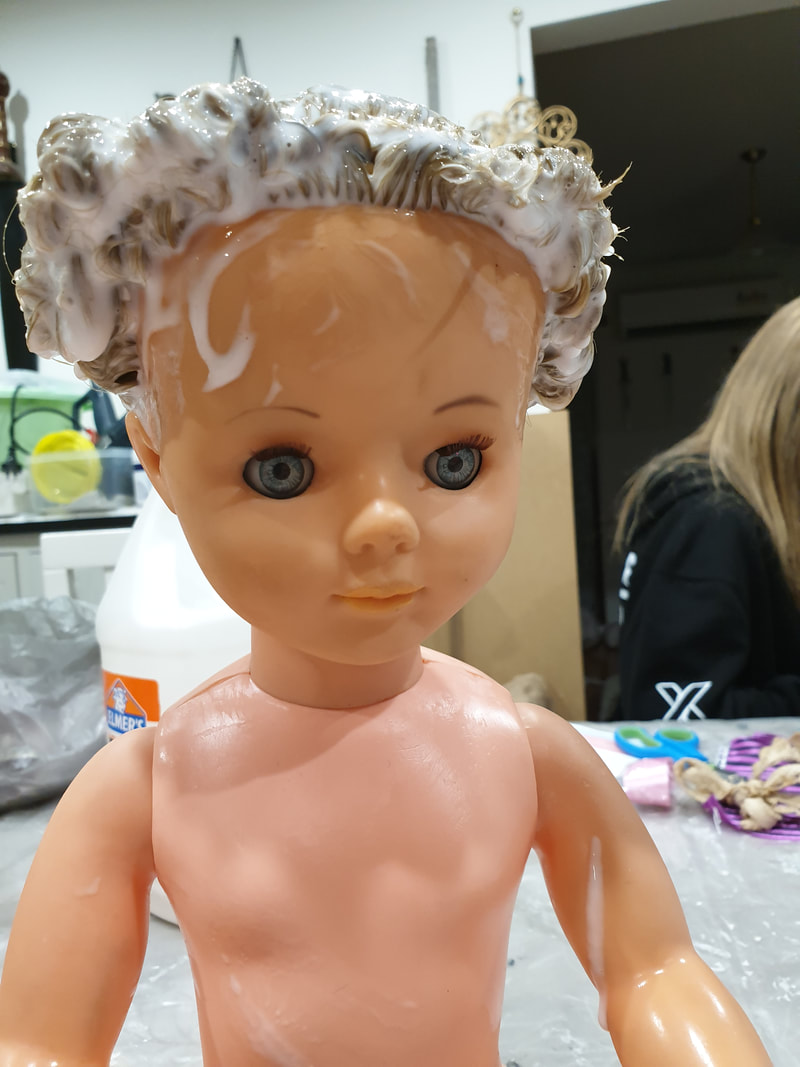
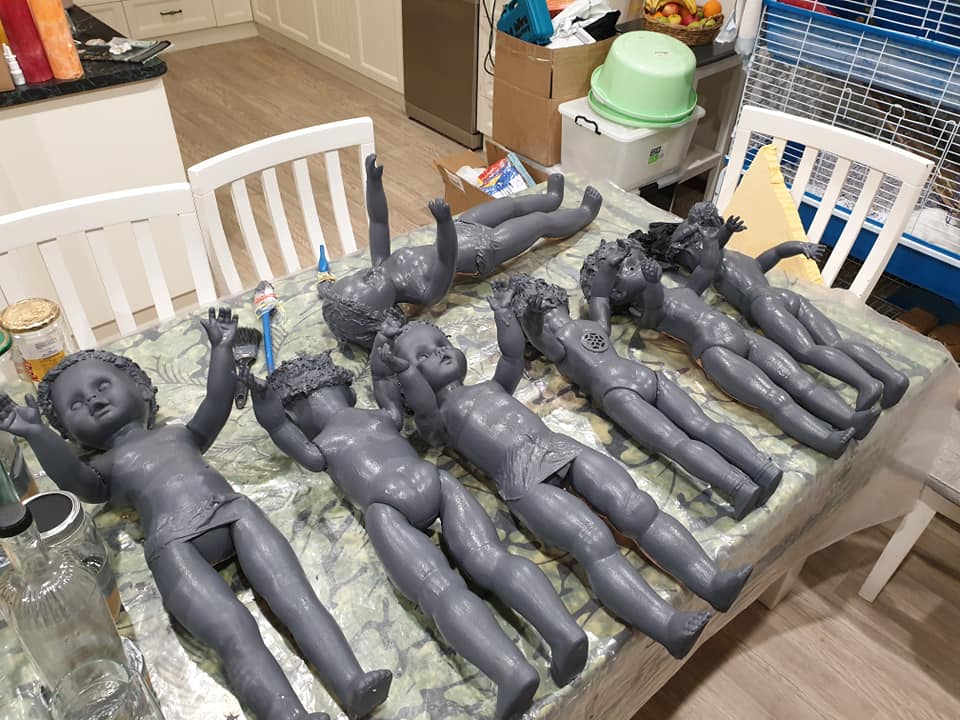
- Creepy Angel Dolls
- Grave Lanterns
- Skeleton Horse Herd & Chasing Reaper
- Carnival Themed Haunt
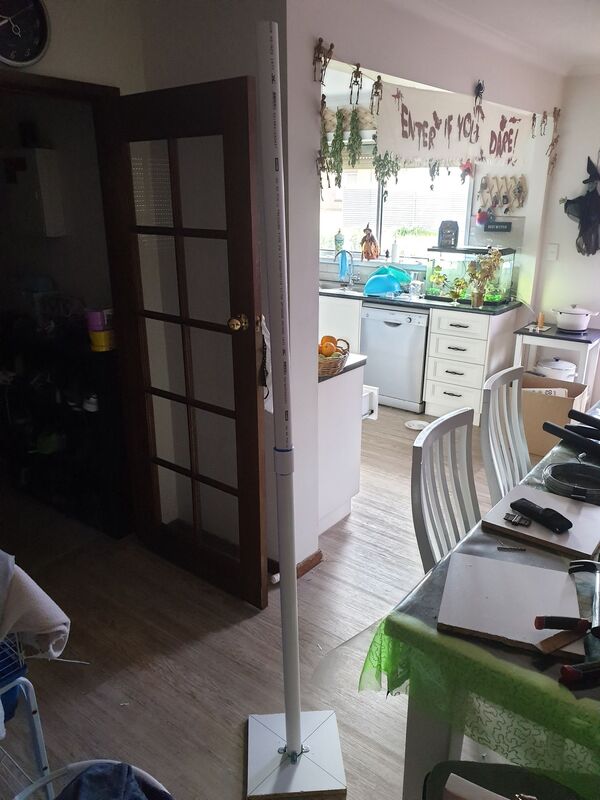
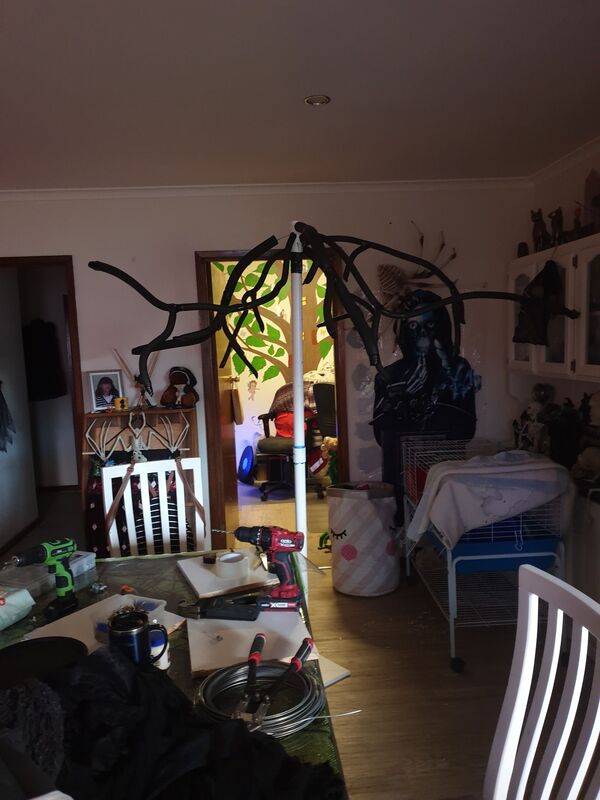
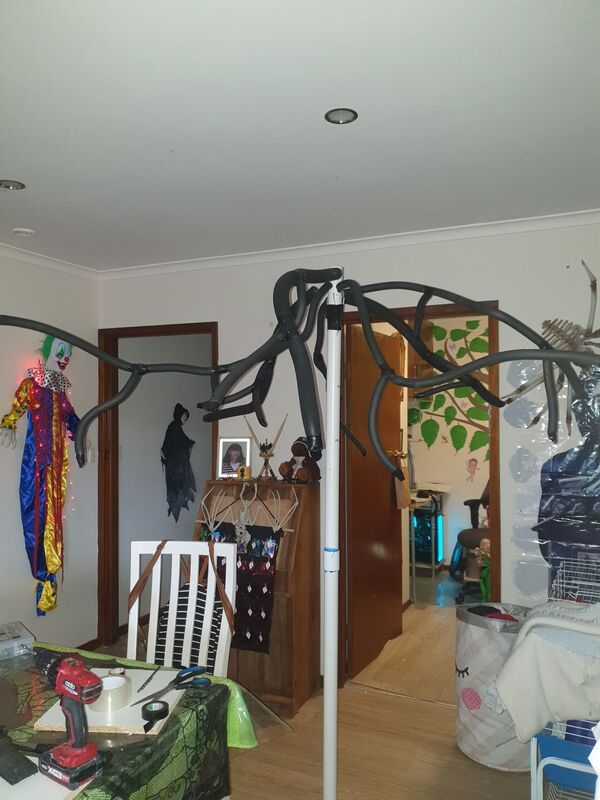
- Another Giant Spider
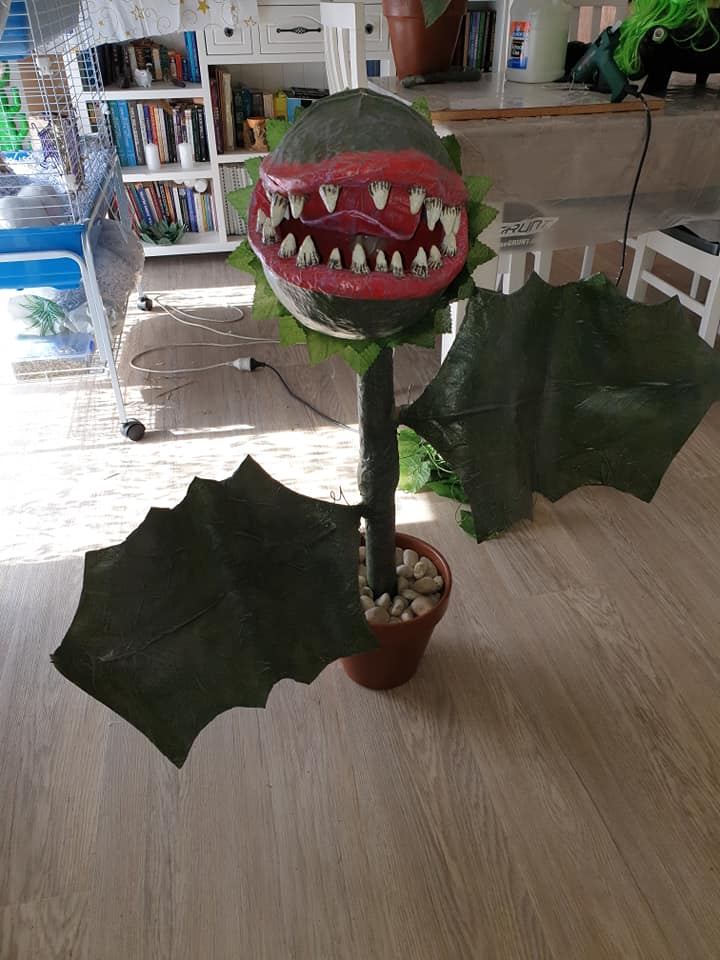
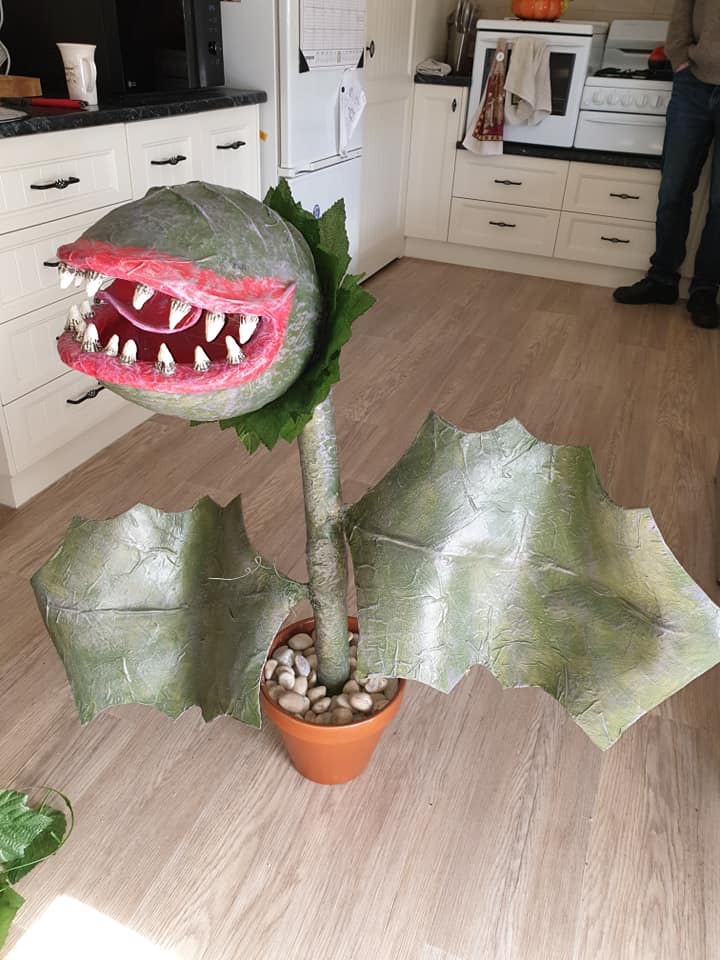
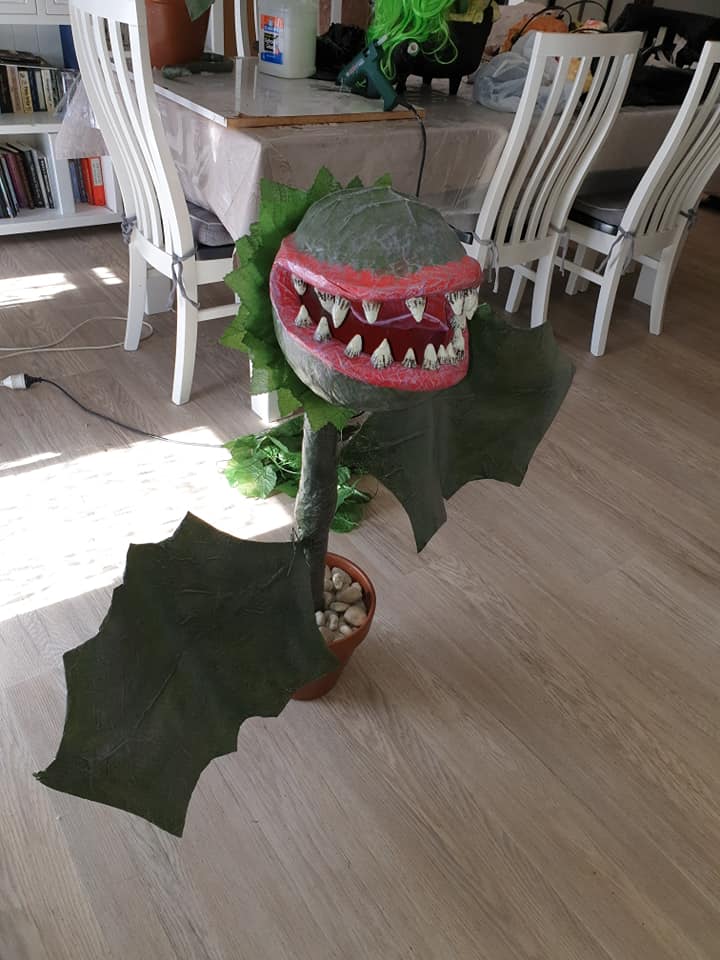
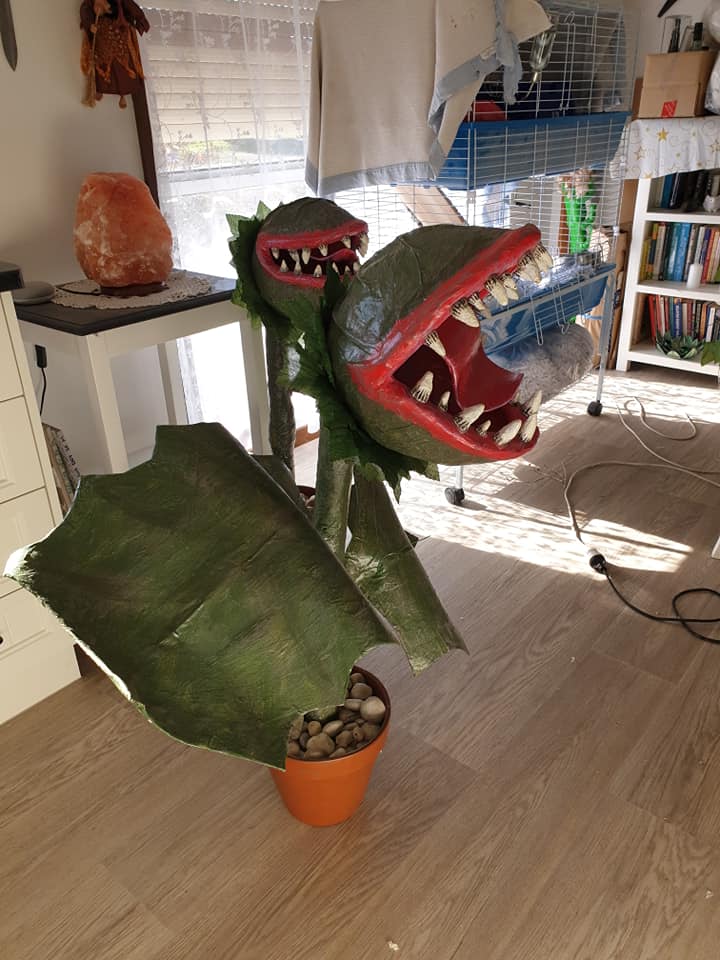
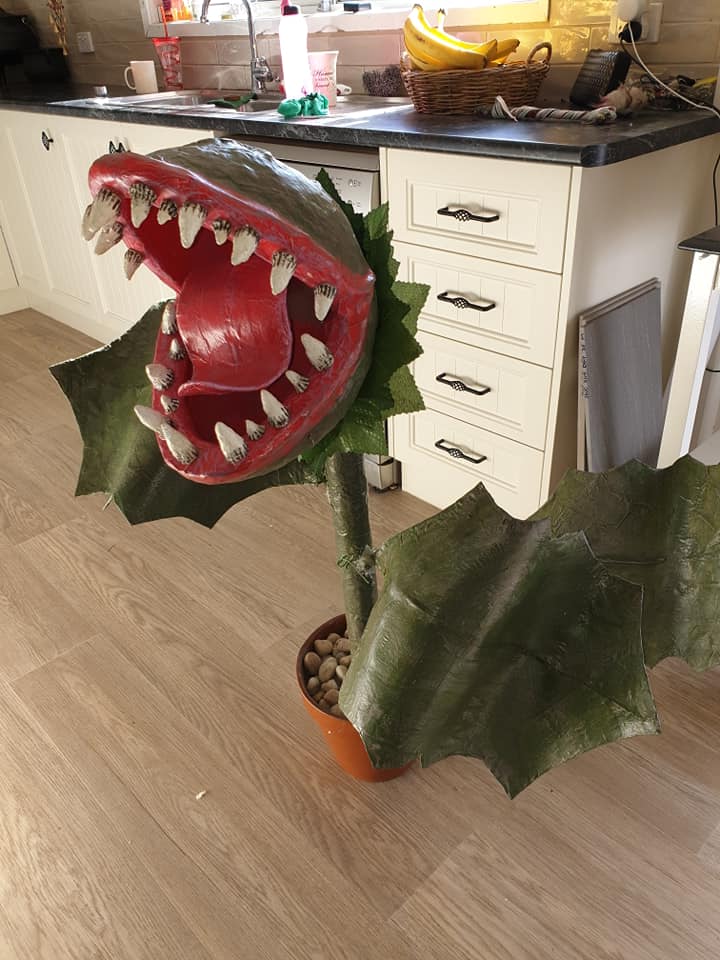
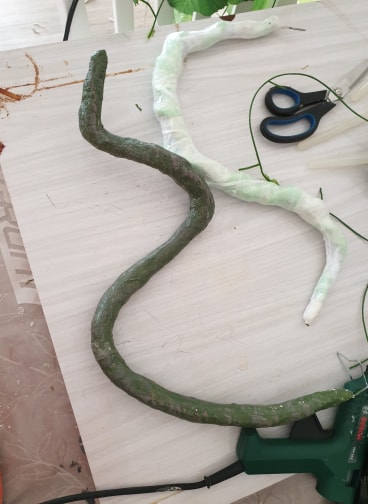
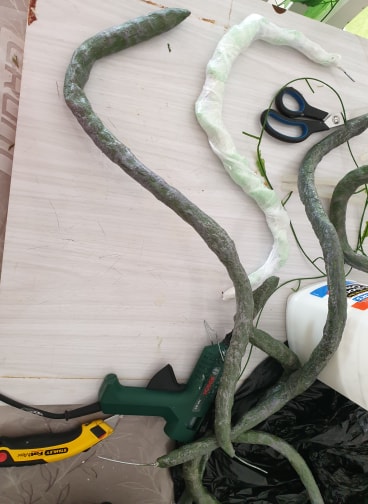
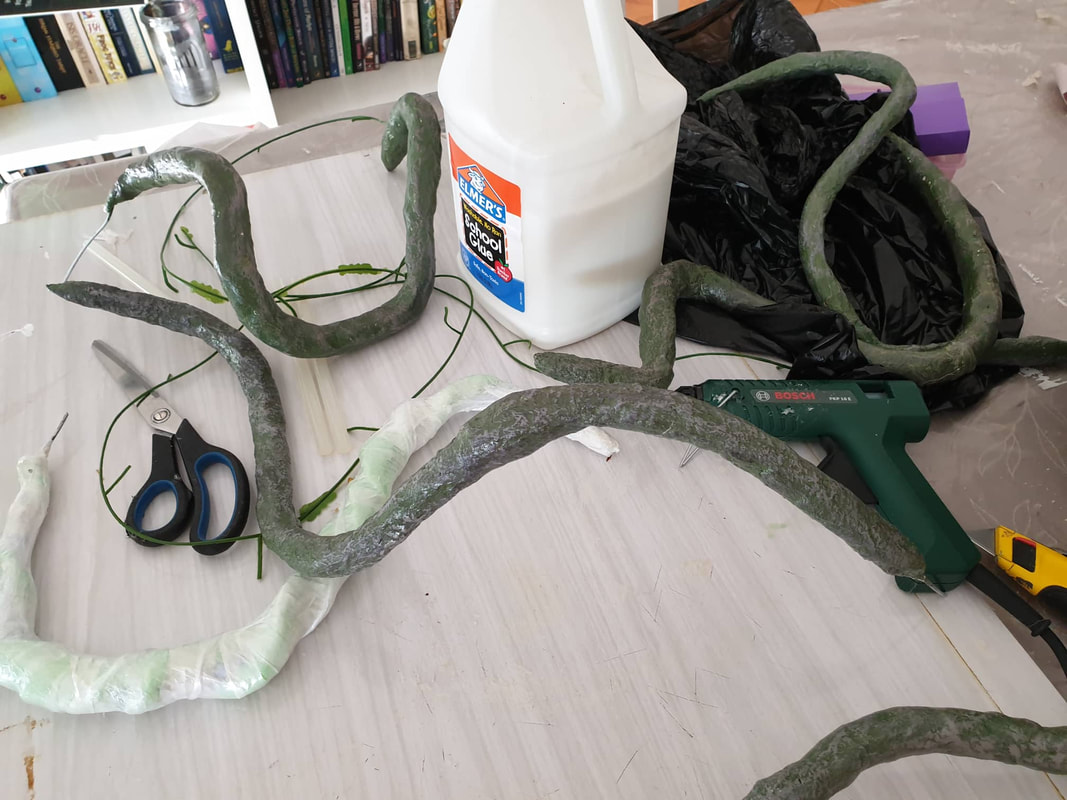
- Monster Plants
- Ghost Nanny
- More Dementers
Burning Embers
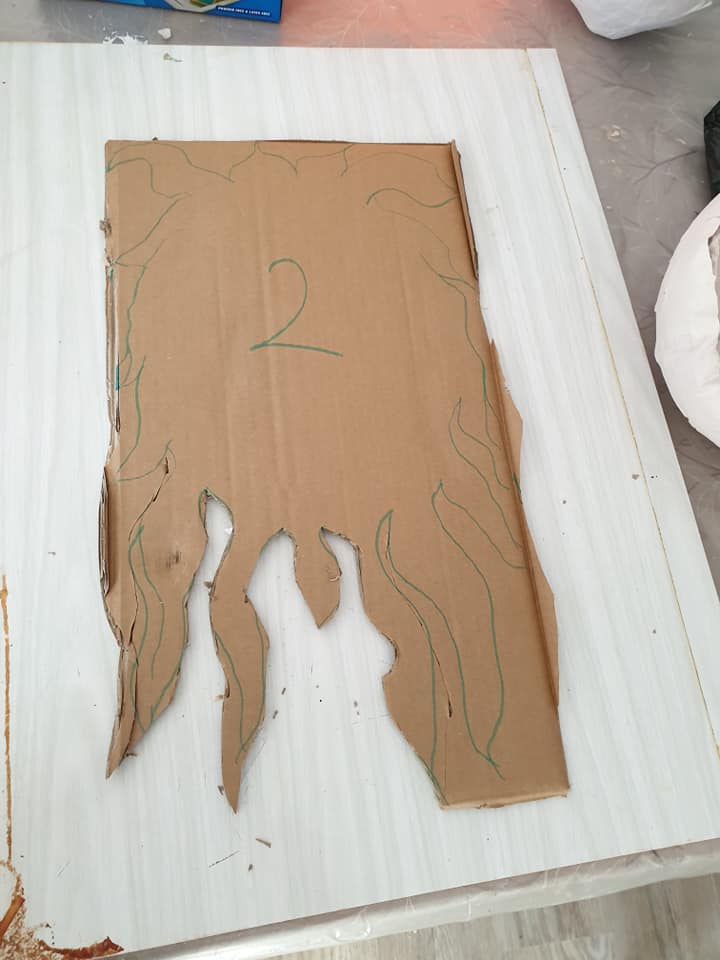
Creepy Tree/s


Creepy Angel Dolls


Giant Bat
Ice Smoke Machine
More Insulfoam Gravestones
The designs for these are the only differences, how to make them & what you need is all in the Gravestones tab.
We will be revisiting this project in 2019.
We will be revisiting this project in 2019.
Lanterns for Graveyard
Papermache Eyebals


Papermache Pumpkins


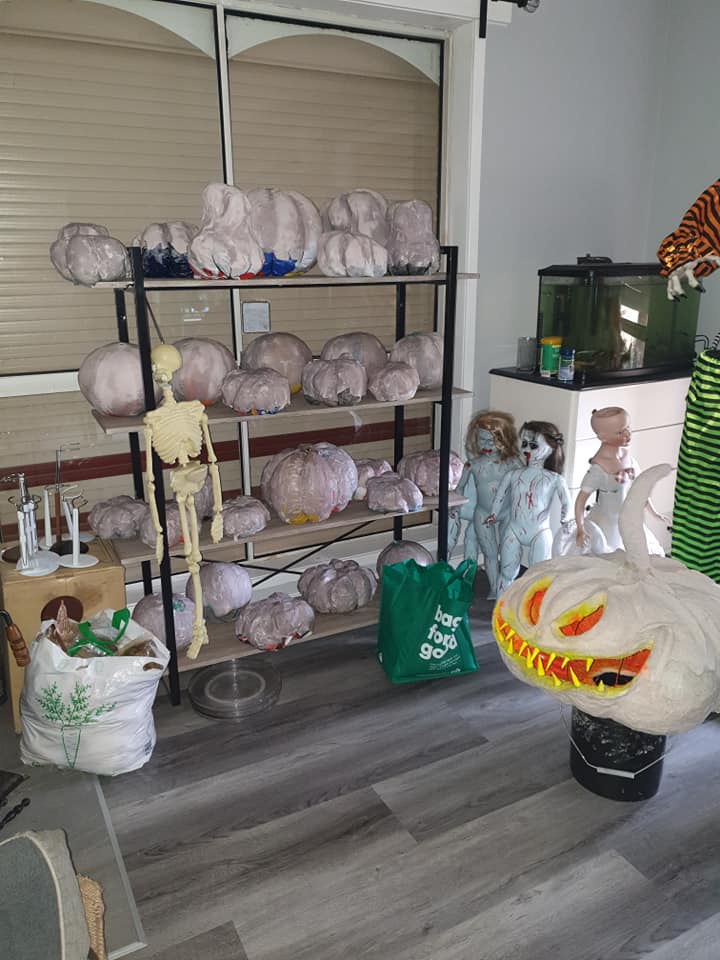

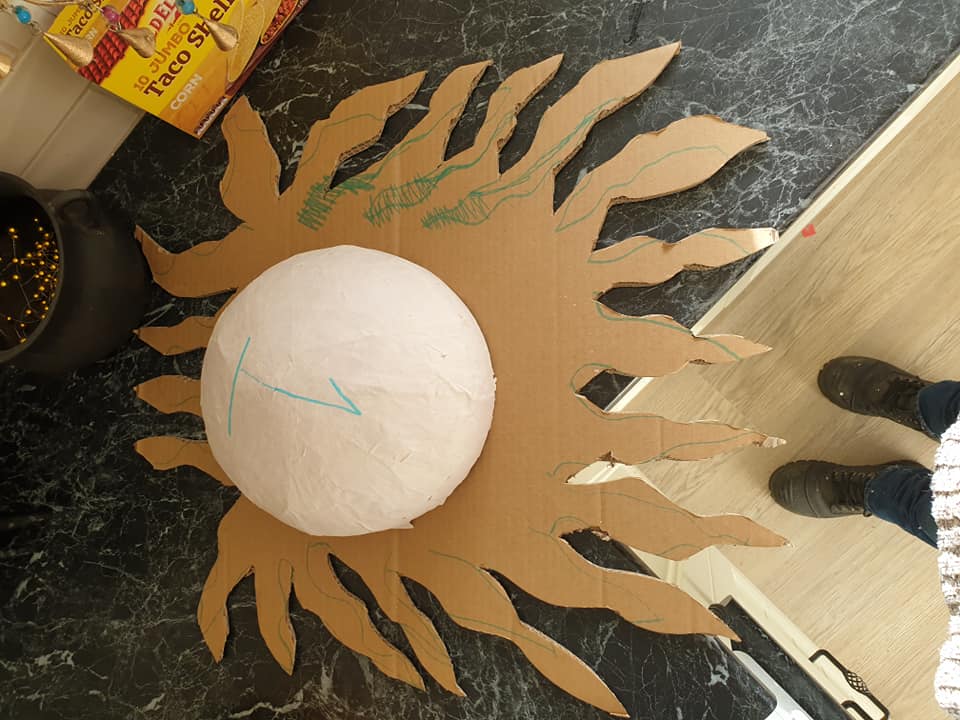
Papermache Sentinel
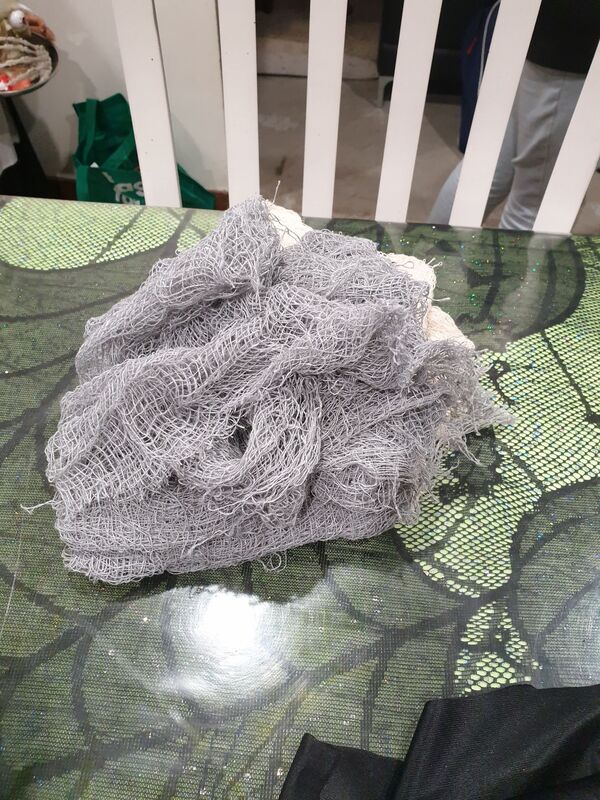
Repairs to Previous Years Decorations
We have had to repair some of our previous years Decorations, some have broken over the years & some of them needed a rethink with the materials we made them from.
For example:
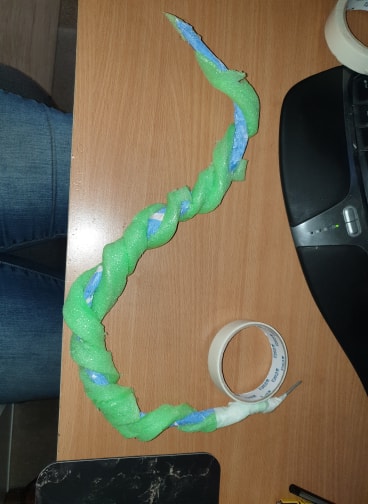
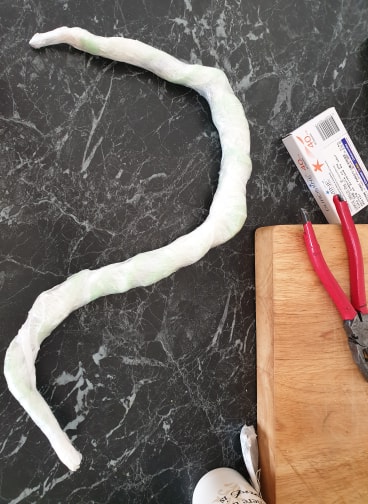
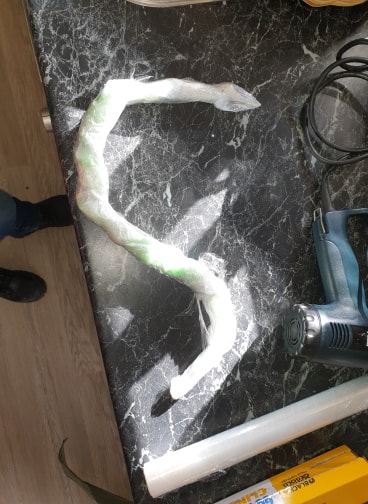
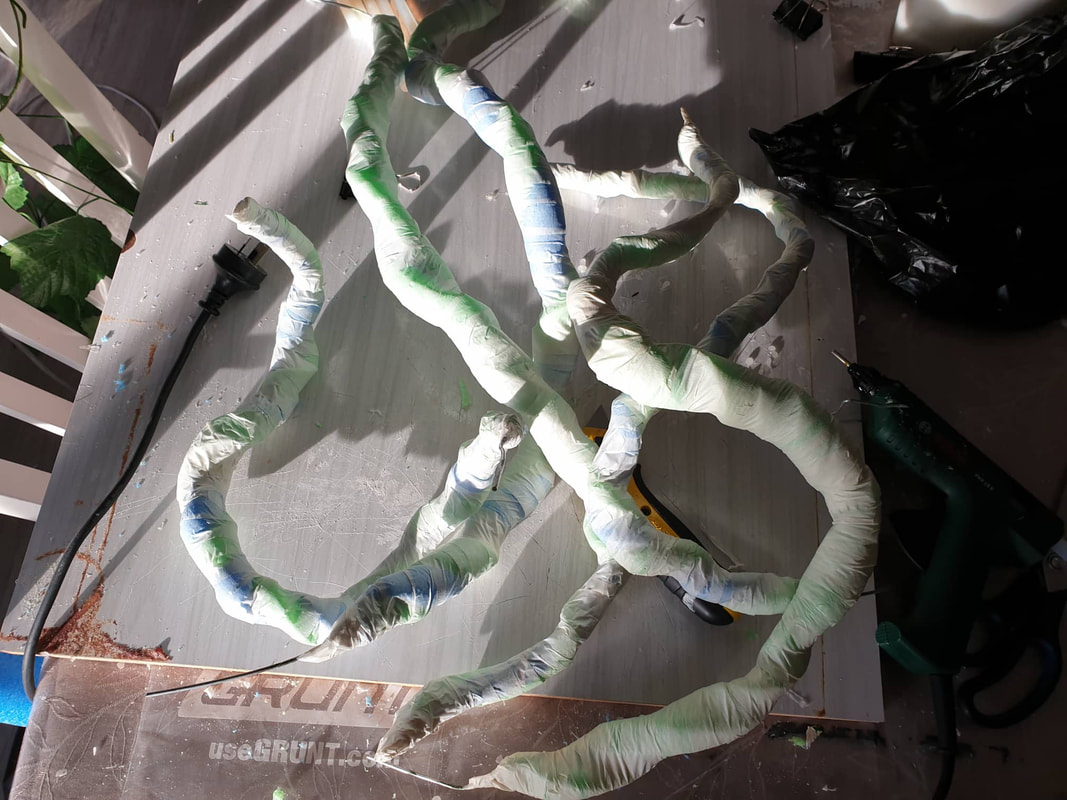
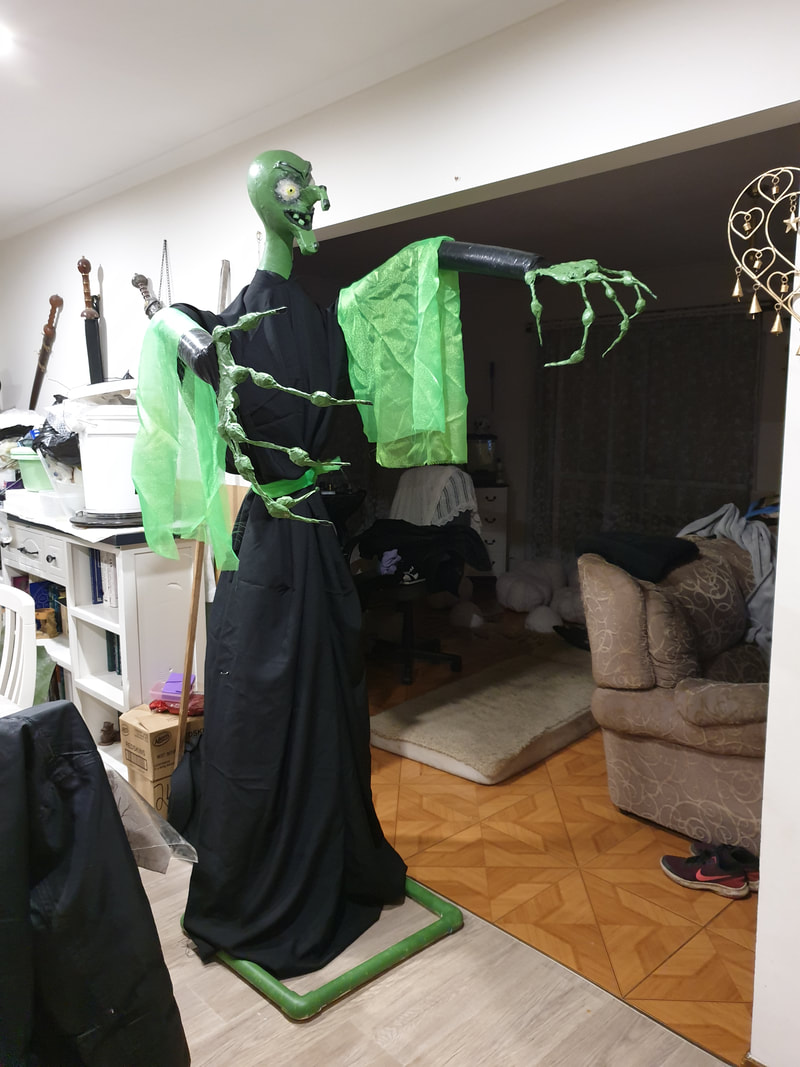
The monster plants -
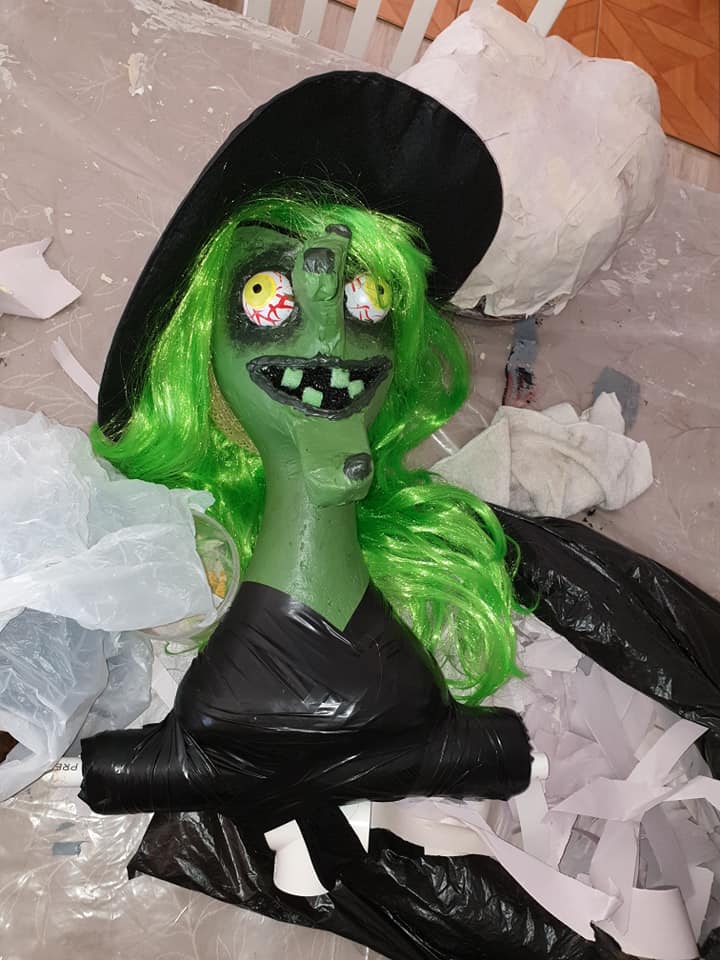
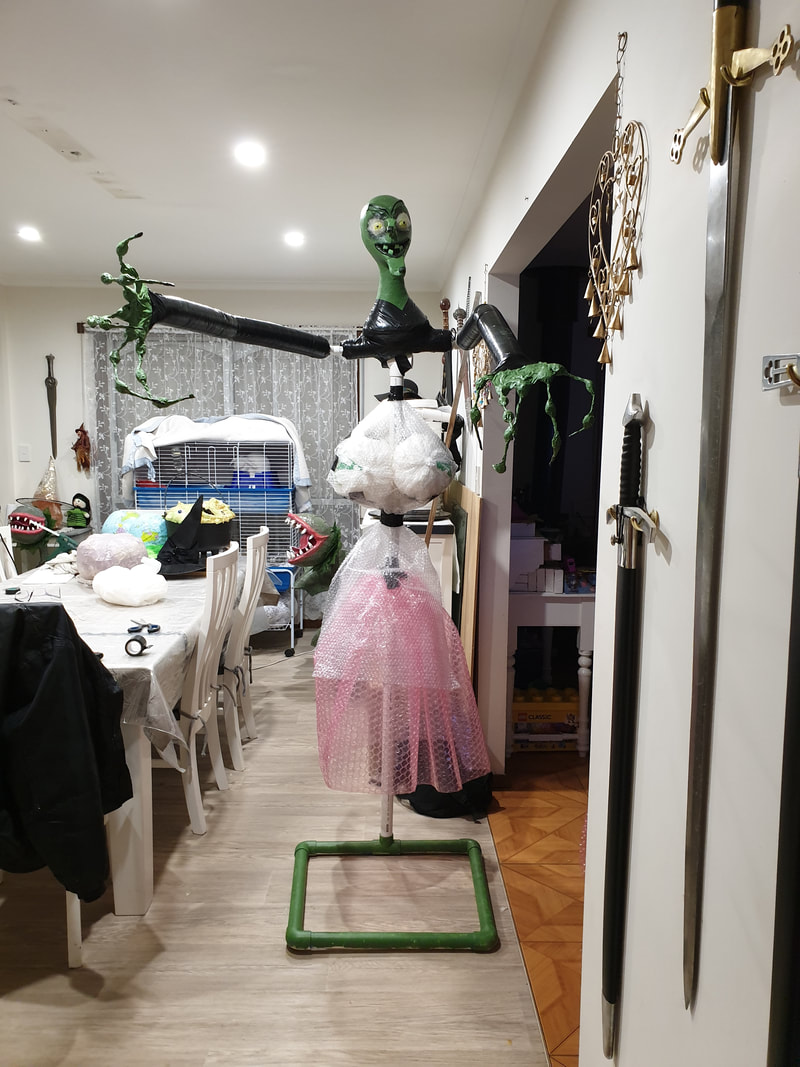
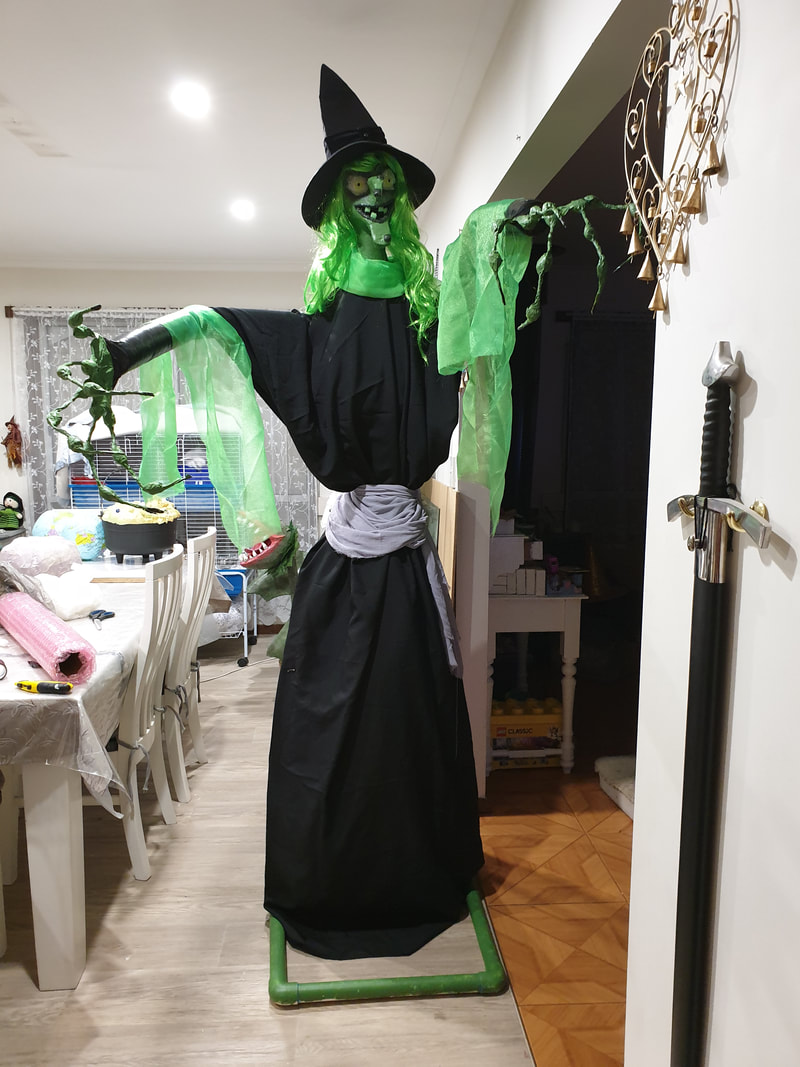
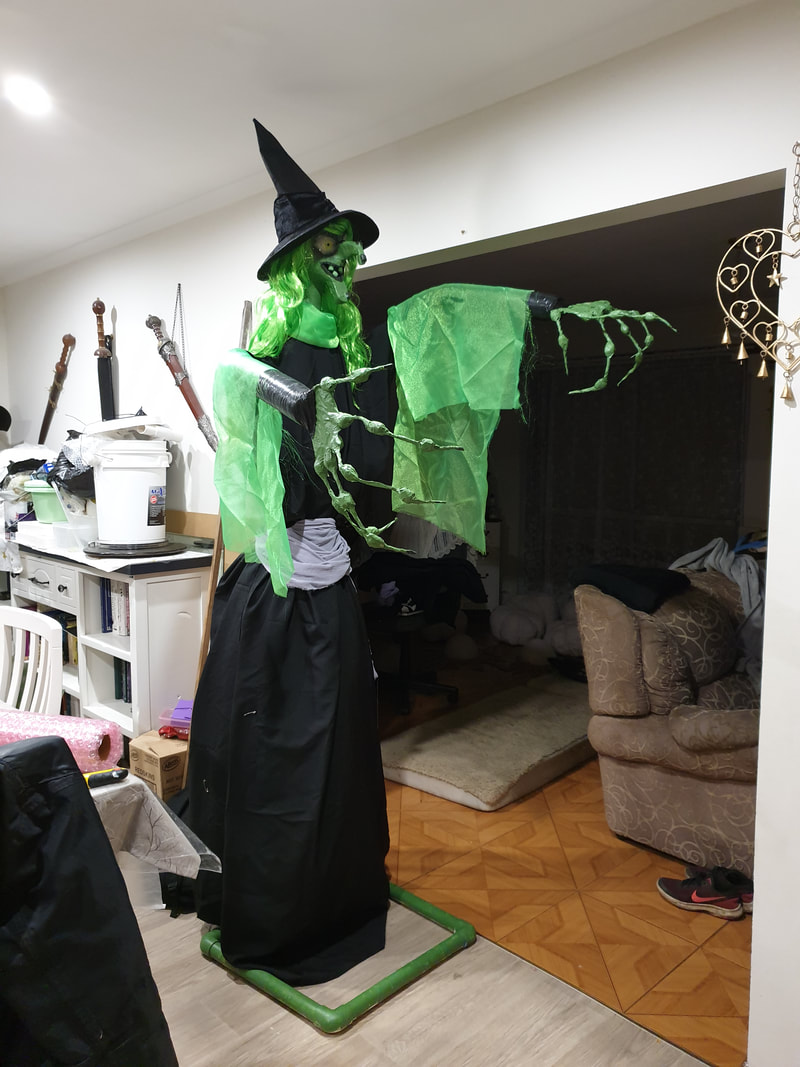
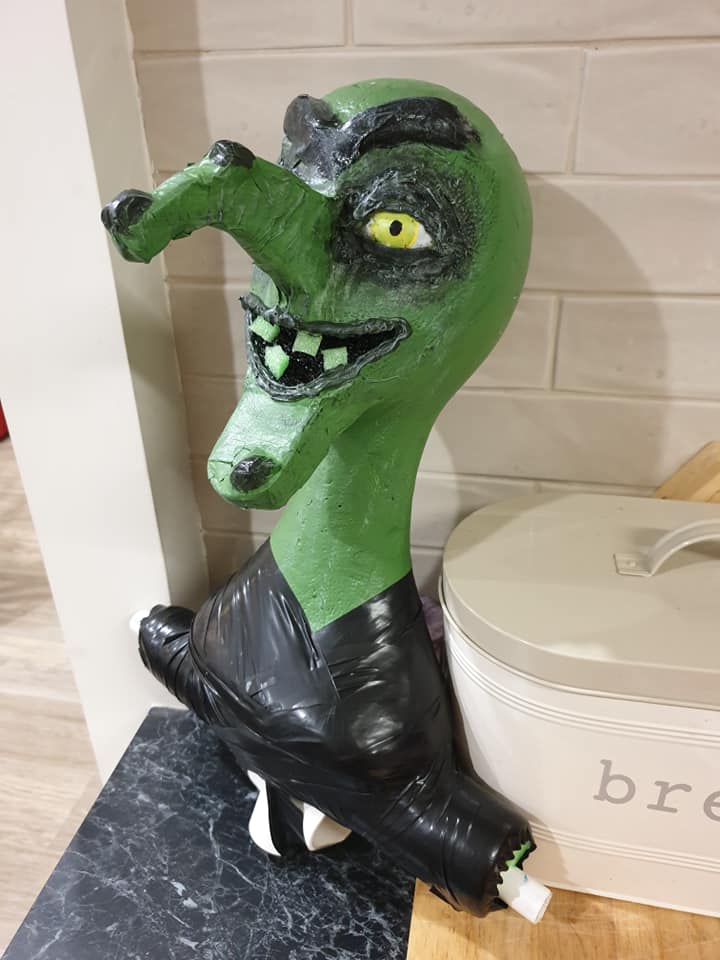
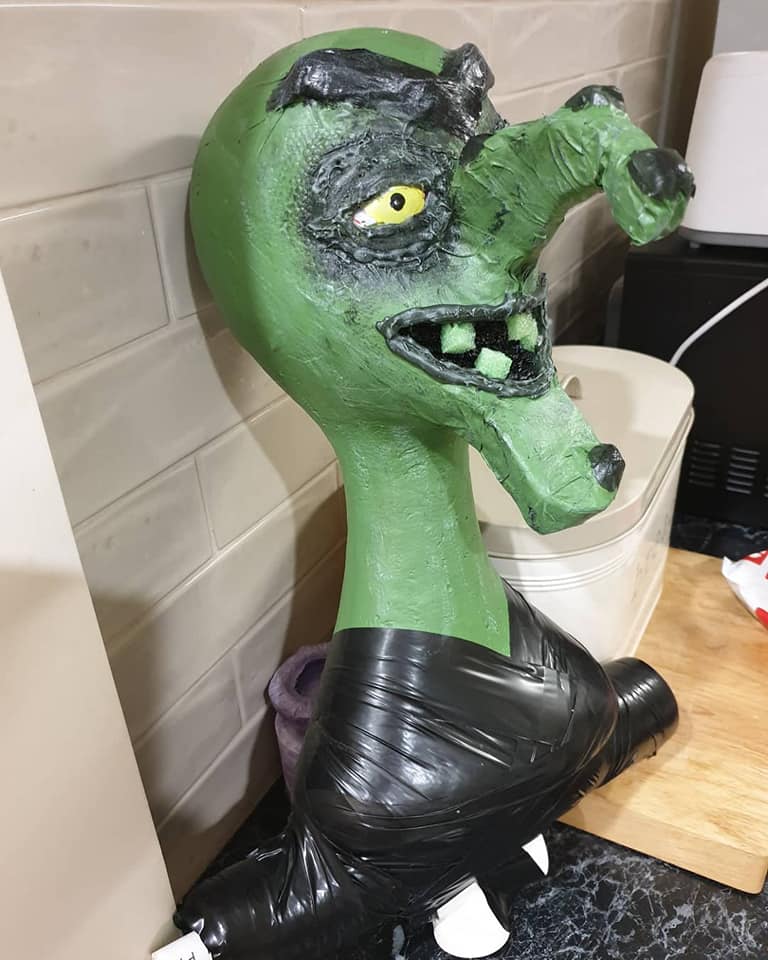
Helga Holy Hedgewitch -
Monster Tree Arms -
For example:
The monster plants -
- Tendrils have been re-made with the same bases but instead of paper clay
- We used pool noodles, masking tape & heat shrunk plastic over them before painting them to color match the plants
- The paper clay kept breaking on us & we needed something with more flexibility
- The method we used to prep them before painting is the same many use for corpsing skeletons & skulls.
- Re-attach her hands to her arms & touch up gaps
Helga Holy Hedgewitch -
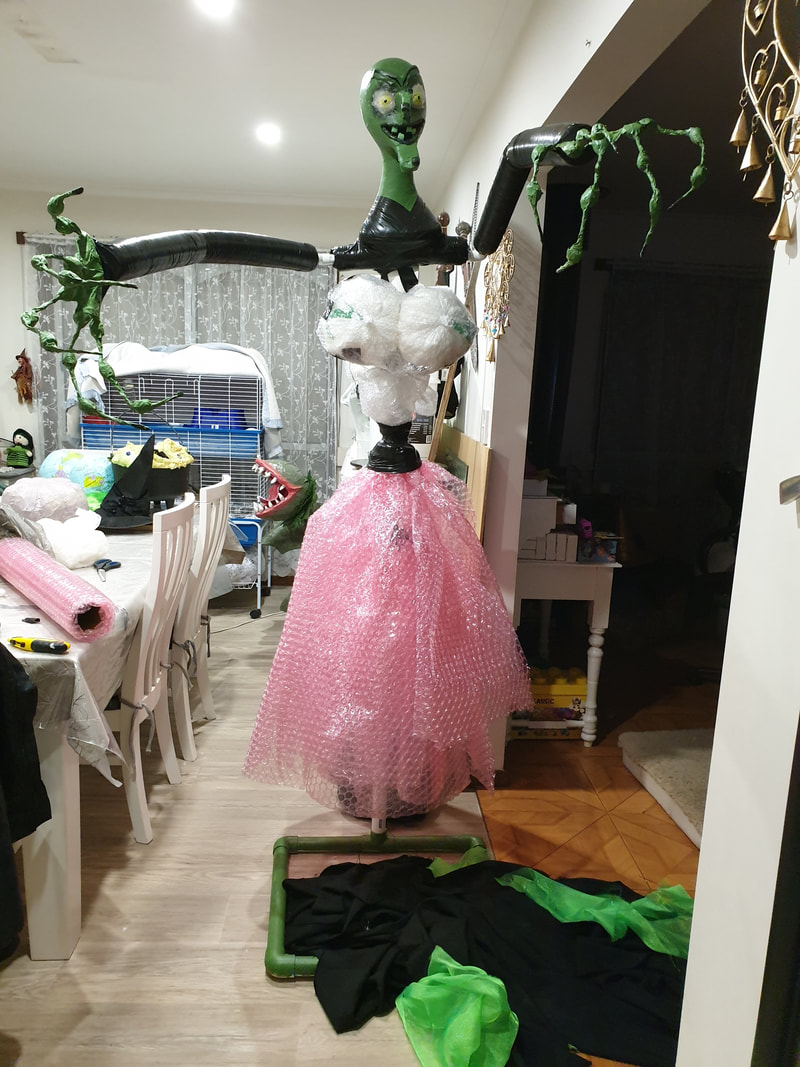
- Has had her eyes recessed more & eyelids made over them
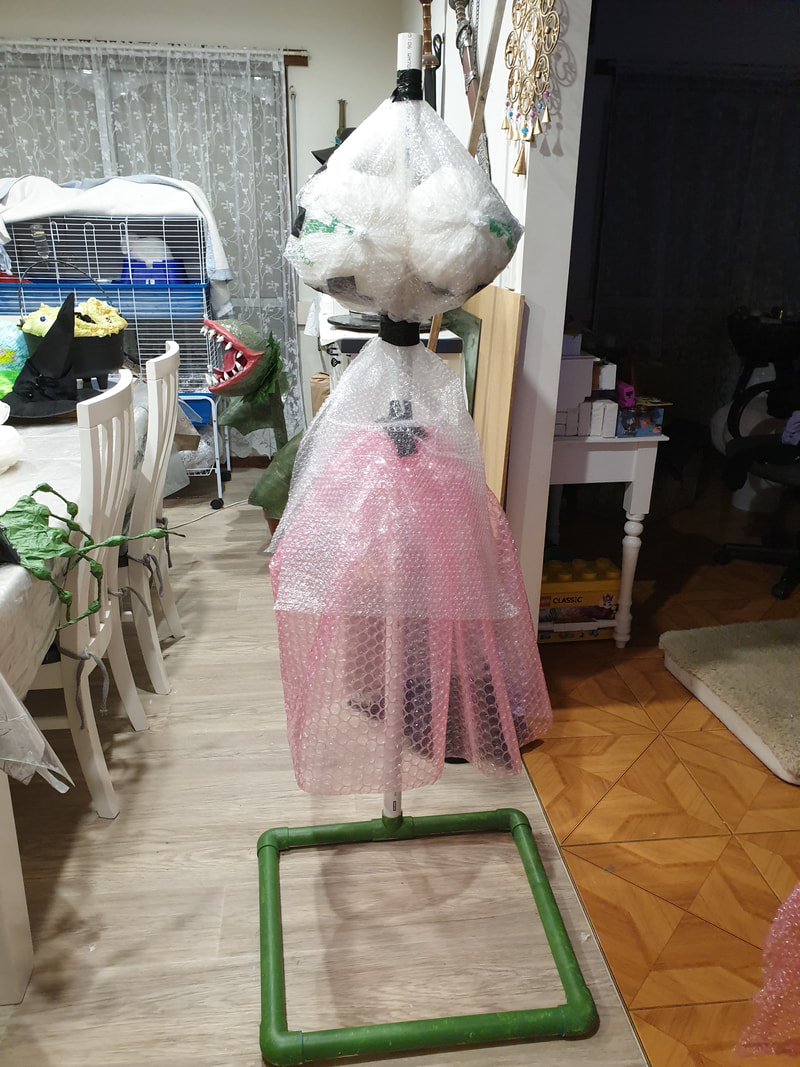
- Bubble wrap & clear packing tape to make her a body so the dress fills out with form instead of hanging there looking like it's just cloth over sticks.
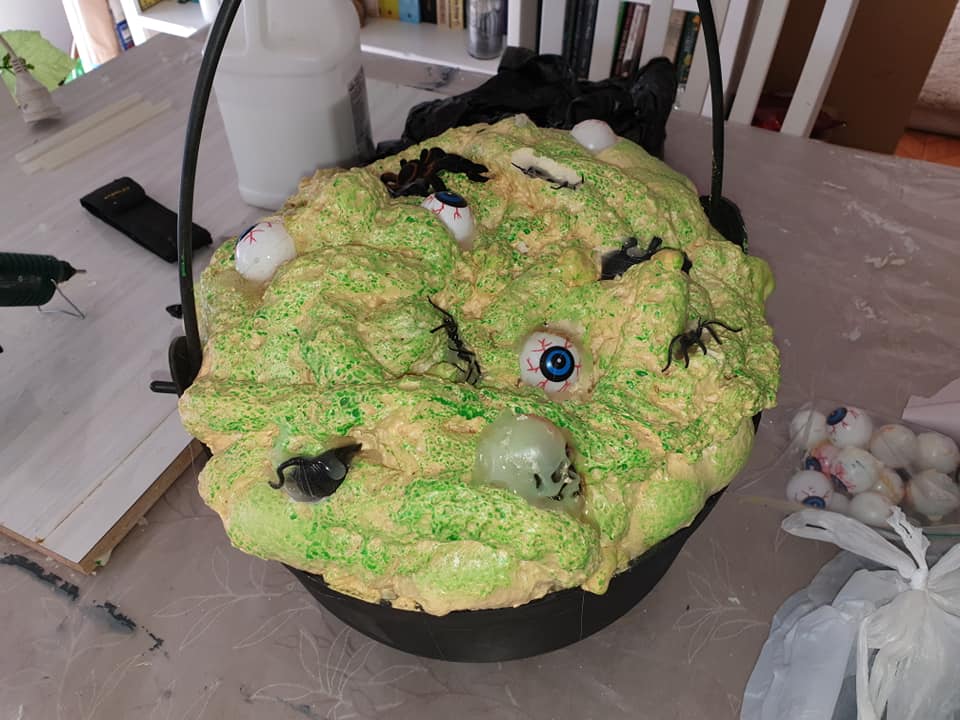
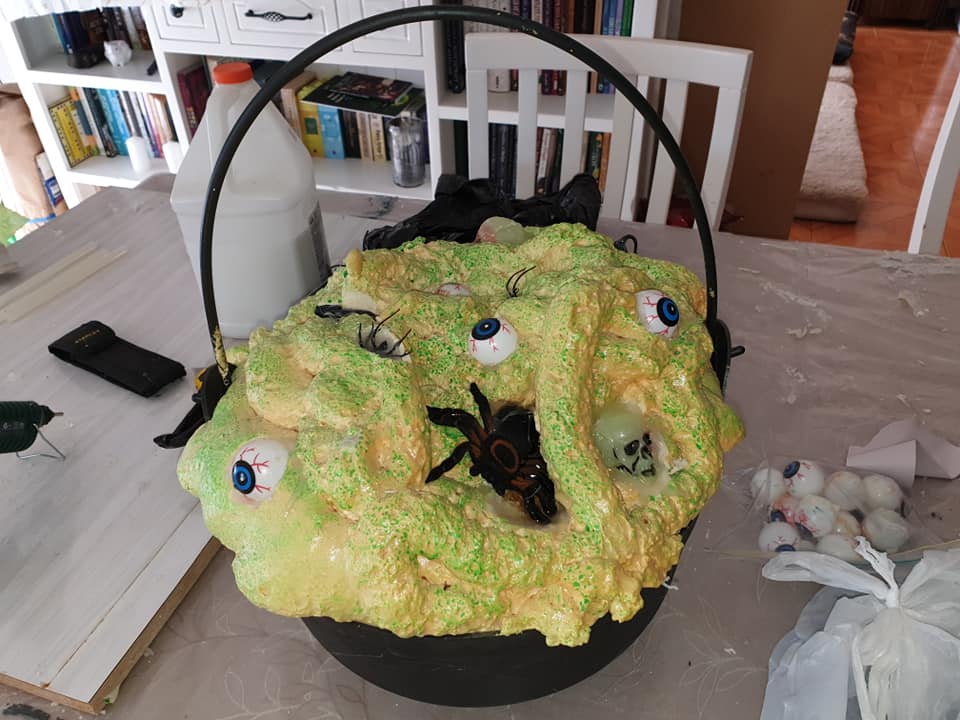
- Her cauldron has been modified with creepy crawlies embedded
Monster Tree Arms -
- Re-attaching hands
- Gluing down lifting masking tape
- Touching up paint
- We are selling the older ones we made previously to make way for cardboard tubing ones however we did have to repair the arms first