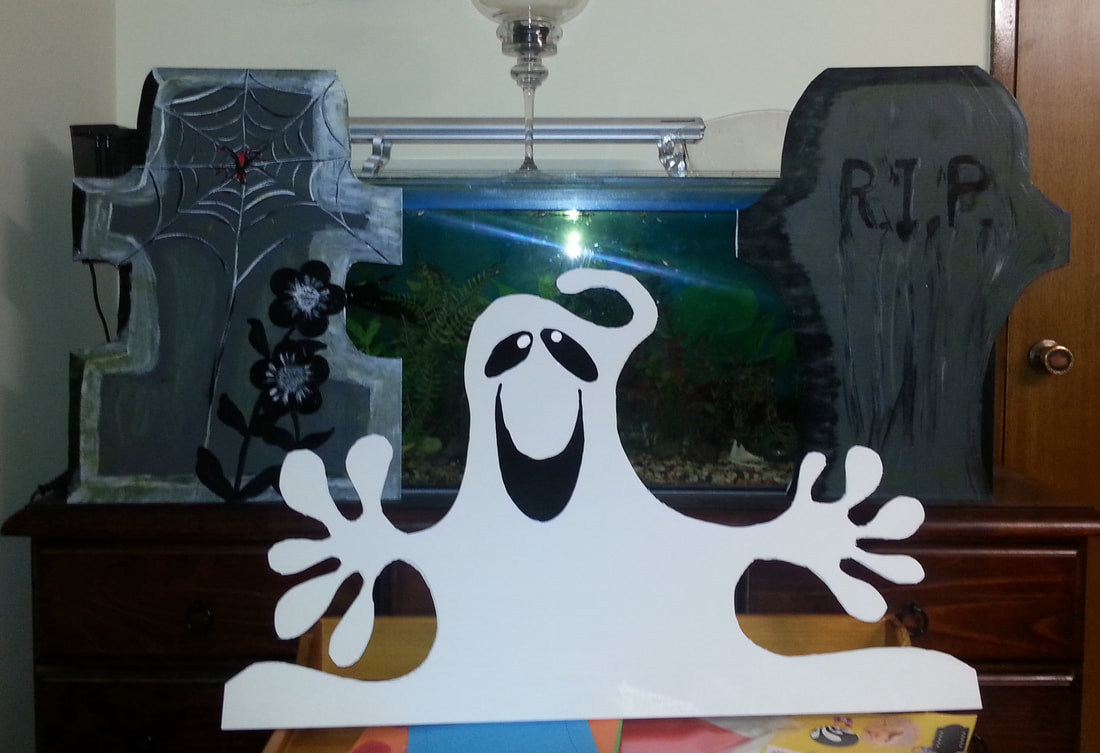
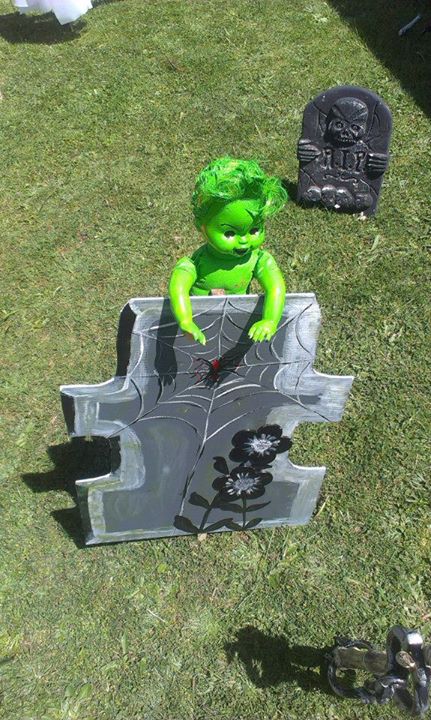
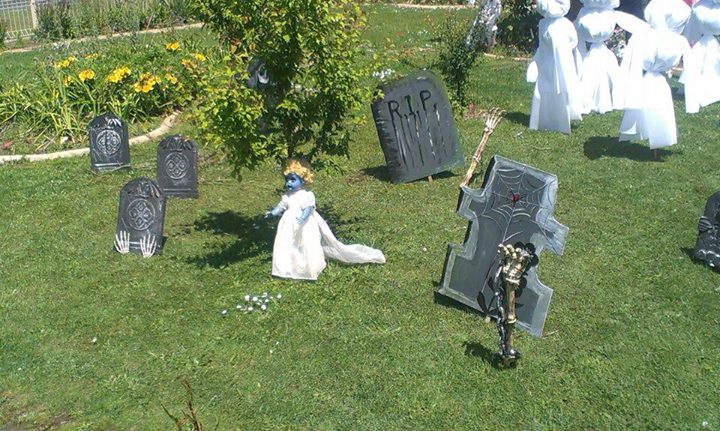
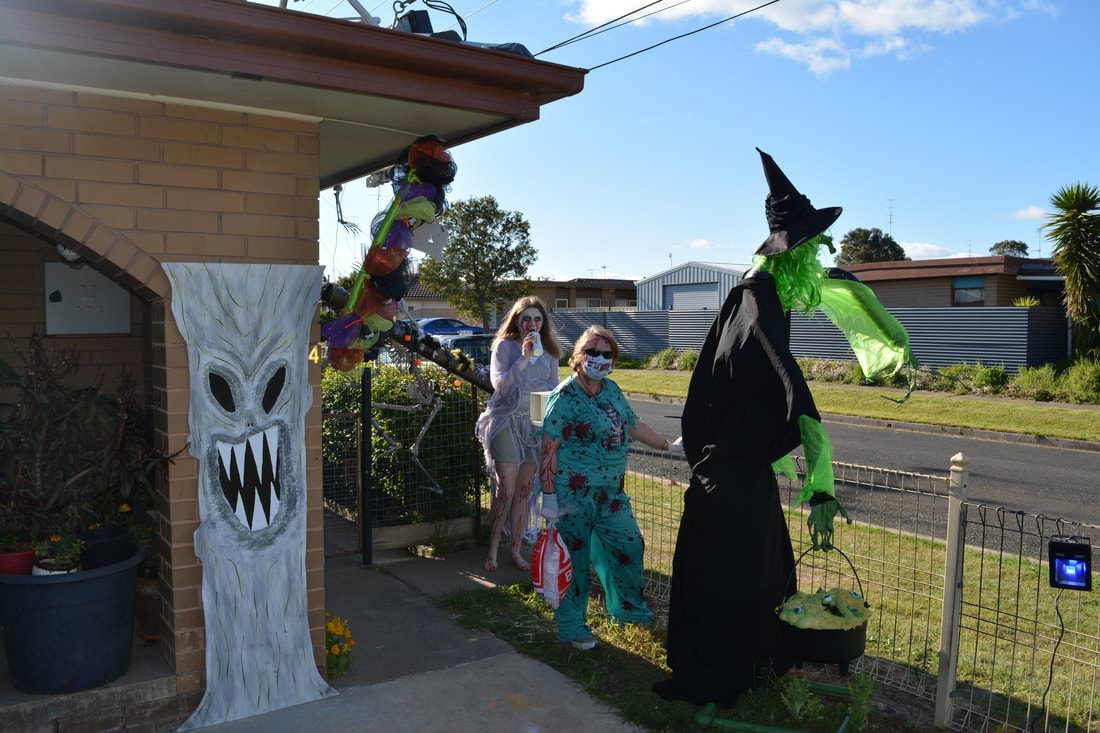
Gravestones
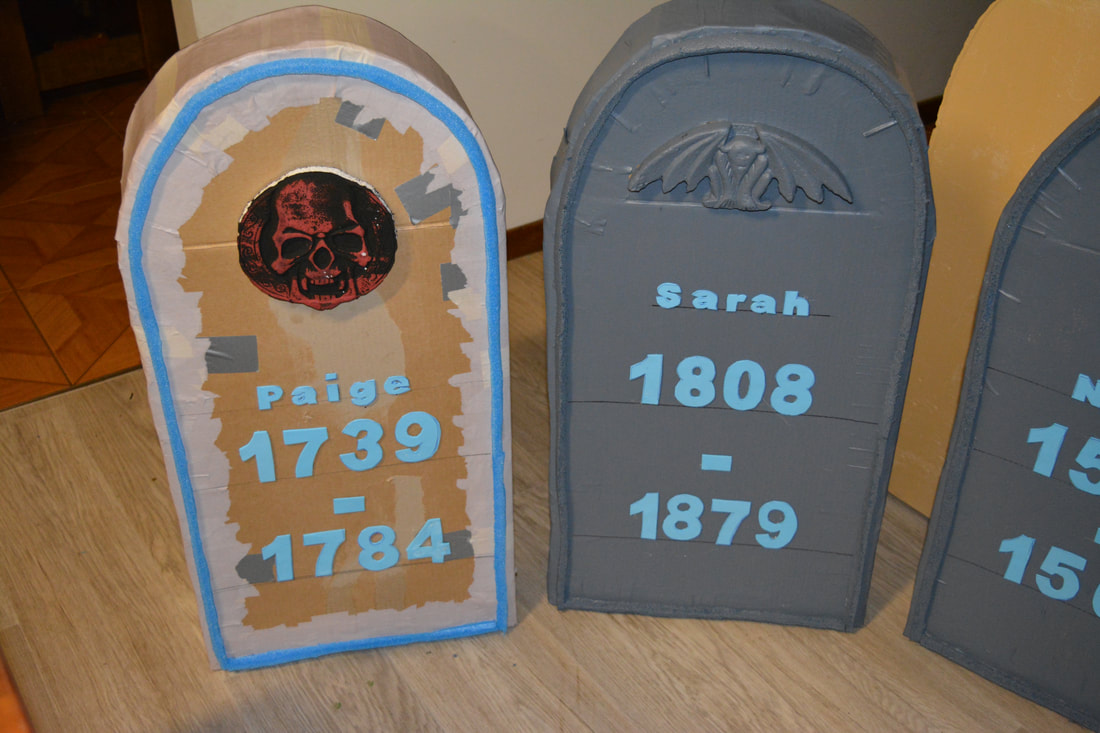
Cardboard Gravestones
Materials Used
Cardboard Boxes
Pool Noodle
EVA/Craft Foam or Craft Foam Letter/Numbers
Hot Glue
Tape (Duct & Masking)
River Stones
Lunch Bags
Ruler
Pen
Craft/Stanley Knife
Paint & Brushes
Embellishments (optional)
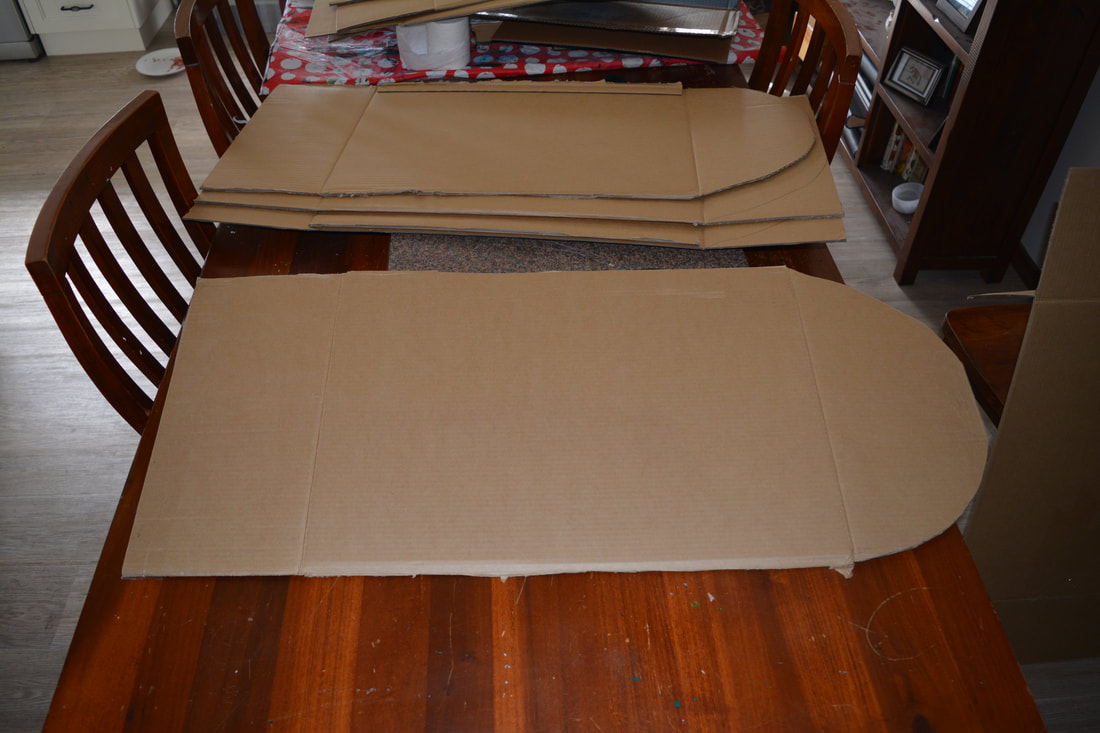
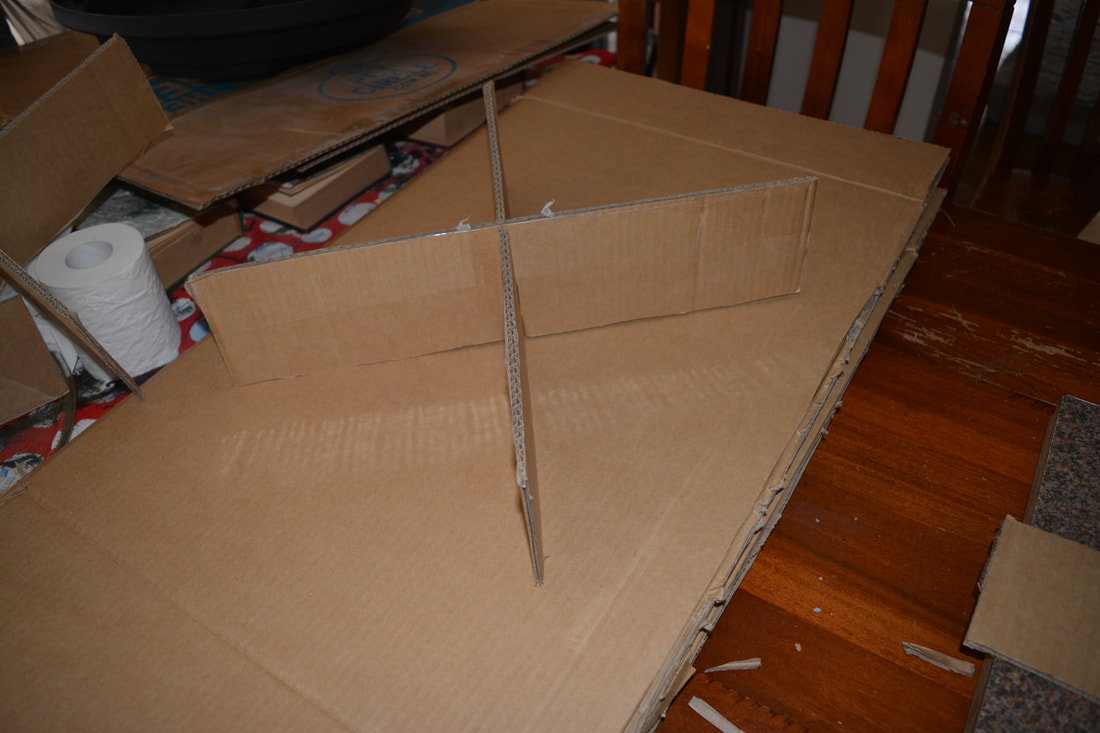
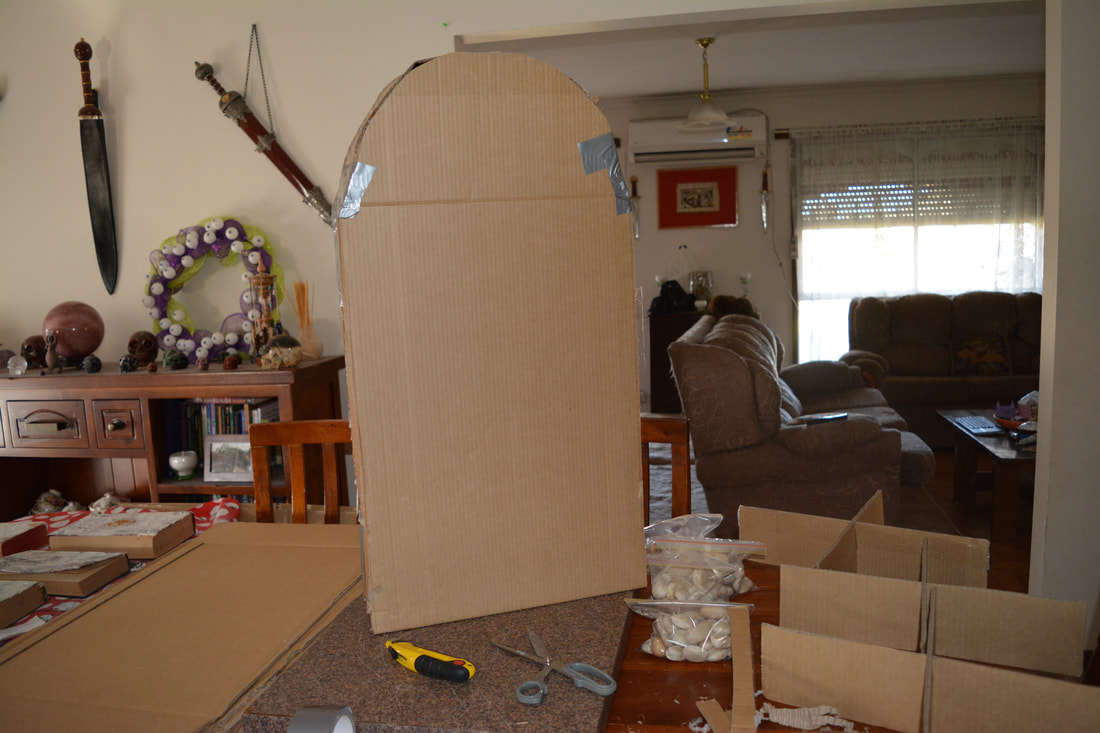
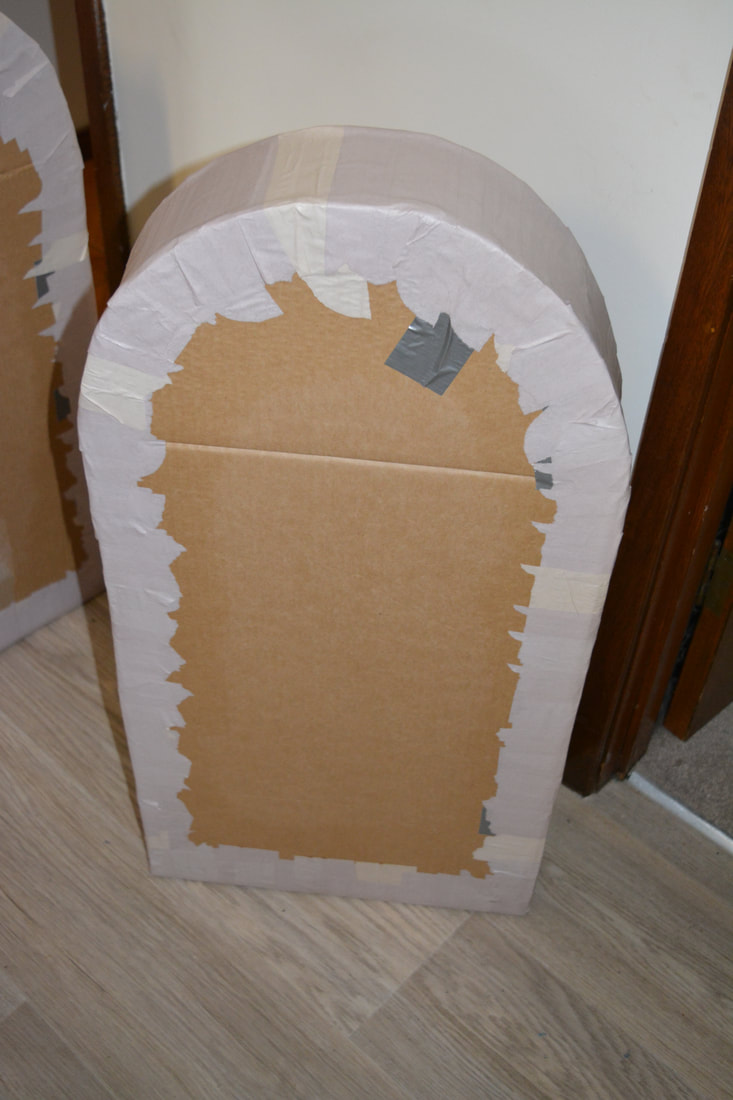
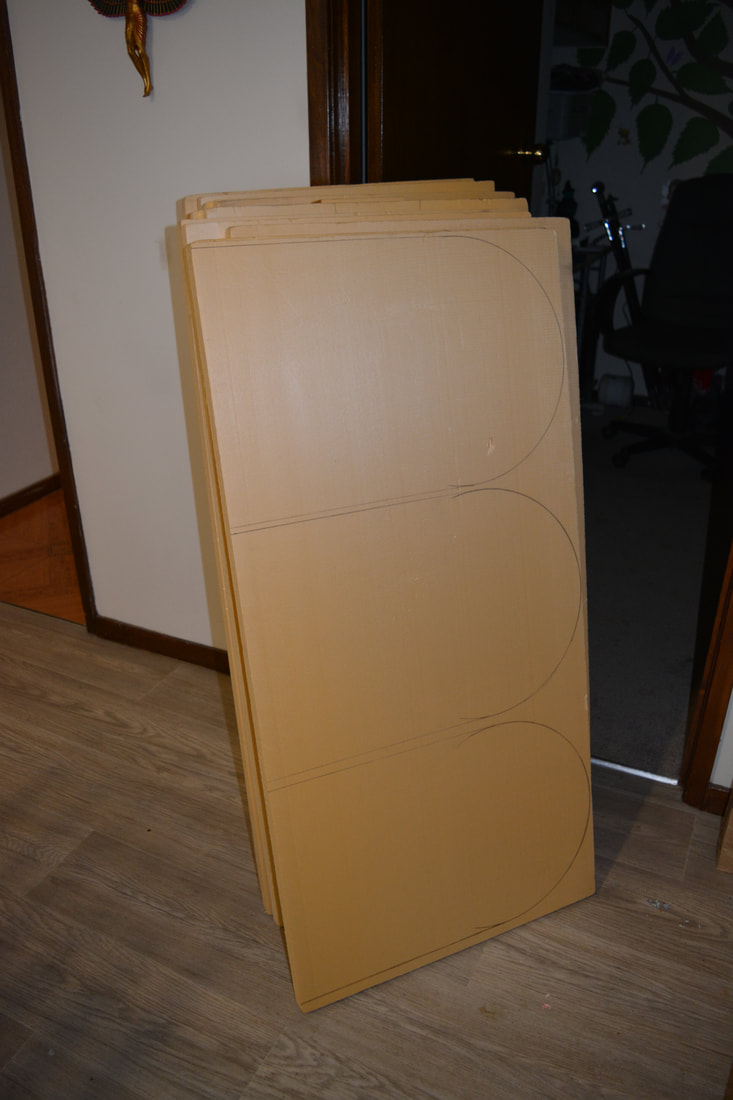
- Begin by deconstructing you box so you can drawing out your design
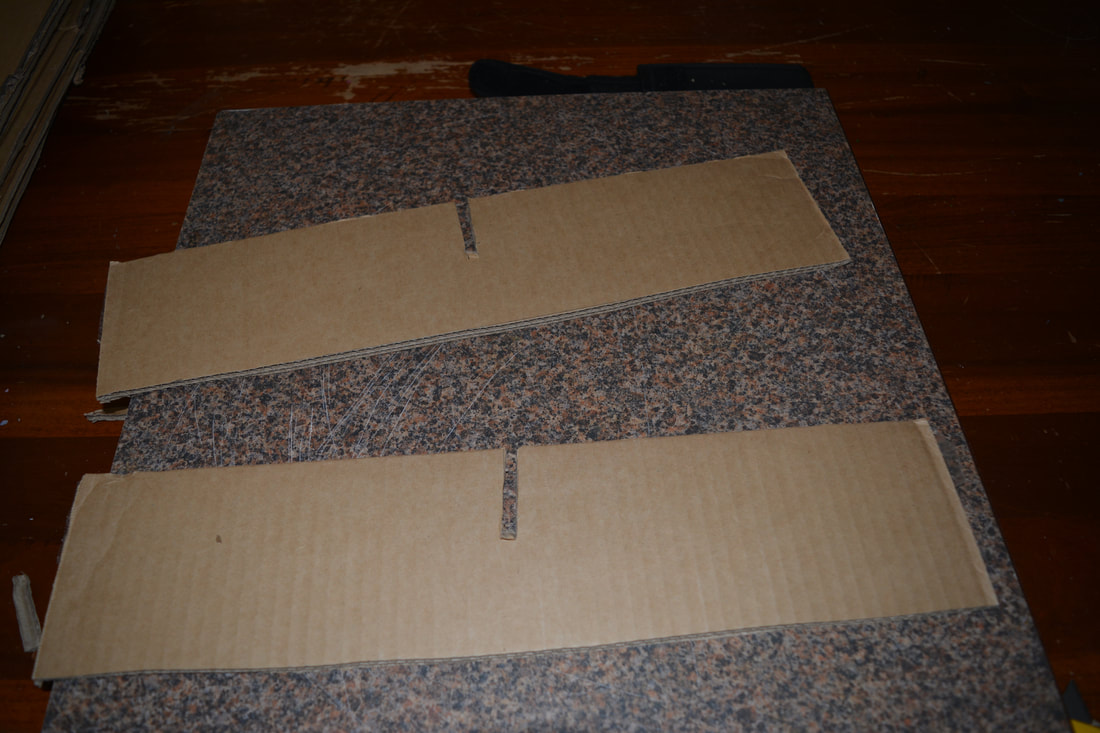
- Draw this out and cut out two, then cut out the sides and two pieces to brace the top (cut slits in both these 1/2 way down so they fit together)
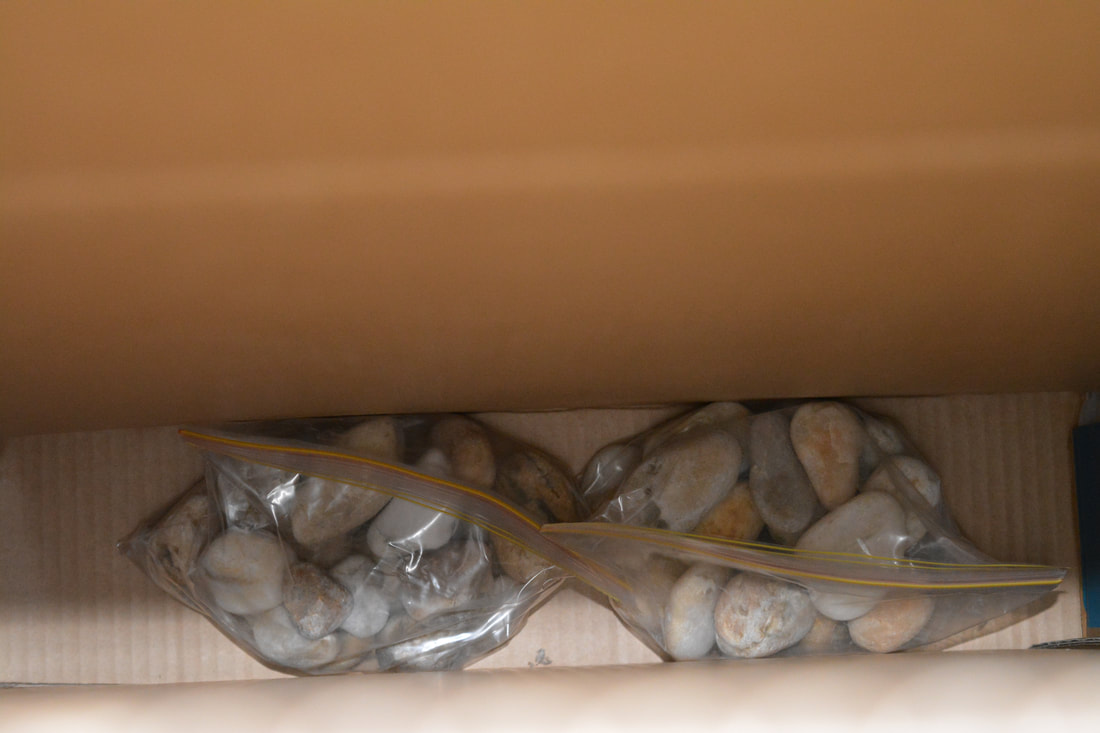
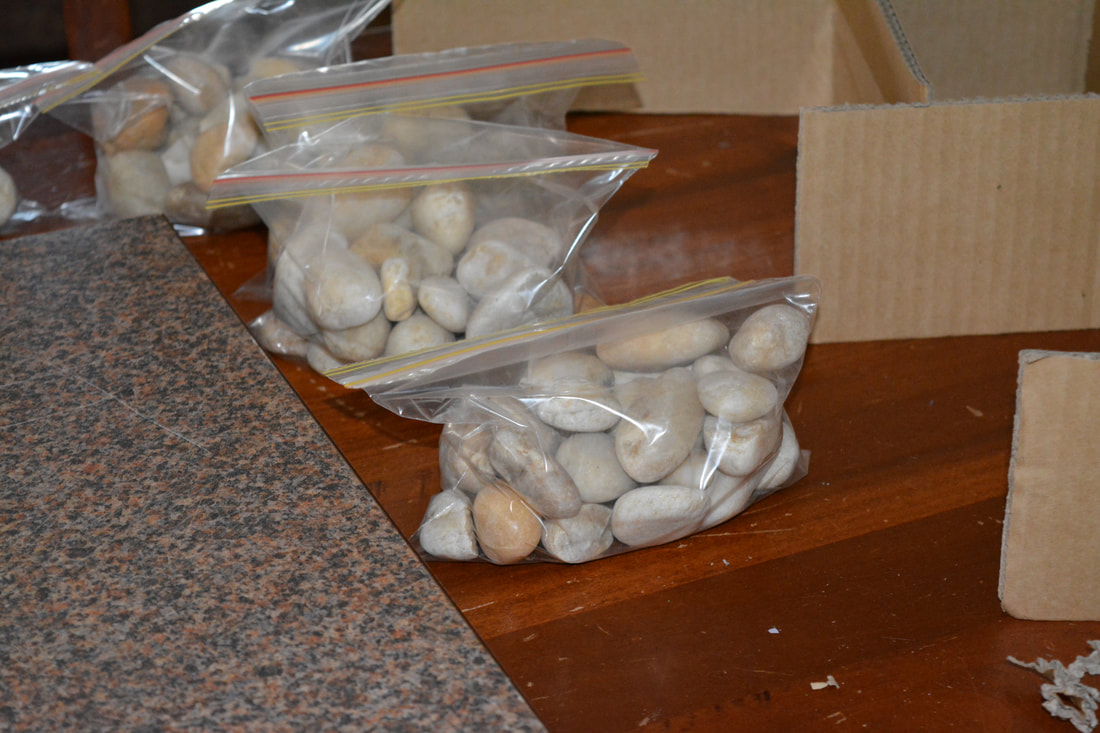
- Take two sandwitch zip lock bags per tombstone, fill them with the river stones and seal. Set these aside
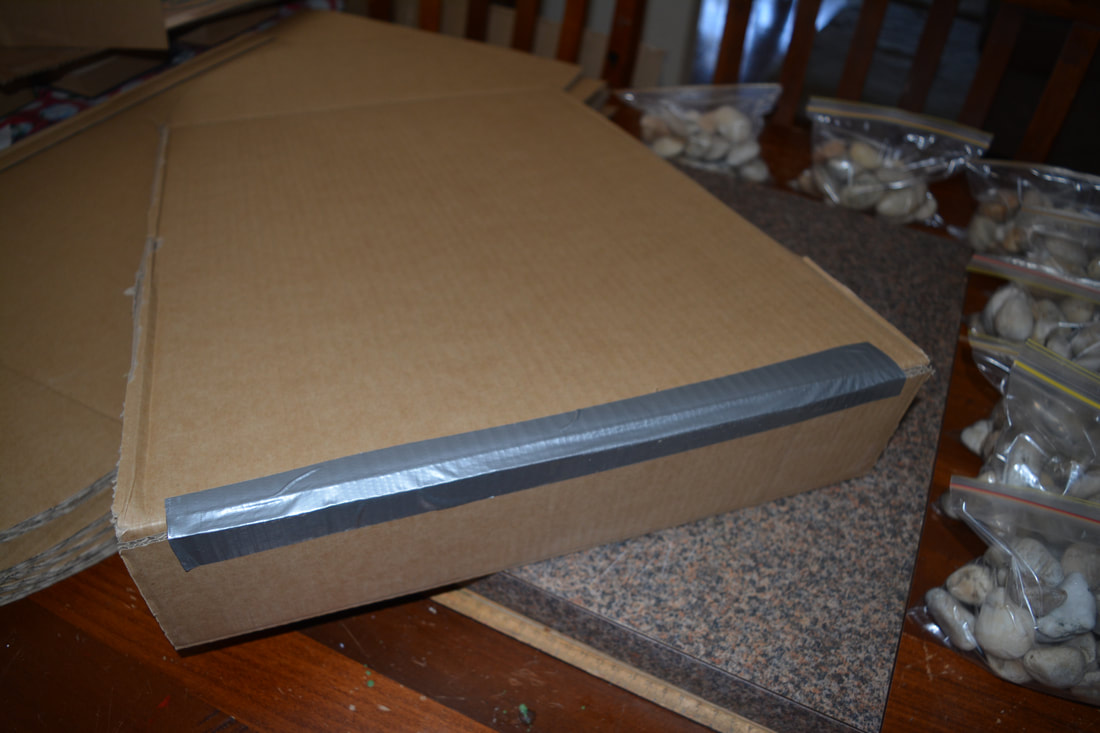
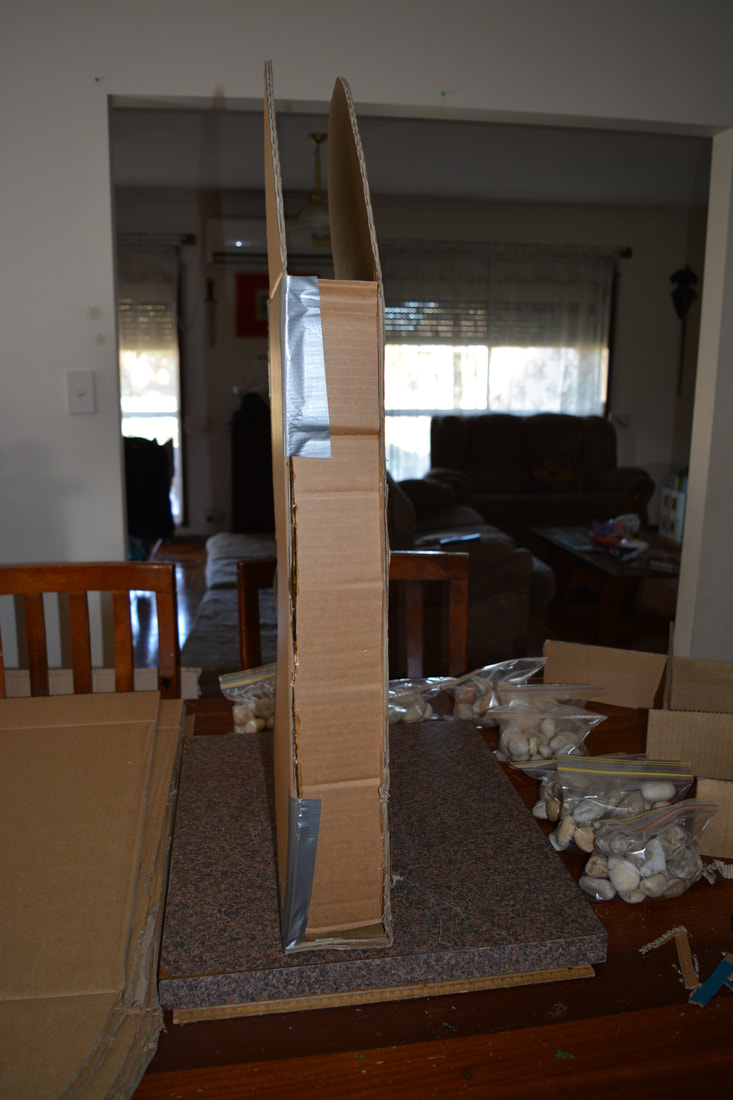
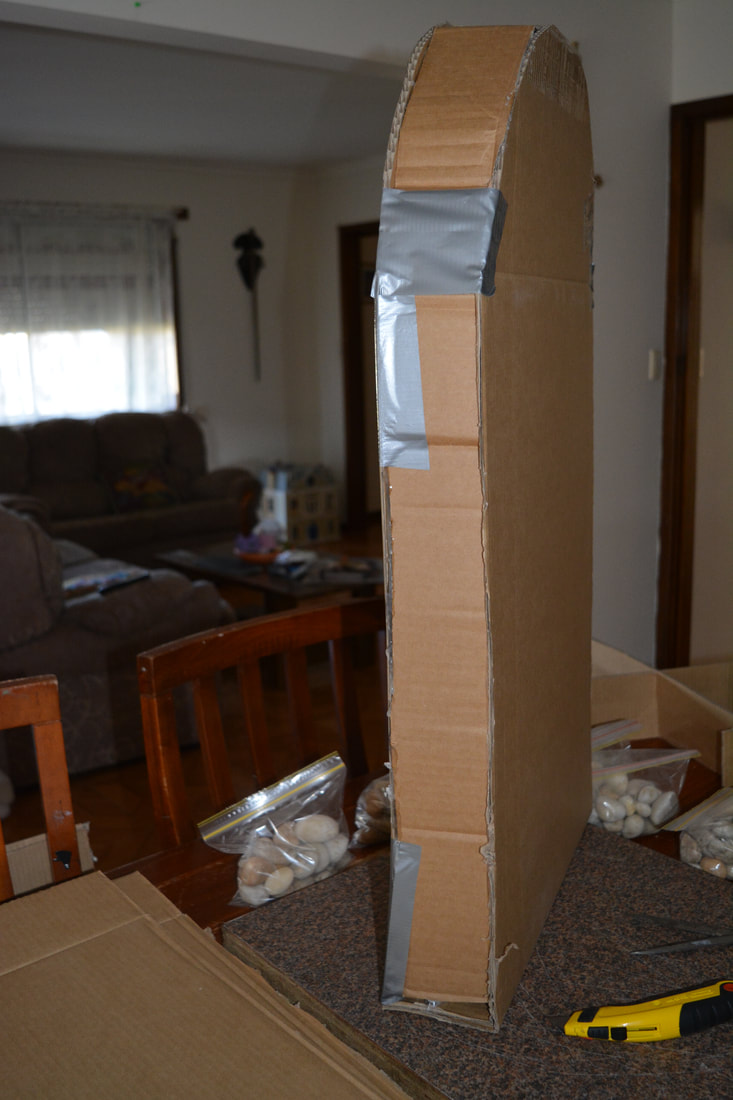
- Make the base on each side of the stone to the width you have chosen for the sides and bracing
- Crease along the this with and glue the two bottom halves together (leave a small gap on the top one so the fold properly)
- Then glue the bracing on the inside of one of the stone halves and put glue along the edge of the bare side of the bracing piece
- Fold the other stone half over and press down until the glue has set
- Use the tape to secure the raw edge of the join on the bottom that is on the outsdie
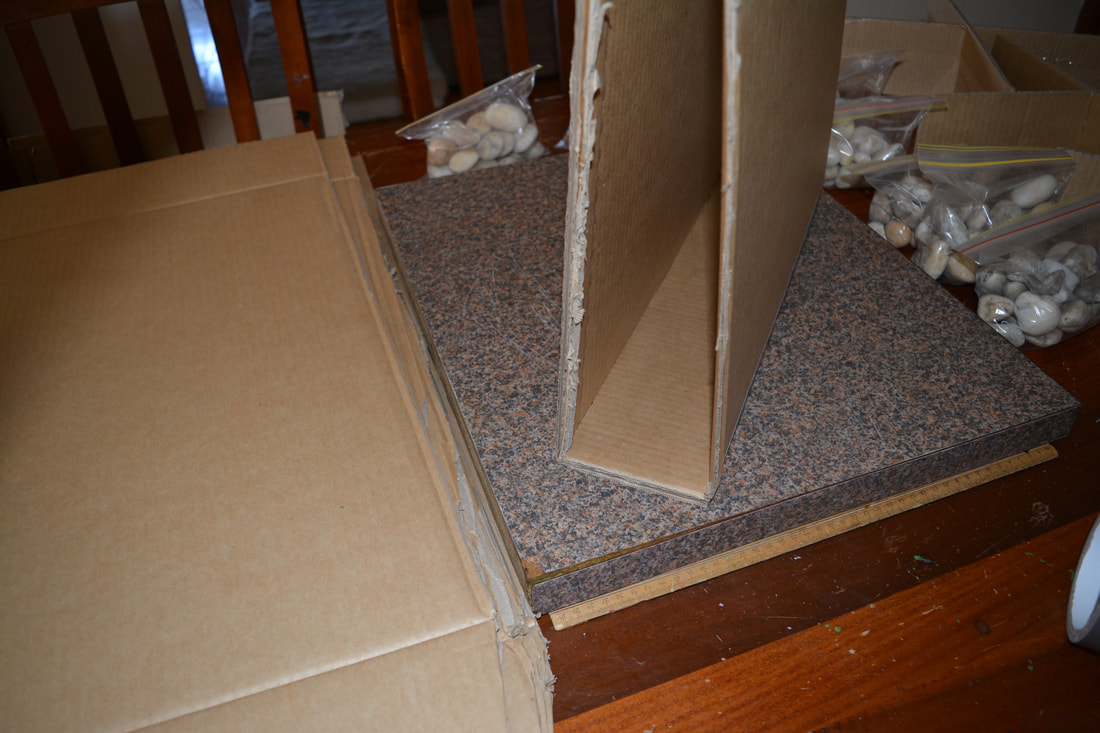
- Stand up the stone and slide the river stone bags in along the bottom (this will help to stabilise your stone)
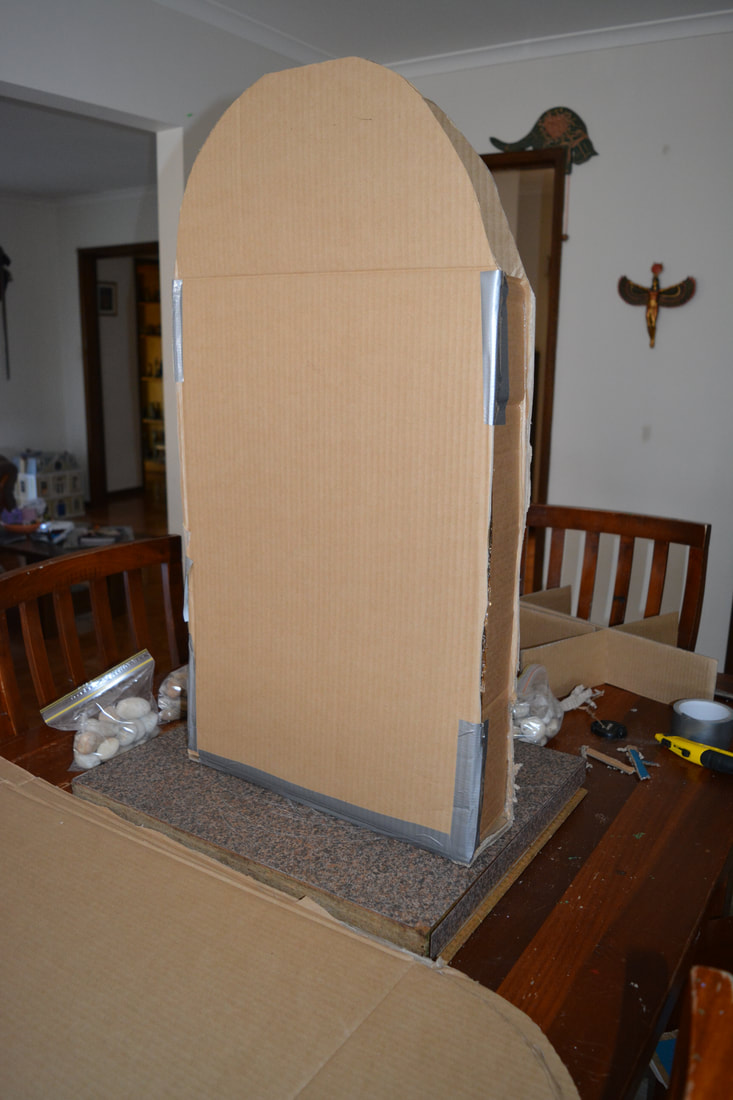
- Take the side pieces and glue them into place along the sides and top
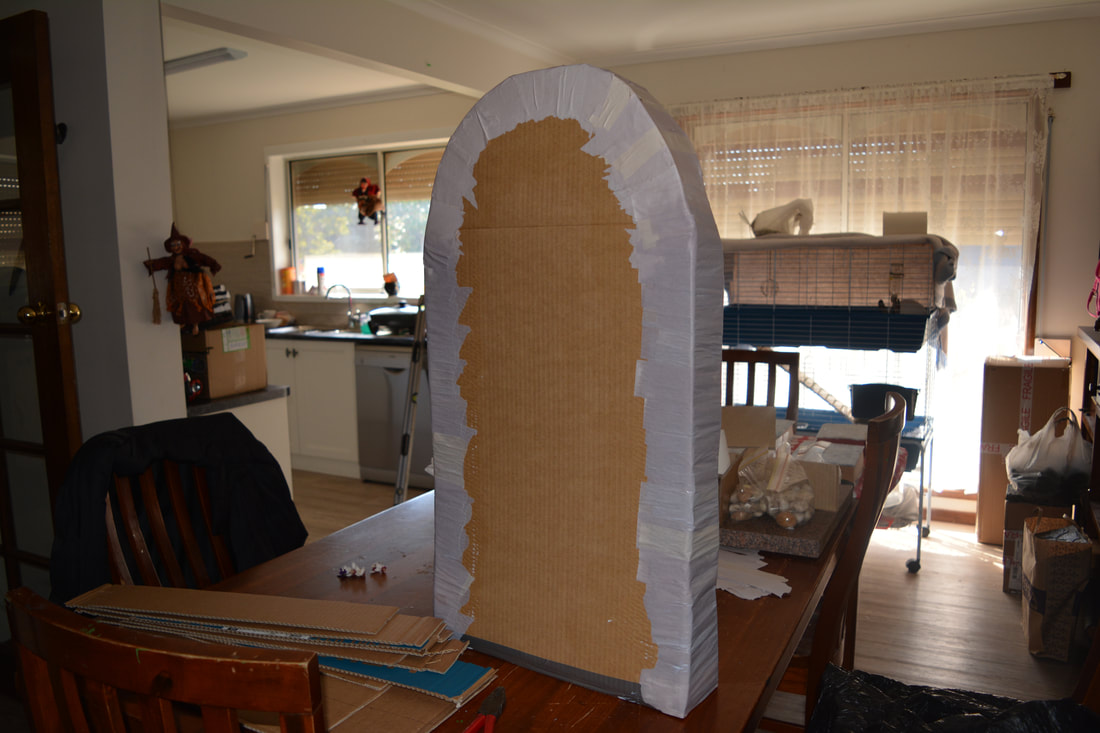
- Use masking tape to cover the sides and create smoother edges all around the stone
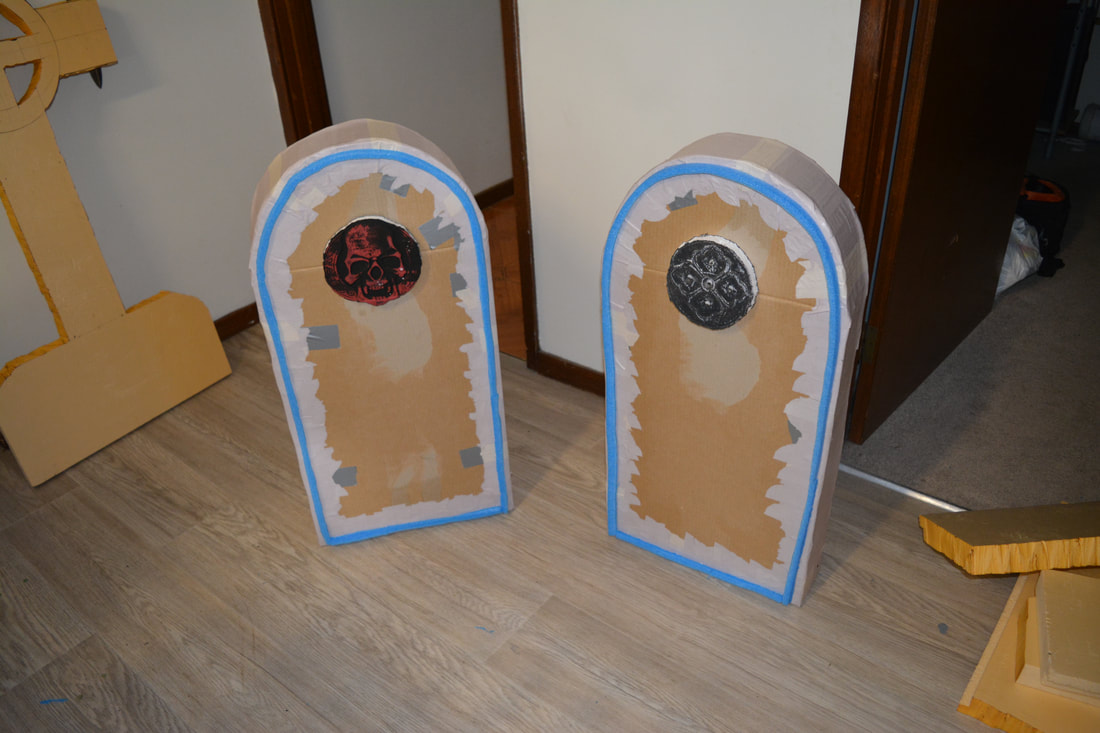
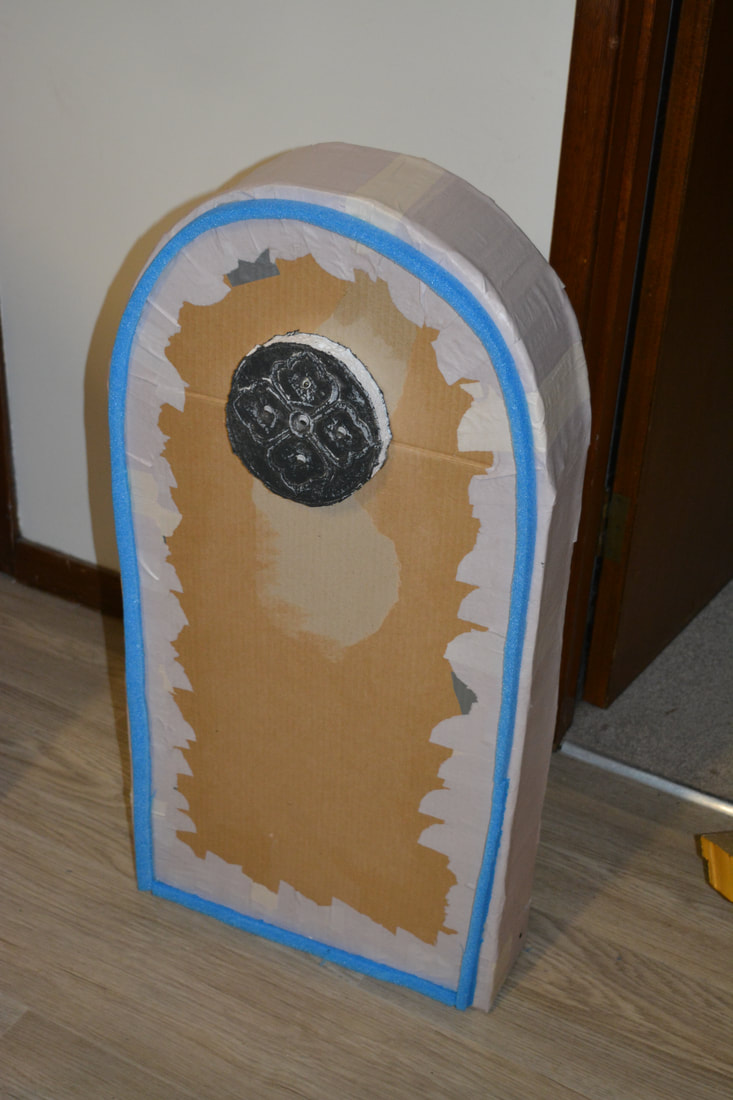
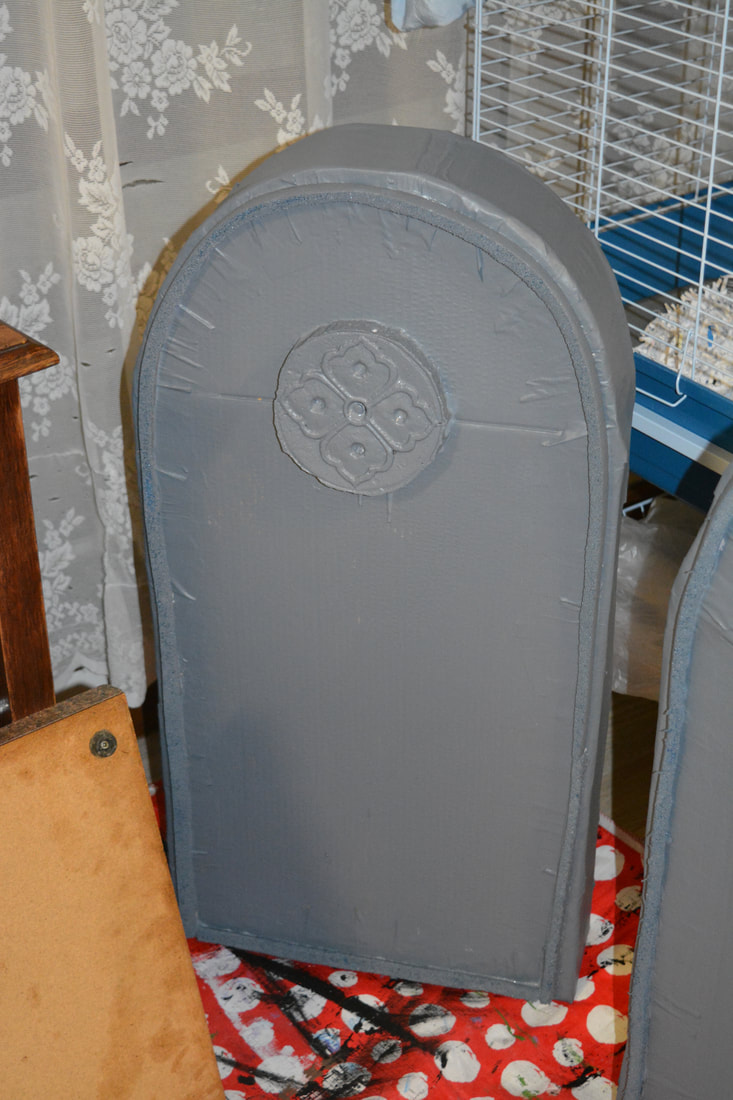
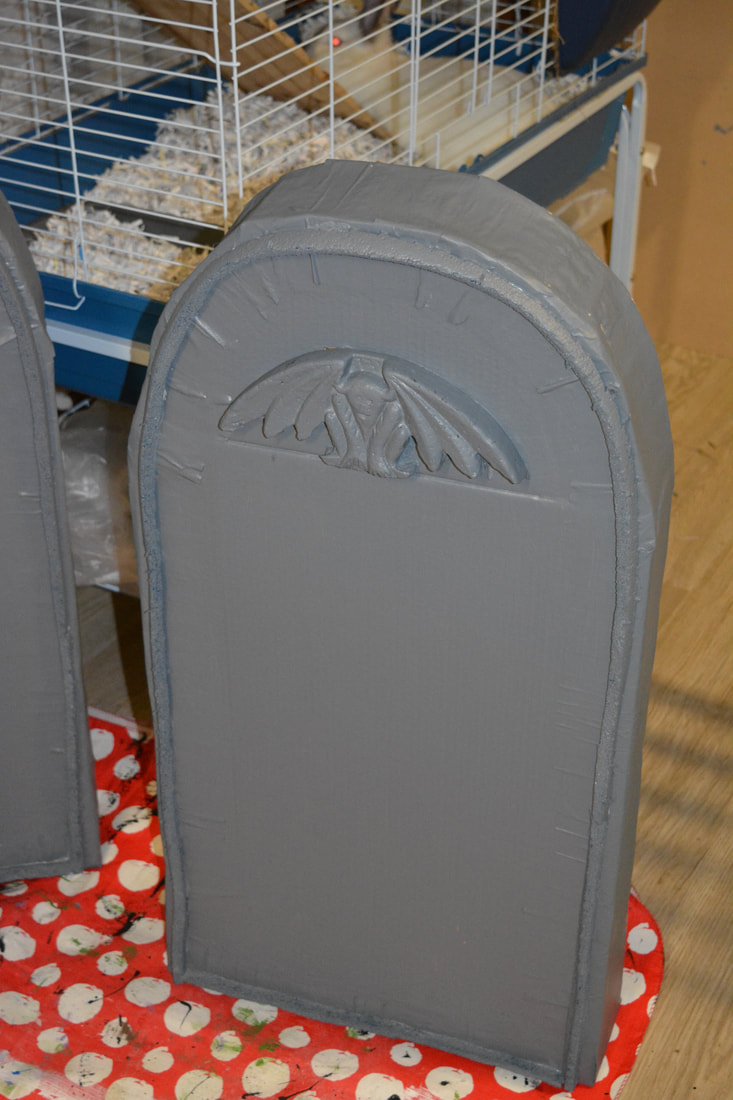
- Cut out the pool noodle to suit the design you are looking for and glue on
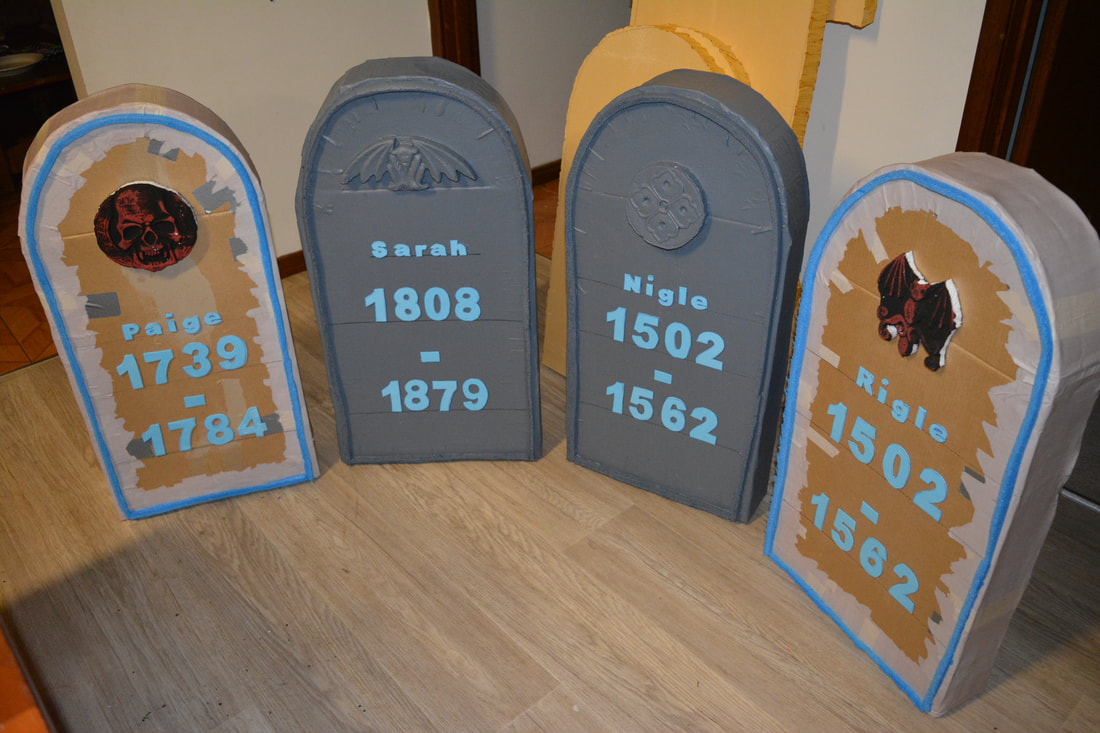
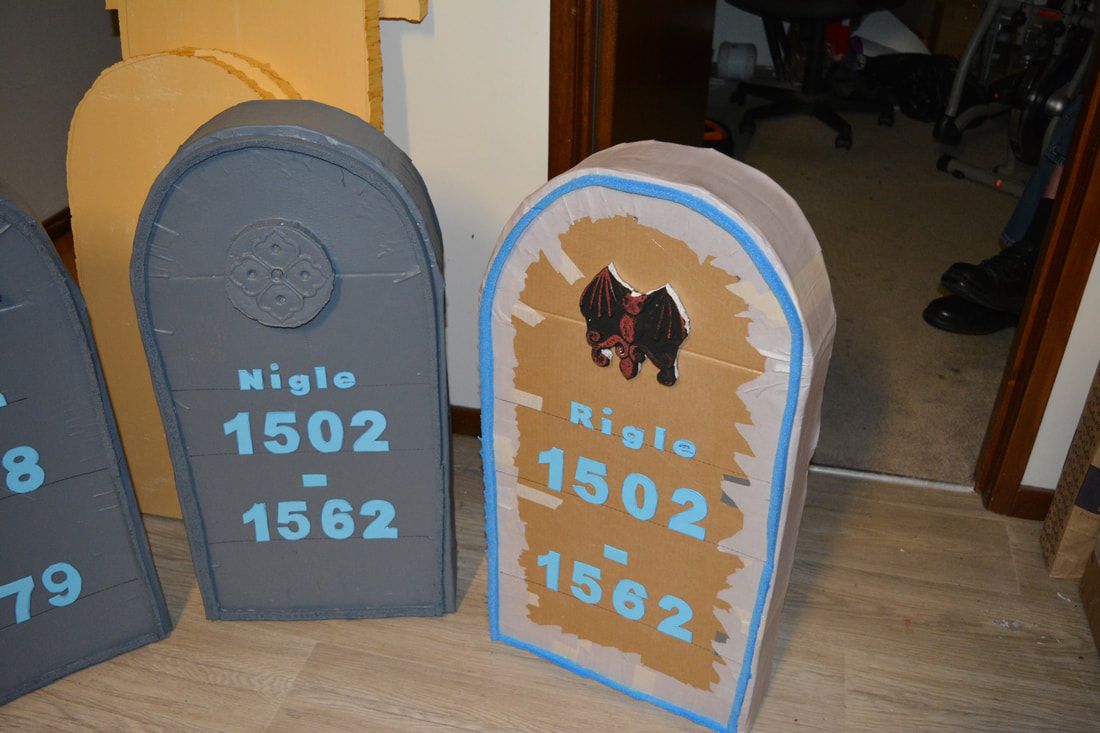
- Glue on any extra embellishments and the lettering and numbering you want
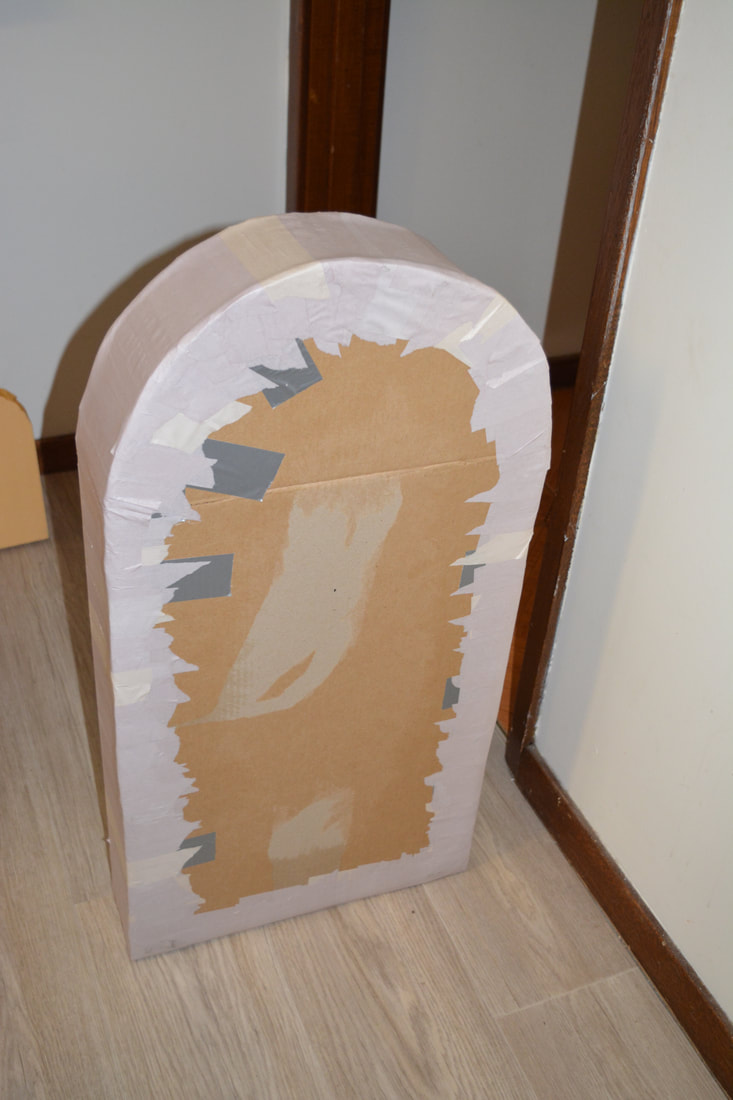
- Paint the base coat, do two coats and allow them to dry well
- If you have black use that but dark grey will also work (I used both dark and light grey as I had these and the darker one produced a much better finished stone)
- I found this foam needed two coats and that covering the areas where the lettering was raised had to be touched up with the small artist brush
- Leave them for a week so that they dry properly
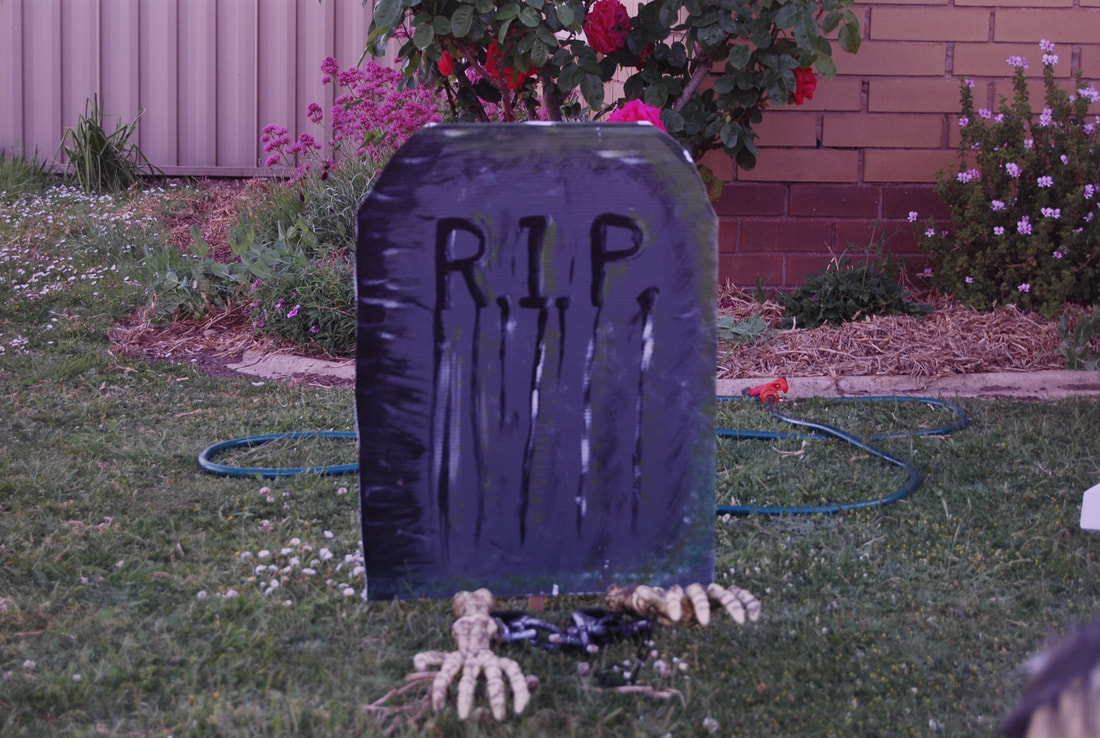
- Once they are dry properly use a dry brush and white or light grey paint and wipe off the excess then lightly brush over the stone with fast sweeping movement so that this lighter colour highlights all the raised areas
- Then mix up a 50/50 mix of water and white paint shake it well and a spray bottle of water or use the sponge and put the 50/50 mix into a bowl with another sponge and water in a bowl
- Drizzle and spray the 50/50 mix onto the stones concentrating in the areas that would drip and run (this step is much easier with the spray bottles or at least just the water spray bottle)
- Let the mix drip and run down the stone, if you think it is too strong use the water bottle to further thin and run it down the stone
- The idea is to cause watermarking runs down the stone that would look like weathering on a real one
- If it looks to bright which sometimes it can use a brown to dull it down or just use a brown mix to create further weathering effects
- When these are dry you can moss the stones with either fake moss or a sponge and some green moss colour paint (this is what I did as I couldn't find my fake moss)
- Let them dry well and they are ready to use


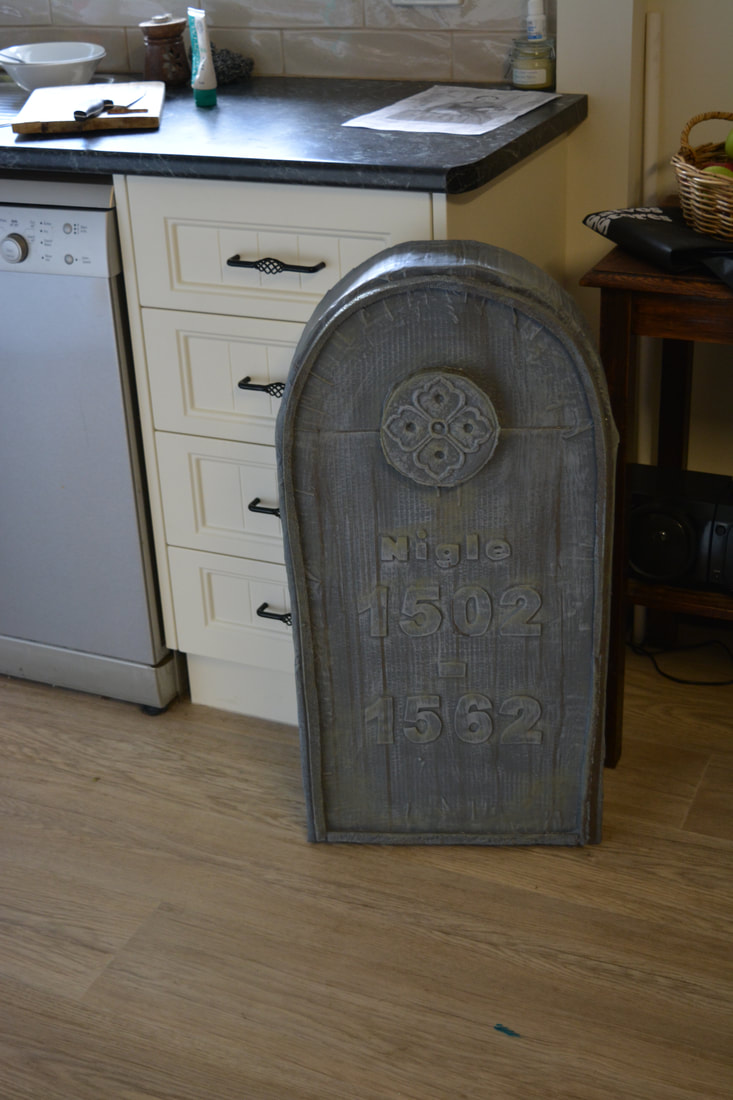
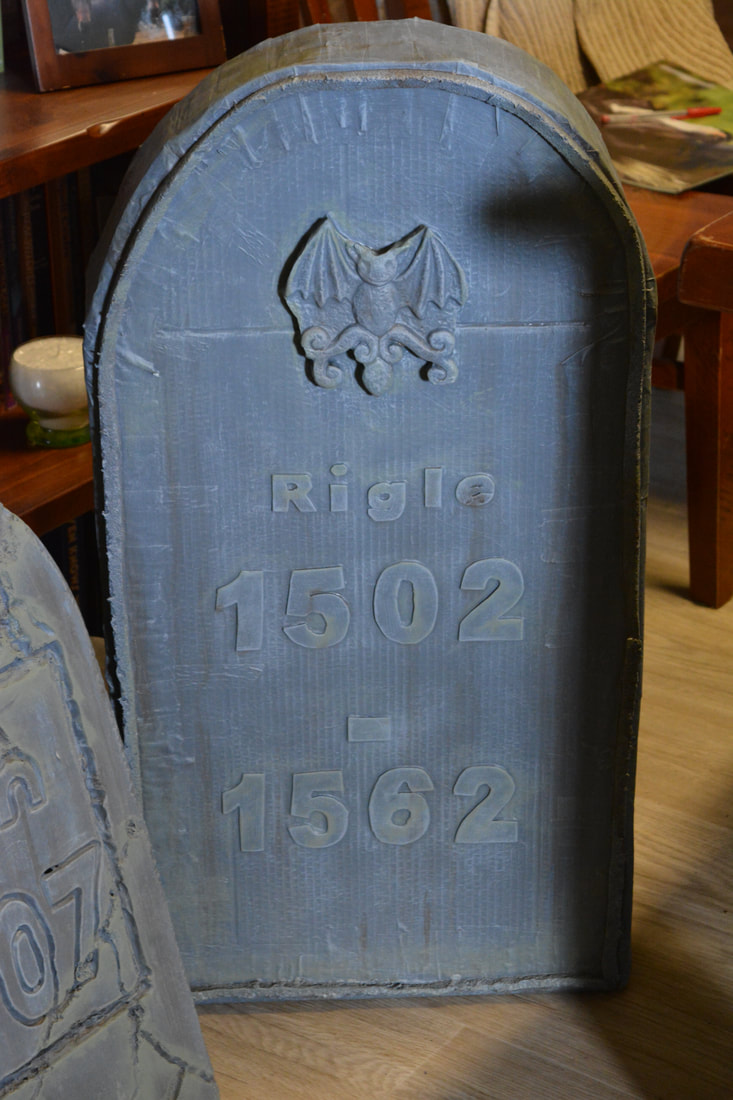
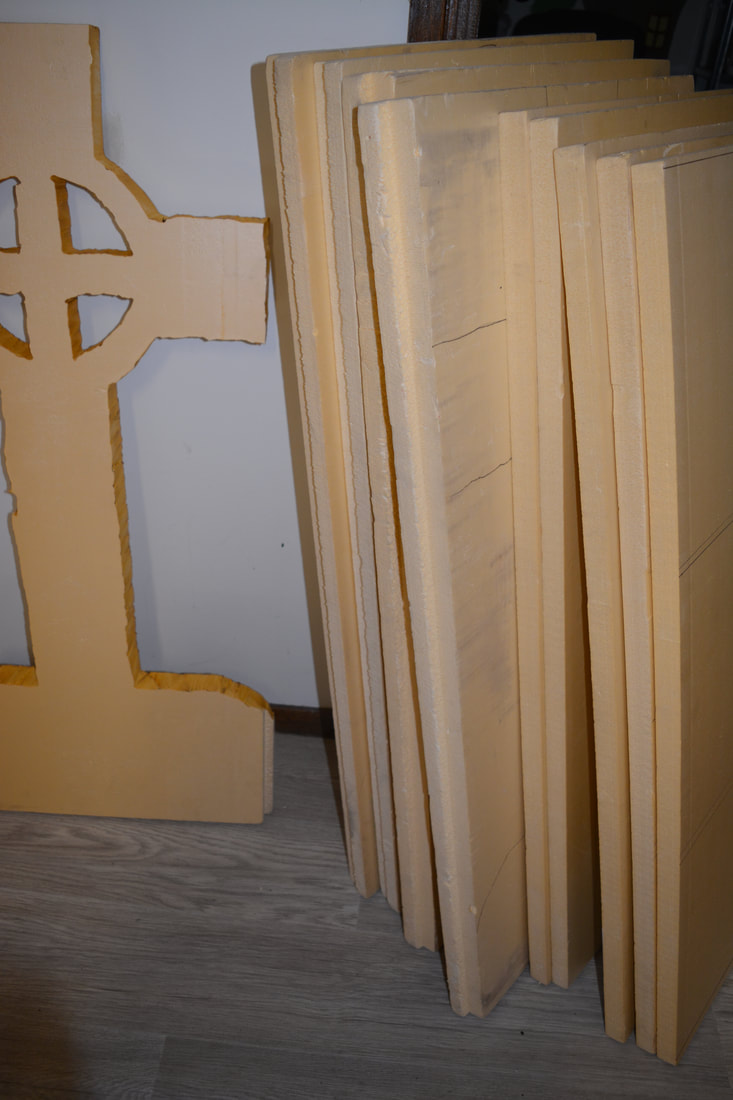
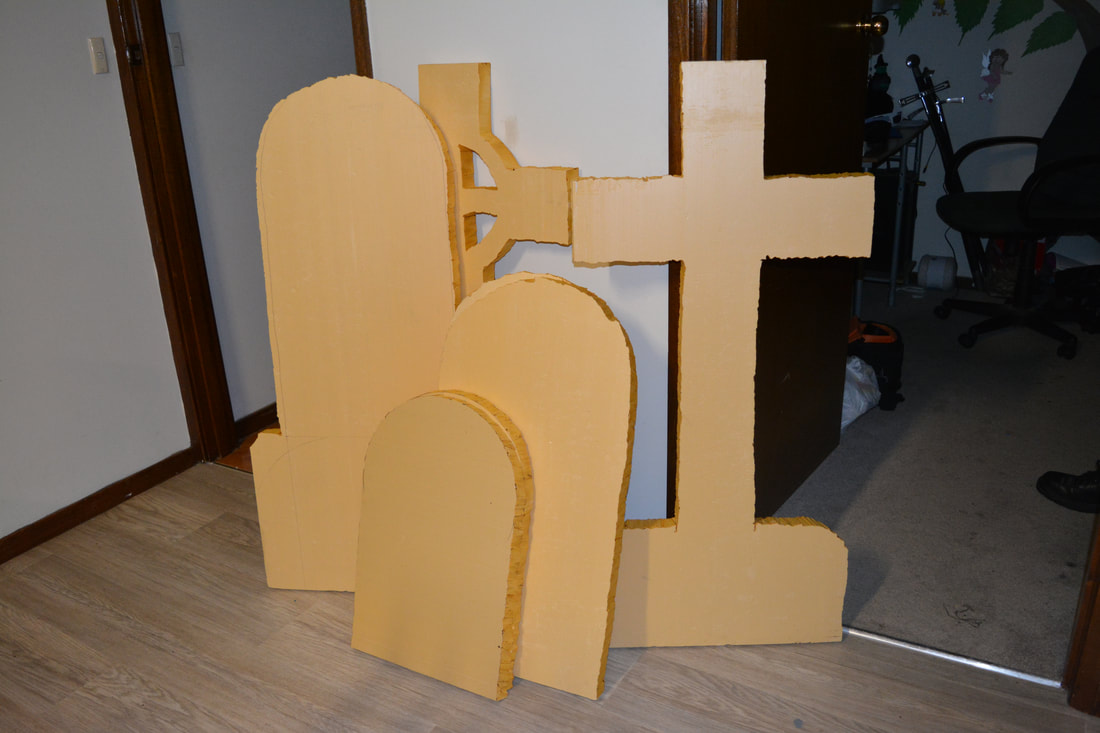
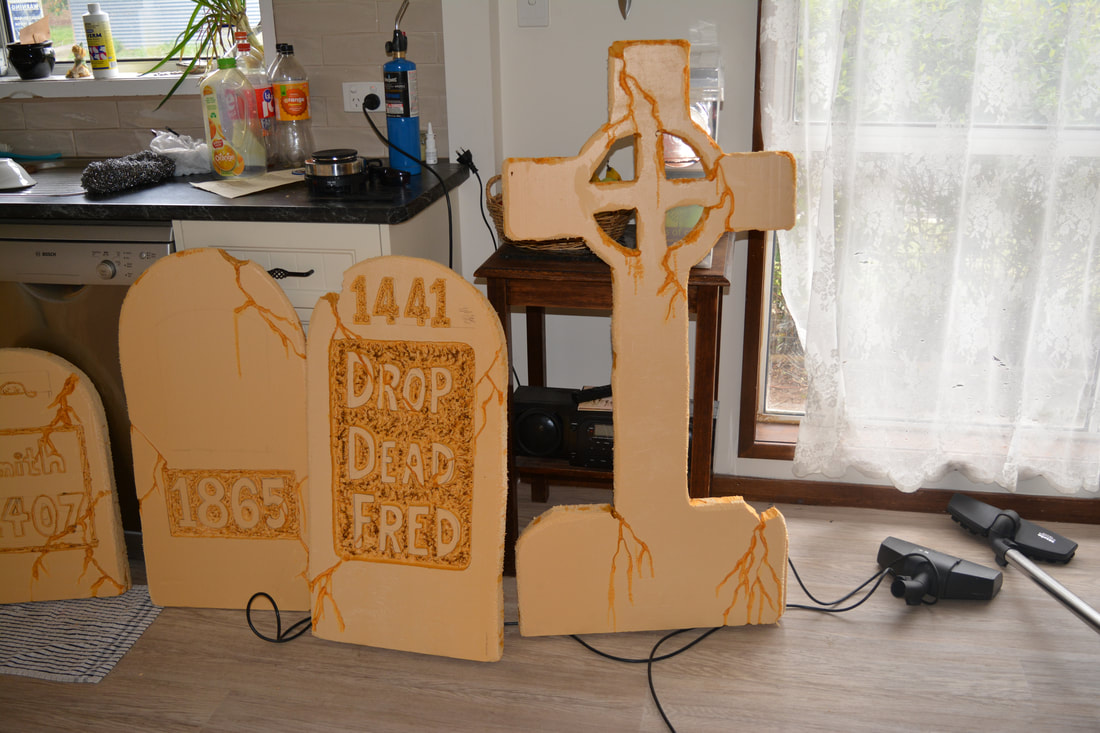
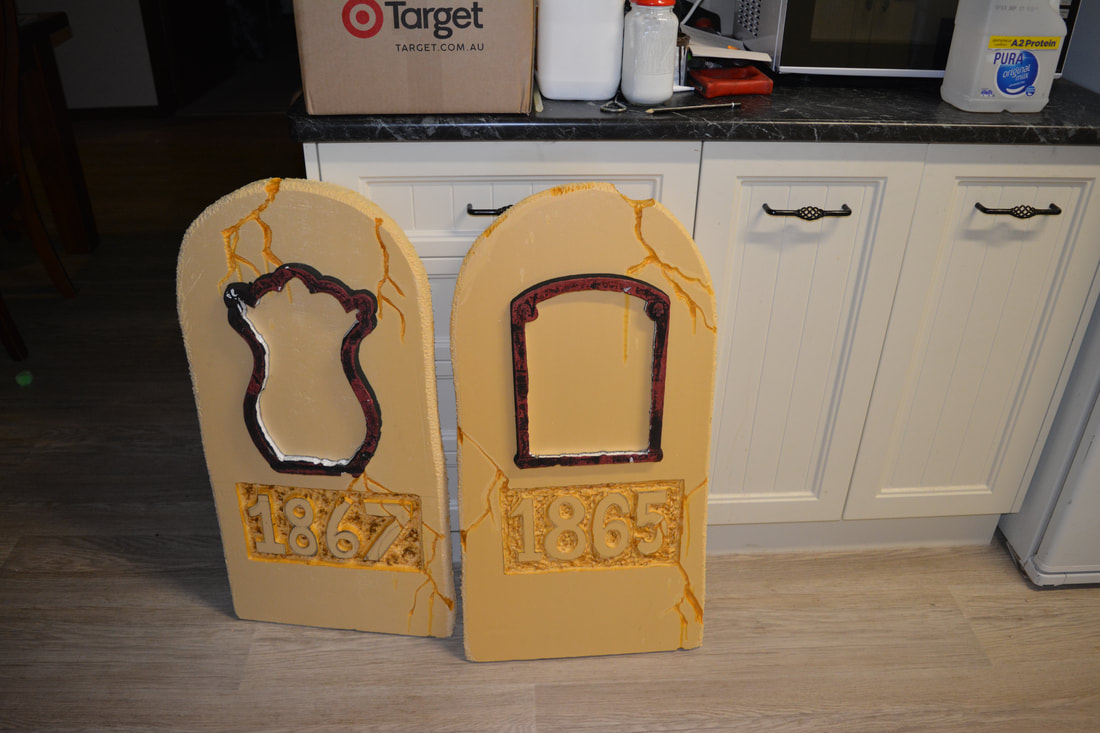
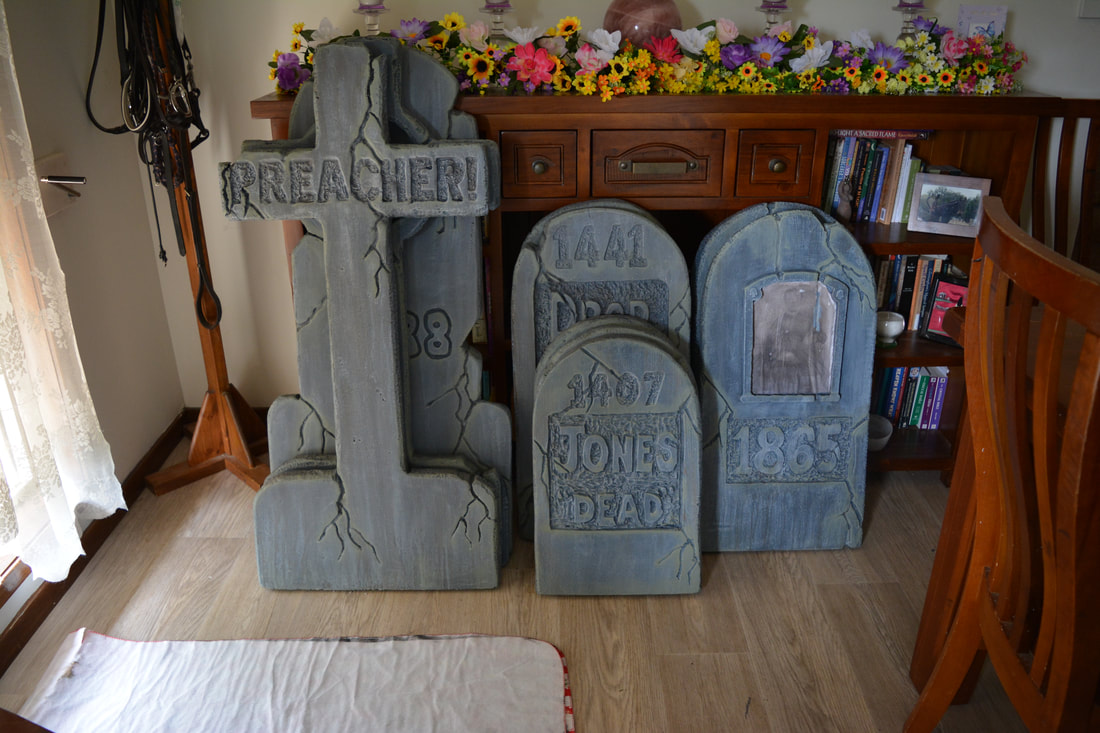
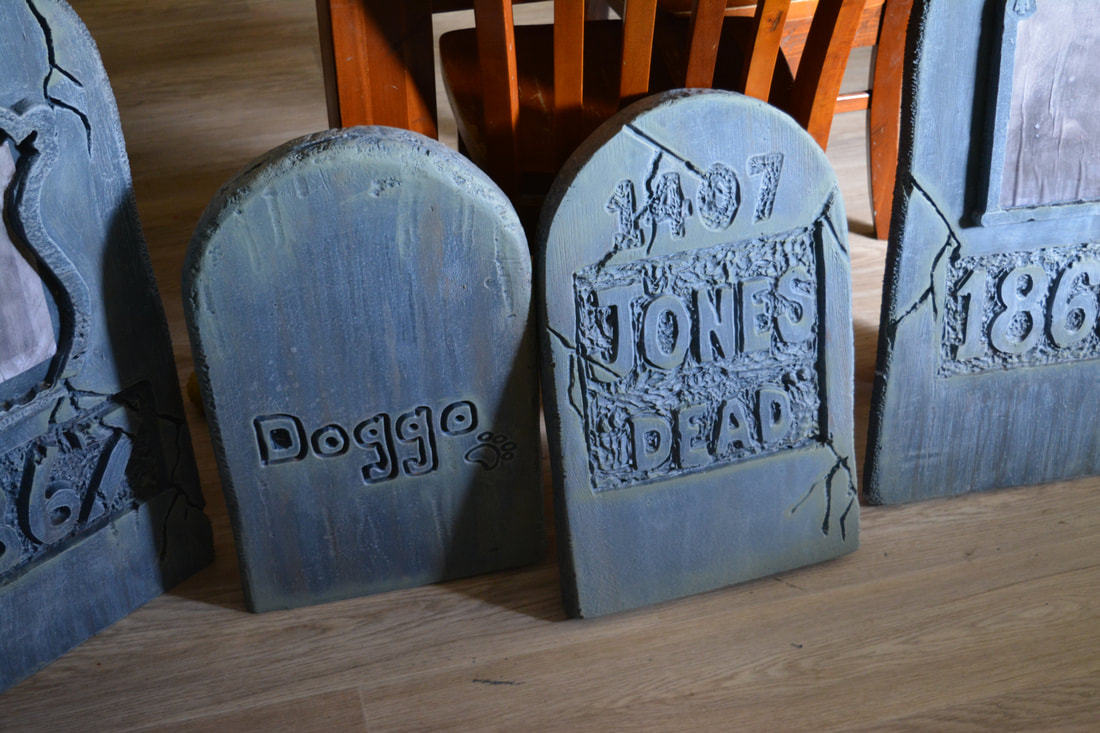
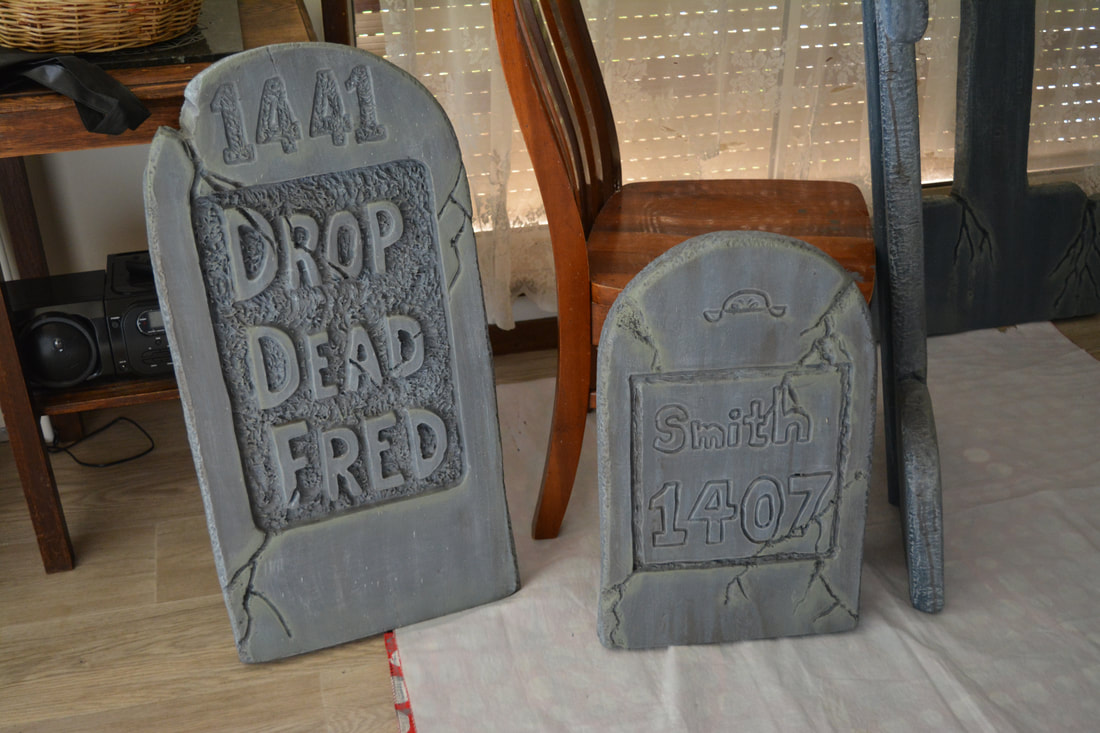
3D Insulfoam Gravestones
Materials Used
Solid Foam Insulation Sheets (I used 1200mm x 600mm from Bunnings both 30mm & 50mm thick)
Paint - acrylic grey, white, black, red, green, yellow and any other colour you want
Paint Brushes
Saw or Hot Knife
Liquid Nails
2 x 1 meter Polypipes (per gravestone)
Dremel or Dremel Like Tool
Soldering Iron
Acetone
Butane Torch or Heat Gun
Chisel (only if you don't have a Dremel)
Butter Knife/Blunt Knife
2 x Spray Bottles
Foam Spunge
Ruler & Sharpie (permanent marker)
Charcoal Pencil
Hand Held Grater (foam shaping tool)
Sandpaper (course and medium)
Optional Embellishments (frames, skulls, spiders etc)
Fake Moss (or moss coloured paint)
- Draw out your pattern or design and lettering with charcoal pencil when you are happy with it use the permanent marker to draw out the final design
- Using a Dremel or hot knife (I used the hot knife) carefully cut out your designs
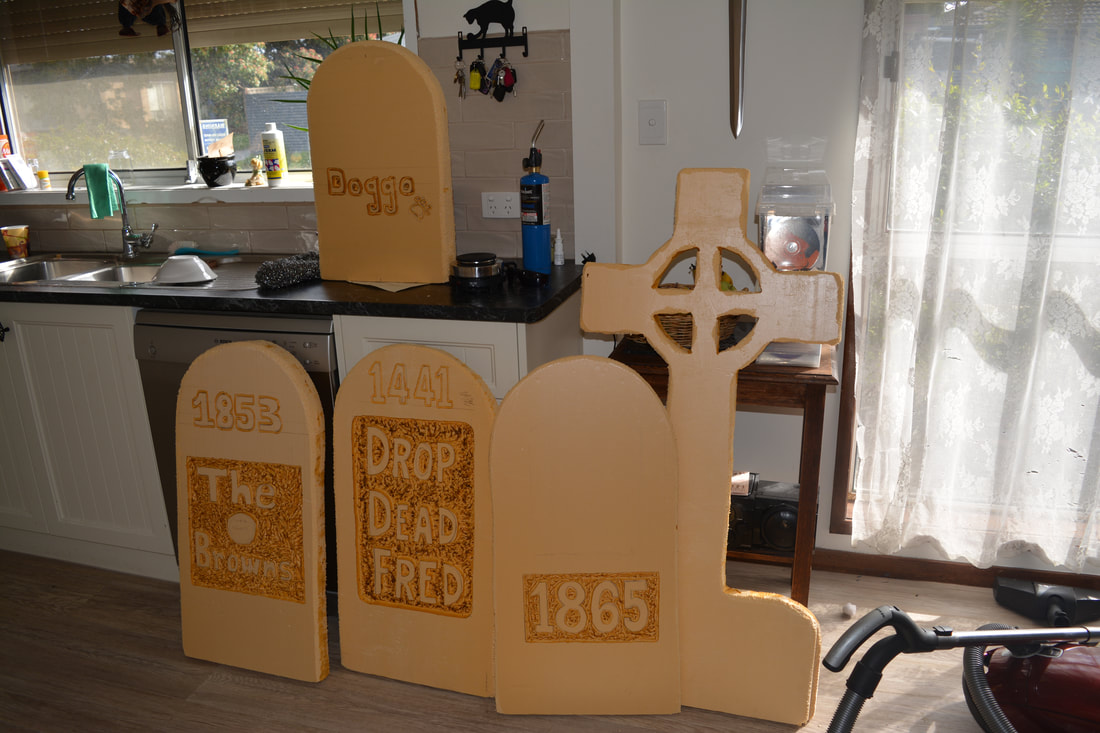
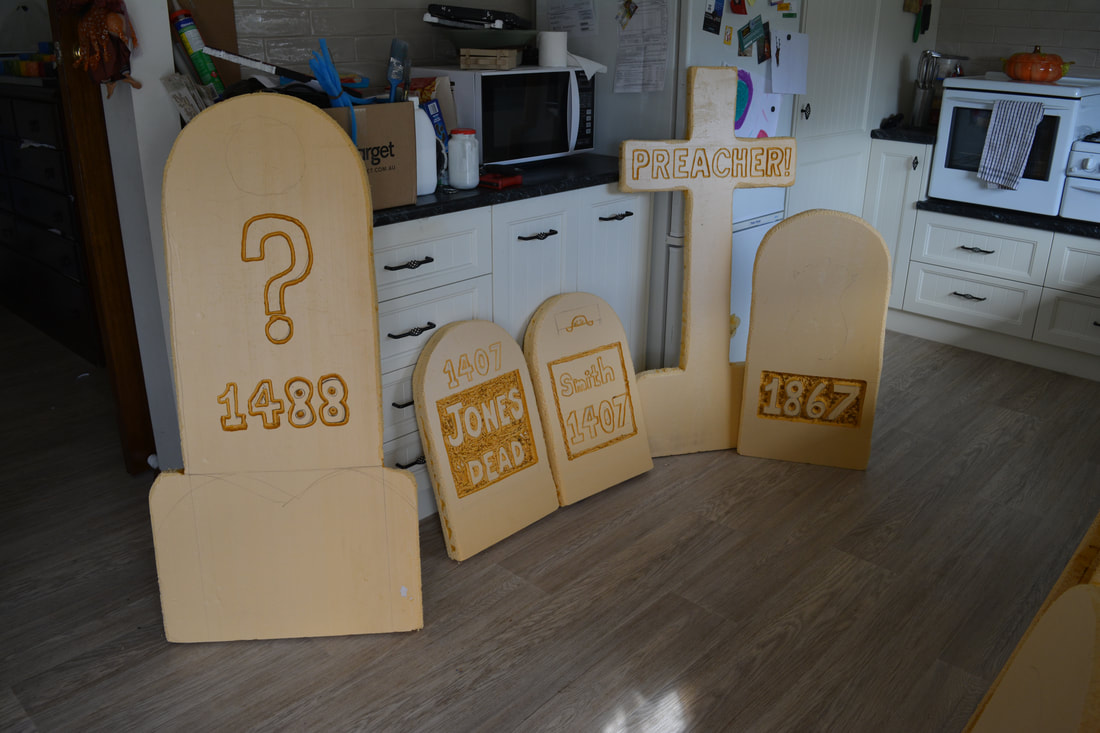
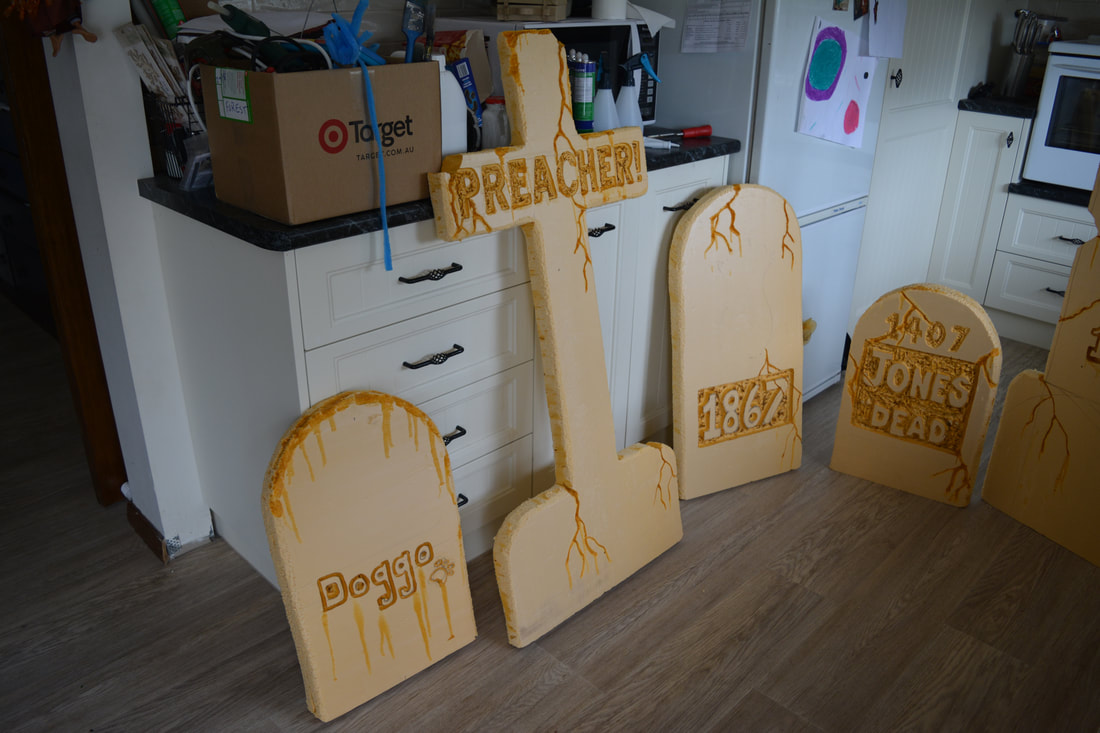
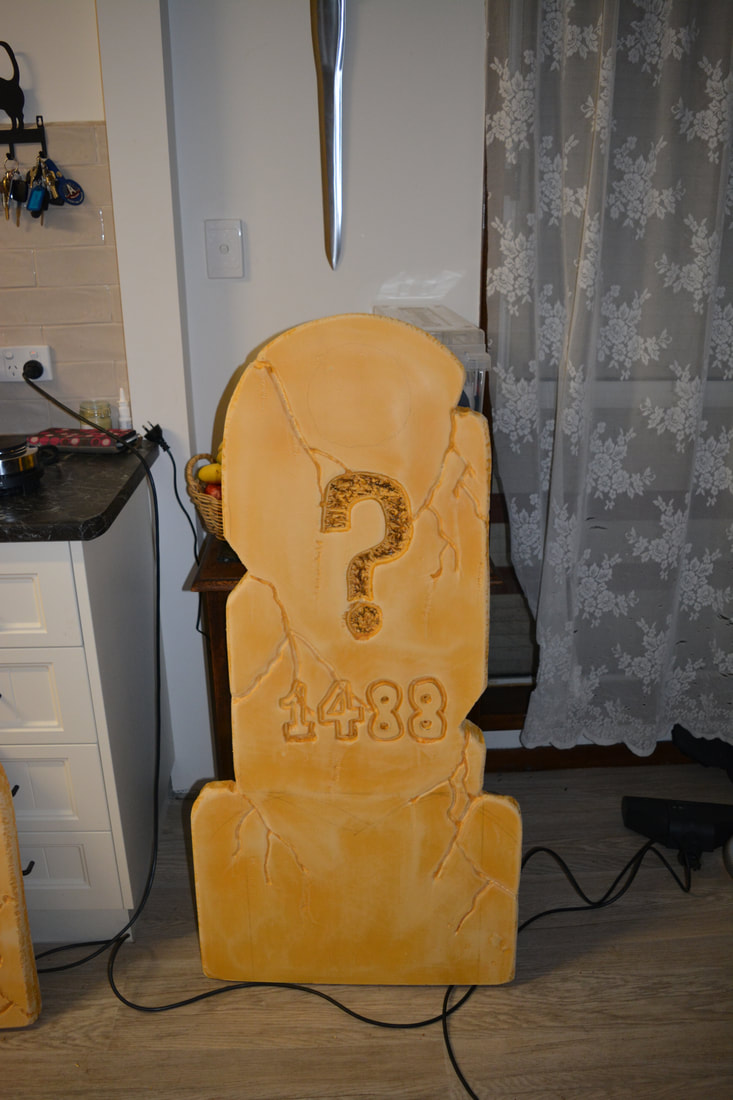
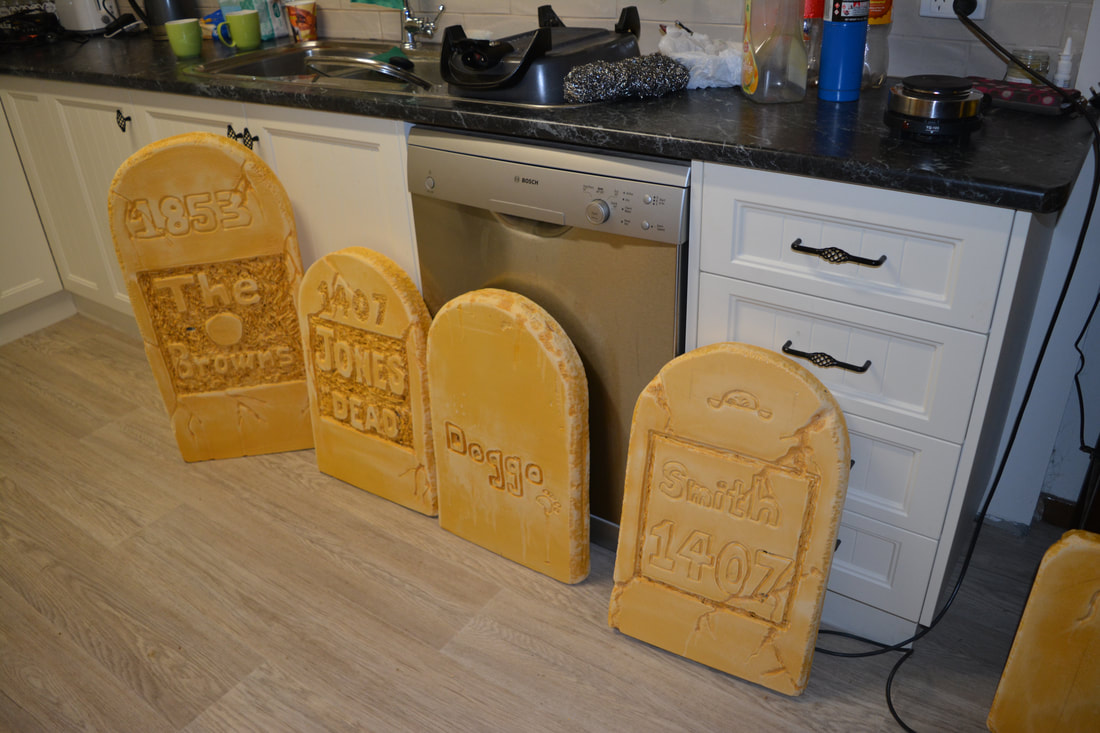
- Plan how you are going to do the lettering either raised or engraved I have done both of the different ones below
- Use a Dremel tool to carve out the surrounds of the raised lettering or a soldering iron/small hot knife to achieve the engraved lettering
- When you carve or melt out your design it is best to do this outside as the fumes are toxic and the dust gets everwhere
- When you have finished this part use a coarse hand held grater (I used one from Kmart) or an actual foam shaping tool (eBay) to round off the edges (do this outside as it makes a huge mess and is easier to sweep up, if you can't and have to do it inside I suggest a really good vacuum cleaner)
- Now create cracks and chips with the soldering iron and the stanley or craft knife
- Use a small artist paint brush and dip it in the acetone then paint it over the edges of the cracks to take the sharp edges away
- You can even use acetone to make the cracks or start of the cracks (I did this on the Doggo and Cato tombstones)
- Now you can use the heat gun or butane torch to bring out a stone finish
- Some panels I used had lined striations on them and this heat technique made them stand out, not what I was looking for so if you have a piece that has this on it skip the previous step
- Use the sandpaper to further smooth off the edges and the chips using either the course or medium which ever one you think will achieve the texture you are looking for
- Also smooth out any edges the heat gun or the butane torch may have cause by shrinking the foam slightly
- Glue on any embellishments you want on your stones at this point and allow plenty of time to dry
- If you are doing this over cracked areas glue them on before you start to cut these effects out so it is easier to make the crack naturally flow through frames and other embellishments
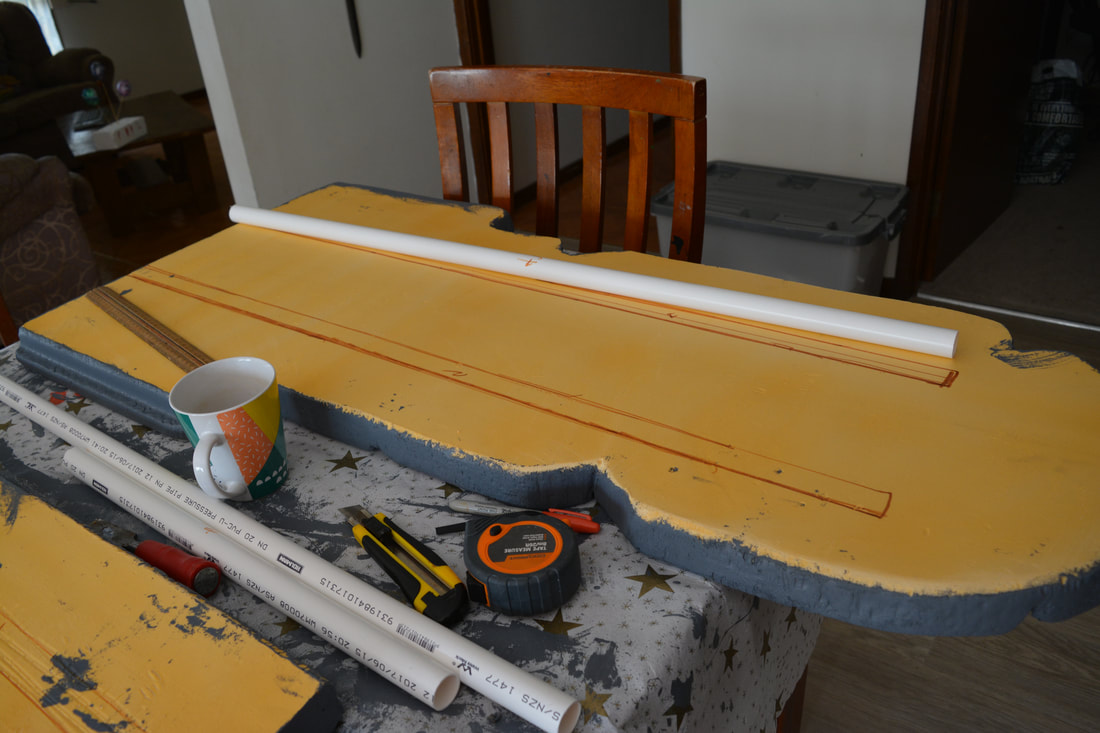
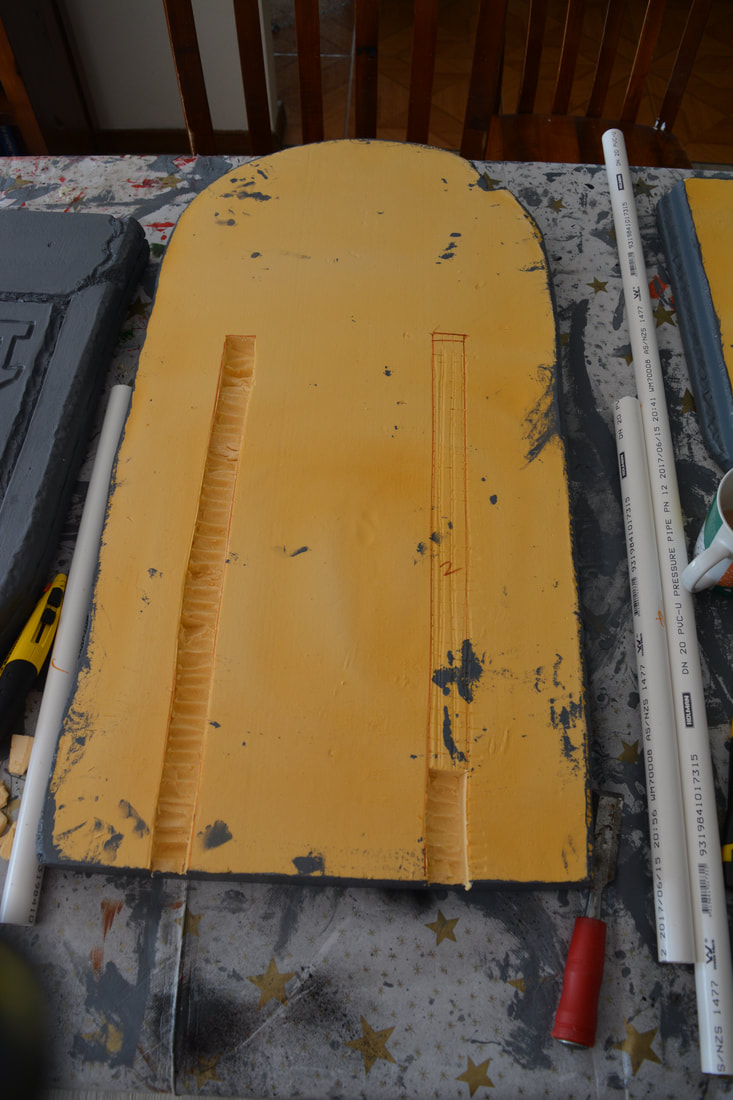
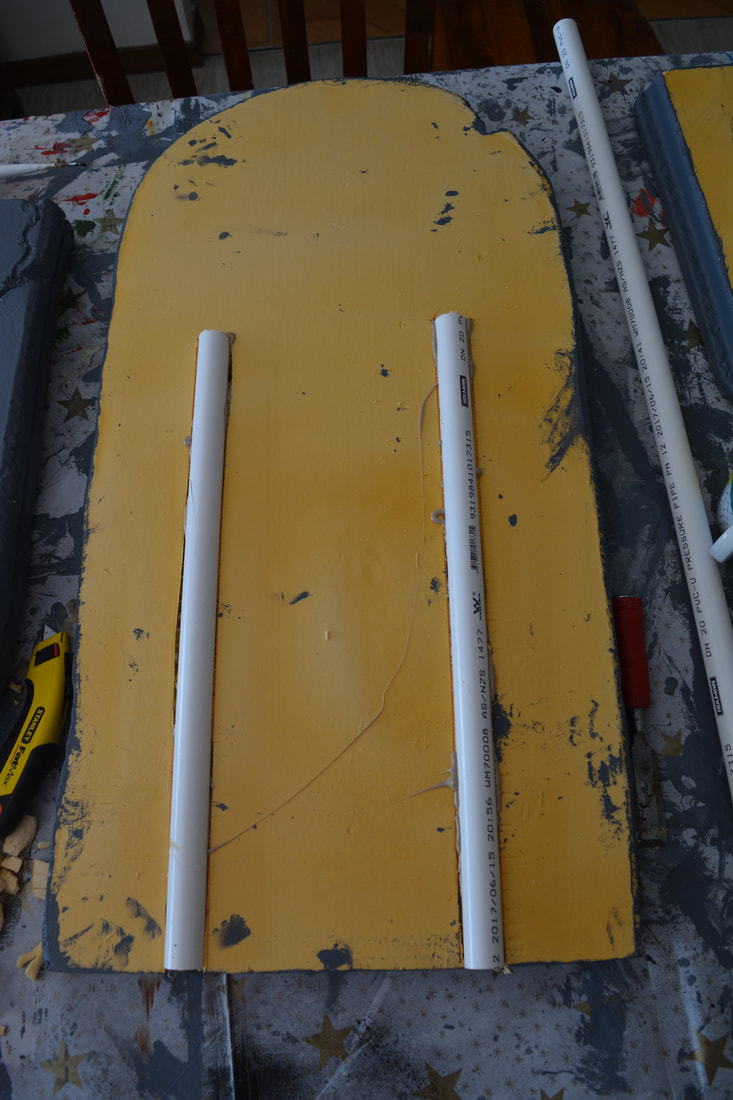
- Here measure the backs to accommodate the poly pipe, this will be use to put over the stakes in the ground to hold them steady, I like to put them about half to 3/4 the way up the backs
- I also like to cut a recess in the back to hold the pipes as well however you can just liquid nail them directly to the back. Some of them I glues two pieces together but recessed and glued the pipes in at the same time so they are completely hidden except for the bottom
- This is a good idea when using the 30mm thick foam, the 50mm thick foam can be recessed 1/2 way in to hold the poly pipe
- Cut the pipes to the desired length and cut out the recesses to accommodate them
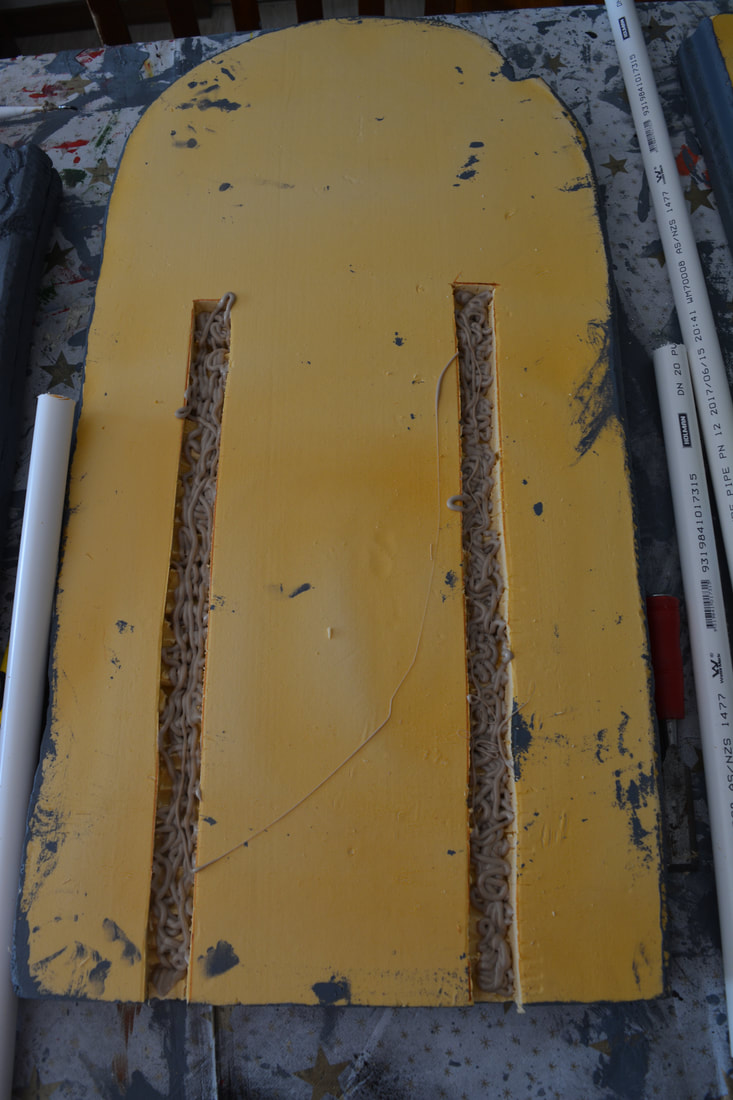
- Allow plenty of time for them to set and cure properly, liquid nails are very strong however setting takes a couple of days
- Use liquid nails to secure the pipes into the recesses (be generous)
- Paint on the under coat with acrylic base, the darker the colour the better
- If you have black use that but dark grey will also work (I used both dark and light grey as I had these and the darker one produced a much better finished stone)
- I found this foam needed two coats and that covering the areas where the lettering was raised had to be touched up with the small artist brush
- Leave them for a week so that they dry properly
- Once they are dry properly use a dry brush and white or light grey paint and wipe off the excess then lightly brush over the stone with fast sweeping movement so that this lighter colour highlights all the raised areas
- Then mix up a 50/50 mix of water and white paint shake it well and a spray bottle of water or use the sponge and put the 50/50 mix into a bowl with another sponge and water in a bowl
- Drizzle and spray the 50/50 mix onto the stones concentrating in the areas that would drip and run (this step is much easier with the spray bottles or at least just the water spray bottle)
- Let the mix drip and run down the stone, if you think it is too strong use the water bottle to further thin and run it down the stone
- The idea is to cause watermarking runs down the stone that would look like weathering on a real one
- If it looks to bright which sometimes it can use a brown to dull it down or just use a brown mix to create further weathering effects
- When these are dry you can moss the stones with either fake moss or a sponge and some green moss colour paint (this is what I did as I couldn't find my fake moss)
- Let them dry well and they are ready to use


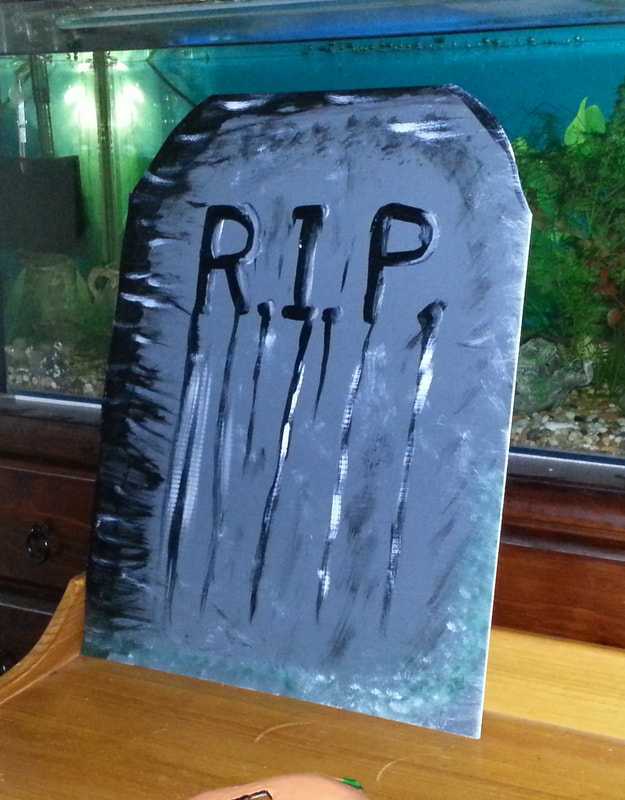
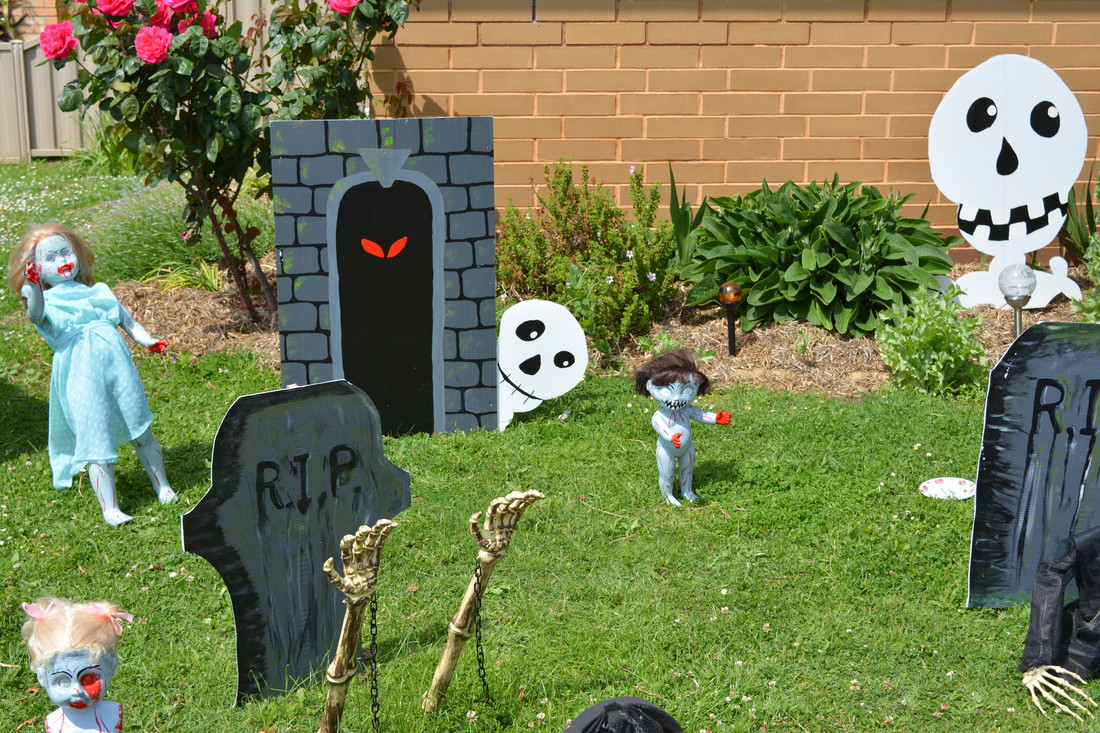
2D Gravestones
Materials Used
Correlated Plastic Sheet
Paint - grey, black, white, green, red, yellow and any other colour you might like on them
2 x 1meter 15mm Polypipes (per gravestone)
Paint Brushes
Pencil
Scissors/Craft Knife
Liquid Nails
Bamboo Stakes
Hacksaw (to cut polypipe)
Materials Used
Correlated Plastic Sheet
Paint - grey, black, white, green, red, yellow and any other colour you might like on them
2 x 1meter 15mm Polypipes (per gravestone)
Paint Brushes
Pencil
Scissors/Craft Knife
Liquid Nails
Bamboo Stakes
Hacksaw (to cut polypipe)
- I bought the correlated plastic sheets from Bunnings Hardware.
- Draw you design onto the sheets.
- Cut them out with the scissors or craft knife
- Paint the base coat and use the other paints to paint the details
- Set aside to dry
- Measure the gravestone from the bottom to 3/4 it's length up the back and cut the polypies down to that length
- Use the liquid nails to glue the 1 meter polypipes to the back so the end sits flush with the bottom of the gravestone
- Push the bamboo stakes into the ground the same distance apart the polypipes are glue to the back and then slide the gravestone over the top