Other Interesting Ideas
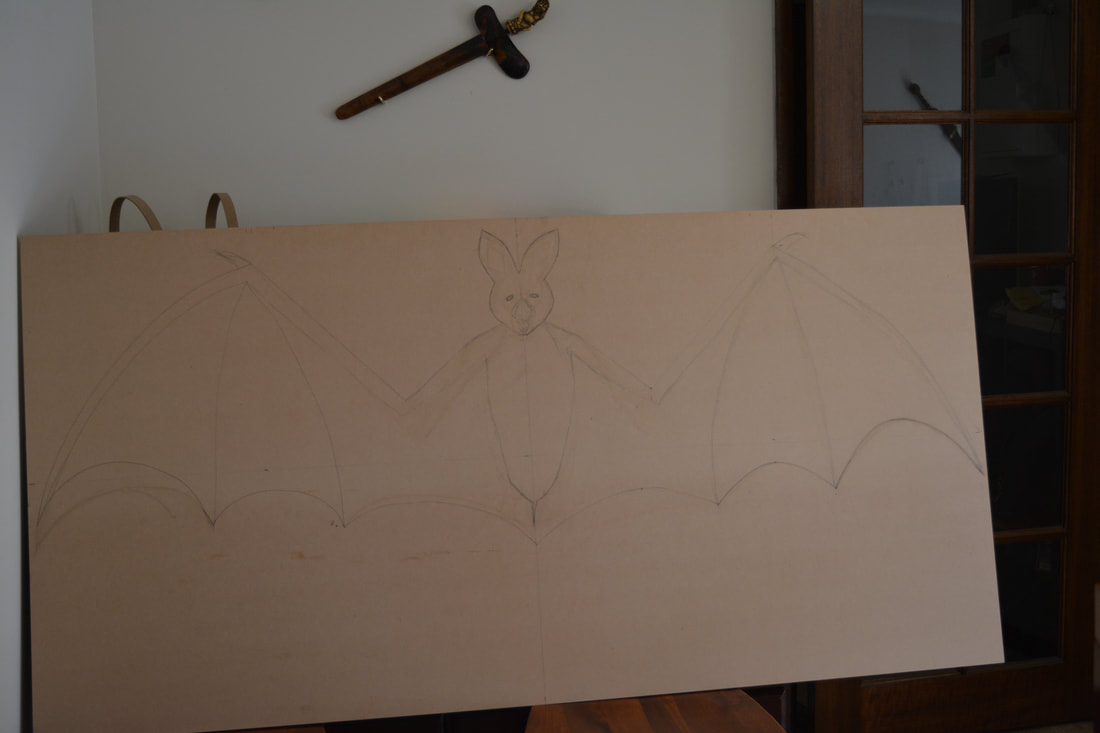
Giant Bats
Materials Used
3ml MDF
Insulation extruded foam
Paint - black, grey, mauve, red, white etc.
Jigsaw
Hot knife or soldering iron
Liquid nails
Lengths of wood to brace back
Eyelet hooks
Fishing line to hold up to 200kg
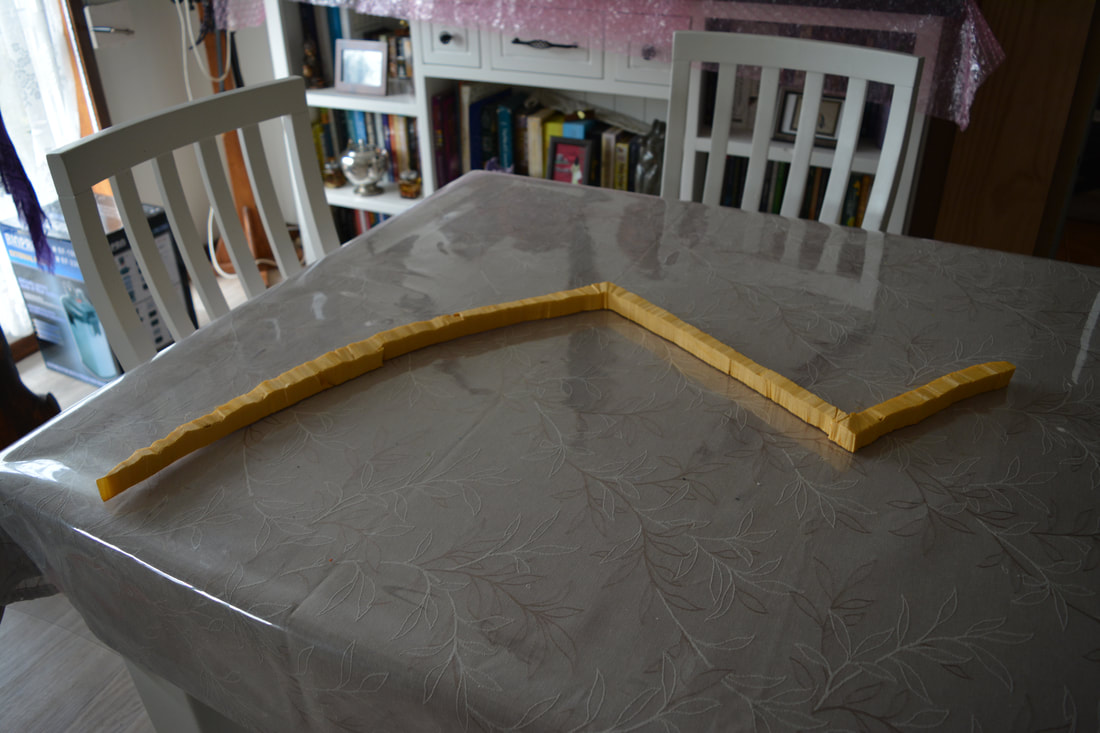
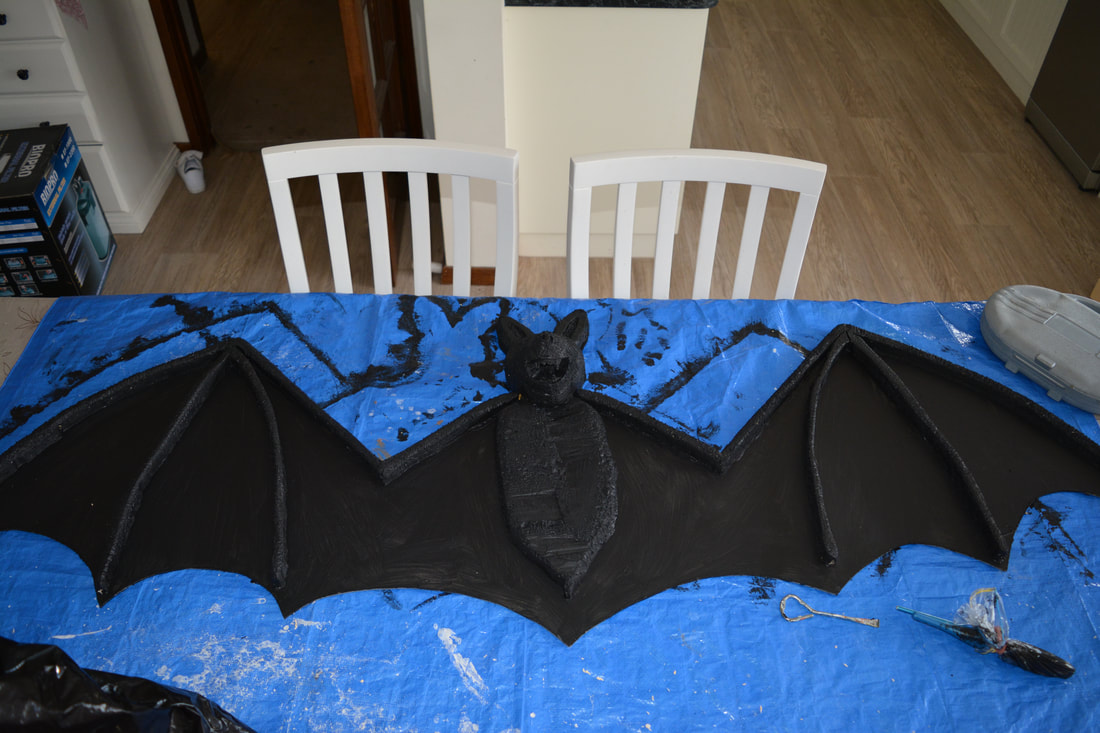
Made from 3ml MDF these guys are huge, I am making 3 this year and they will have raised areas to be hung on a flat wall when they are finished.
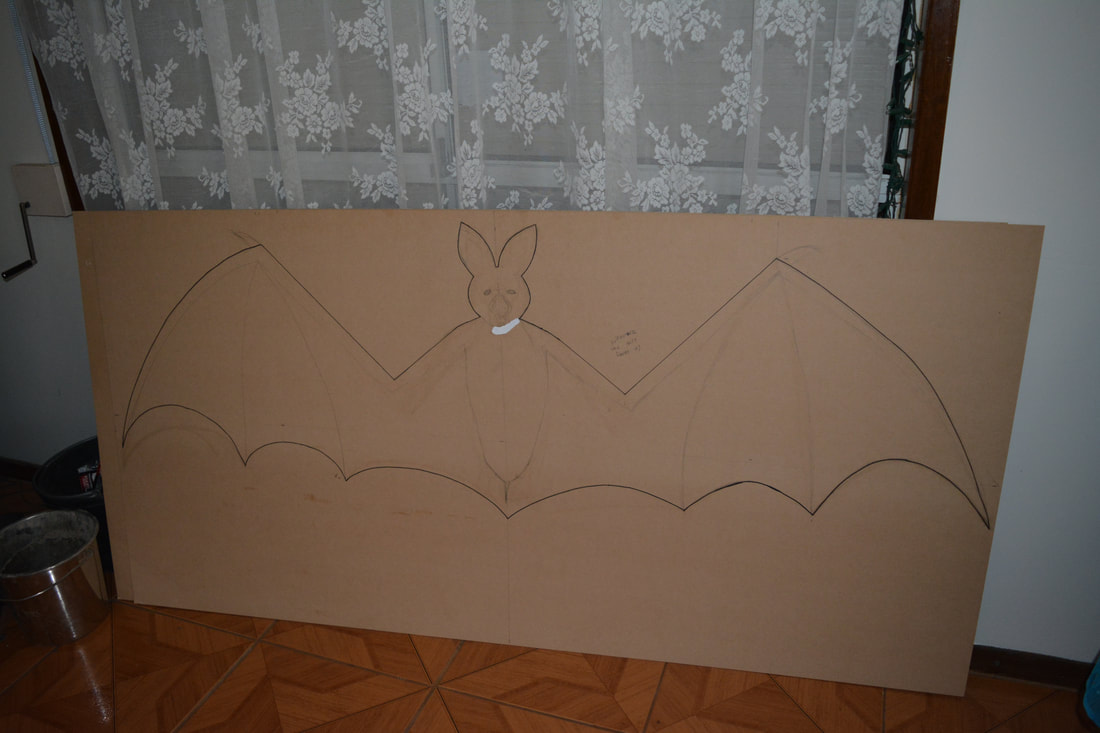
- The first thing to do is draw out the bat on the MDF board and cut it out.
- Then paint the board in black front and back.
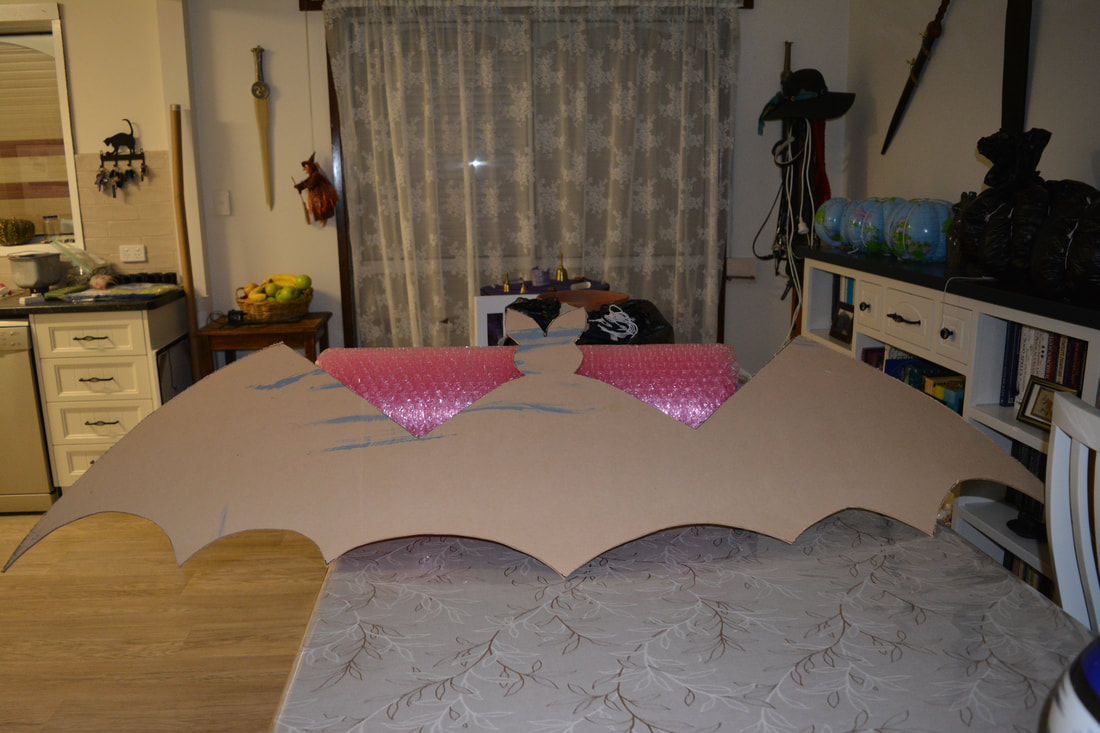
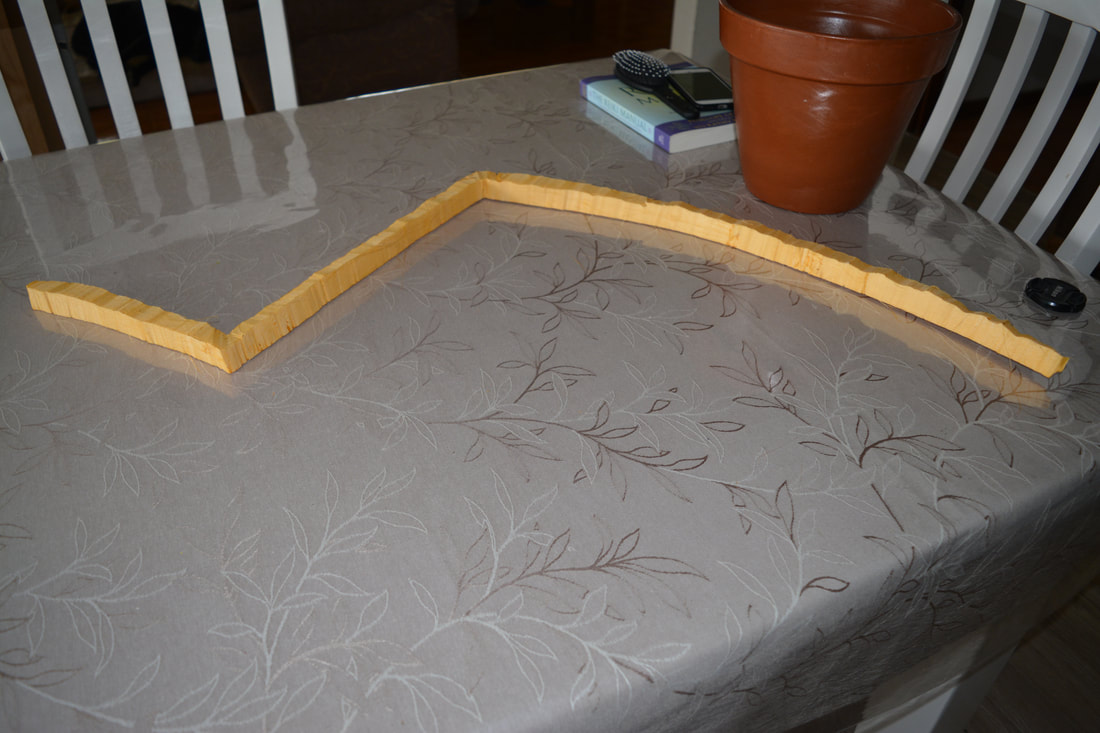
- Then cut strips of insulation extruded foam for the bones in the wings and glue them down to the board.
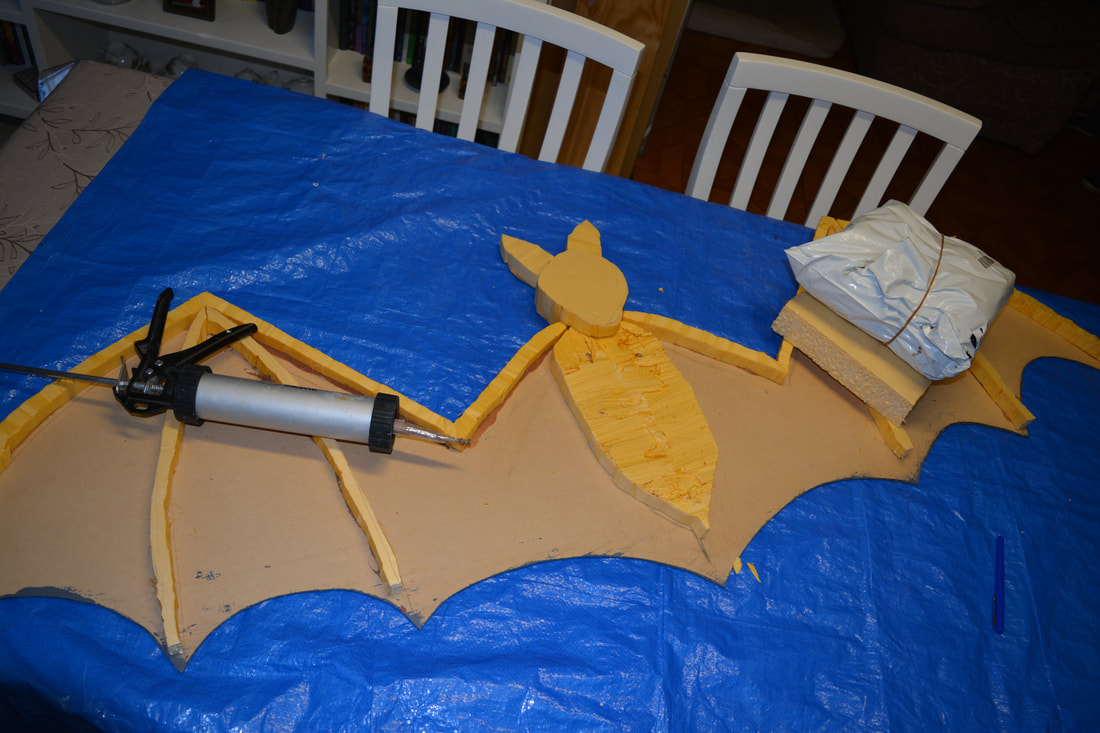
- We used liquid nails for this project. After this is done cut face & body shapes.
- To get the face 3D we cut blocks, stacked them on top of each other & glued them together.
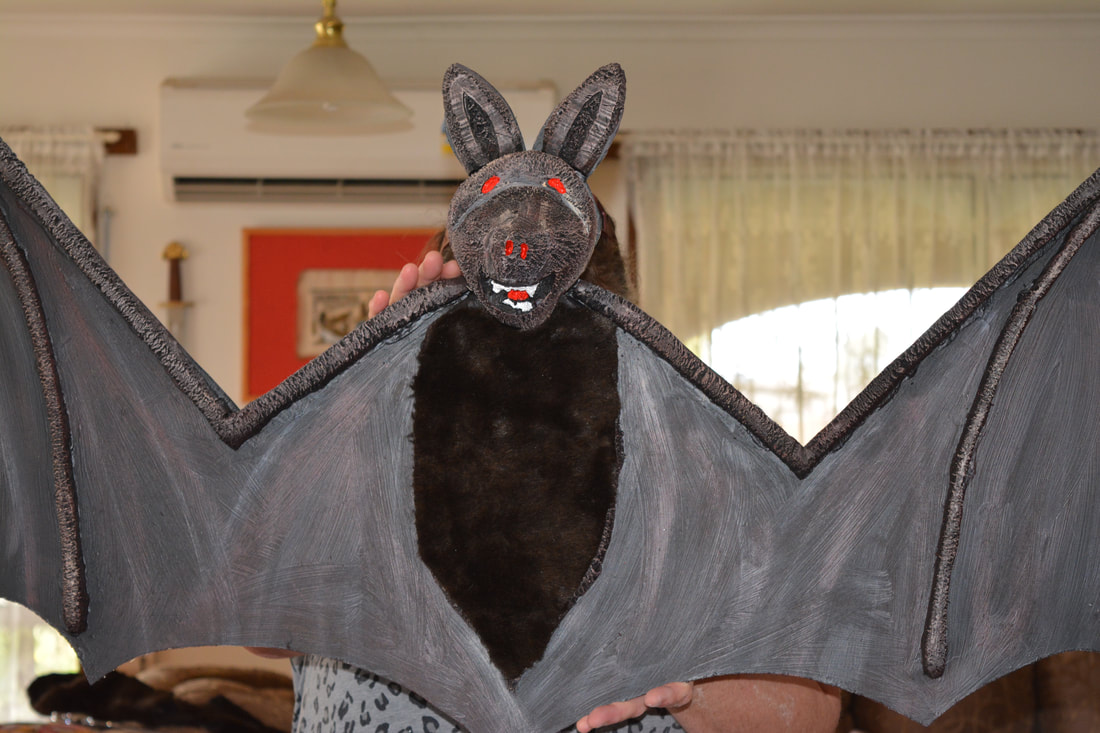
- Once the glue set shape them.
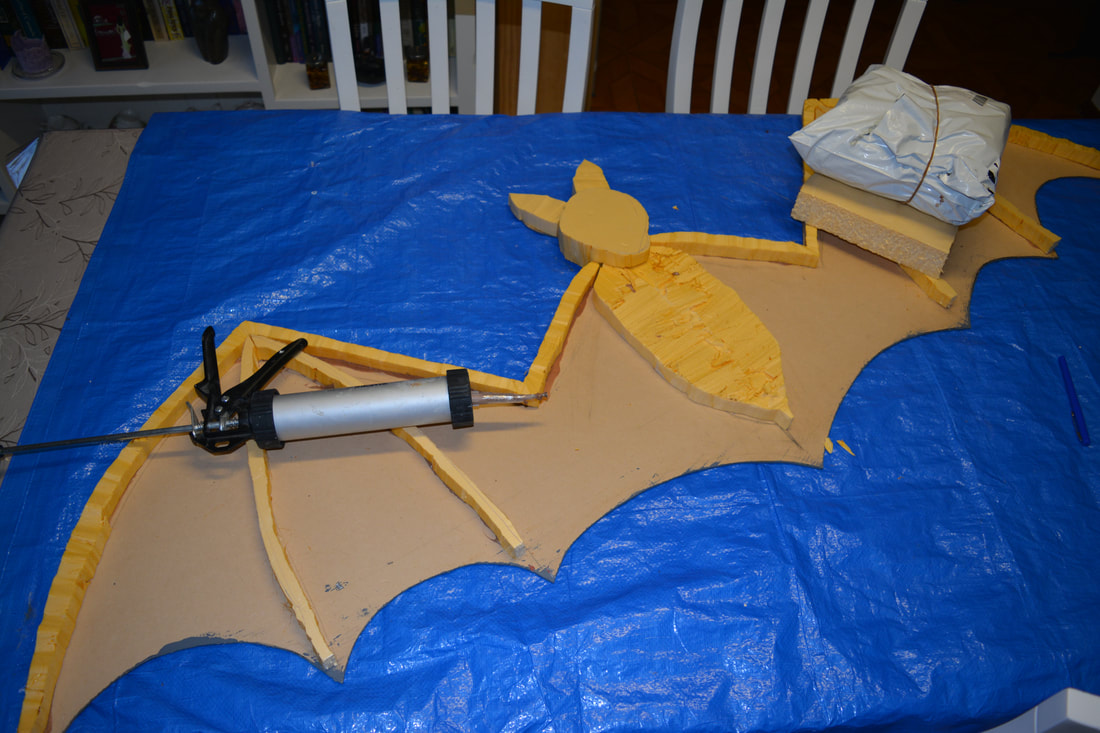
- Glue all pieces onto the board.
- Use the hot knife/soldering iron to add detail to the ears and face.
- We carved the teeth from the face piece but they could be made from other materials and glued in i.e. paper mache clay/large wooden skewers cut down etc.
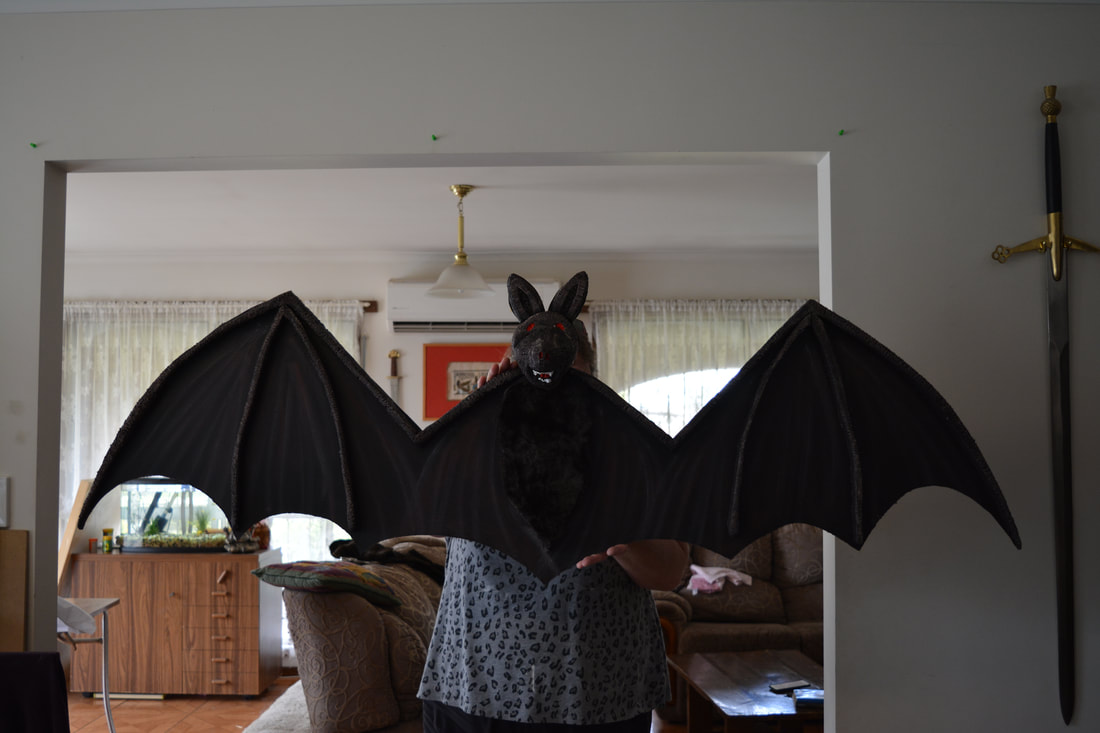
- After this is done paint the body & boning pieces & when that is dry dry brush lighter details.
- Use the darkest detail first & each lighter tint after that ending with the lighest paint tint.
- The last thing we did was cut out a piece of fur material (the stuff the teddy bears are made from) & glued it to the body.
- Finally we added a strip of beading wood to the back to fix eyelets to so we could mount it on a wall or hang.

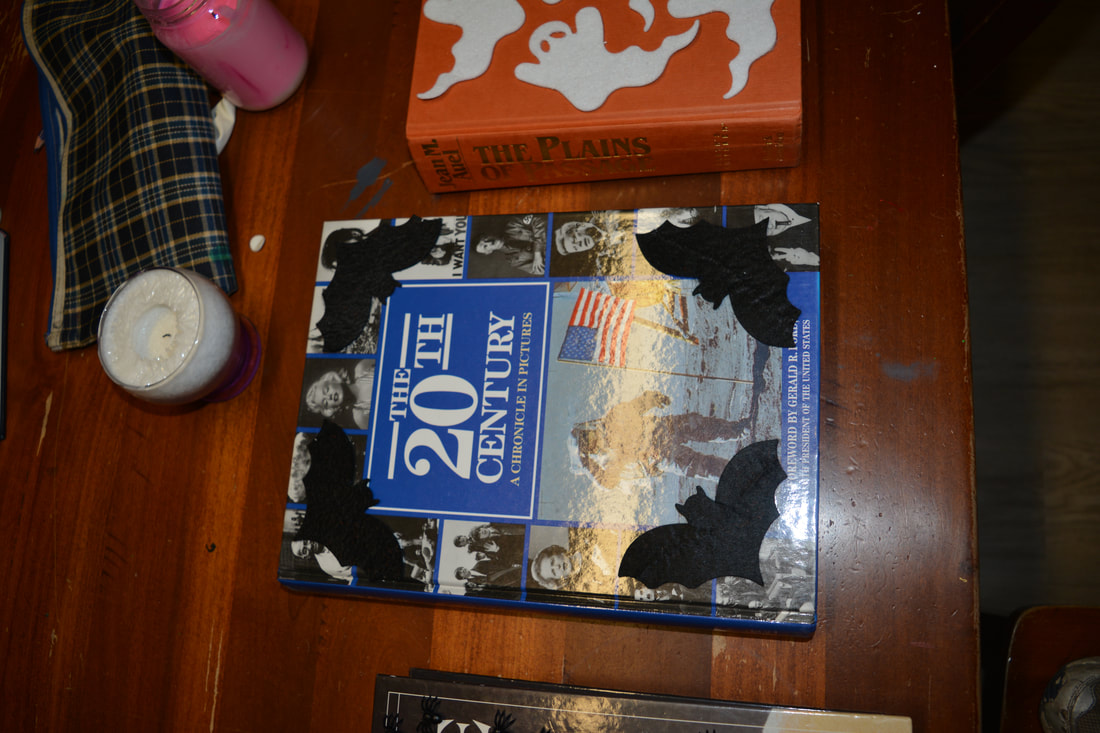
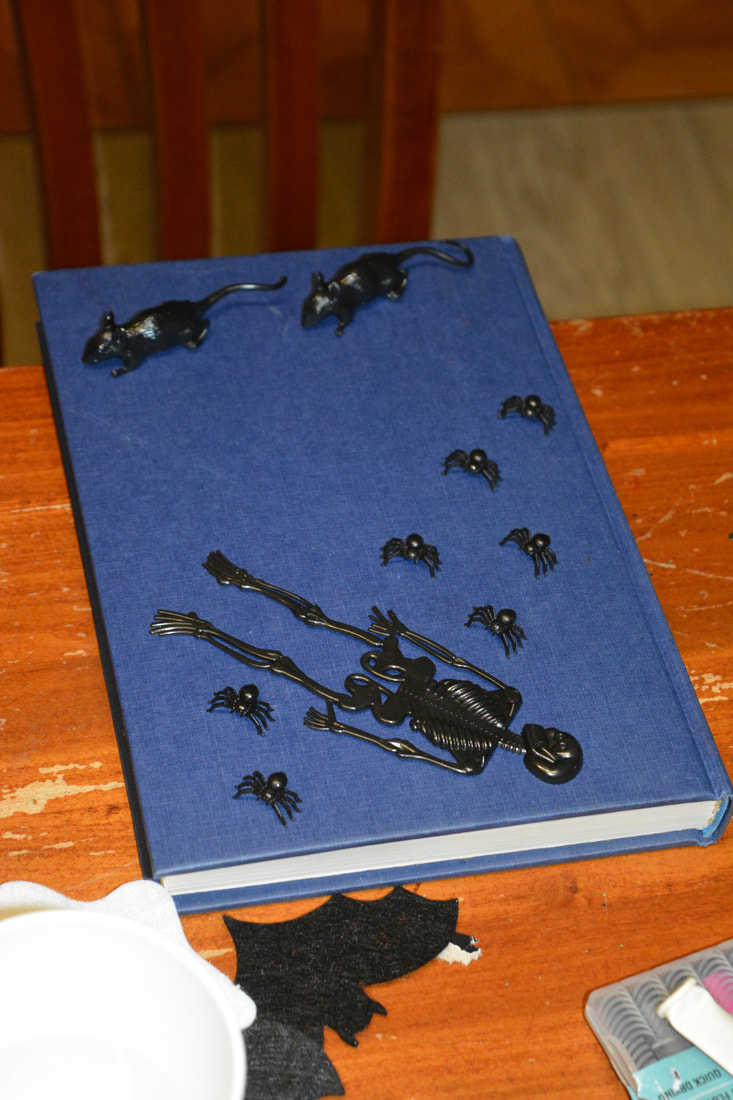
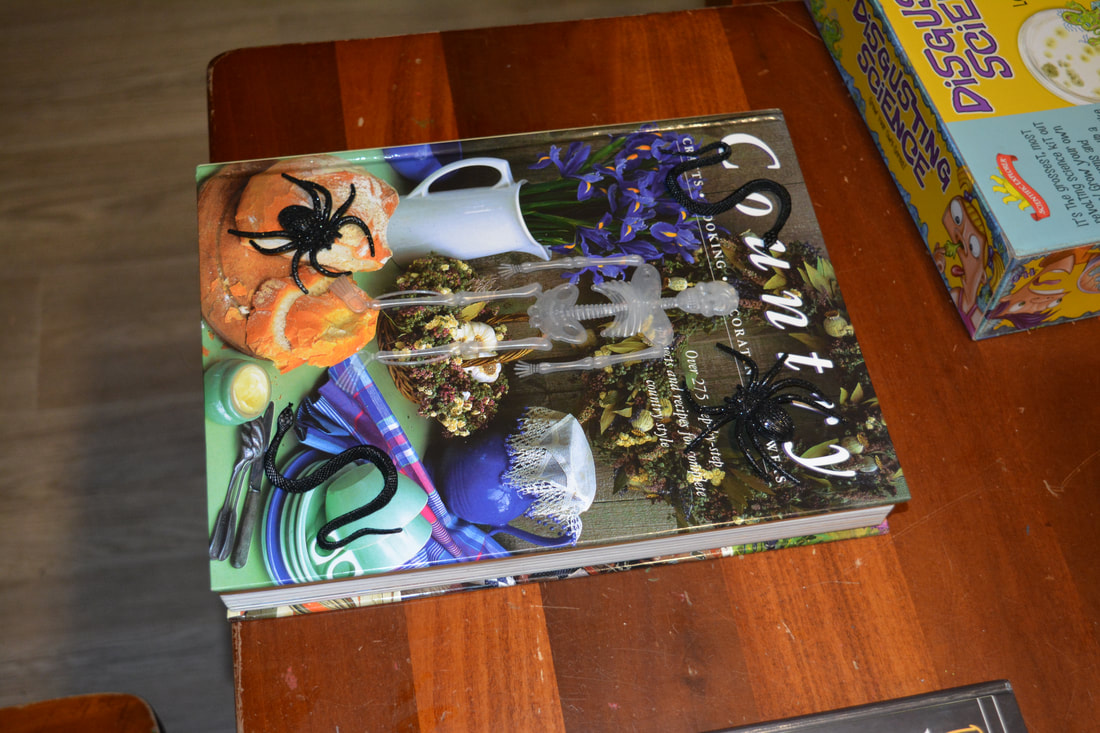
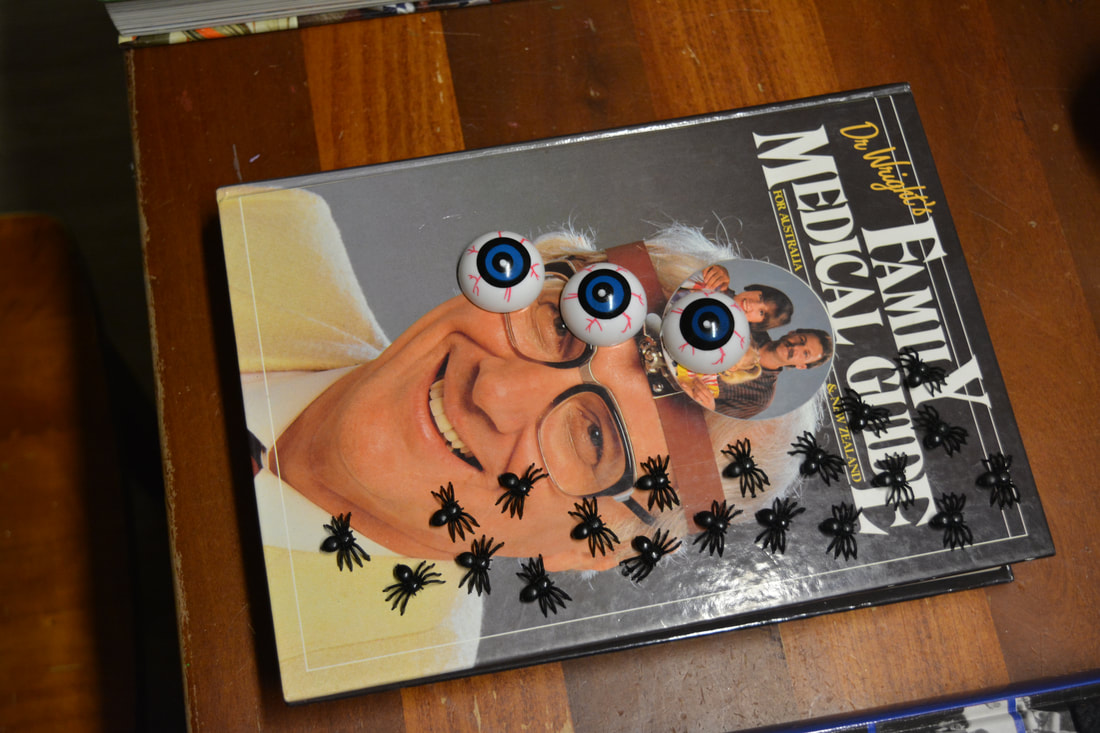
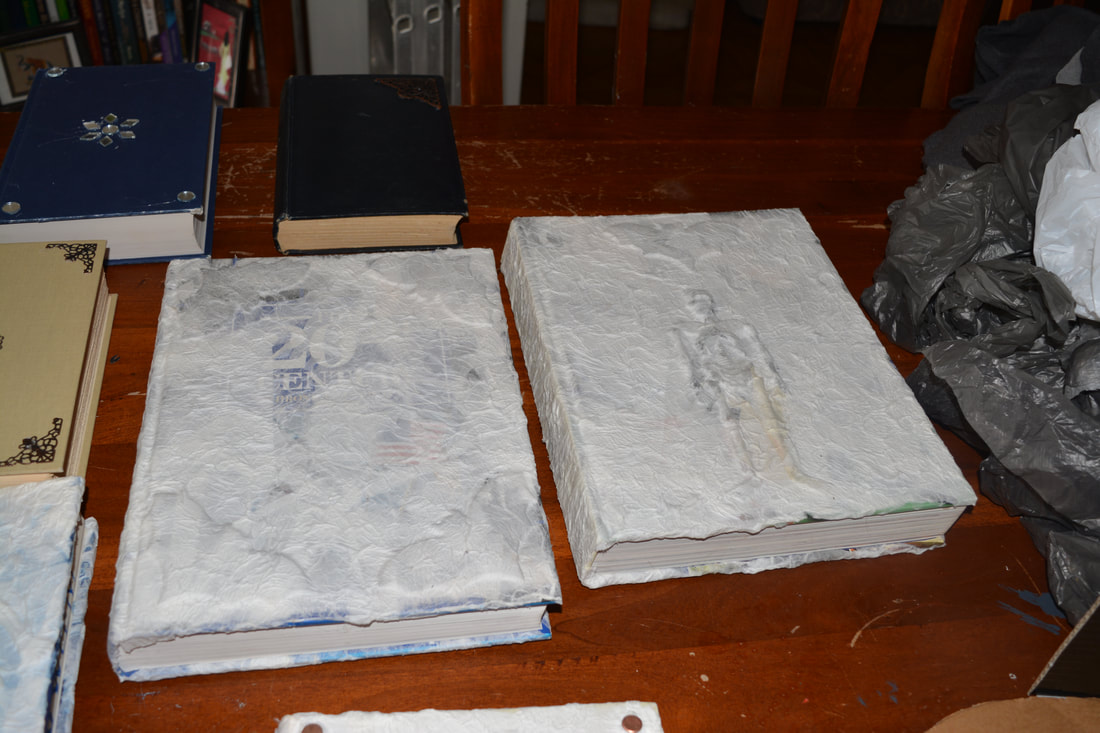
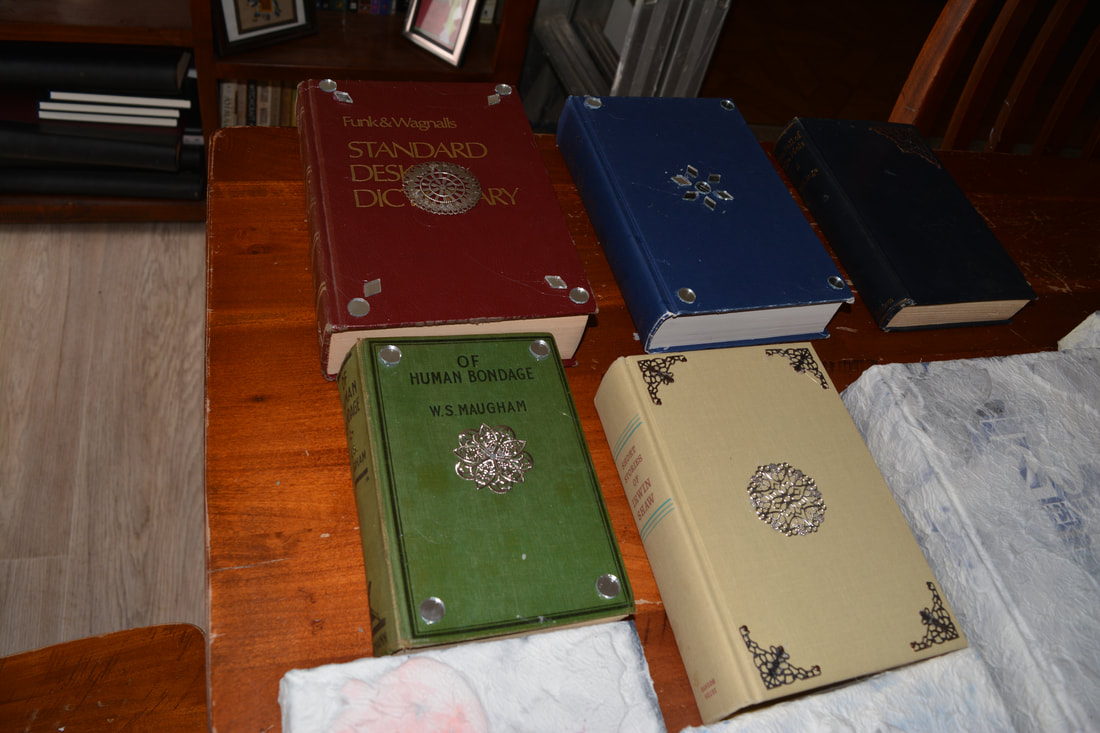
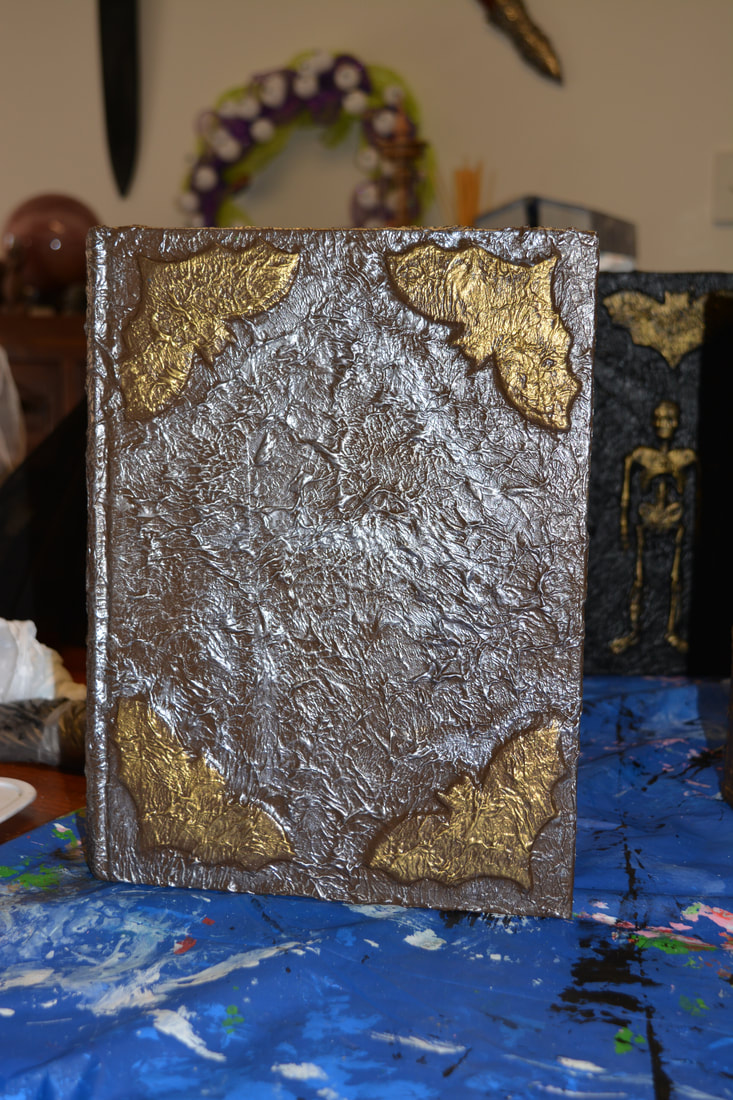
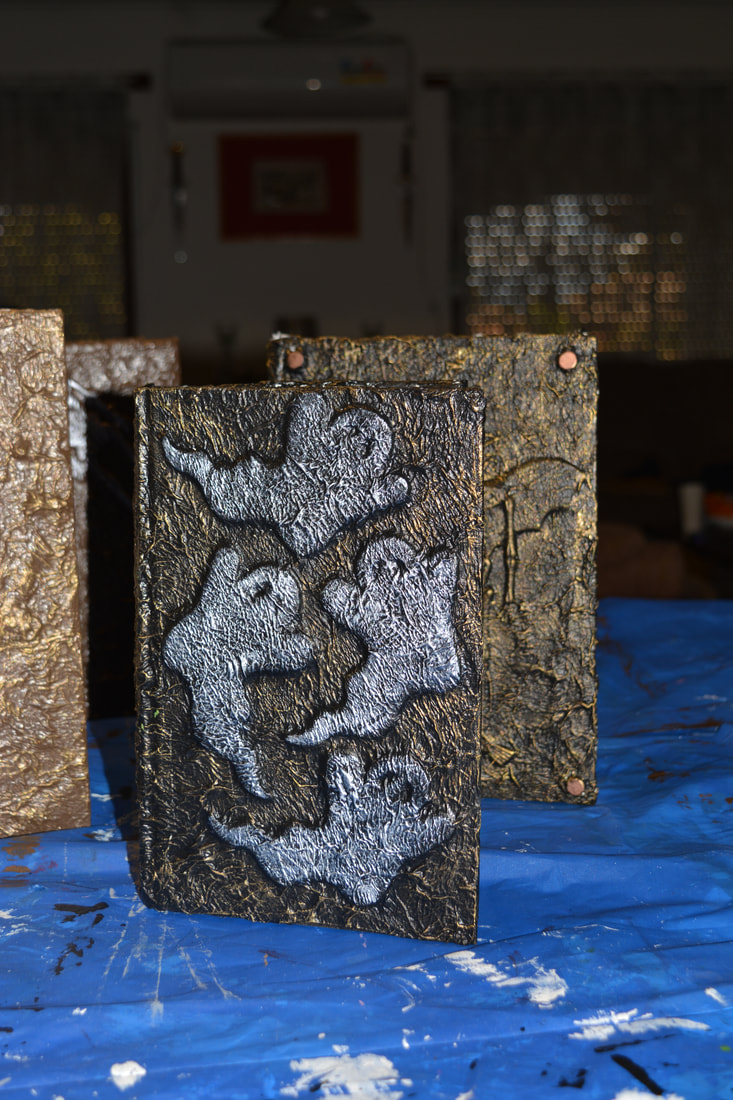
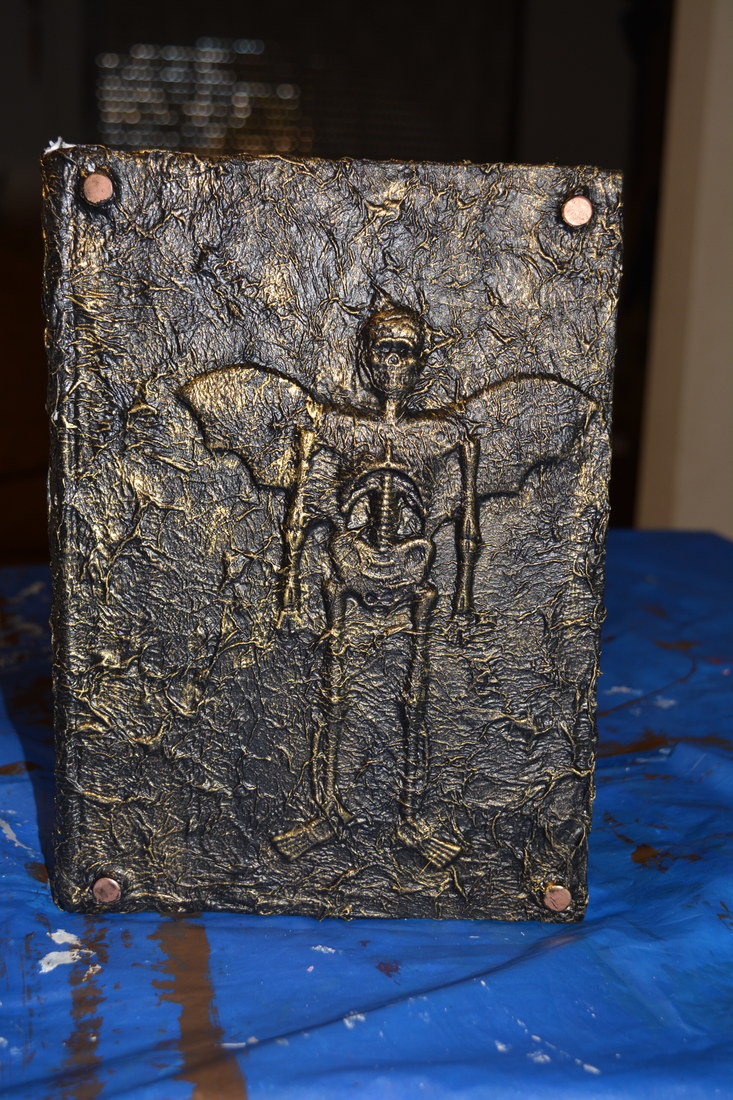
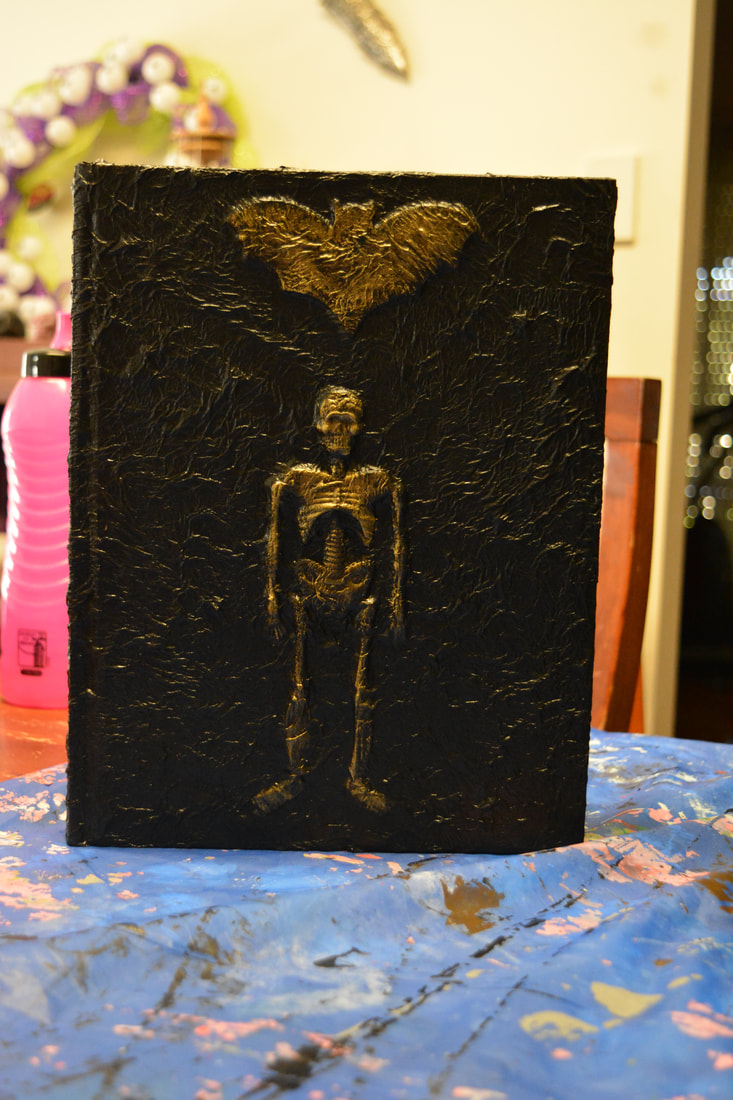
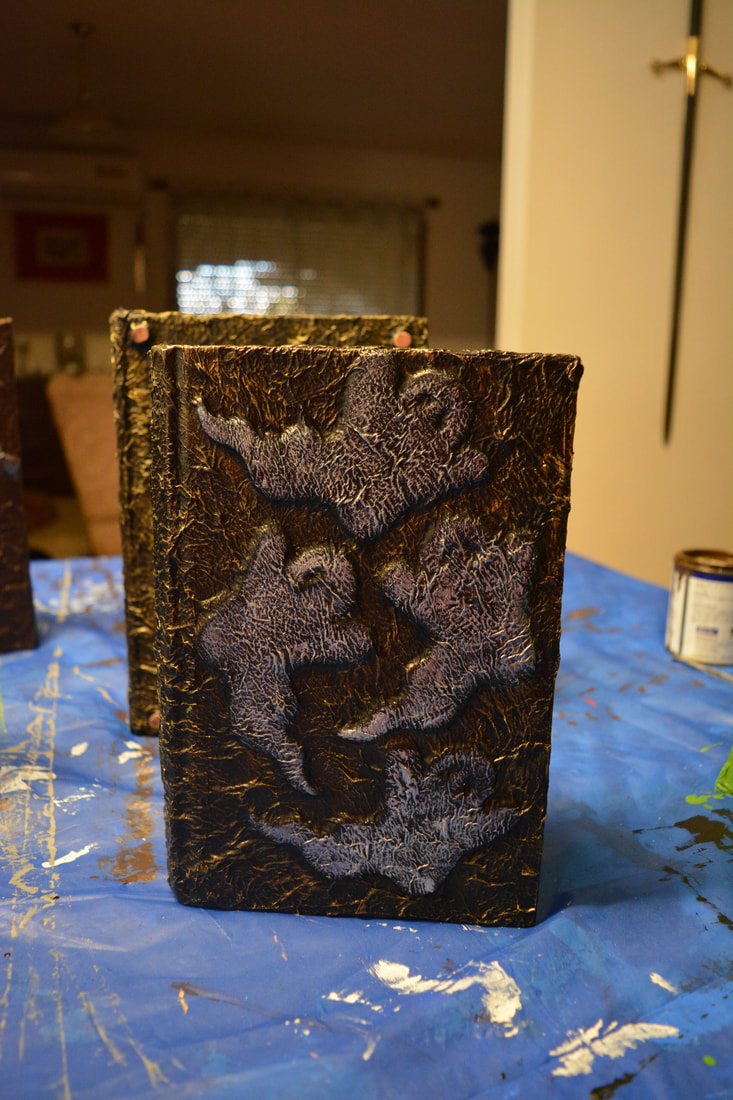
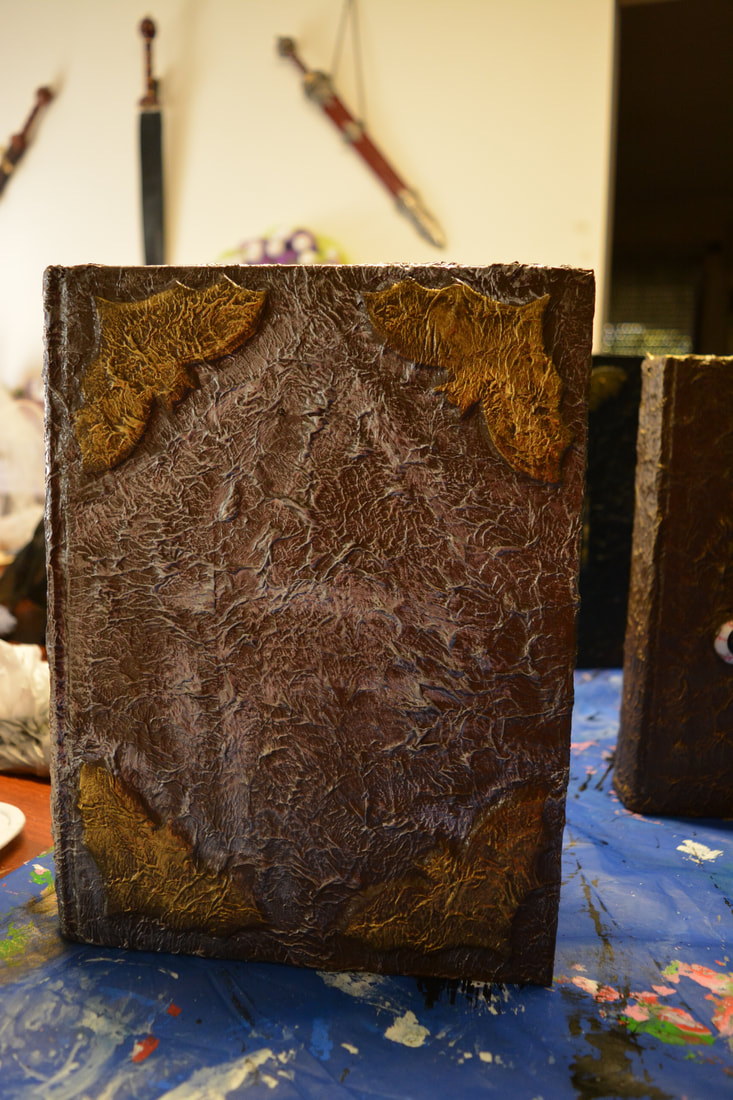
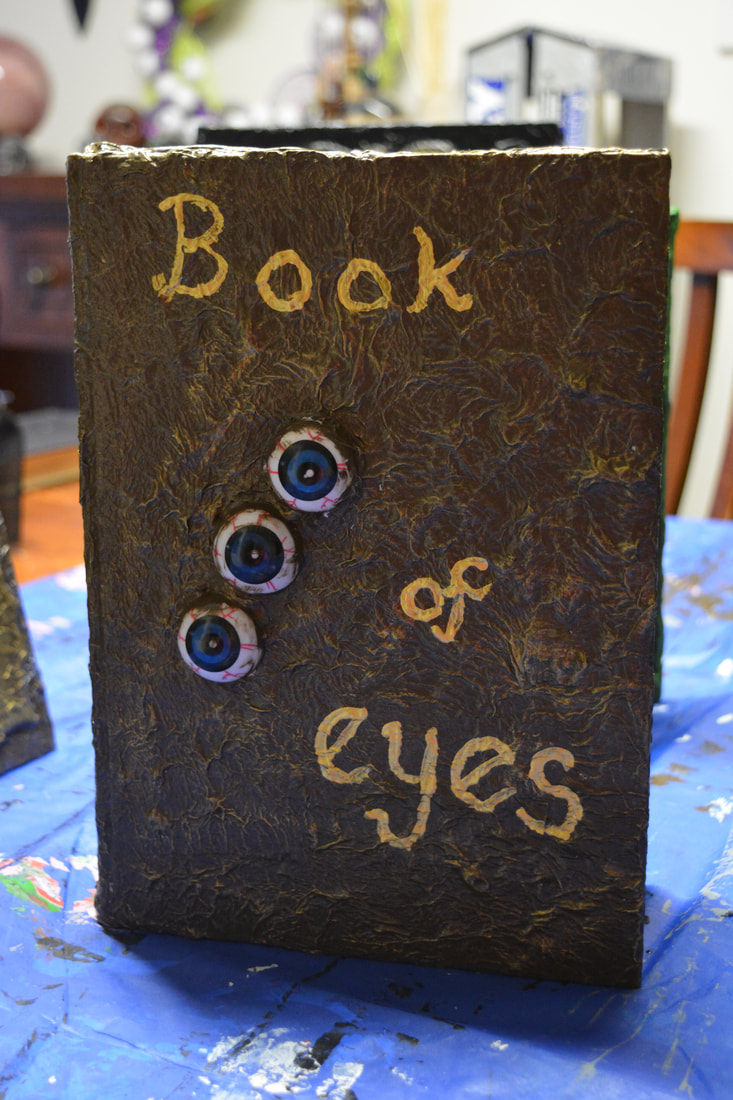
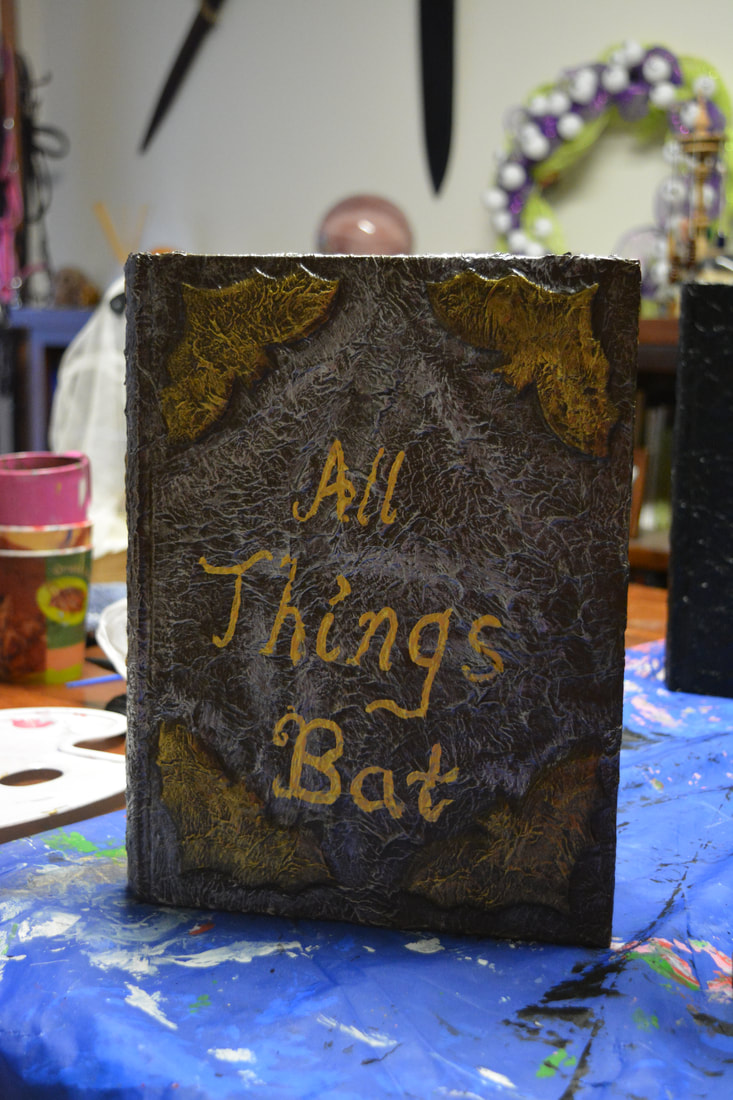
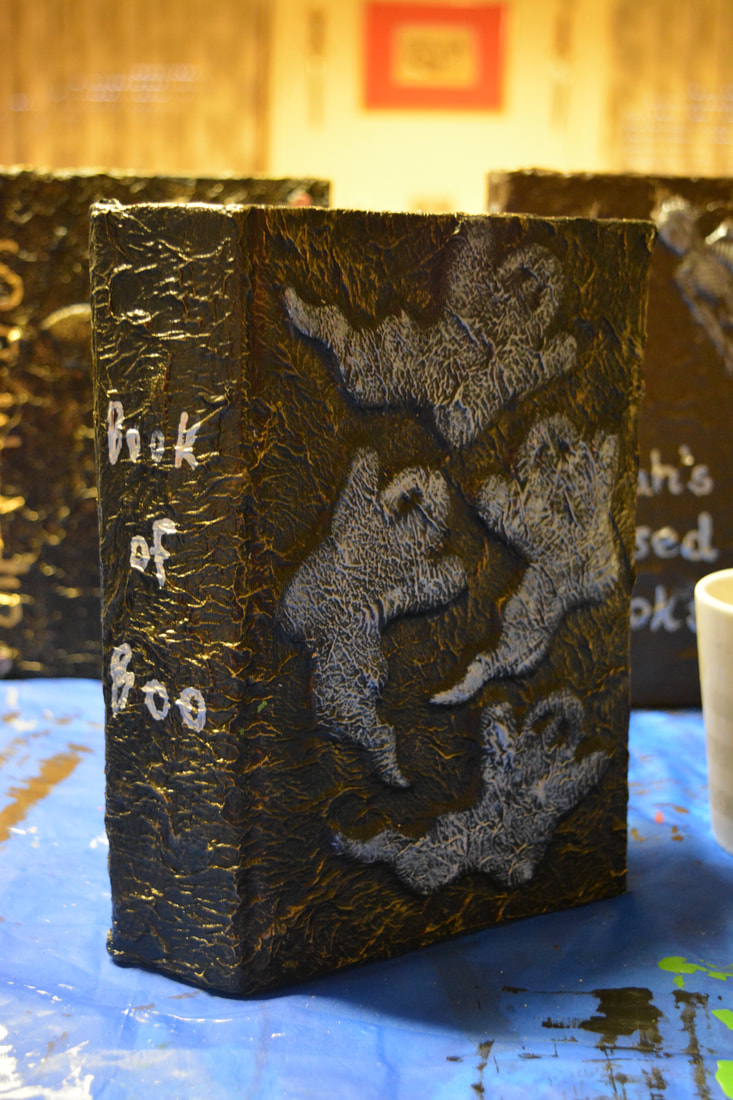
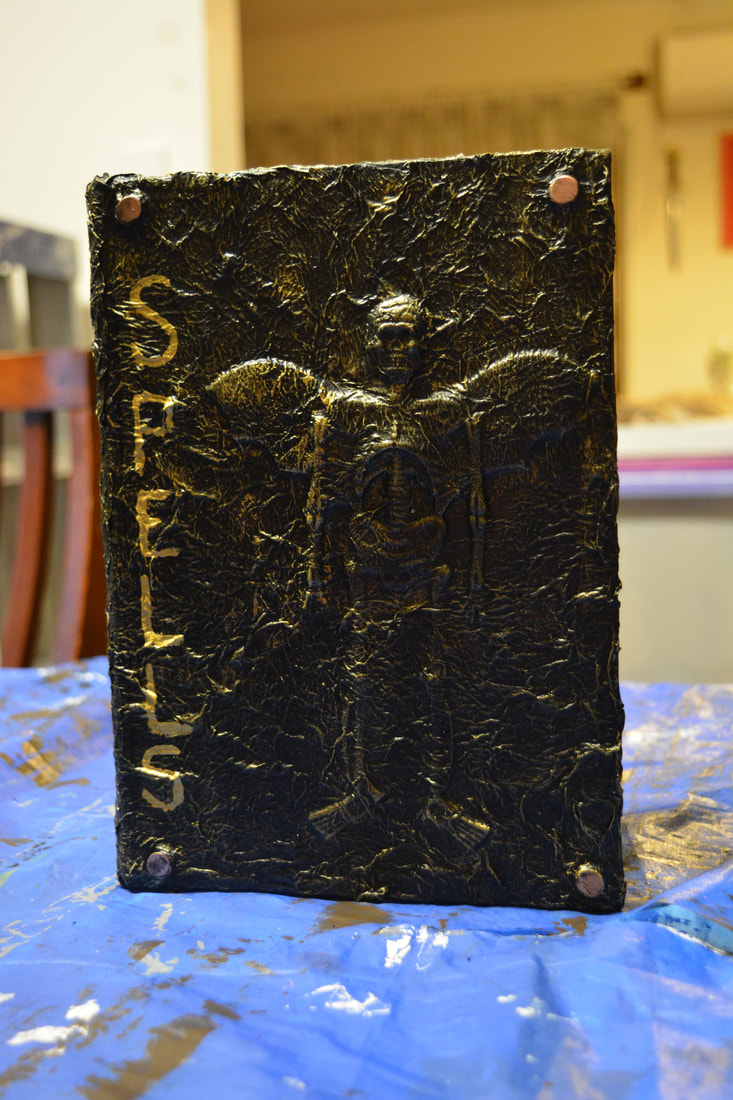
Creepy/Spooky Books
Materials Used
Old Hard Cover Books
Tissue Paper/Paper Towel
PVA (Wood) Glue
Embellishments (motifs, spiders, skulls, eyes etc)
Paint
Paint Brushes
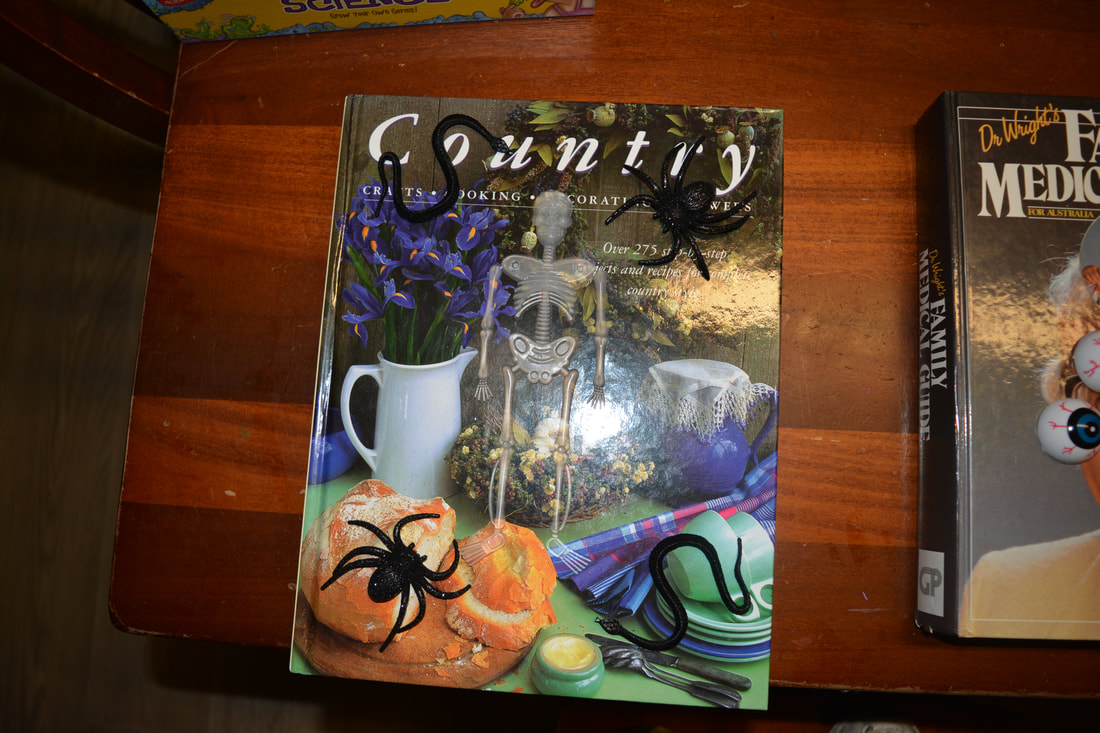
- Very easy and lots of fun to make, something that kids can easily help with also
- Set out the design you are looking for before you start to get an idea of what you want
- Take pictures so you don't forget if you not going to cover the embellishments with the paper
- When happy with your design glue it on
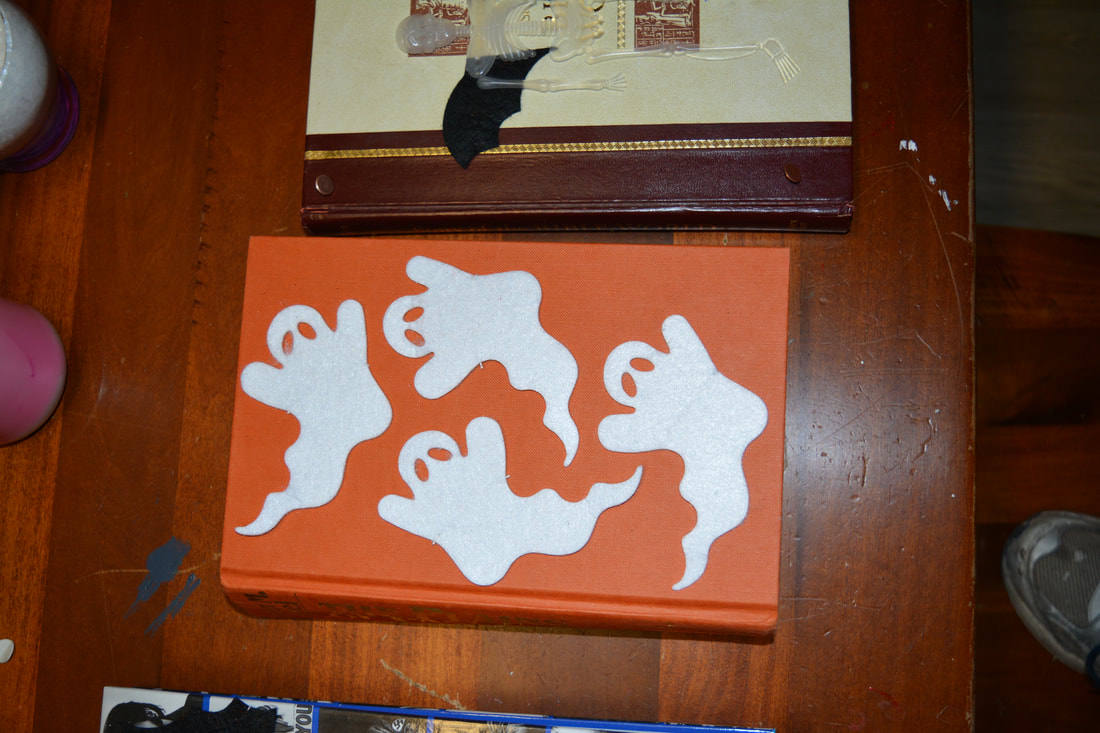
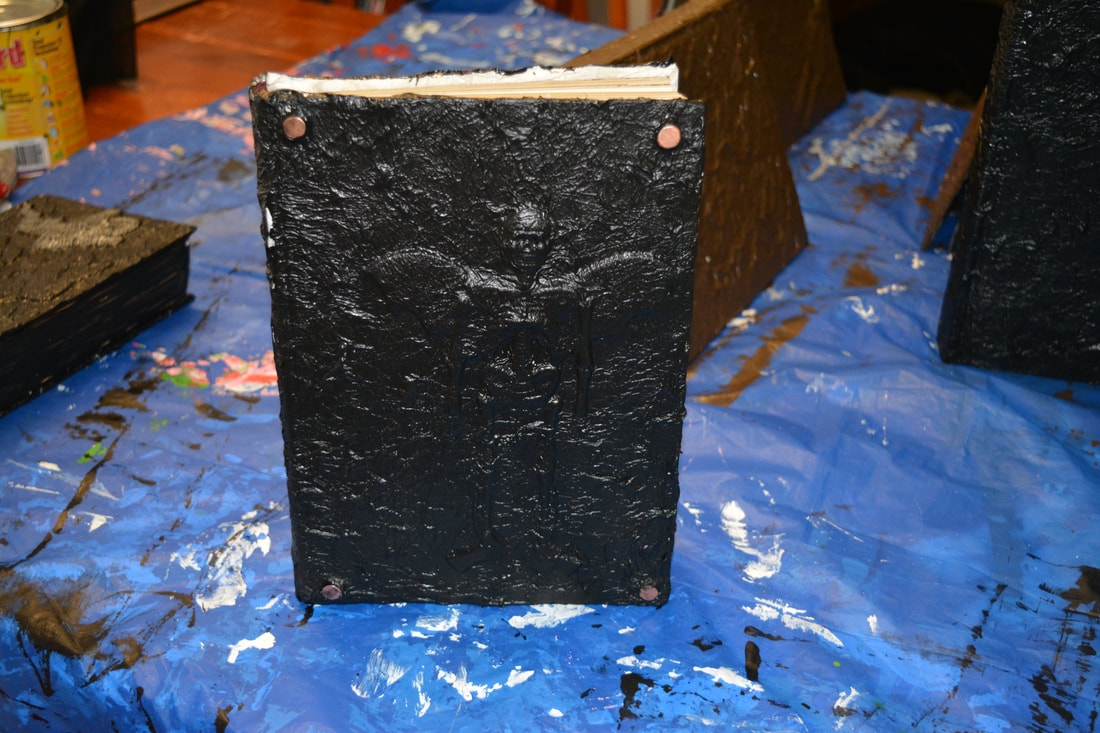
- Mix a bowl of 50/50 water and PVA glue
- Use a small artist brush to dab down the toilet tissue making as many wrinkles as possible without tearing the paper
- Cover the entire book, you may have to do this in stages to allow sections to dry so you can turn the book however if the book will stand on its own on its edge you will be able to do the whole book
- Allow the tissue, glue/water mix to dry well before you paint
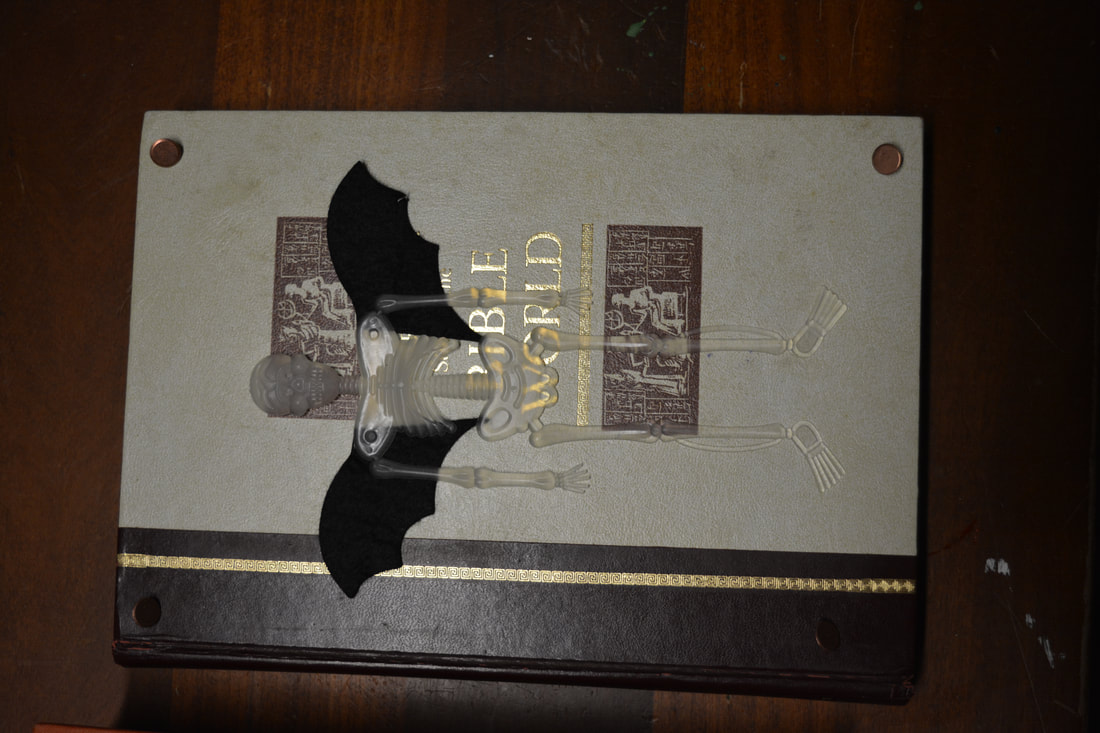
- Once dry paint the books with their base coats, the darker the better
- I found I had touch up some of the books with the small artist brush
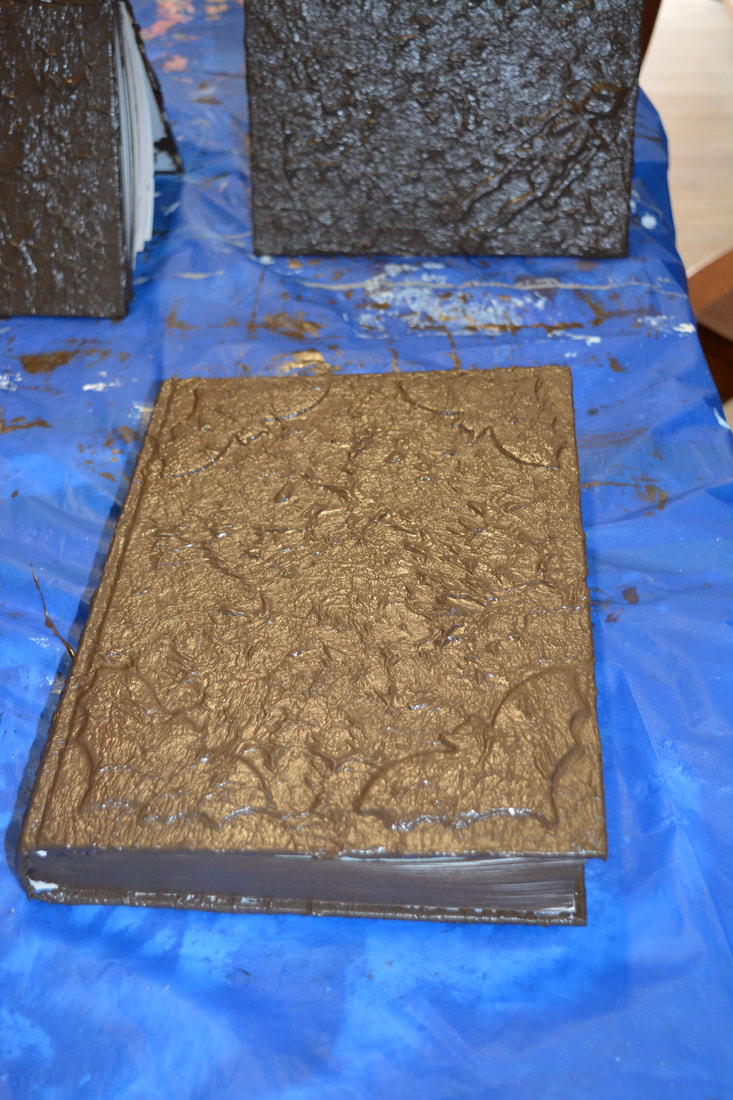
- Leave them to dry properly (mine took a good 3 days)
- Once they are dry properly use a dry brush with gold or silver or white paint and wipe off the excess then lightly brush over the book and the embellishments to highlight all the raised areas
- You may have to spend more time on the embellished areas to ensure they have good coverage and can be easily seen
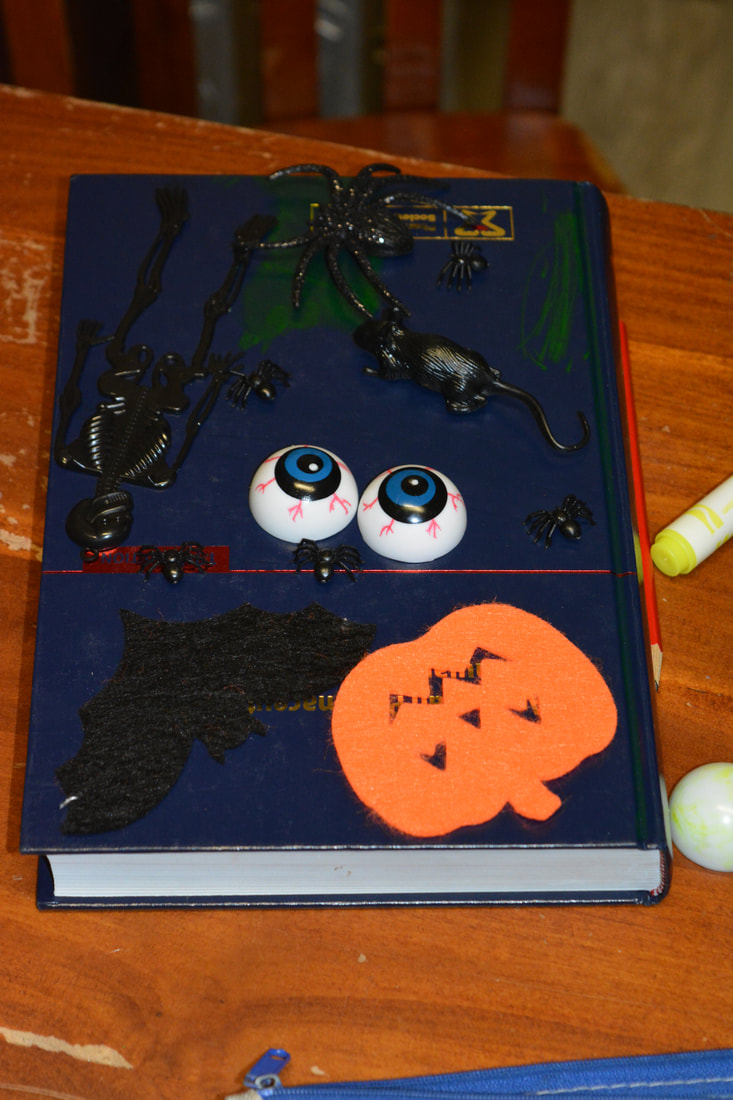
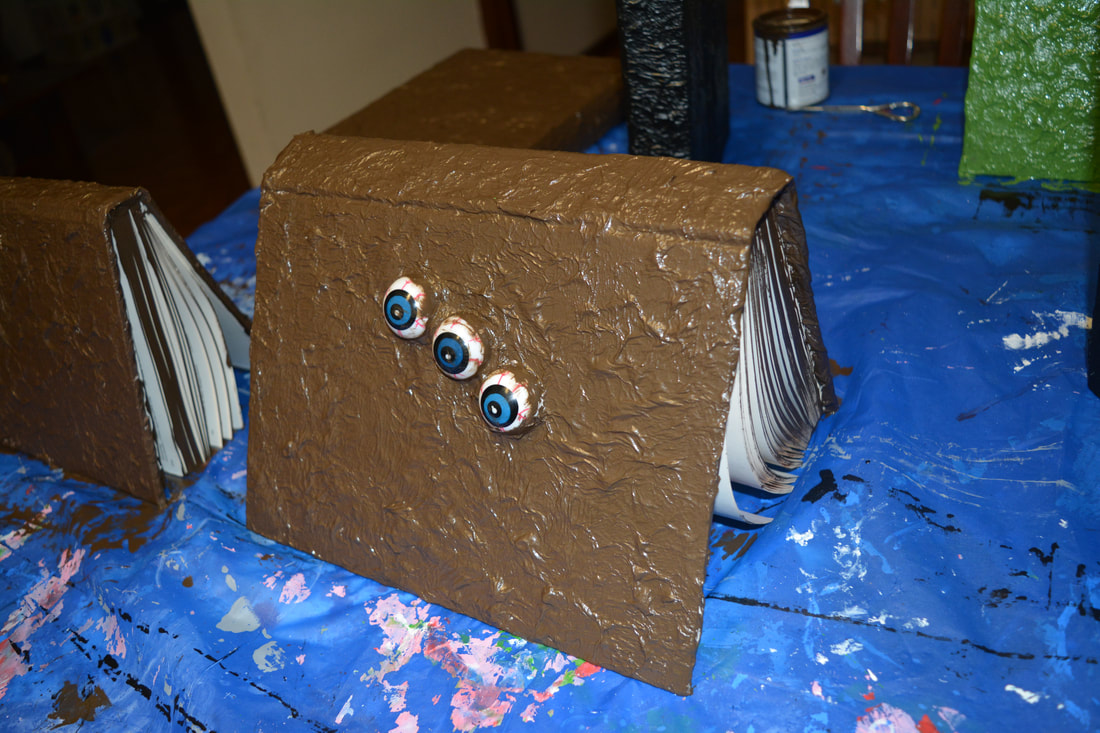
- Once this is dry (which is almost straight away) you can put on other embellishments like spiders, bugs or mice.
- You can either paint on the book names at this point of print labels and blend them onto the books
- Let them dry well and they are ready to use


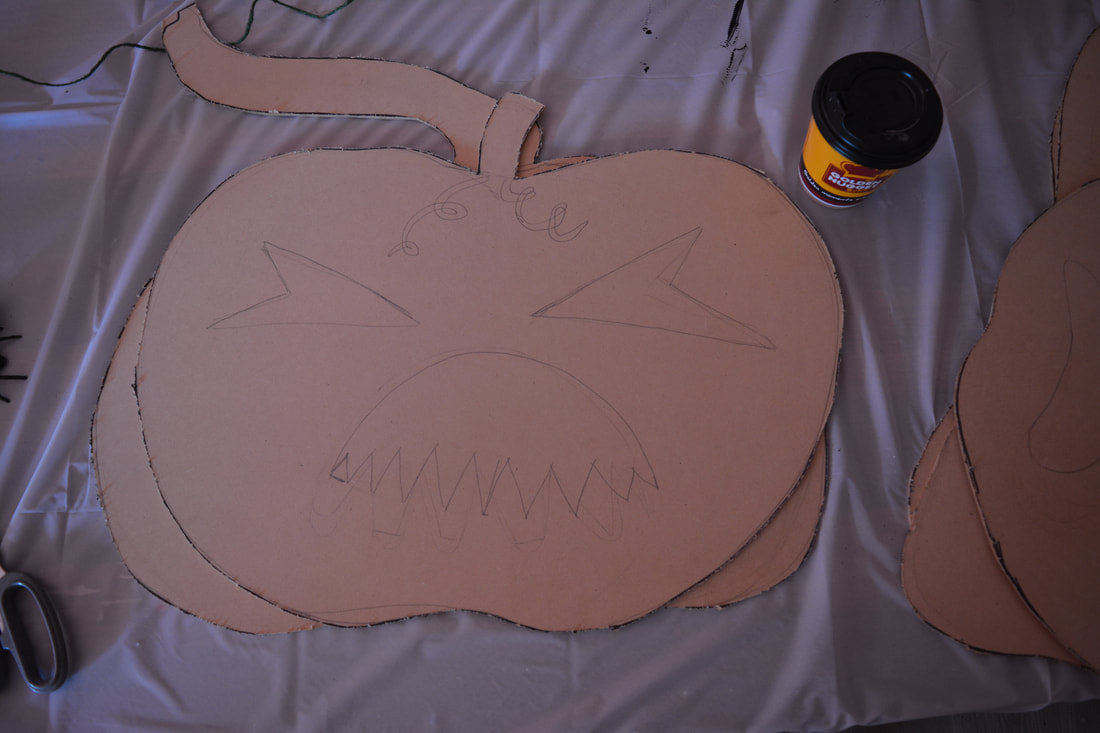
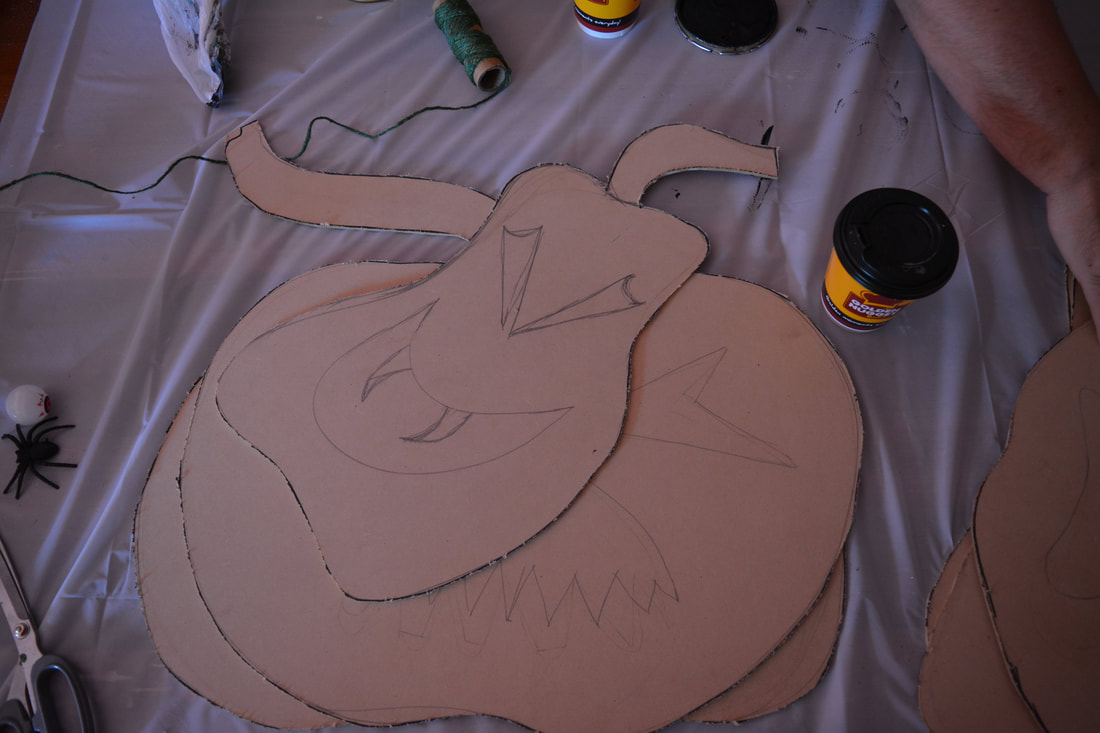
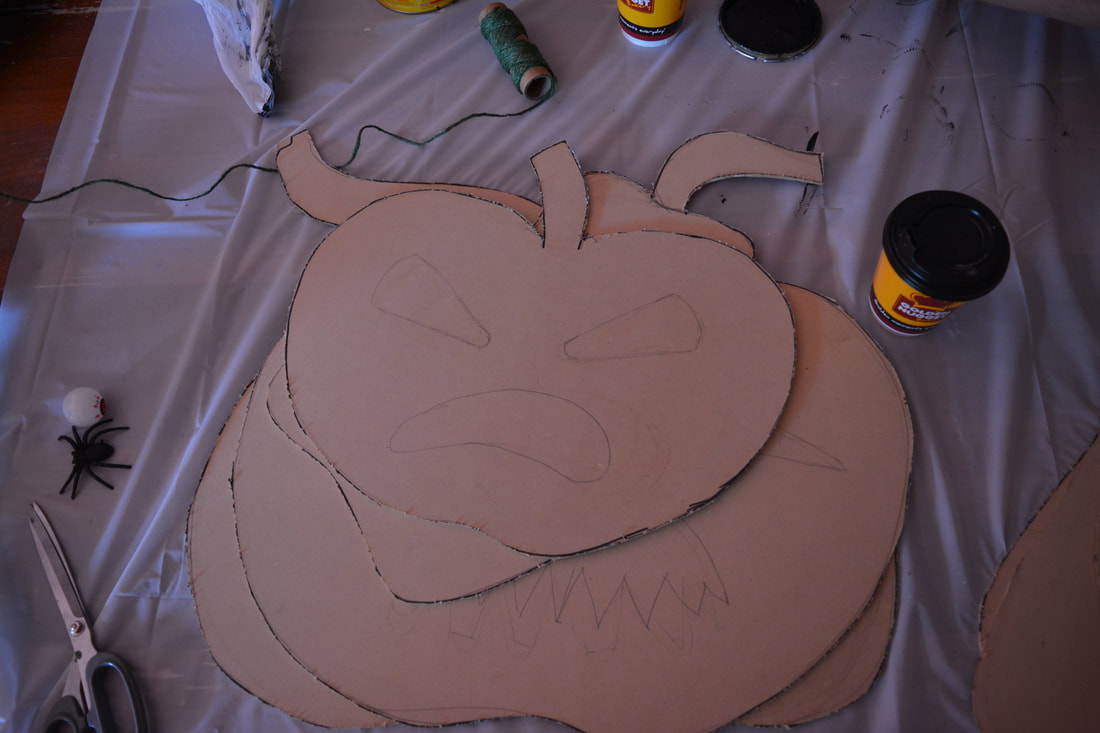
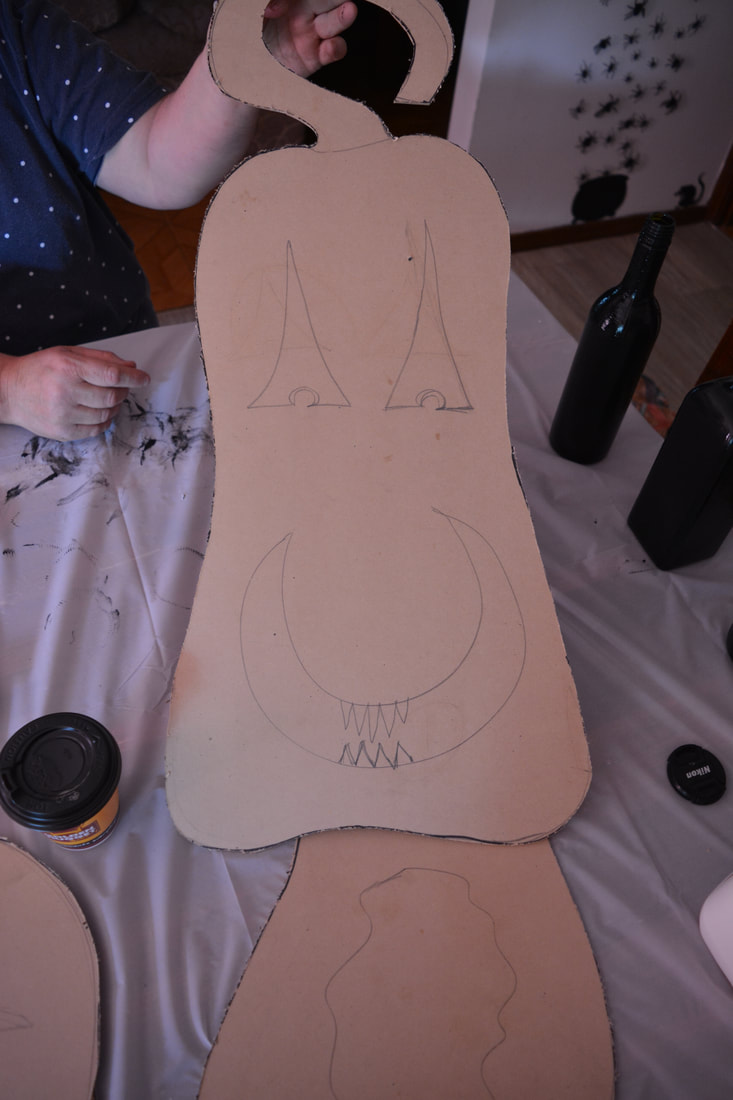
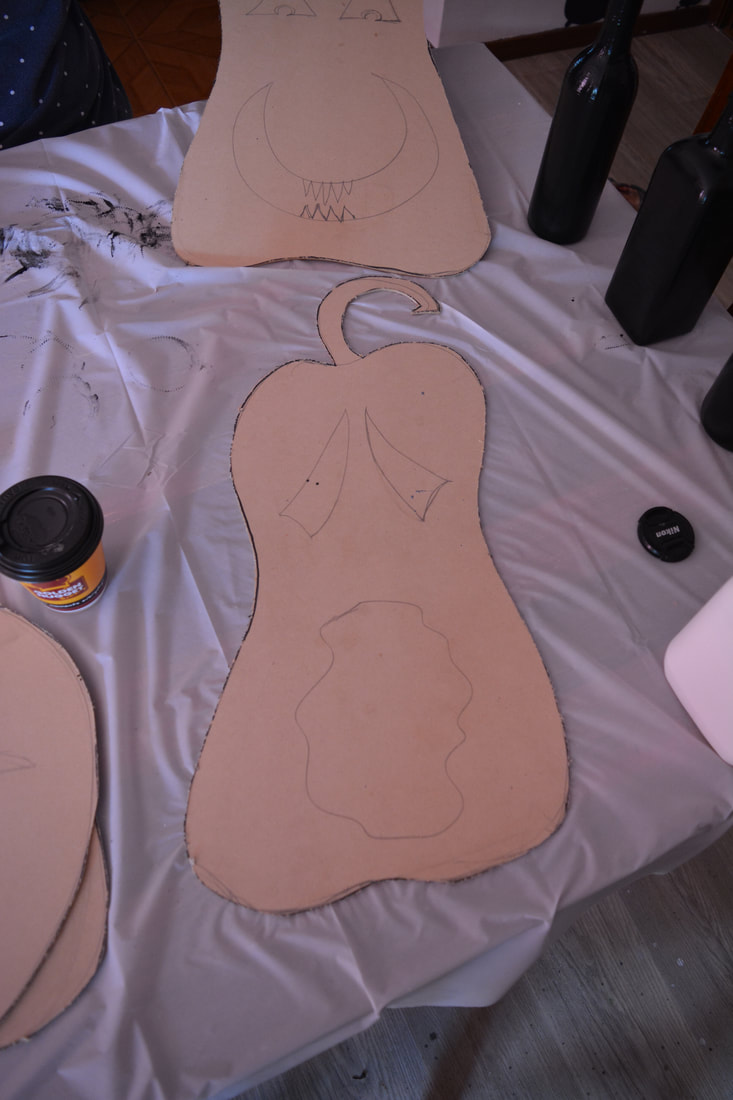
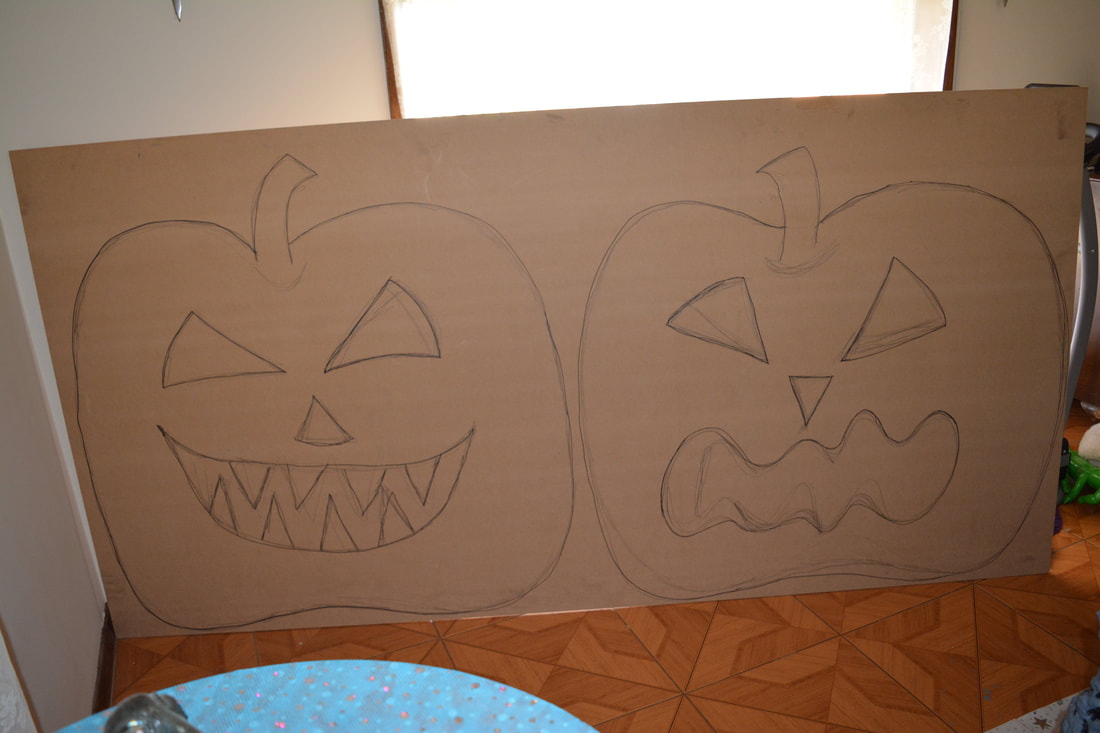
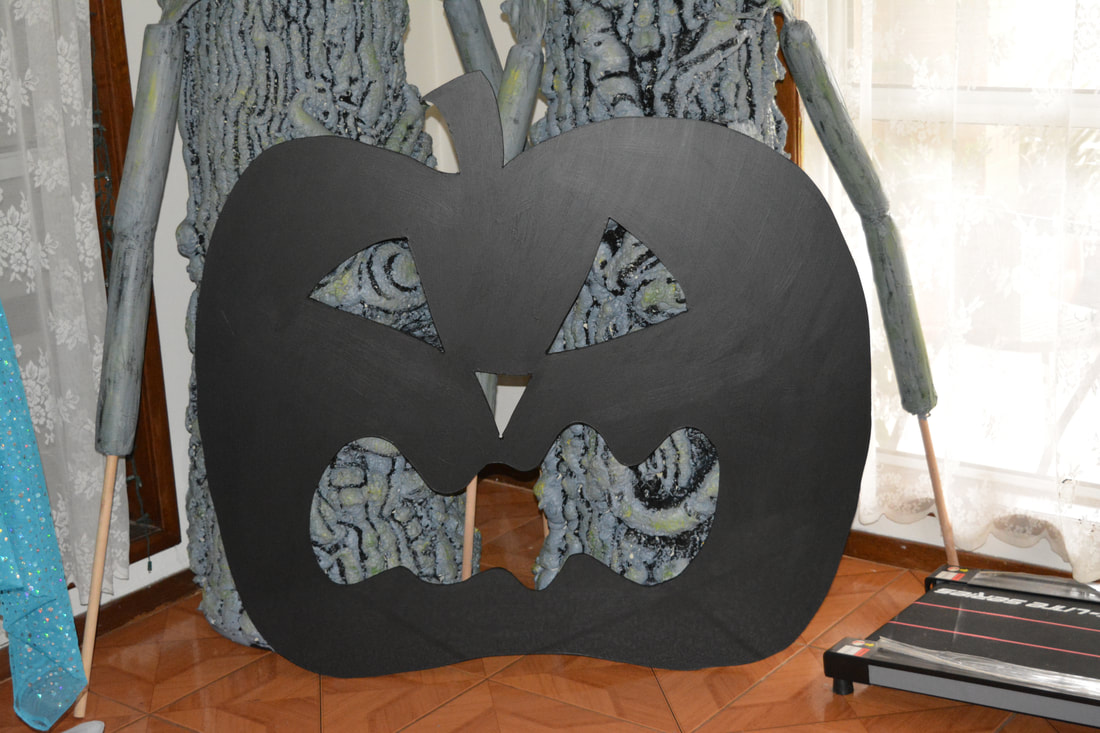
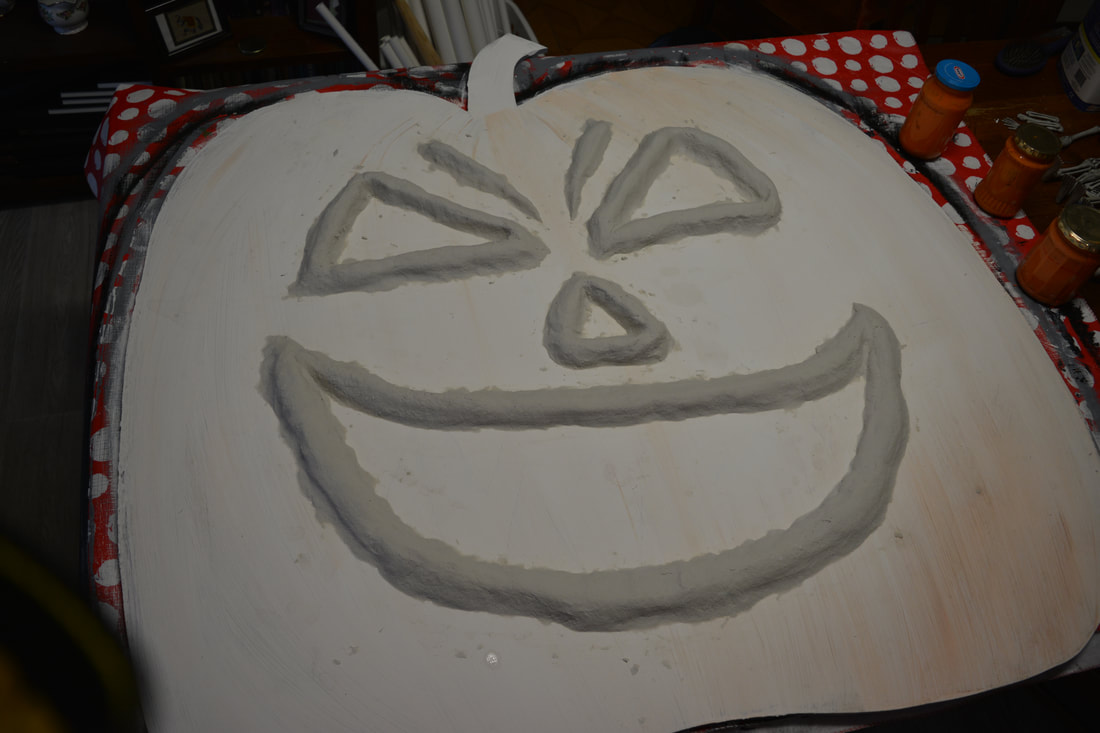
Giant 2D Pumpkins
Materials Used
2 - 6 x 1800 x 950mm MDF Sheets
Pencil
Papermache Clay
Jigsaw
Paint - black, orange, white, green
LED battery operated lights
Polypipe 15 or 20mm
U Saddles (to screw on the back to hold the pipe
10 or 15mm Stakes (push these into the ground and slide the pumpkins over them through the polypipe)
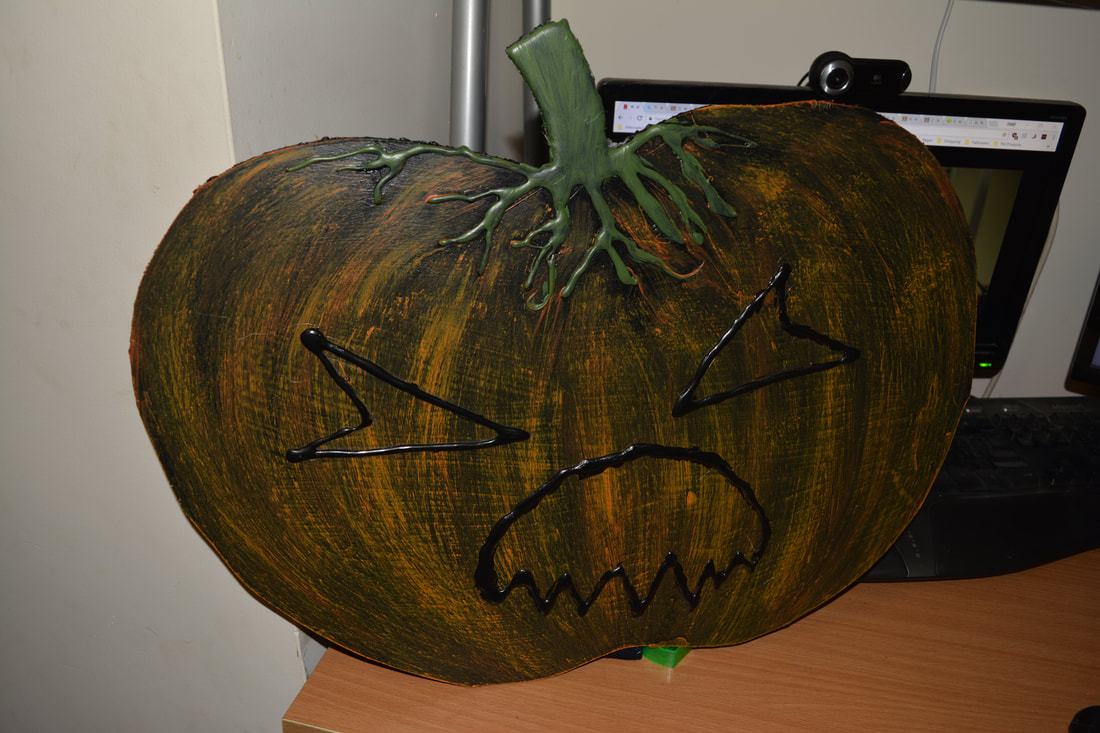
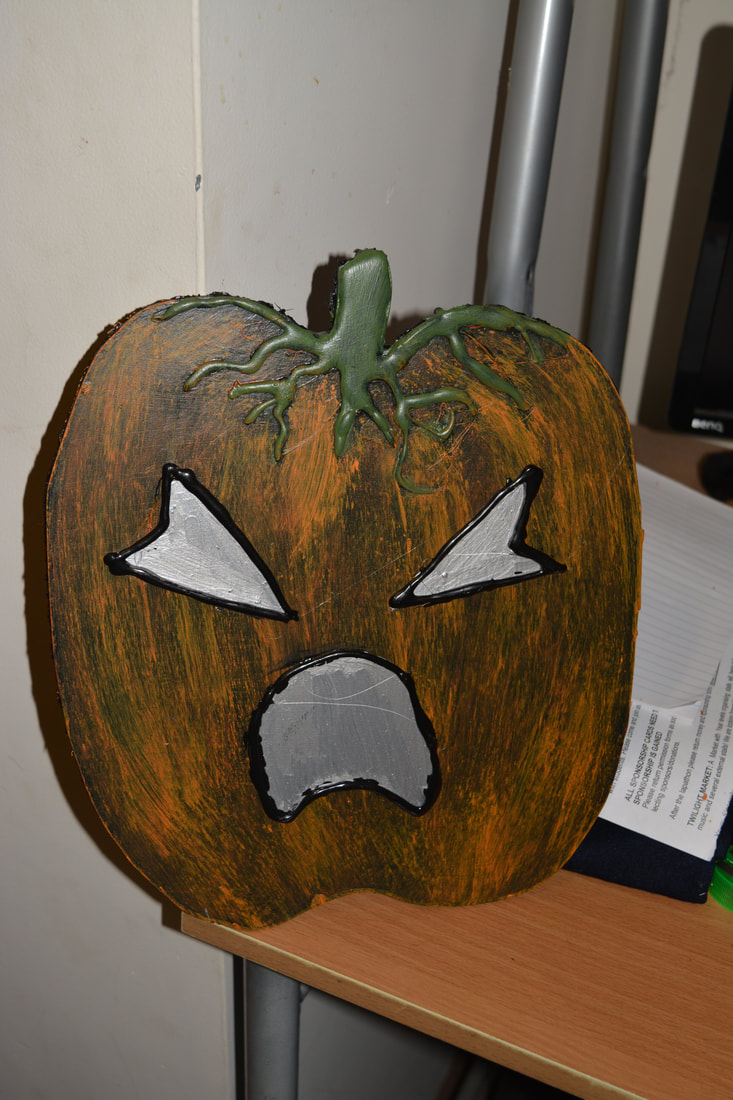
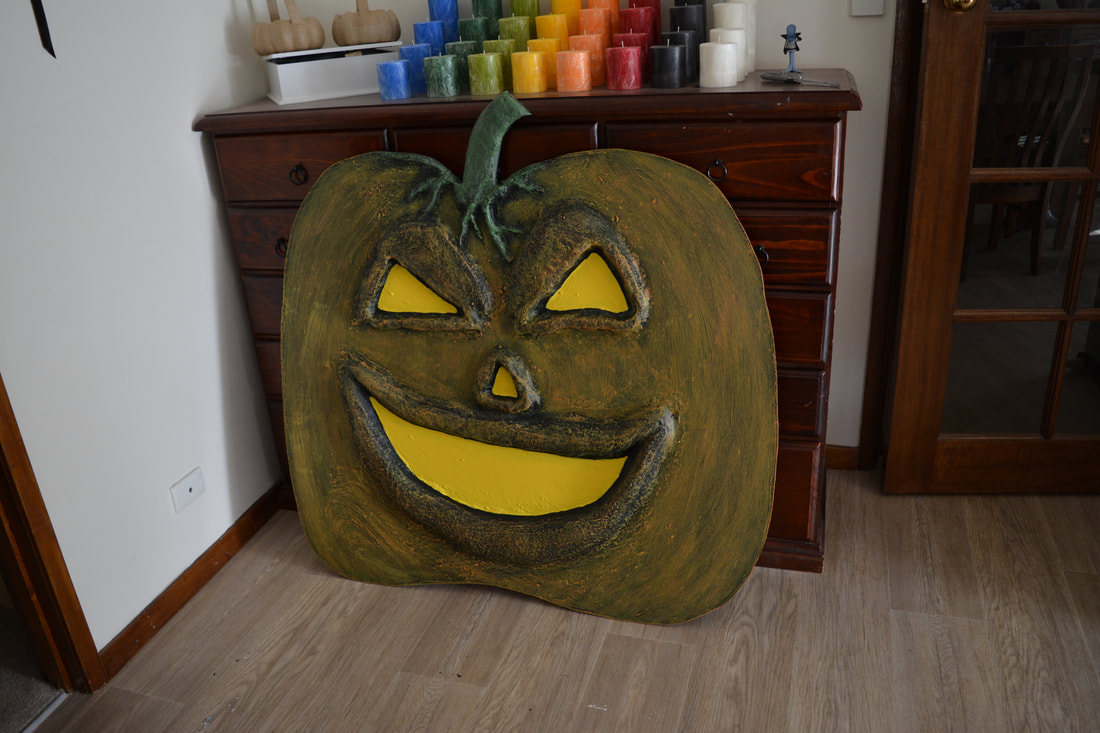
- I made one of these as a silhouette prop and the other as 3D prop.
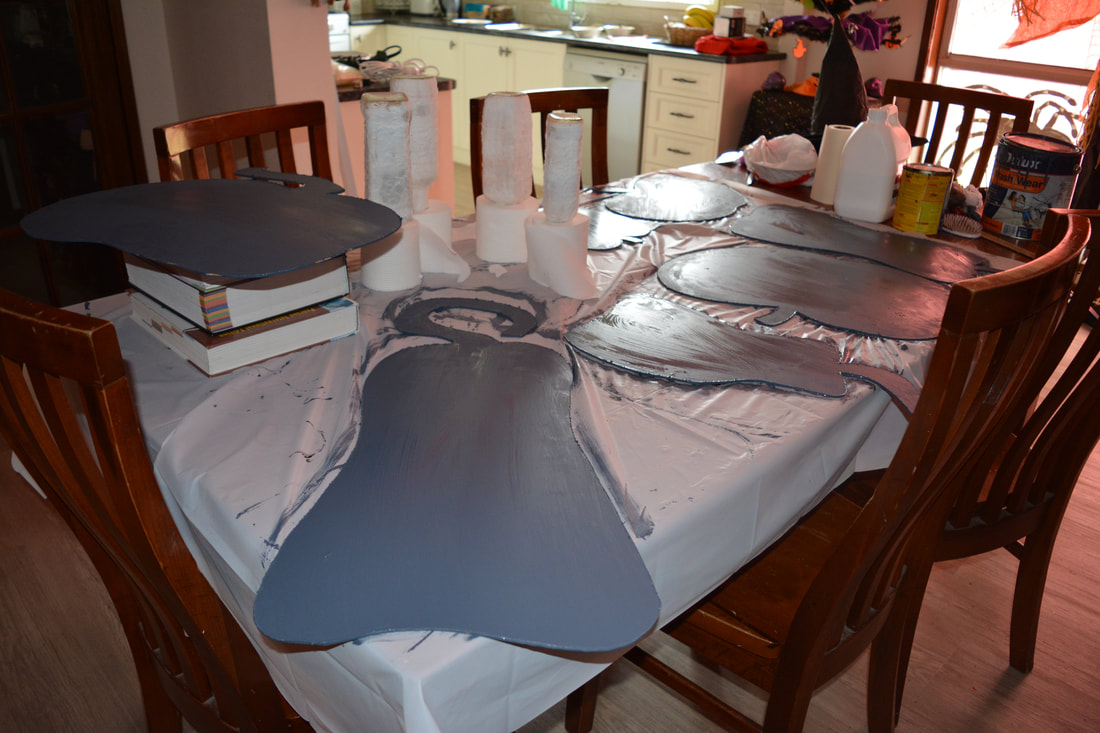
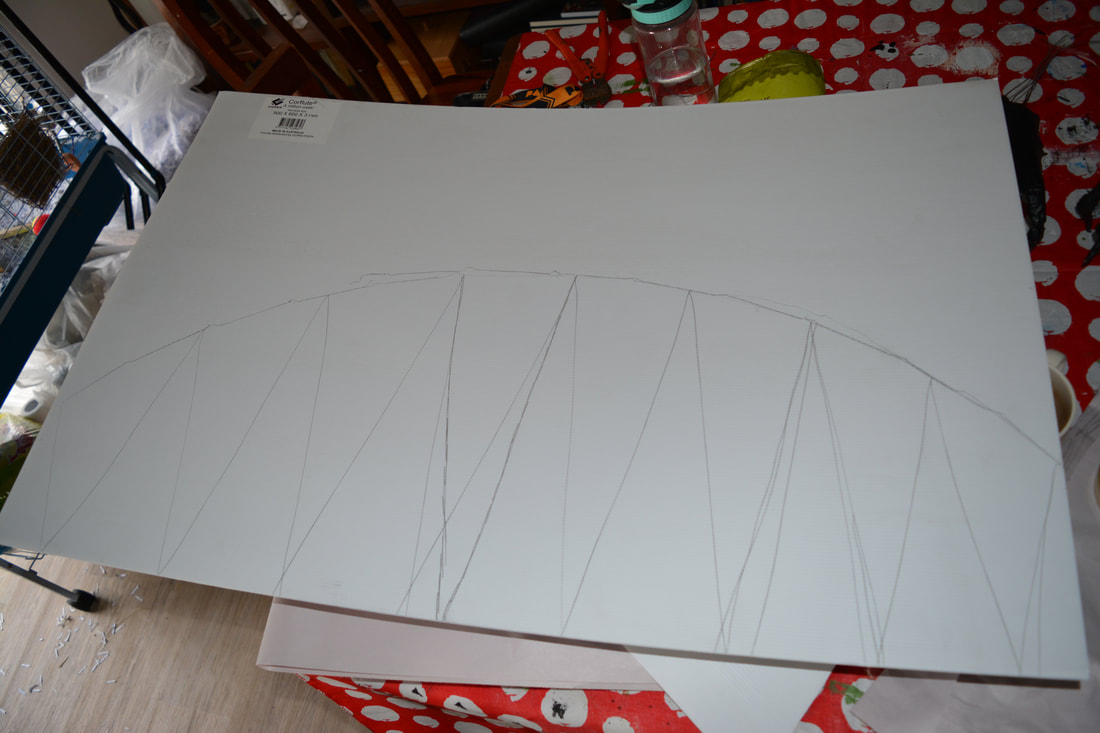
- Draw out your design onto the MDF and use a jig saw to cut it out.
- For the silhouette shape cut out the face also and then paint black. On the back of this one sick the LED lights around the edge of the cut out pieces of the face, then attache the polypipe so that it can't be seen from the front.
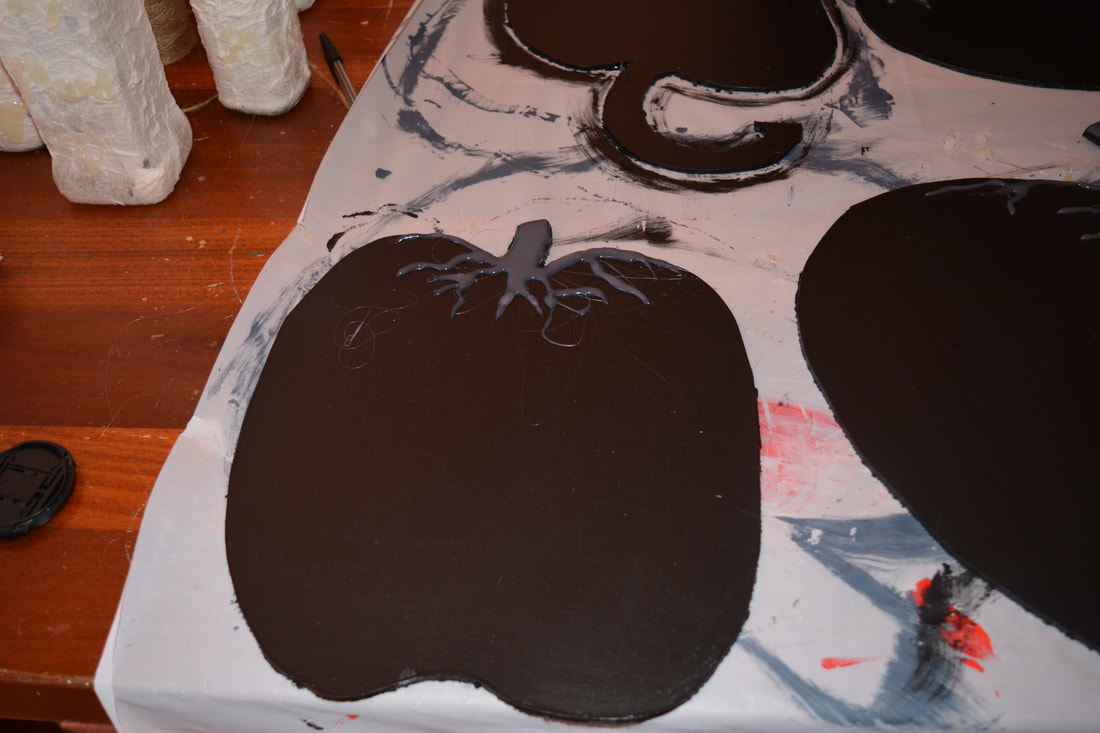
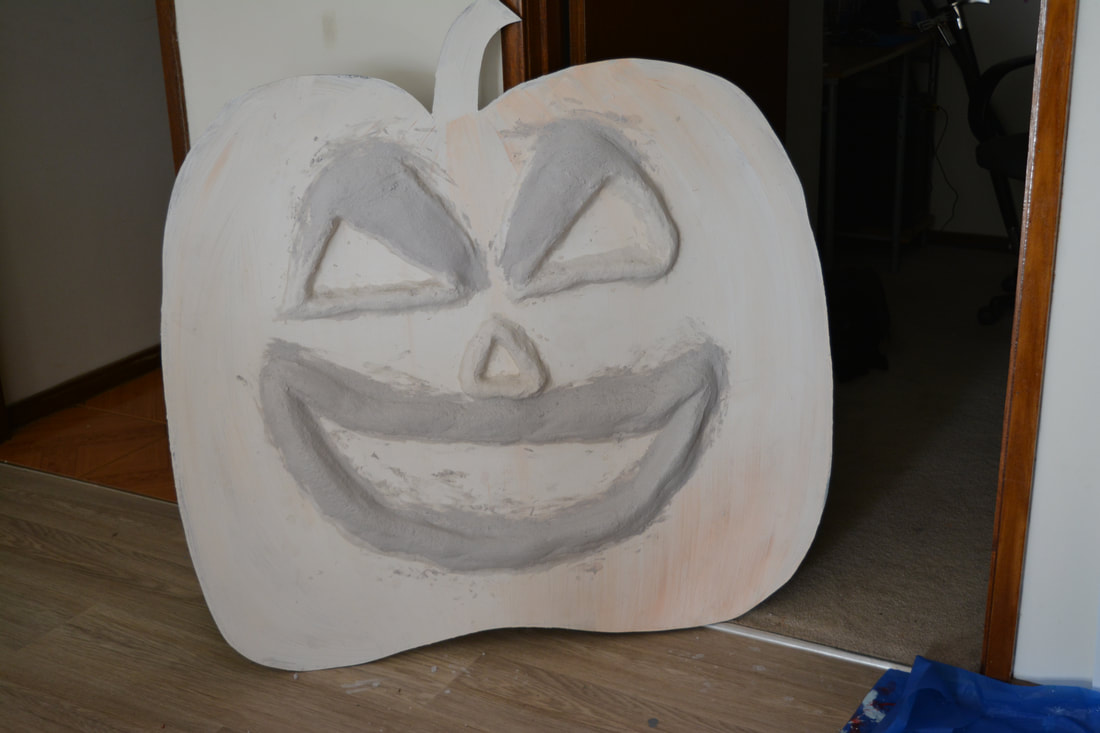
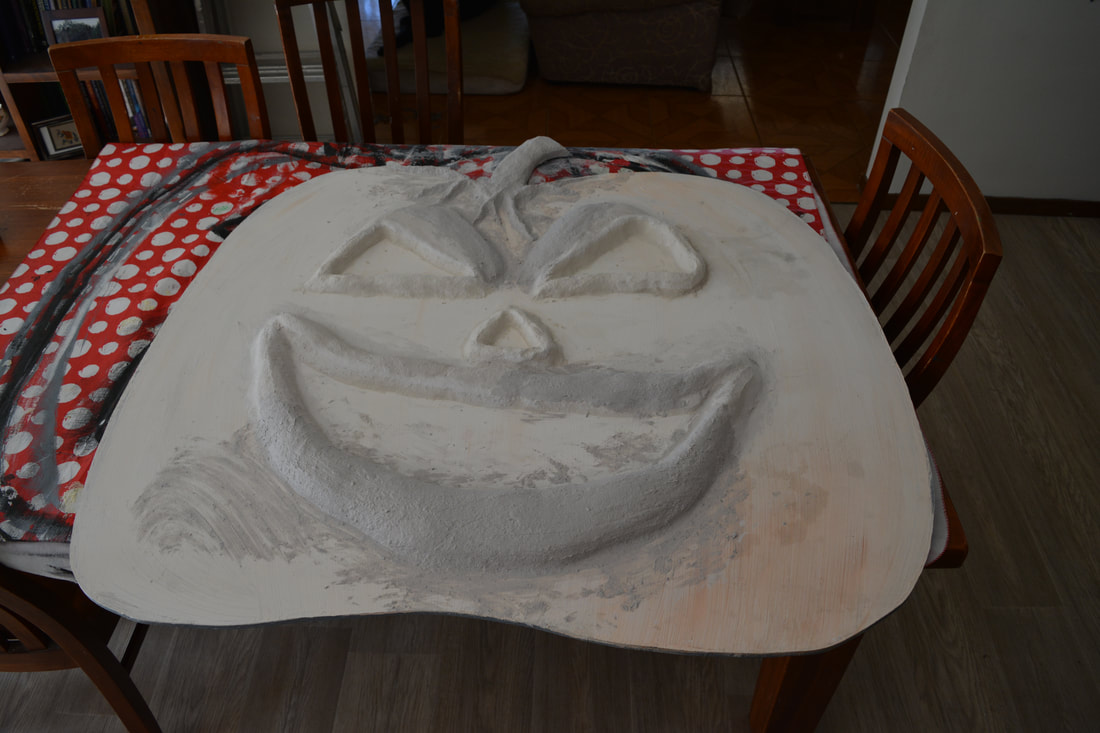
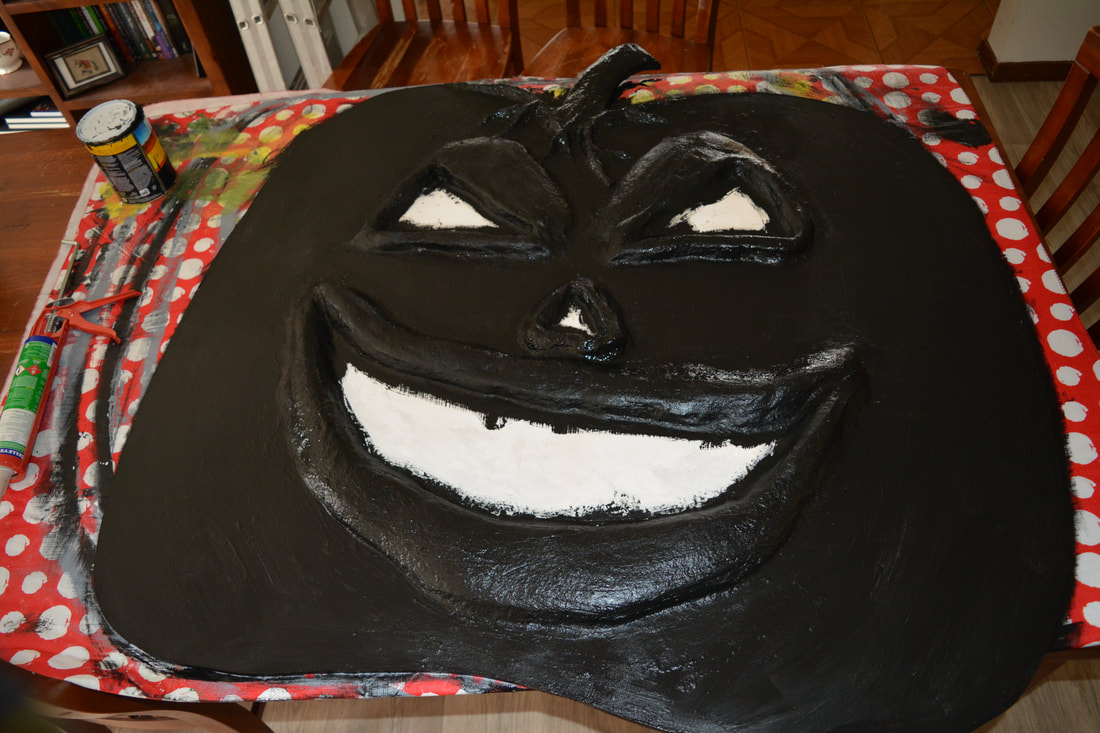
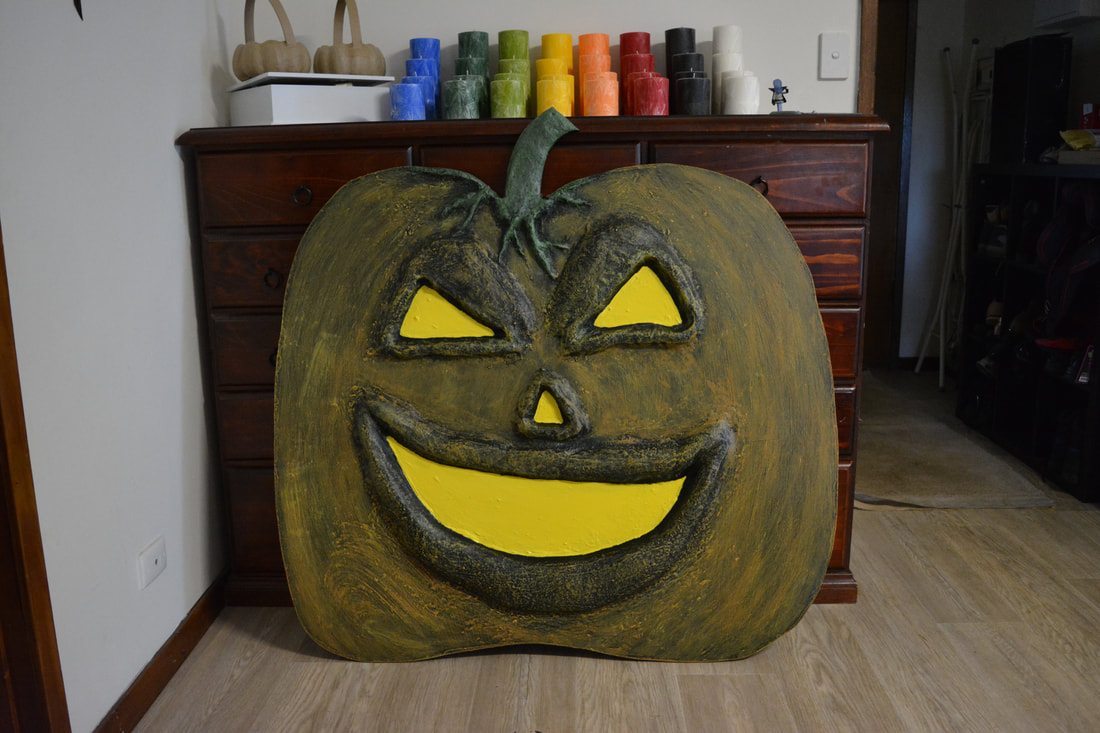
- For the other one use papermache clay to create a 3D raised face building up the layers and allowing them to dry completely. I did this for eyes, nose, mouth, eyebrows and stalk until it looked like it had enough.
- I painted a base coat on this before I put the papermache clay, I would not do this again I would paint the base coat after the clay had dried.
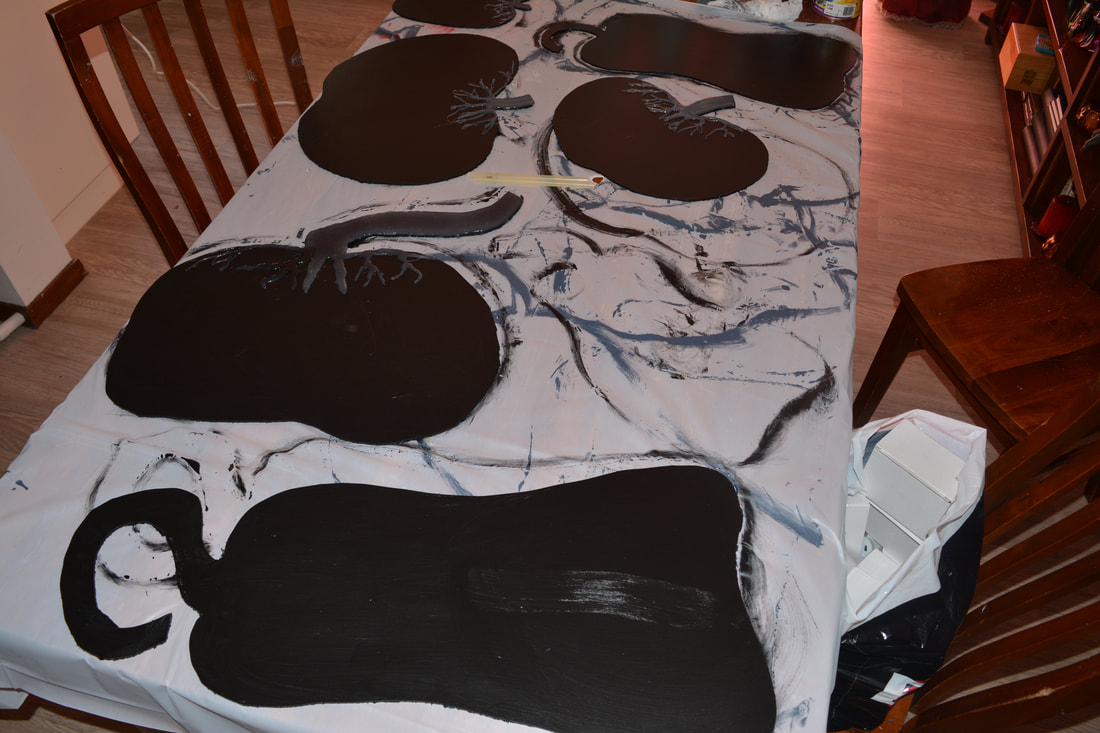
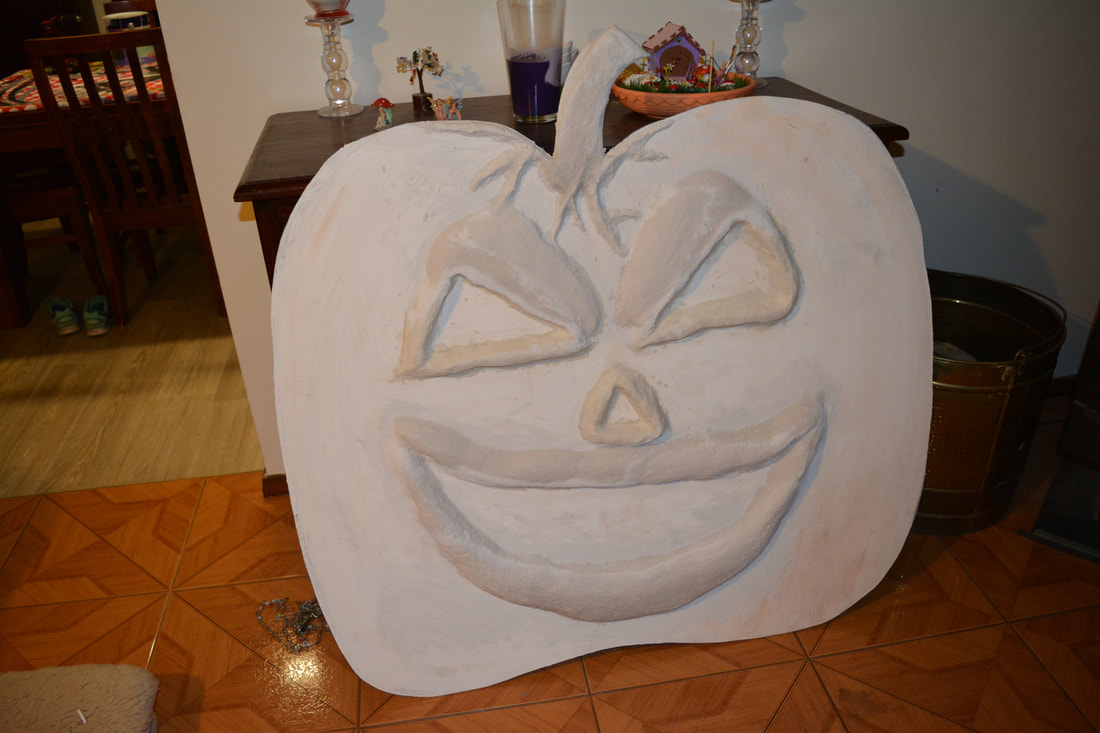
- Paint the base coat. Then use the colours to paint your colour base.
- I then dry brushed detail.


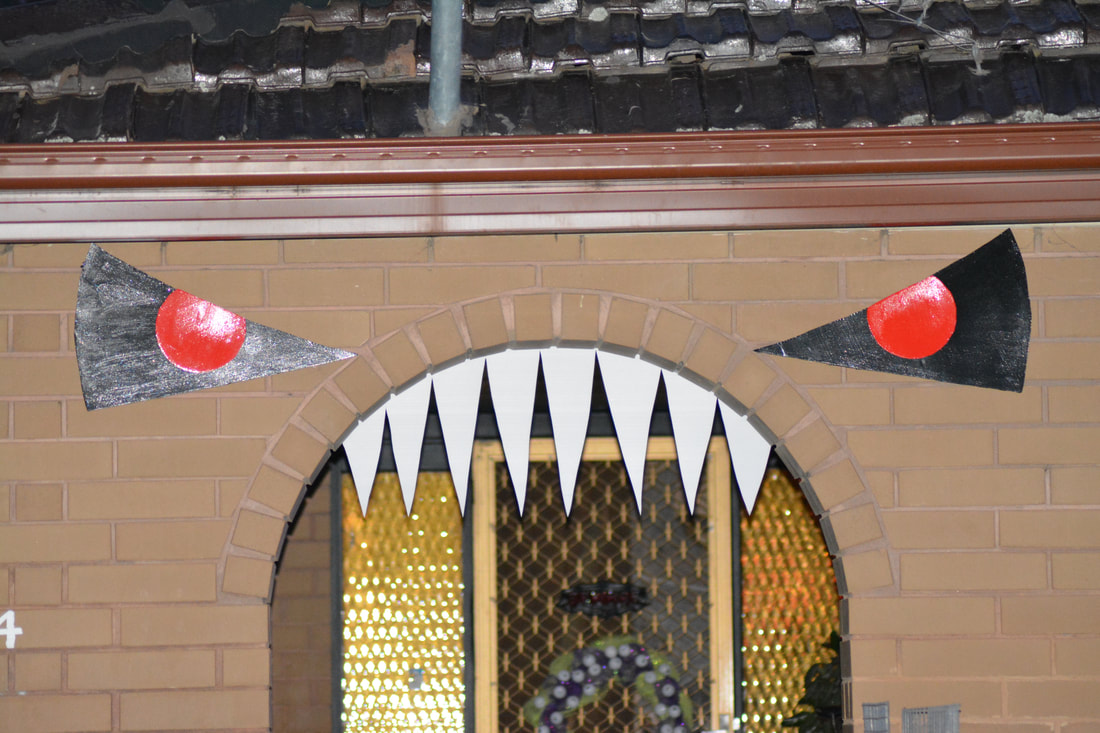
Monster Teeth & Hands for Archway
Materials Used
2 x Corregated Plastic Sheet 600x400x3mm
Paint - black, red or any colour you want the eyes to be
Liquid Nails
Scrap Paper
Scissors
Thick Double sided Tape
Materials Used
2 x Corregated Plastic Sheet 600x400x3mm
Paint - black, red or any colour you want the eyes to be
Liquid Nails
Scrap Paper
Scissors
Thick Double sided Tape
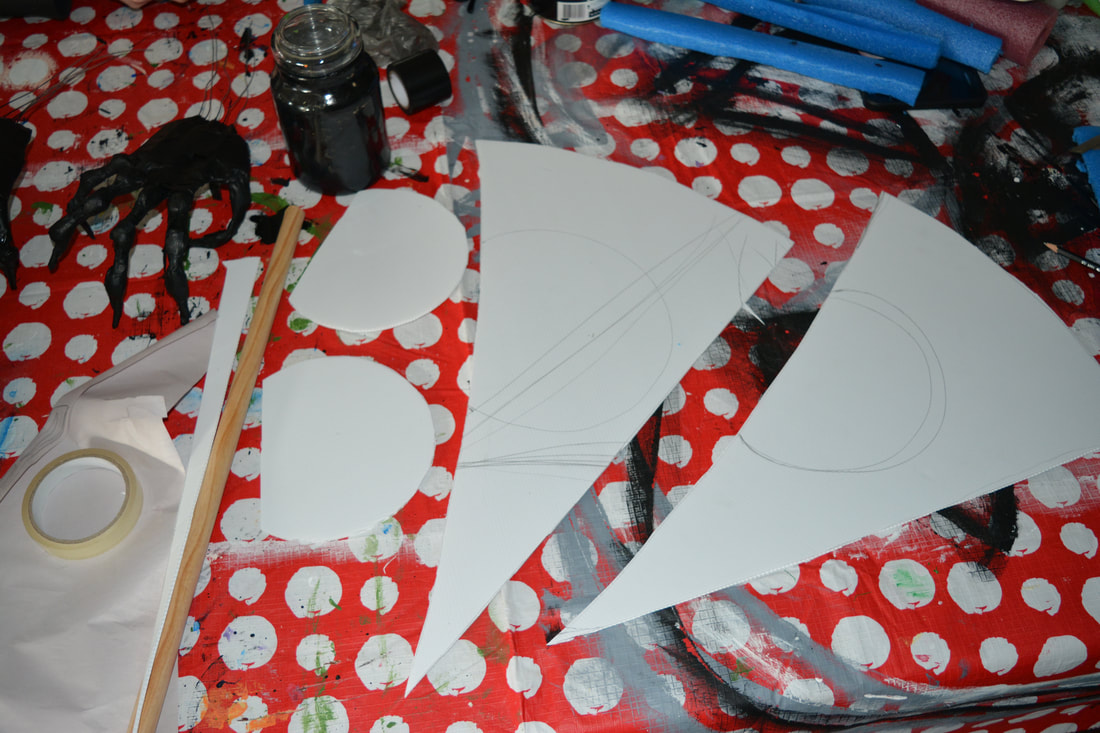
- Using the scrap paper draw out the shape of your eyes and the eyeball.
- Once you are happy with this trace them onto the corrugated plastic and cut them out.
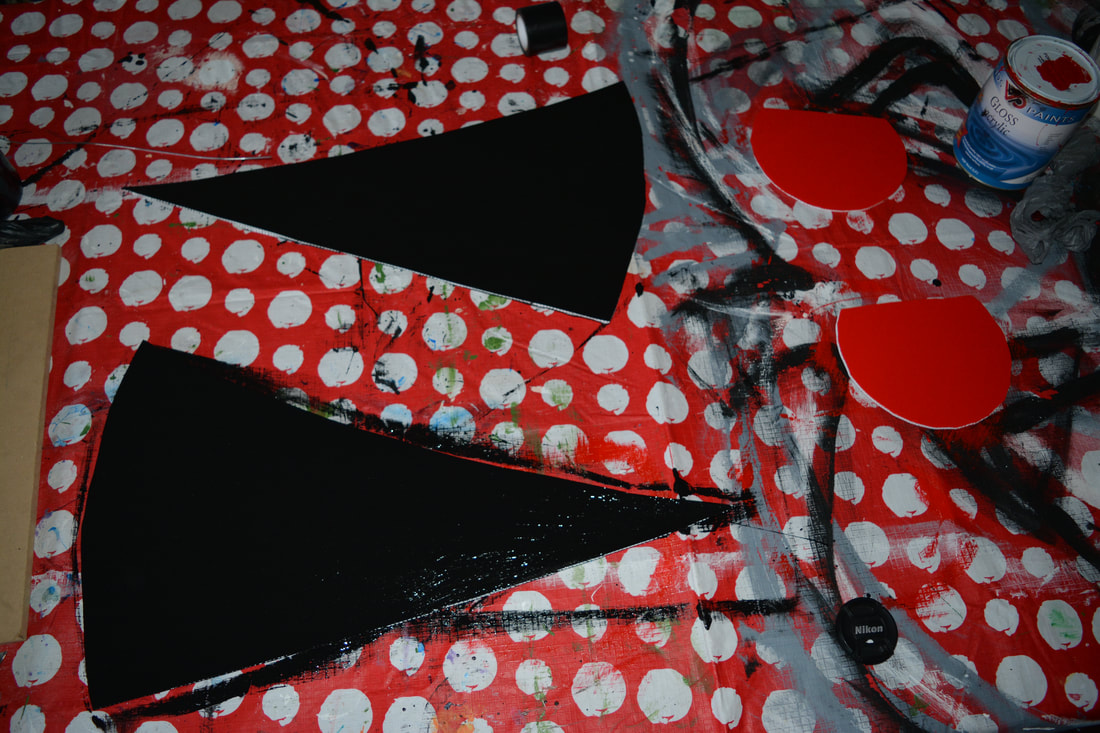
- Paint them in the colours you want I used black and red.
- Once these are dry use the liquid nails to stick the eyeballs onto the eyes.
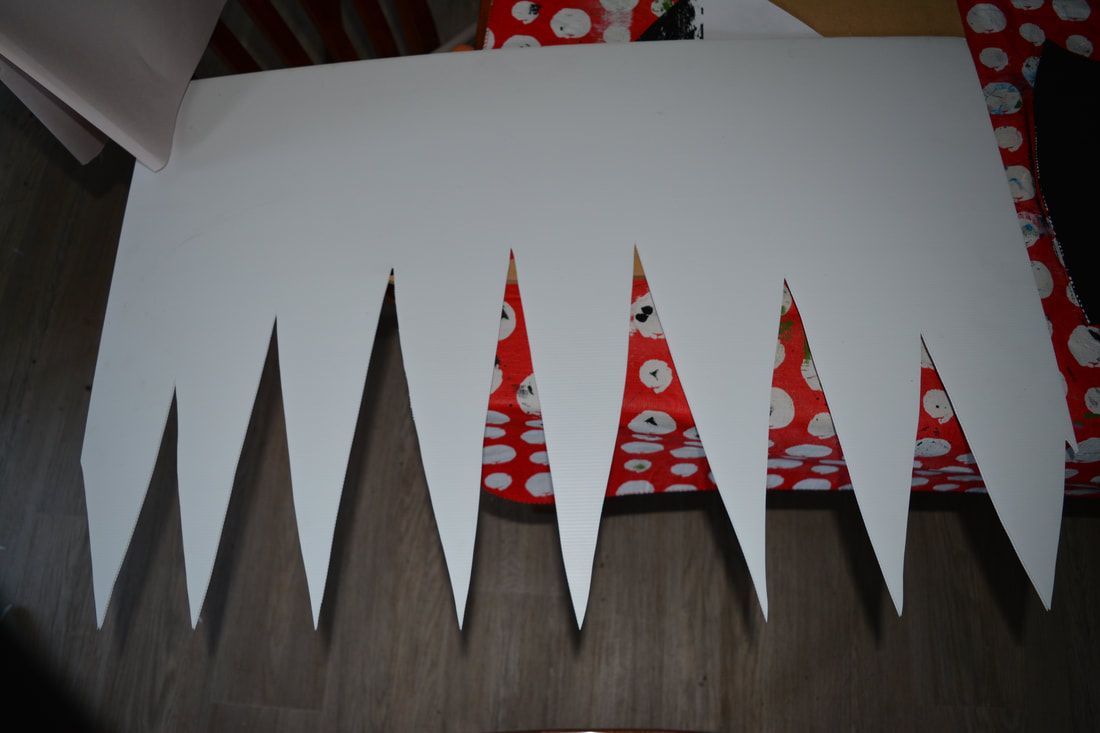
- With the teeth take the corrugated plastic to the arch you are putting them on and trace a line of the arch across it.
- Draw on the teeth and cut them out.
- When positioning them take the double sided tape and attach to the back of each piece.
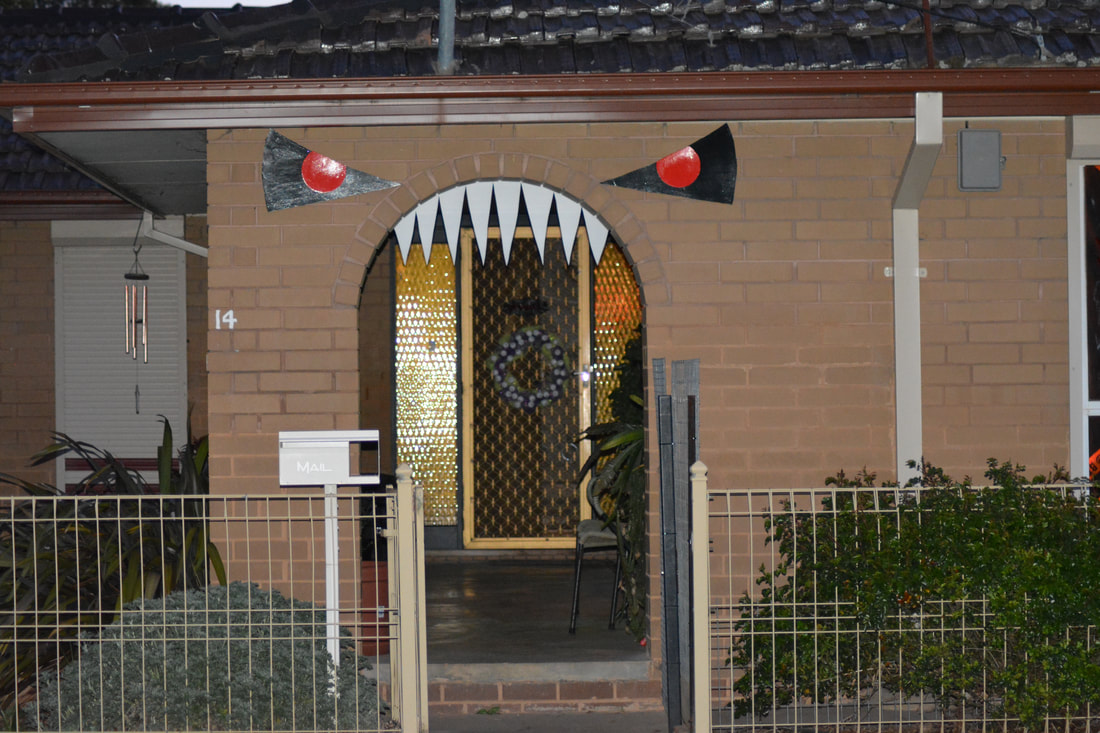
- Stick the eyes in place on the front and to the sides of the arch.
- Attache the teeth to the inside of the archway (have the double sided tape on the front of this one)
- When you stand away from the entrance it will look like the arch has teeth and evil eyes.
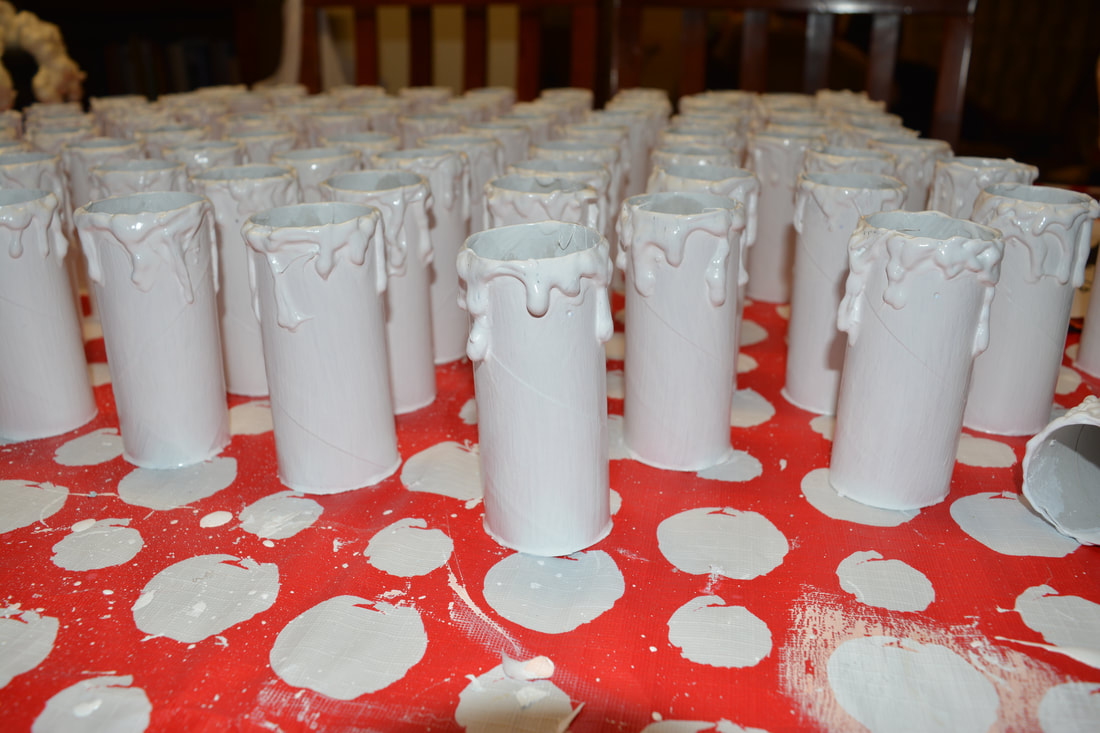
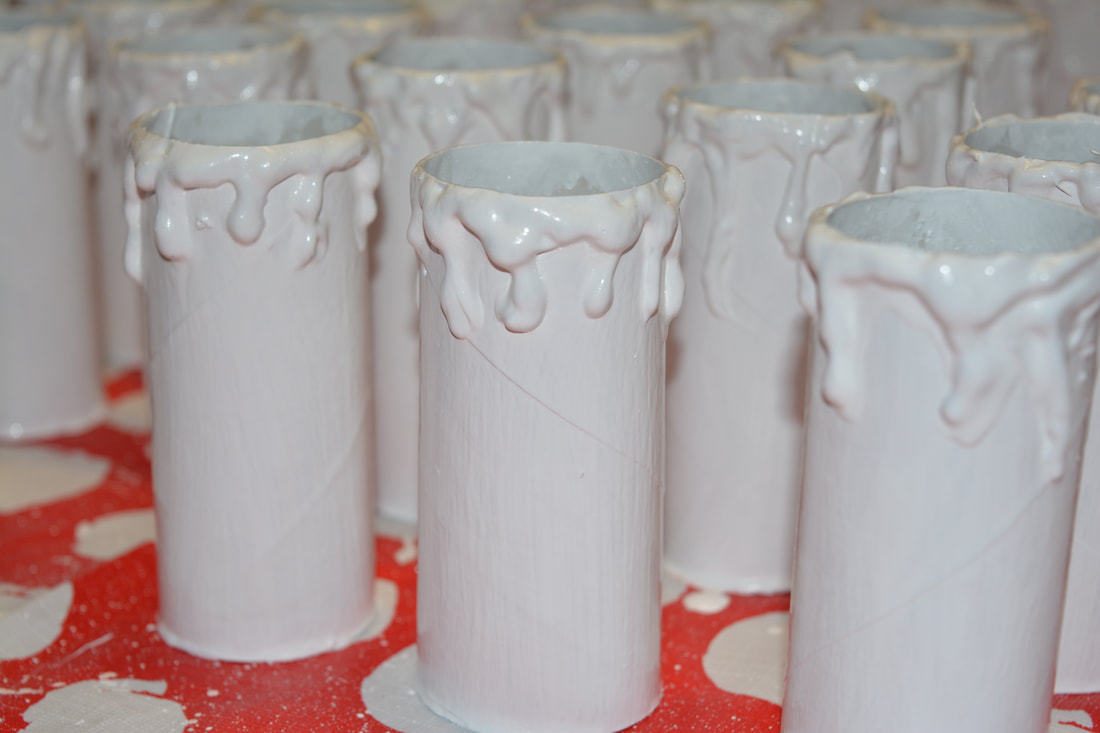
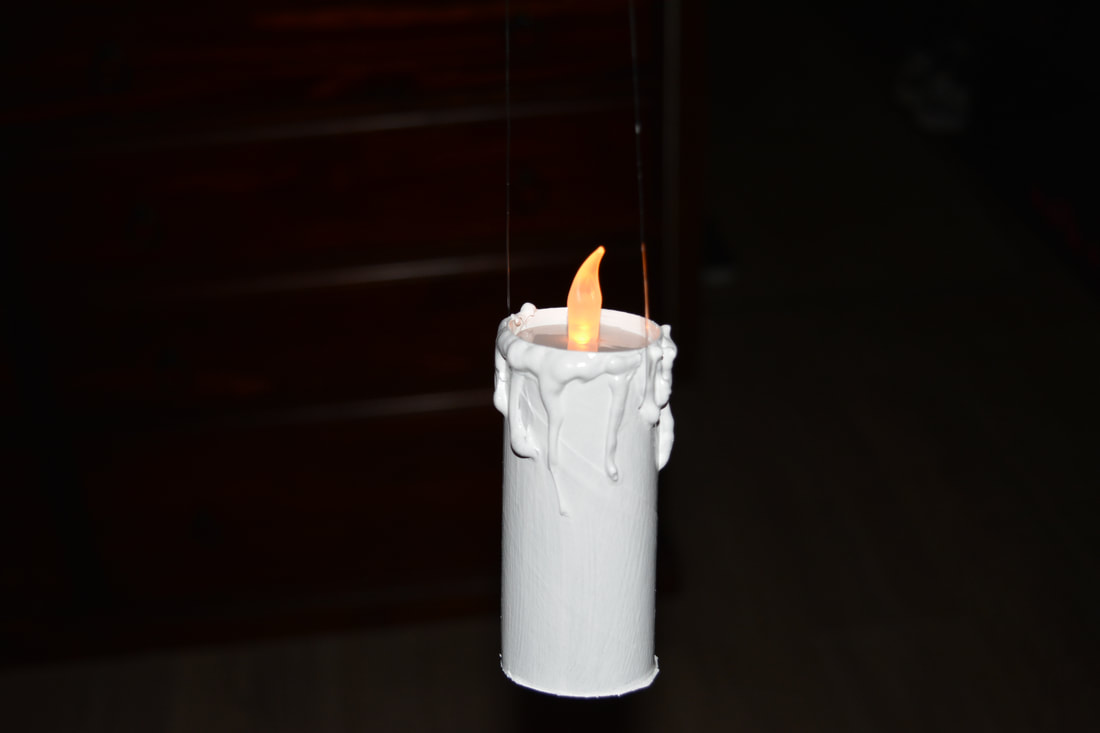
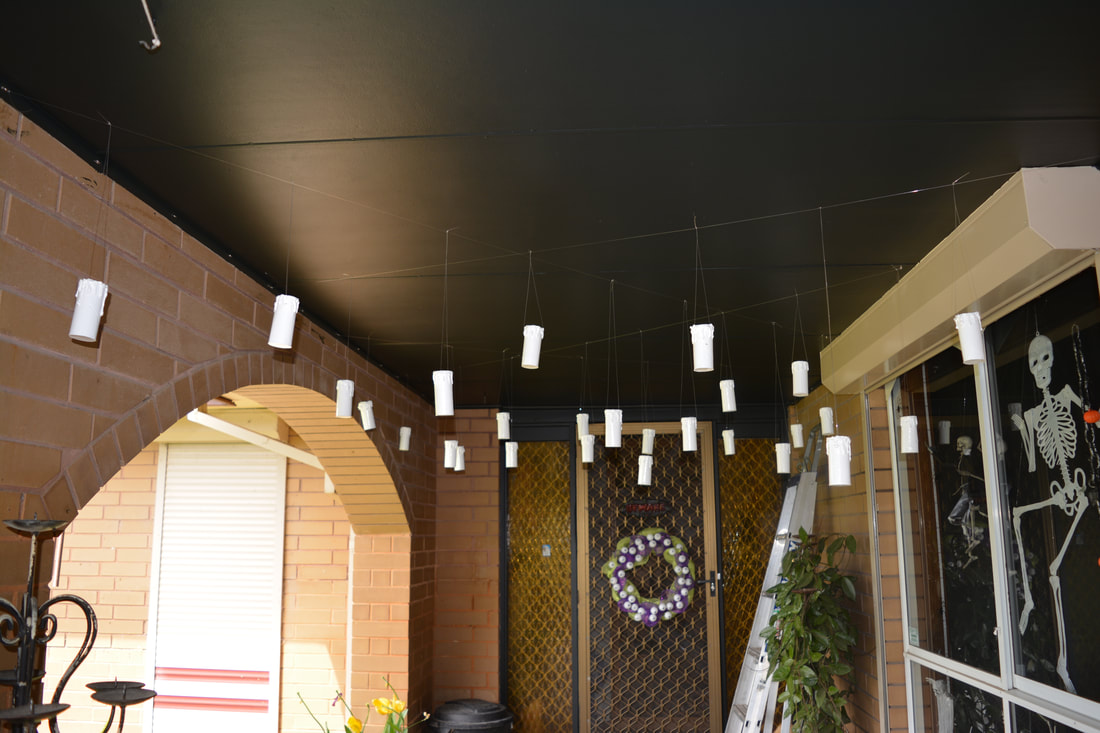
Harry Potter Floating Candles
Materials Used
Cardboard Cylinders
Hot Glue Gun
Card (for base)
LED t/lights
Fishing Line
PVA Glue
Materials Used
Cardboard Cylinders
Hot Glue Gun
Card (for base)
LED t/lights
Fishing Line
PVA Glue
- I made these a few years ago but only used some for the first time in 2017's display
- I used cardboard tubing (toilet rolls or plastic wrap rolls) and cut out little round pieces of paper to cover the bottom gluing them on with PVA glue
- Then I used the hot glue to create the detail around the top by drizzling it from the top in blobs
- Ones they where all dry I punched on either side where the fishing line will be threaded
- I then painted them in gloss white, cut the fishing line to different lengths and tired the ends together
- For added effect painting the drip look in red would be effective
- To help balance the LED t/lights a piece of tape from side to side on the inside works well


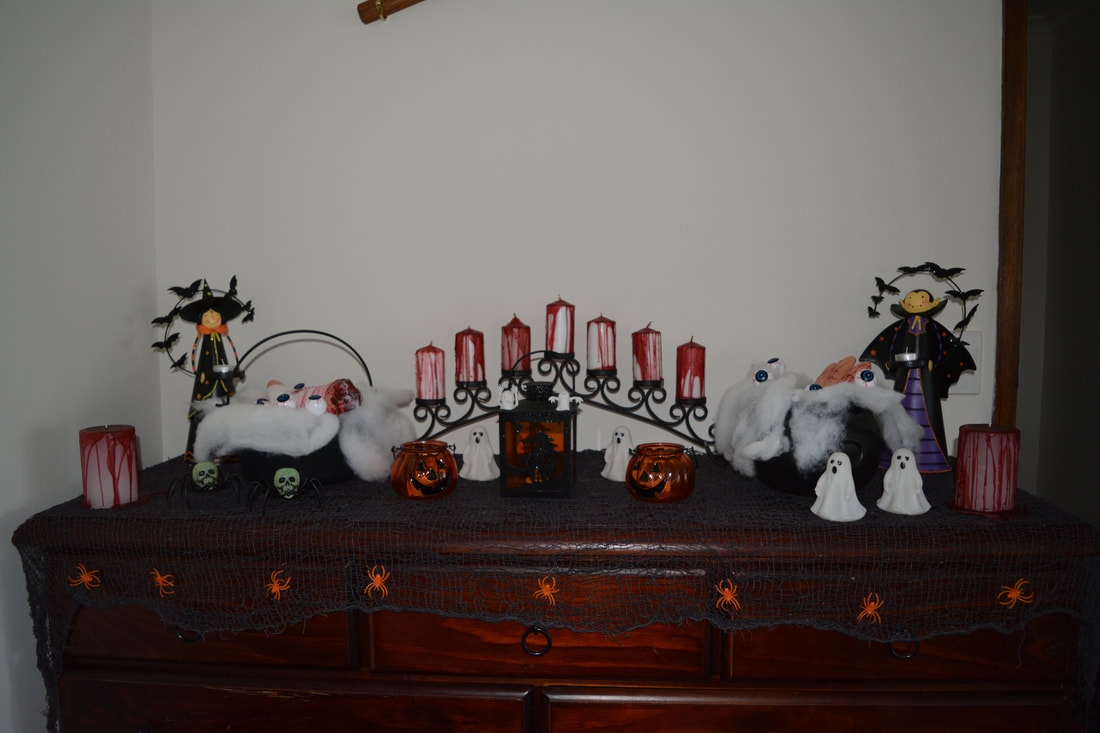
Bloody Candles
Materials Used
White Pillar Candles
Red Taper Candles
Double Boiler (stock pot for water and another to put onto the water to melt the tapers)
Materials Used
White Pillar Candles
Red Taper Candles
Double Boiler (stock pot for water and another to put onto the water to melt the tapers)
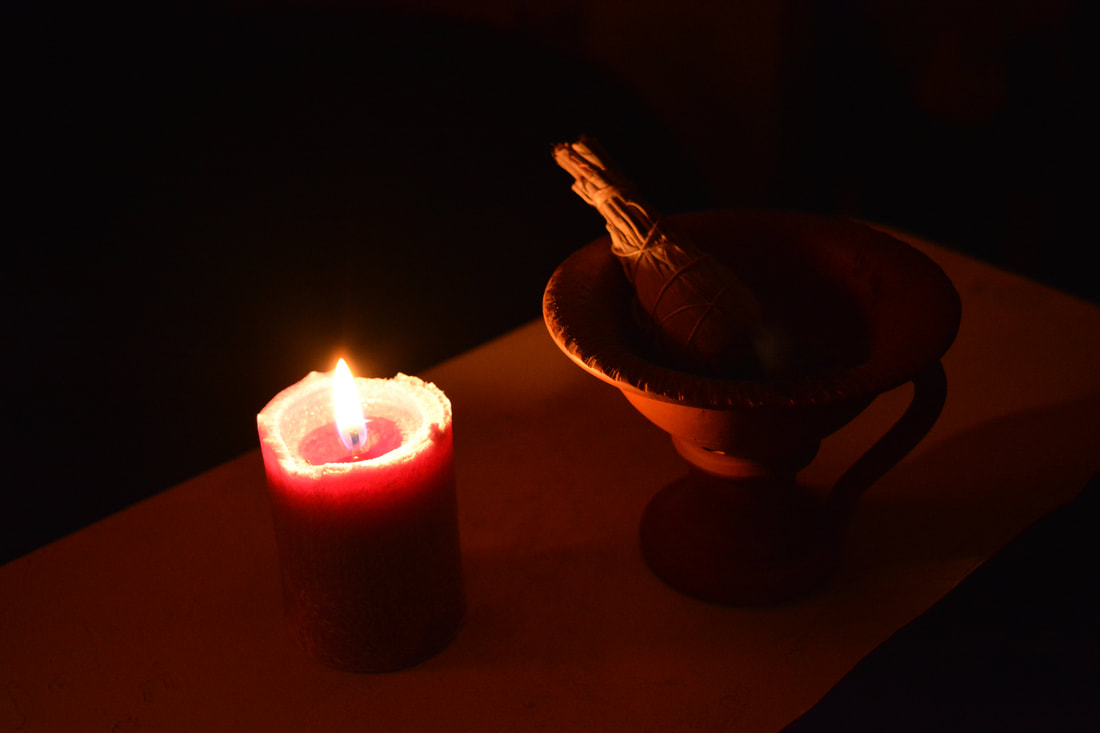
- One of easiest and messiest ones I have make over the years but they do look great
- Use standard white candles and any red candle you can find, most of the internet instructions will tell you just to use a taper and as it burns drip it over the white candles
- I am less patient than that I melted the red candles in a double boiler (pan of water with a metal jug sitting in it) and then drizzles it over the while candles
- After they dried and hardened I put them on display

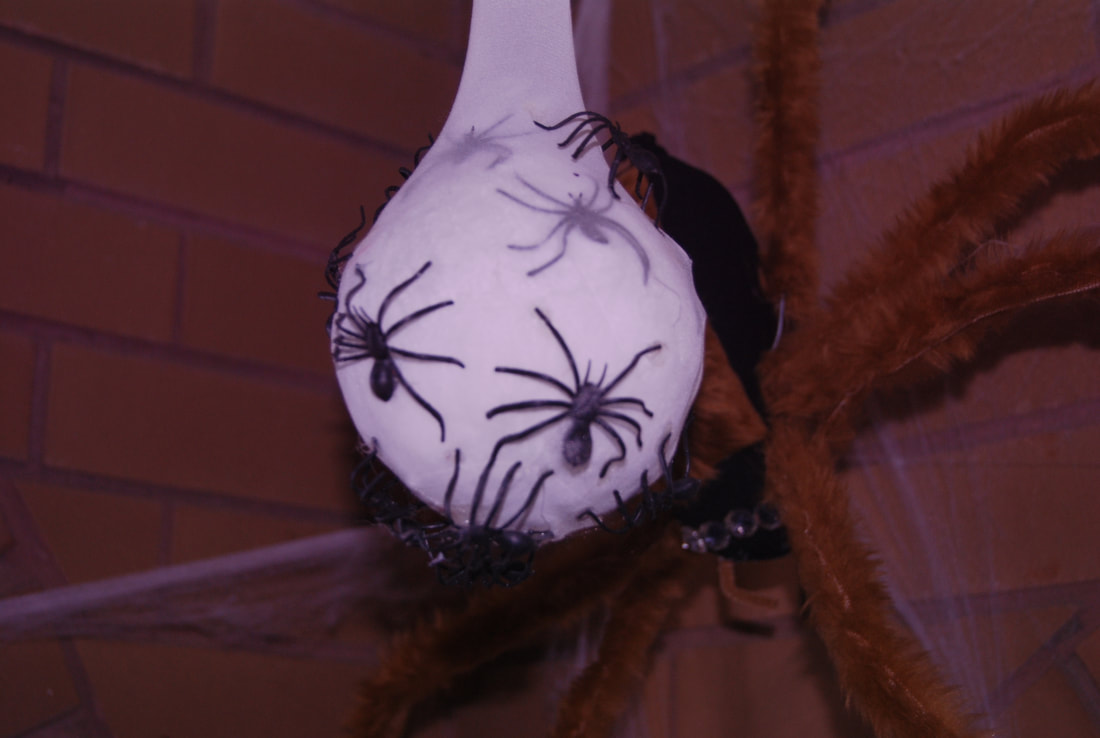
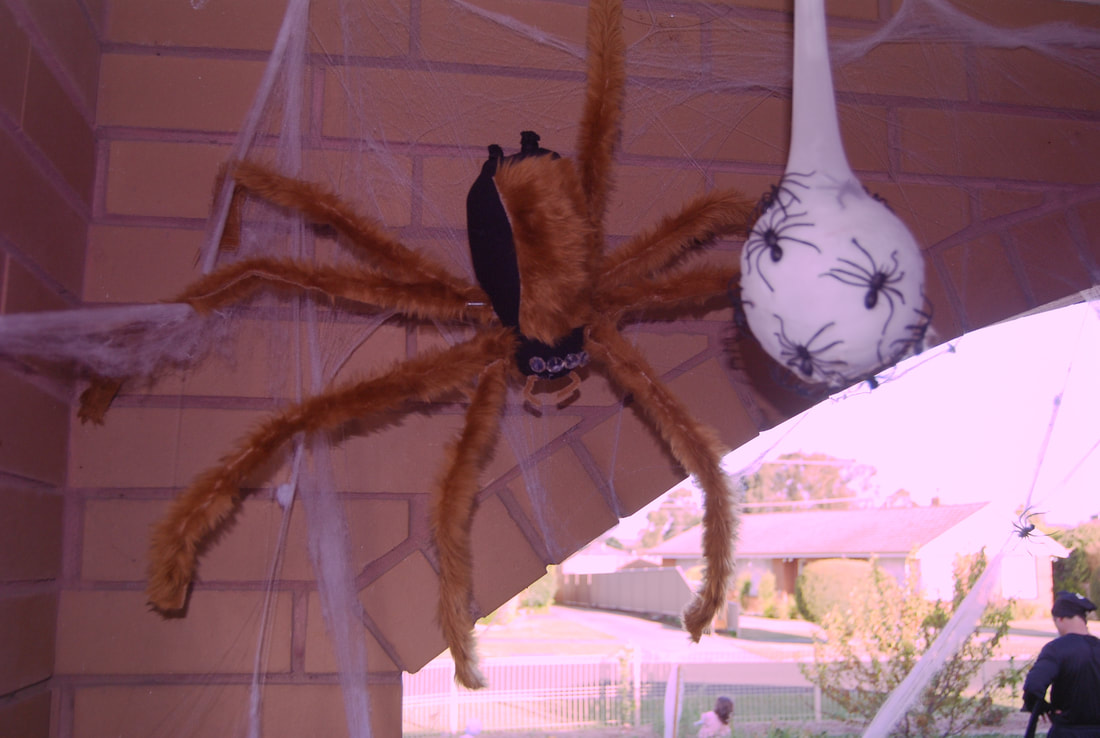
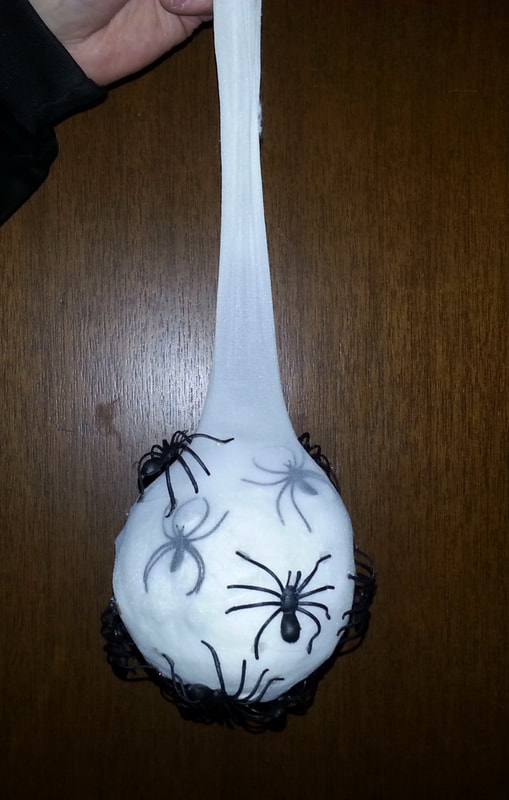
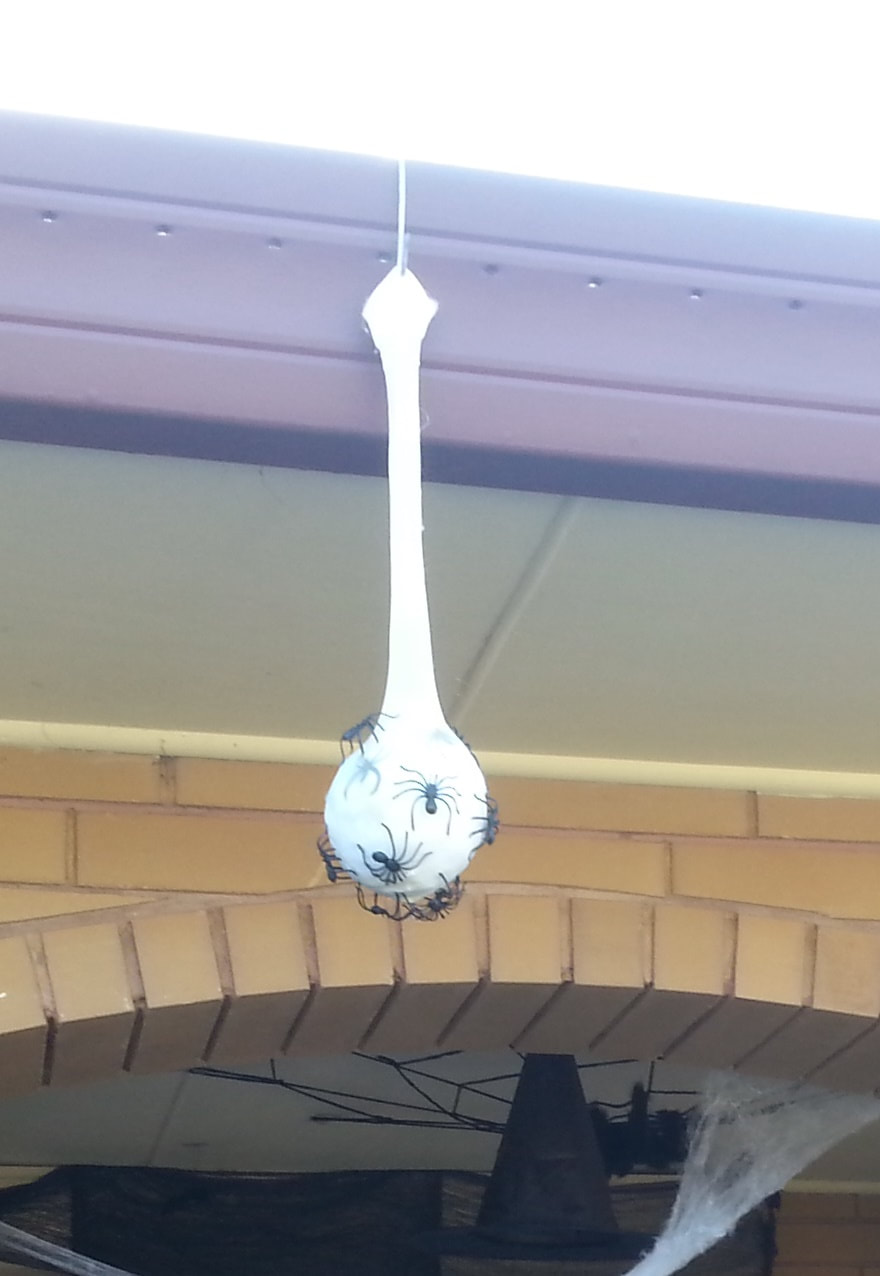
Spider Egg Sack
Materials Used
White Stocking
Craft Filler/Wading
Plastic Spiders
Hot Glue Gun
Materials Used
White Stocking
Craft Filler/Wading
Plastic Spiders
Hot Glue Gun
- My first spider sack was made by a friend who always helps out with my crazy Halloween craft and I like it so much I made more
- Using the white stocking I stuffed the end of it with craft wadding
- I then pushed some fake plastic spiders in between the wadding and stocking
- On the outside I glued more plastic spiders
- When they where done I hung them with some of the fluffy spiders I made
Pumpkins
Materials Used
Jack Pumpkins
Carving Kit (or created flexible knife)
Bleach
T/light Candles
Plastic Rats
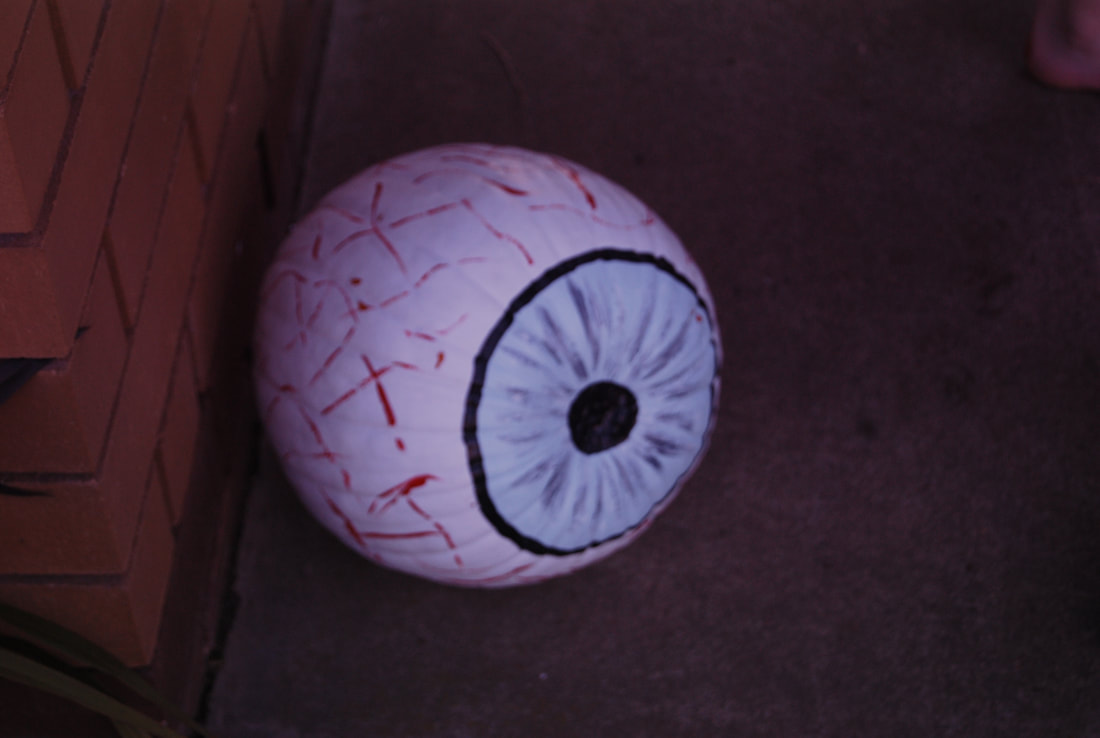
Paint - any colours suitable for your project I painted an eyeball
Materials Used
Jack Pumpkins
Carving Kit (or created flexible knife)
Bleach
T/light Candles
Plastic Rats
Paint - any colours suitable for your project I painted an eyeball
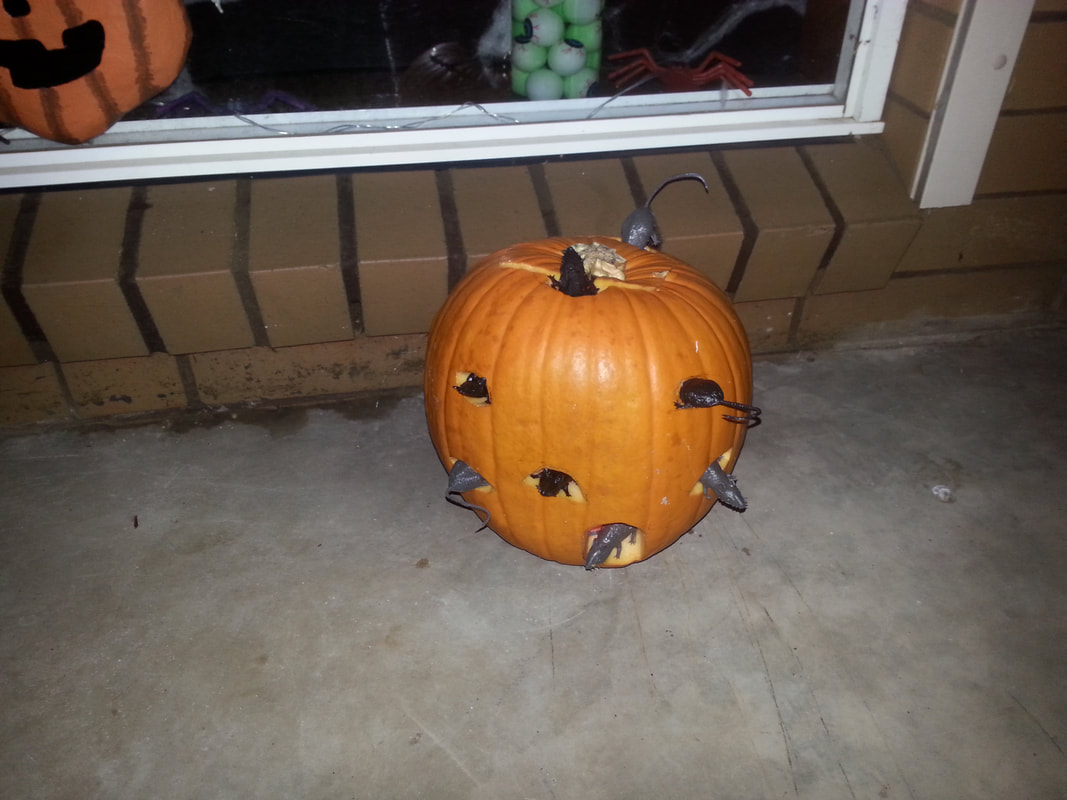
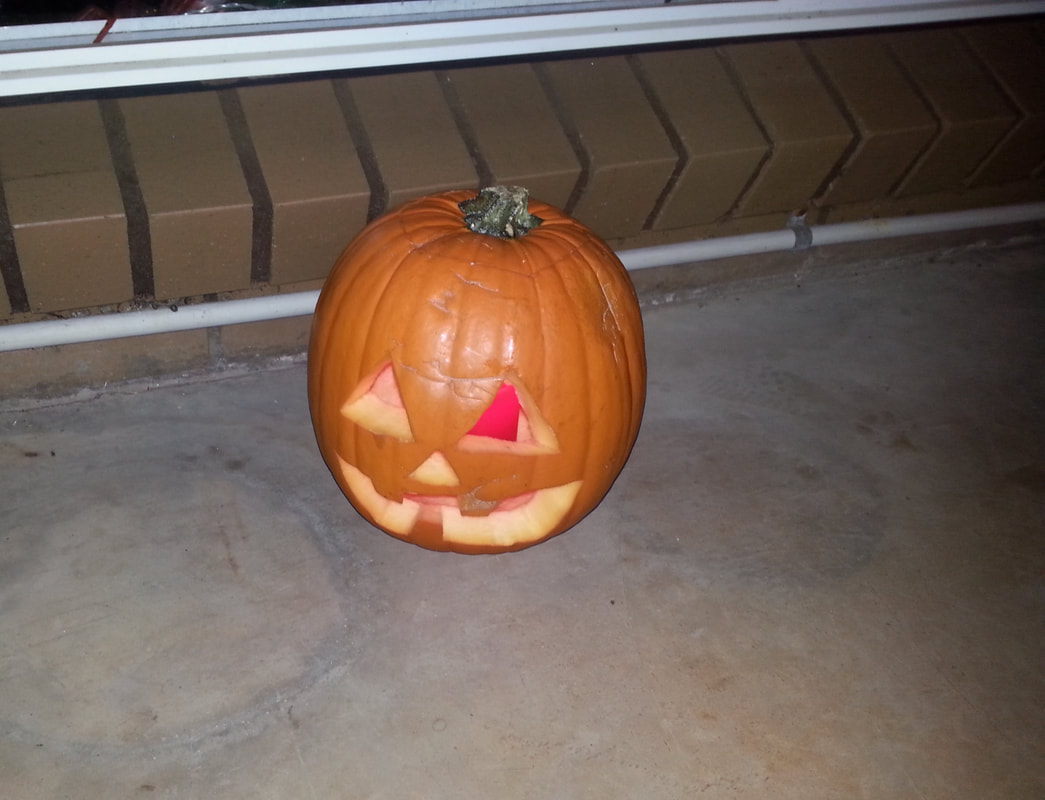
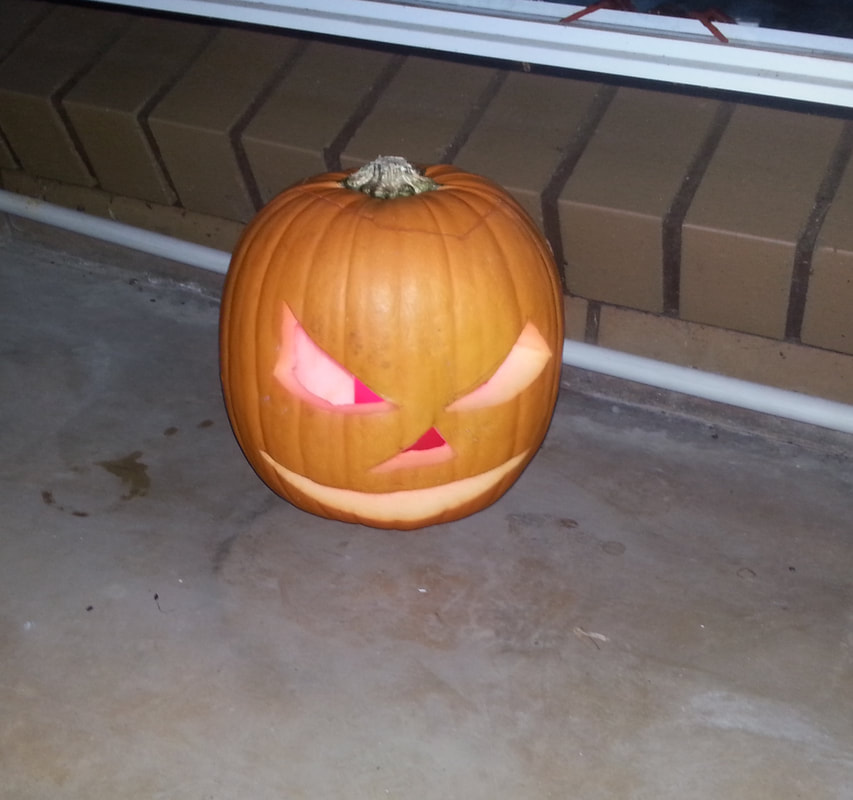
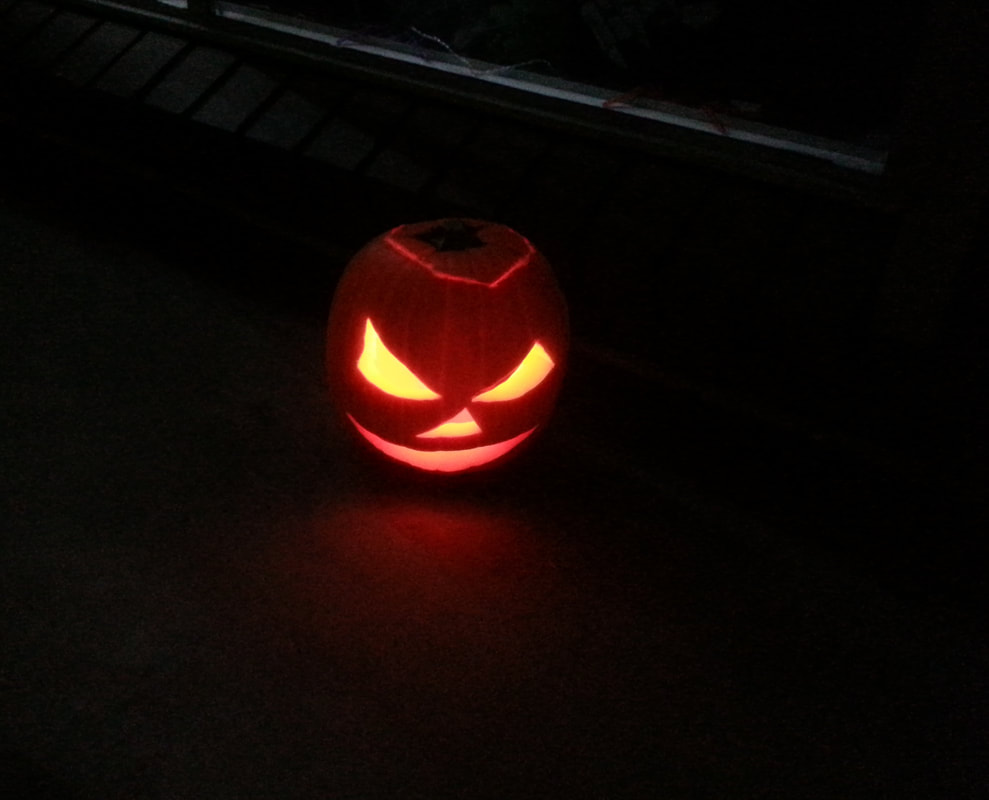
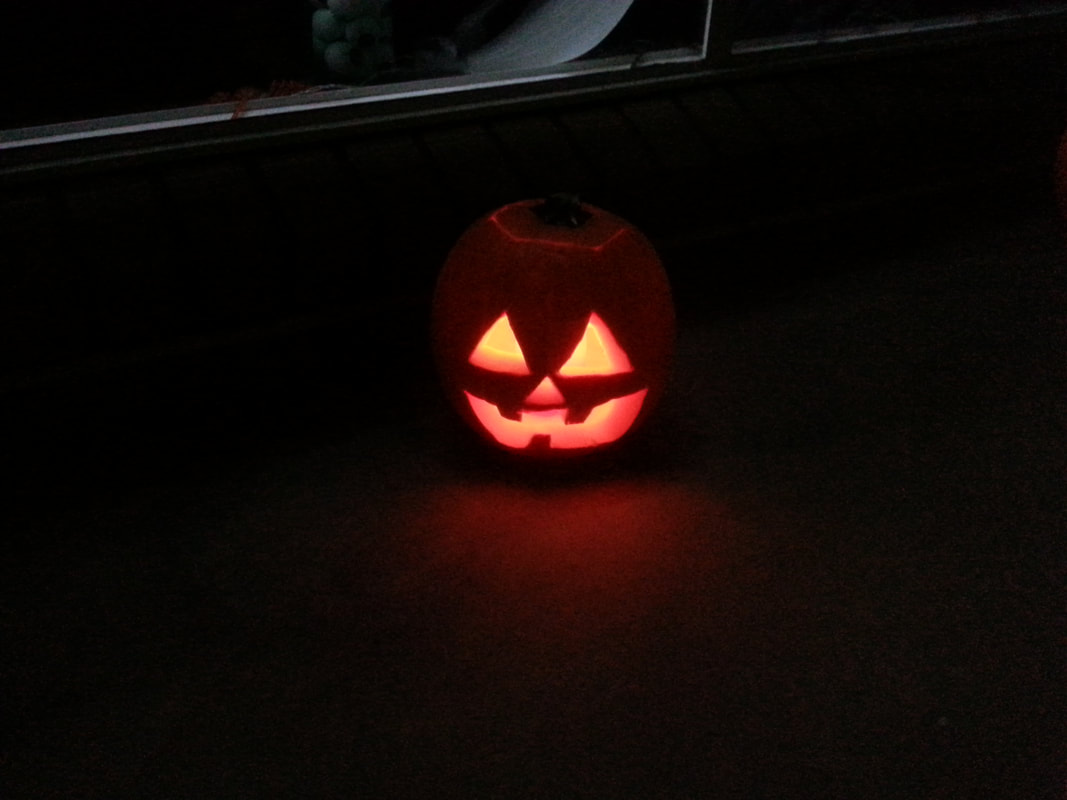
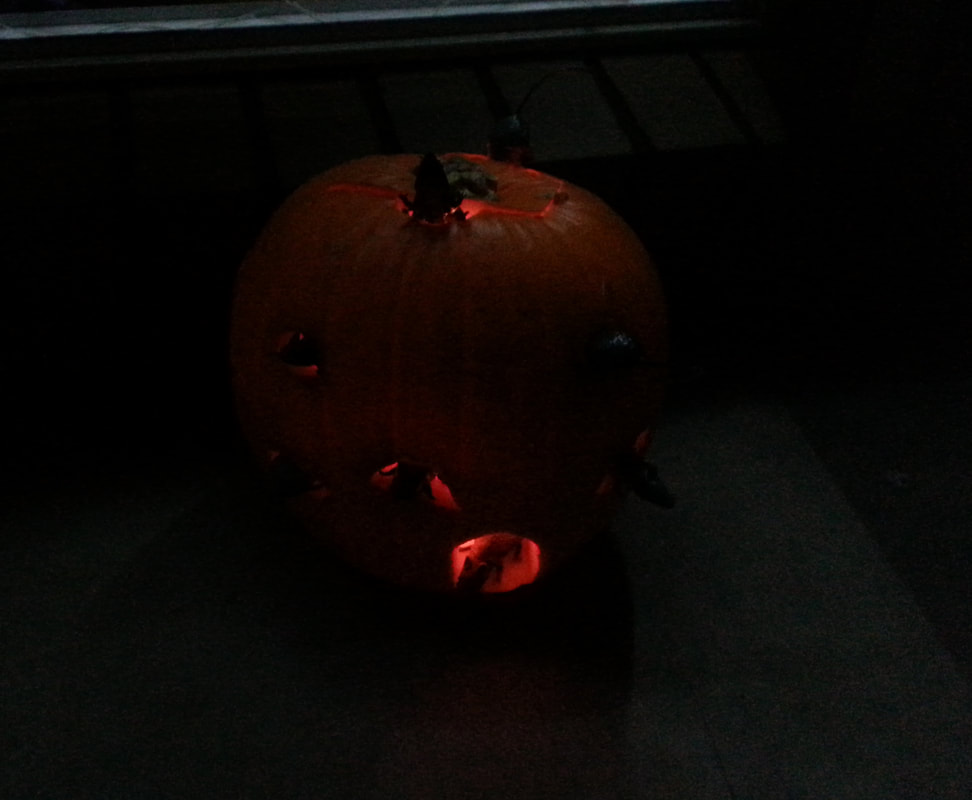
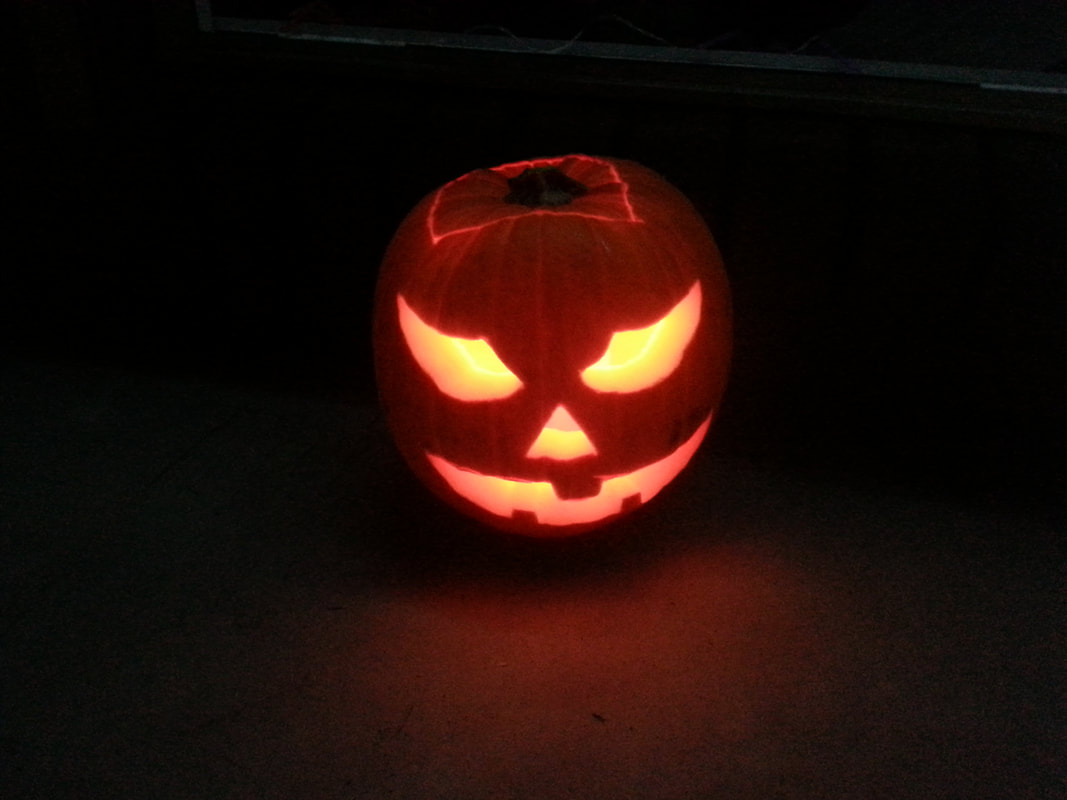
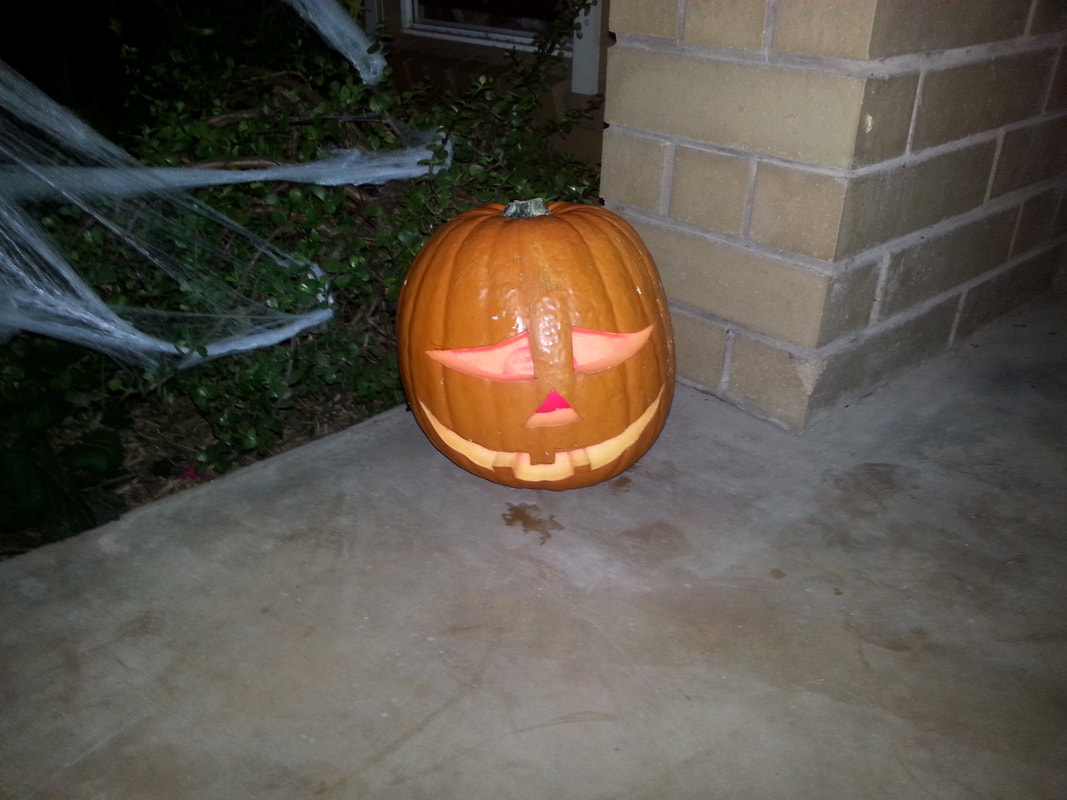
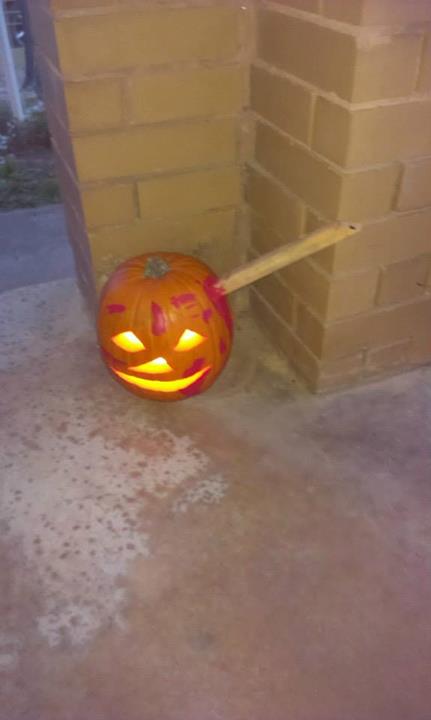
- Carving pumpkins is one of traditional things to do on Halloween however these pumpkins are difficult and very expensive to get in Australia, I did this for a few years but now I don't bother I have many other decorations that make up for it
- Carving them is relatively easy and decorating them with plastic rats, spiders etc
- One year another friend who helped me with the food wanted to do his own and we ended up with the one with a stake embedded in it
- By this time I had actually stopped carving as my hand can't take the strain anymore so I painted one as a giant eyeball instead

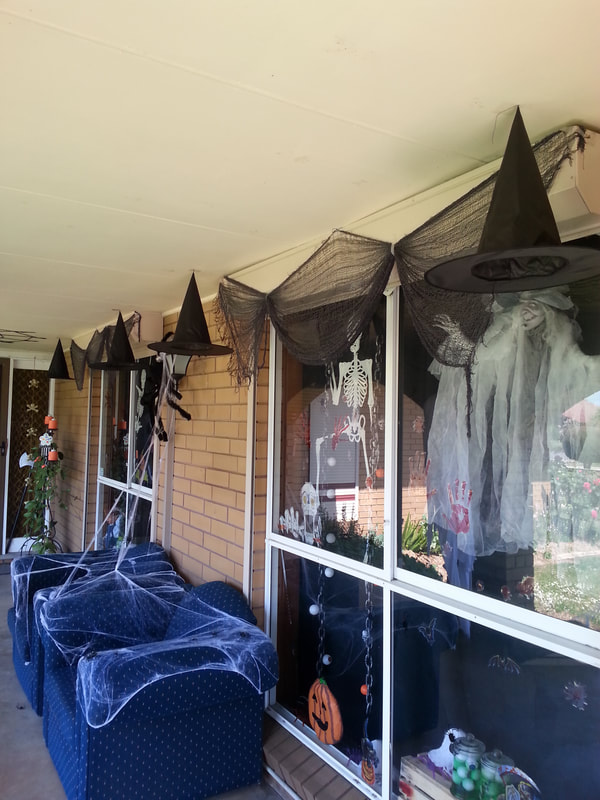
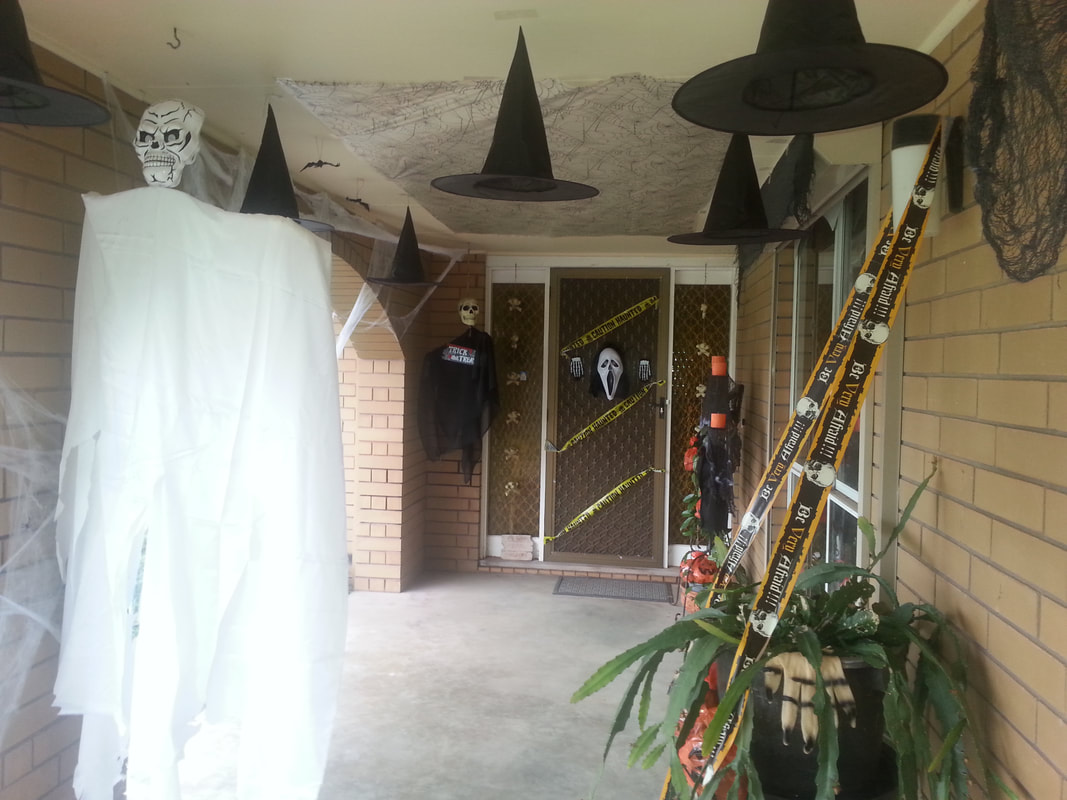
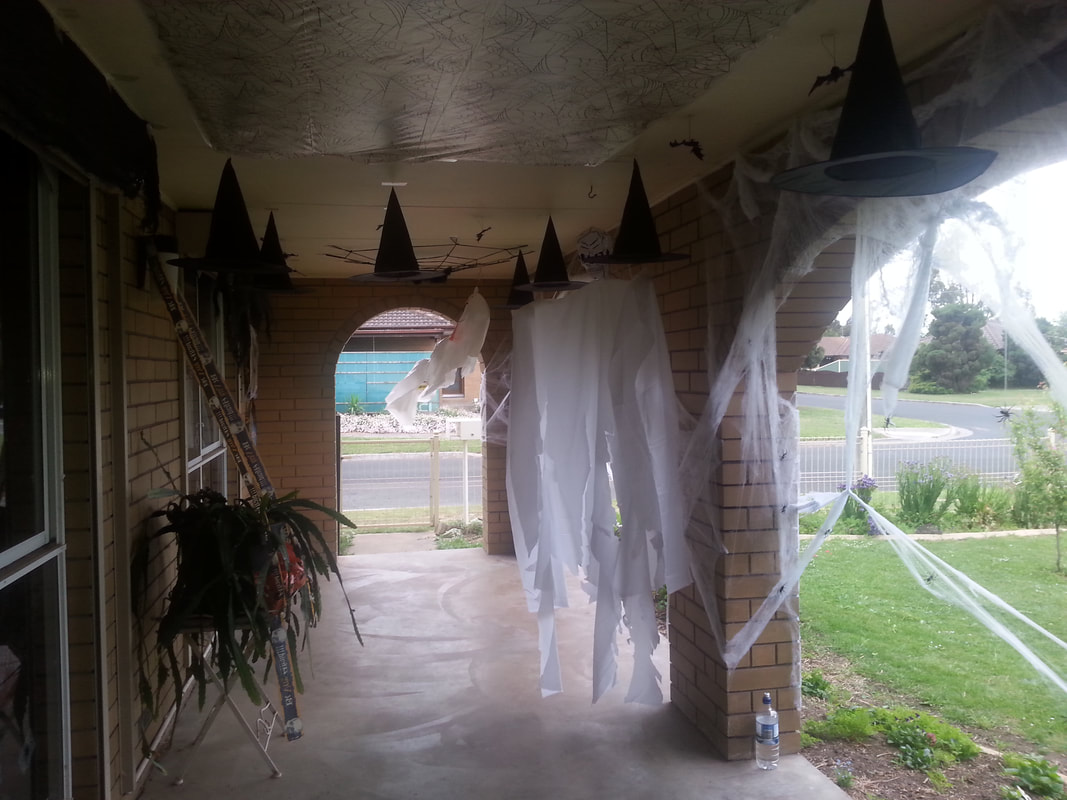
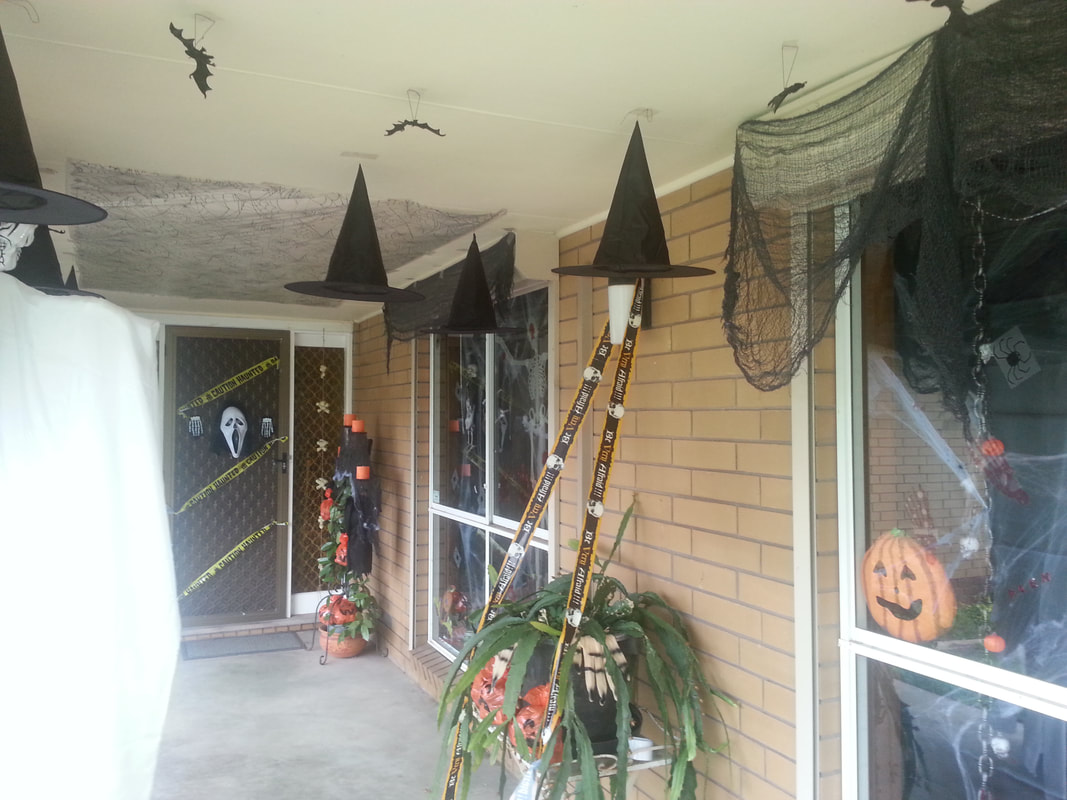
Glowing Witches Hats
Materials Used
Witches Hats
Thick Glow Sticks
Fishing Line
Materials Used
Witches Hats
Thick Glow Sticks
Fishing Line
- This one is so easy and quick using easy to find witches hats and glow sticks
- Use the glow sticks that have the ends on them designed to be strung around the neck and with fishing line tied around those ends push the string up through the middle of the hat and out the tip
- Then attache them I stuck them to the roof of the porch and cracked the sticks at dark on Halloween night
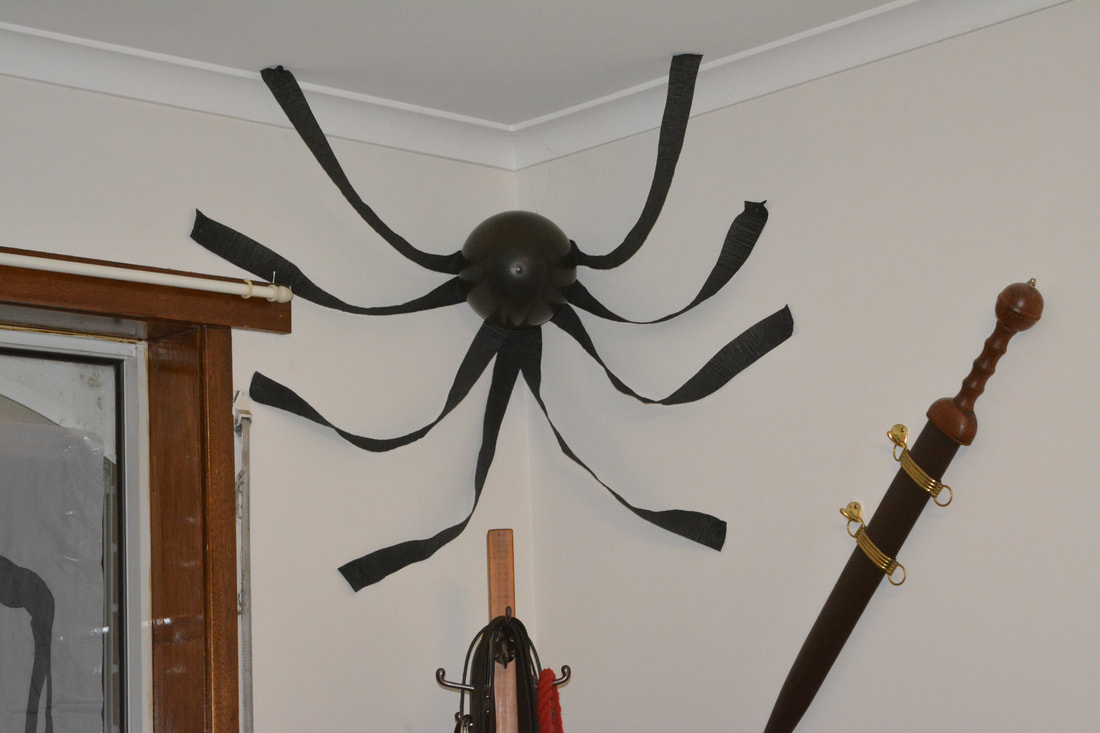
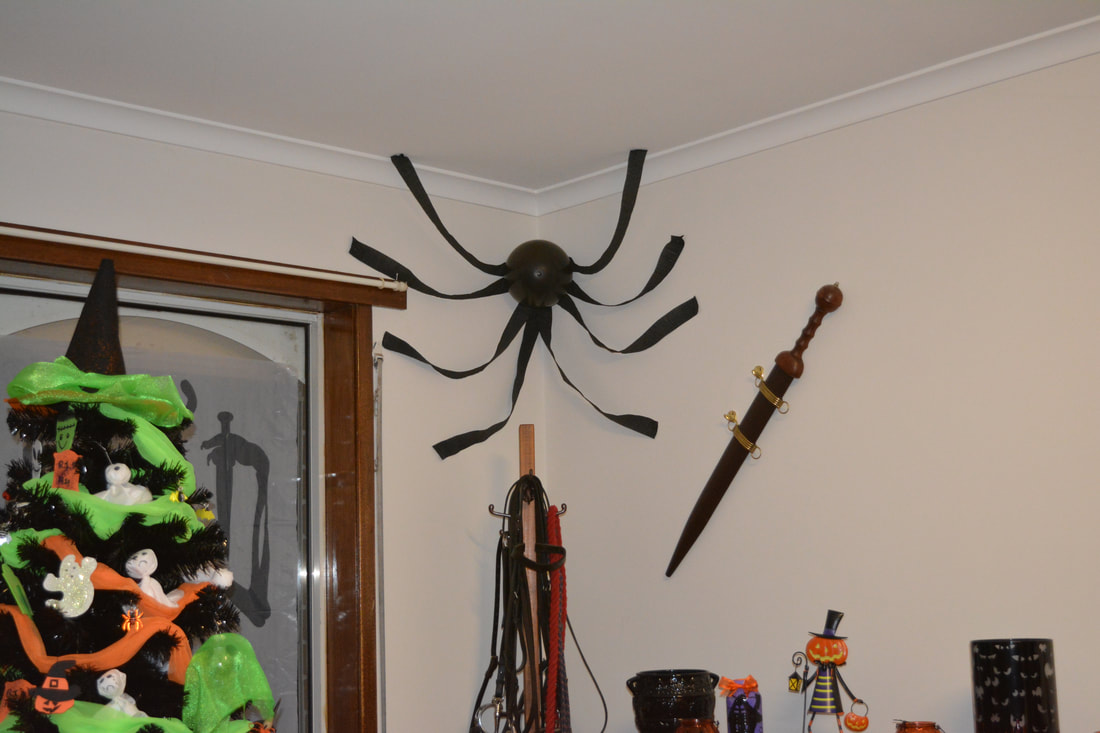
Balloon Spiders
Materials Used
Black Balloons
Black Crepe Paper Strips
Sticky Tack/Blue Tack
Thumb Tacks
Materials Used
Black Balloons
Black Crepe Paper Strips
Sticky Tack/Blue Tack
Thumb Tacks
- Another really easy one, use crepe tape and stick tack to position out legs
- The I blow up black balloons and use small thump tacks to hold them in position to look like giant spiders

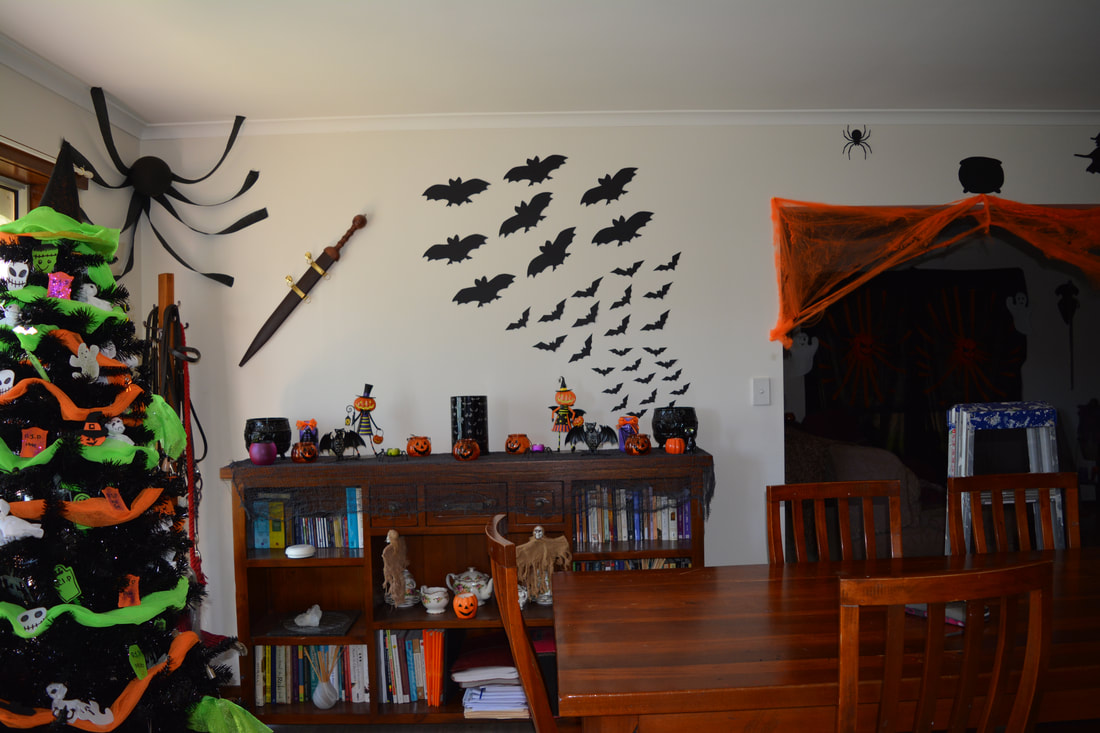
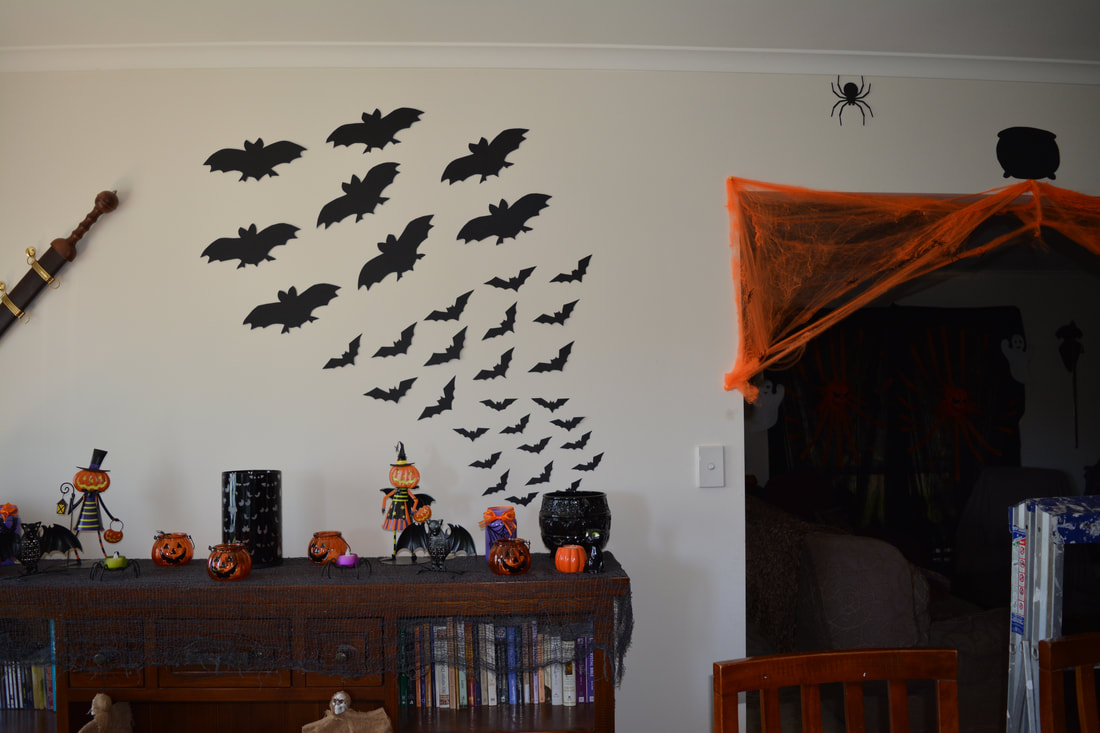
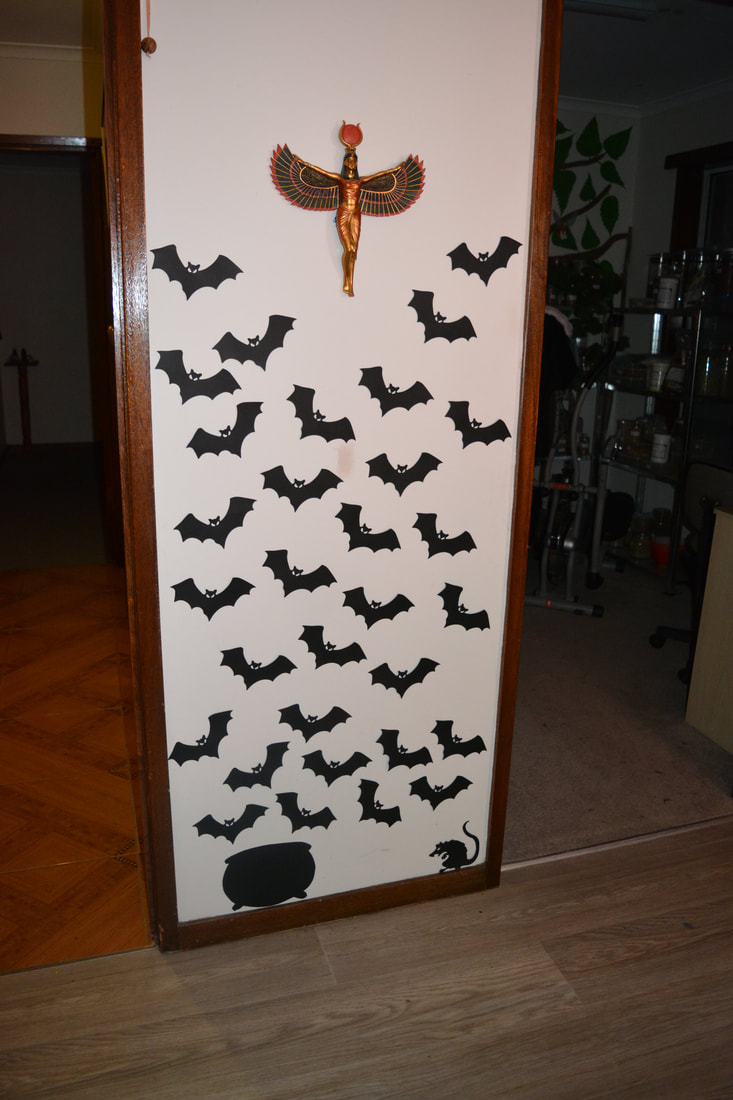
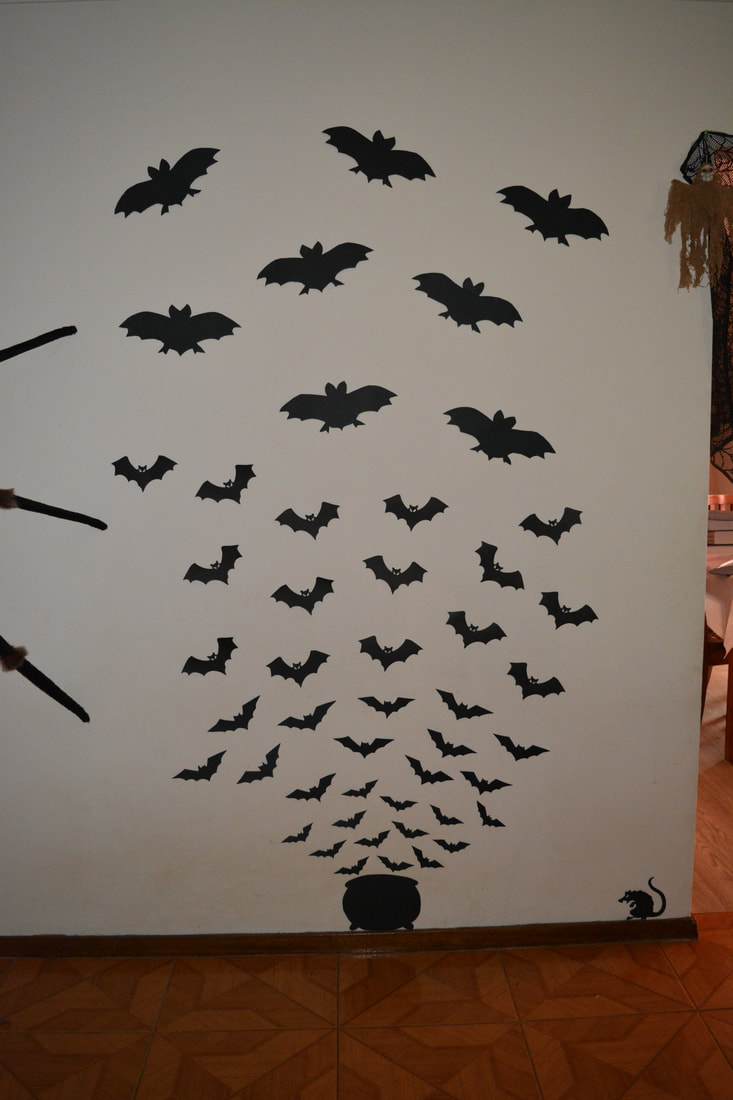
A Camp of Bats
Materials Used
Black Card
Bat Shaped Stencils (google images)
Sticky Tack/Blue Tack
Scissors/Craft Knife
Materials Used
Black Card
Bat Shaped Stencils (google images)
Sticky Tack/Blue Tack
Scissors/Craft Knife
- I used bought silhouette cut outs and also made some with images printed from google
- I them traced these onto black card cut them out and used sticky tack to attach them to the walls


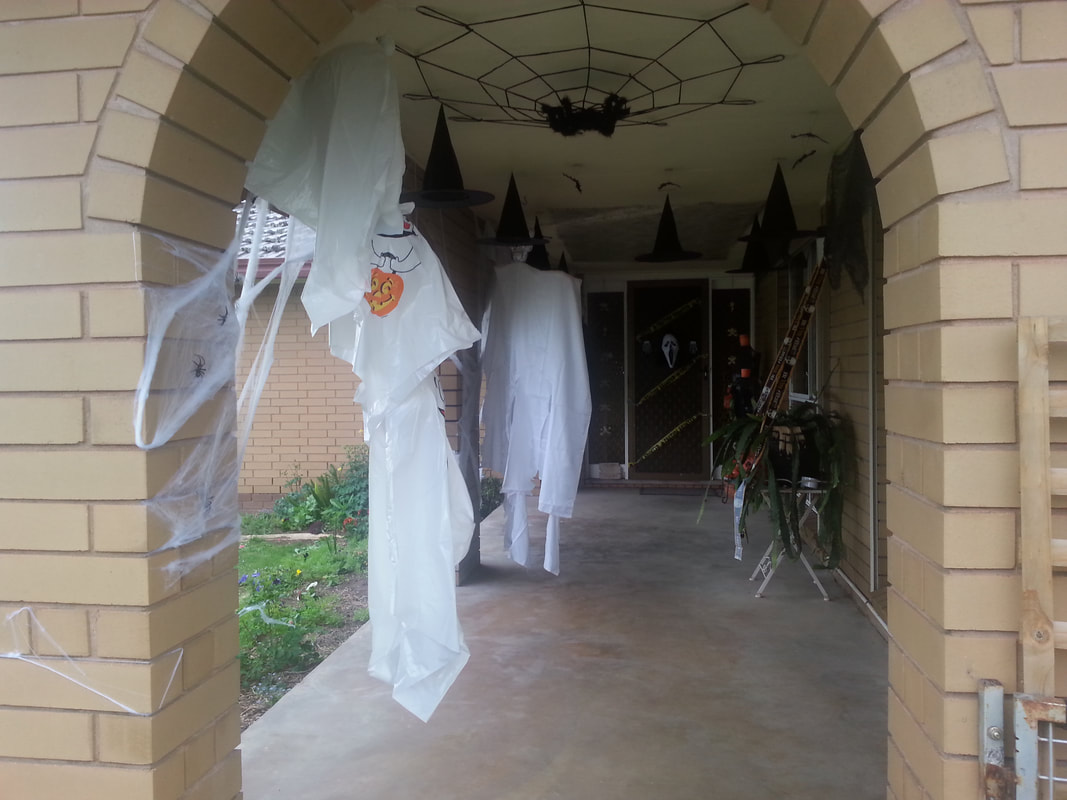
Creepy Multi Use Mask
Materials Used
White plastic mask
Red paint
Paint brush
Materials Used
White plastic mask
Red paint
Paint brush
- Use the paint brush to drizzle red paint and let it run and drip down the mask from the eyes and mouth

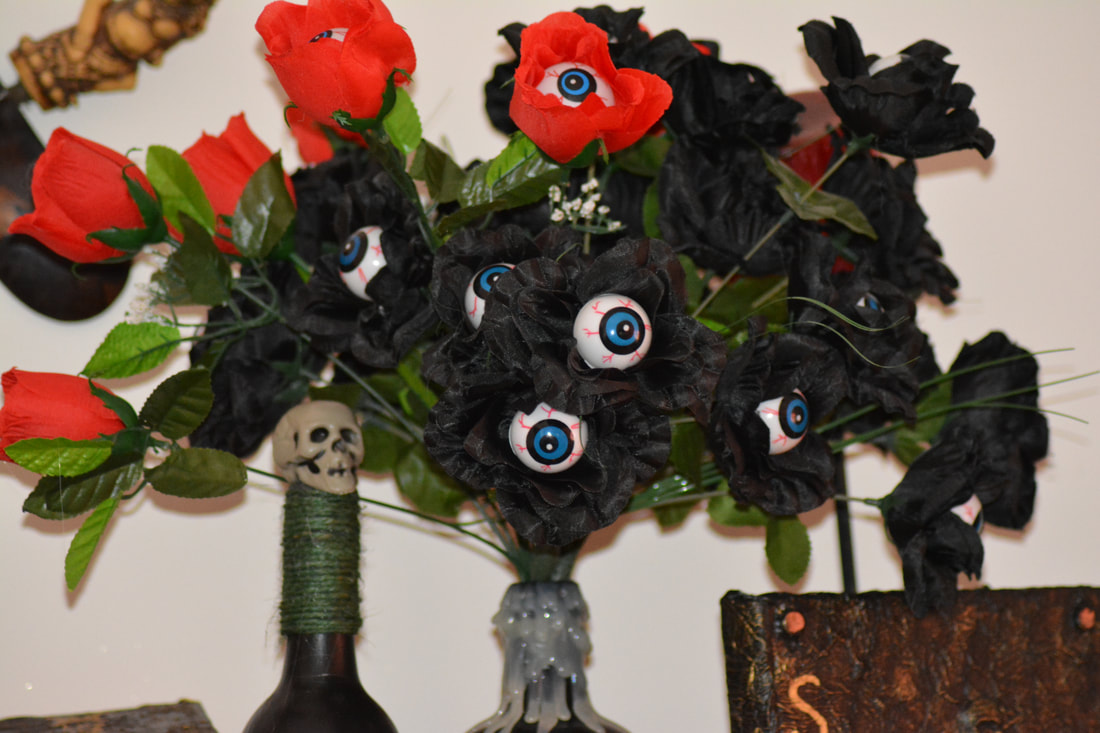
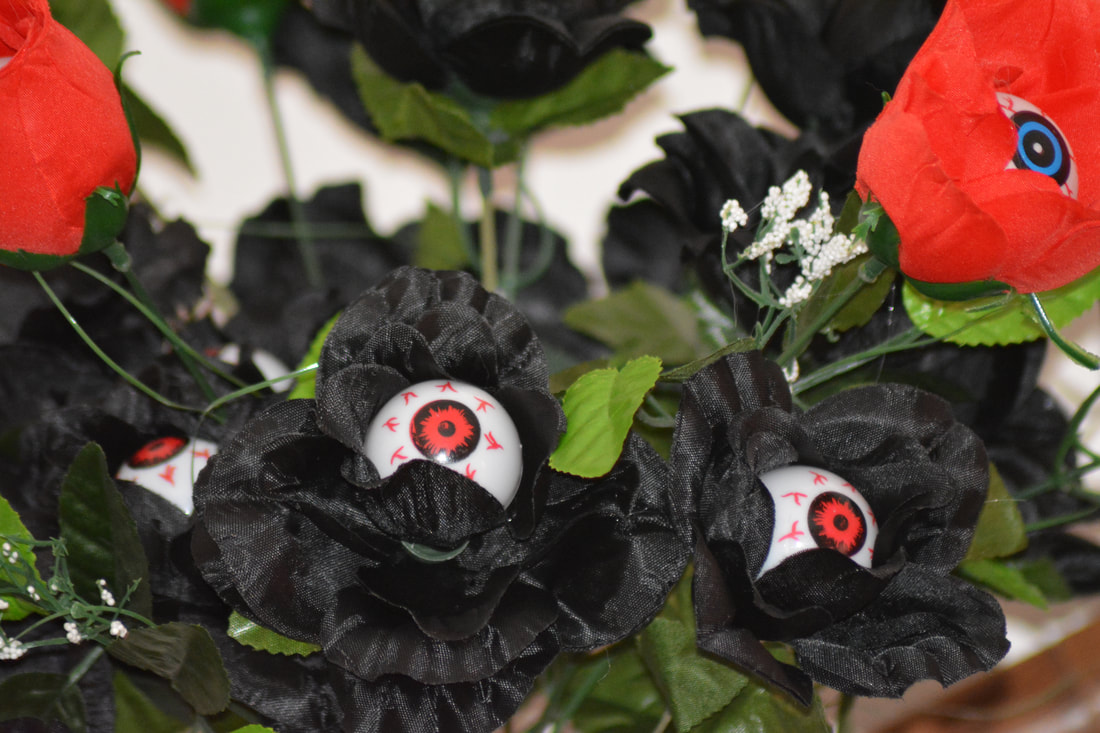
Eyeball Flowers
Materials Used
Artificial Flowers (any colour I used red and black)
Fake Plastic Eyeballs (or white ping pong balls and googly eyes)
Glue Gun
Materials Used
Artificial Flowers (any colour I used red and black)
Fake Plastic Eyeballs (or white ping pong balls and googly eyes)
Glue Gun
- Glue the eyeballs into the centre of the artificial flowers using the glue gun
- If using the ping pong balls and googly eyes glue the eye to the ball first then glue it into the flower
- Be careful with the glue as it can be hot enough to melt holes in ping pong balls making them collapse
- If you can get the harder plastic eyeballs I recommend using them however if using rose flowers that have the just beginning to open look you will big ones or the petals will close over them making them hard to see
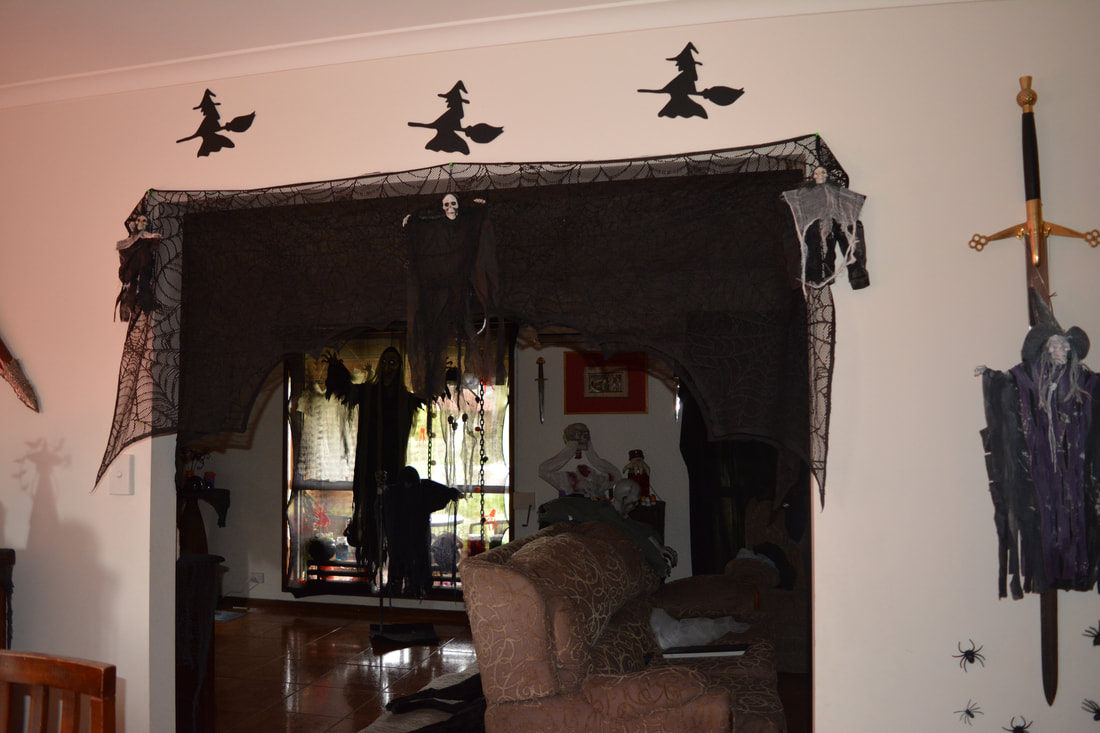
Silouette Scenes
Materials Used
Black Card/Paper
Silver/White Pencil
Scissors or Craft Knife
Stencils (I used cauldron, flying witch, bats)
Sticky Tack/Bluetak
Materials Used
Black Card/Paper
Silver/White Pencil
Scissors or Craft Knife
Stencils (I used cauldron, flying witch, bats)
Sticky Tack/Bluetak
- Print out stencils to trace and cut out. For the bats use different sizes and shapes
- In the pictures below there are also rats, owls and spiders, I did not make these they where bought ones given to me however they could easily be also downloaded made
- Trace the stencils onto black card/paper using a silver or white pencil
- Use the scissors or craft knife to cut them out
- Use the bluetak to stick them to the walls

Spooky Bottles & Jars
Materials Used
Bottles & Jars (various shapes and sizes)
PVA Glue
Tissue Paper/Paper Towel
PVA (Wood) Glue
Embellishments (motifs, spiders, skulls, eyes etc)
Paint
Paint Brushes
Printed Spooky Lables
Glue Gun
Materials Used
Bottles & Jars (various shapes and sizes)
PVA Glue
Tissue Paper/Paper Towel
PVA (Wood) Glue
Embellishments (motifs, spiders, skulls, eyes etc)
Paint
Paint Brushes
Printed Spooky Lables
Glue Gun
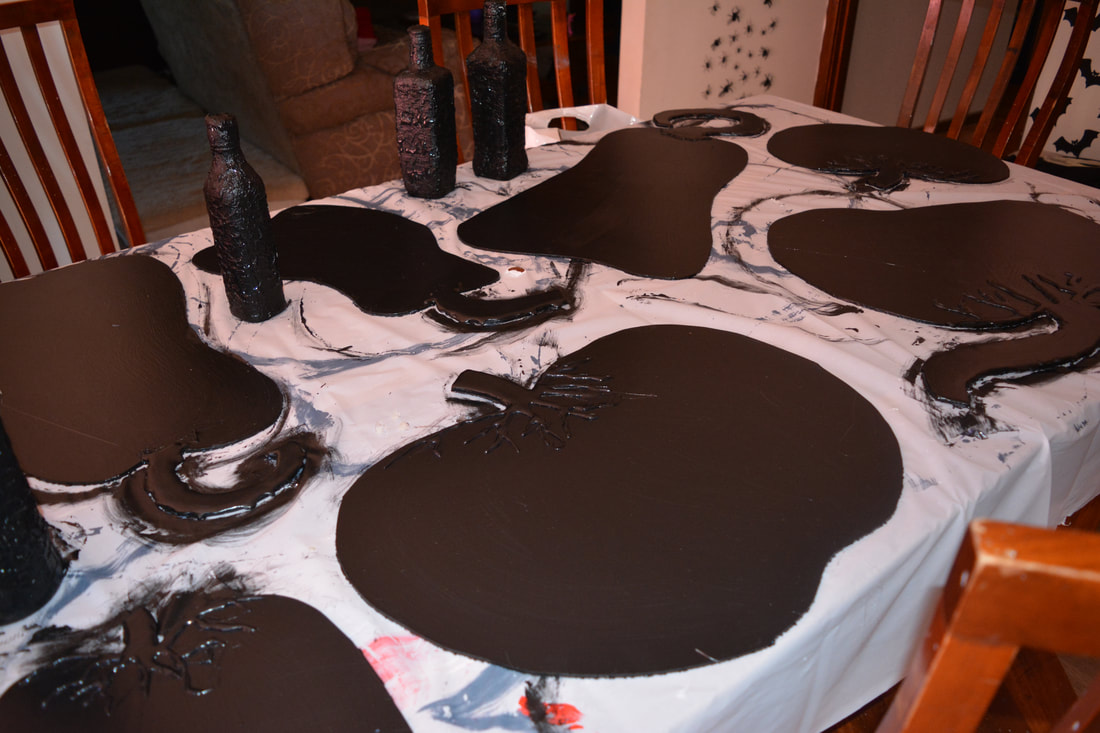
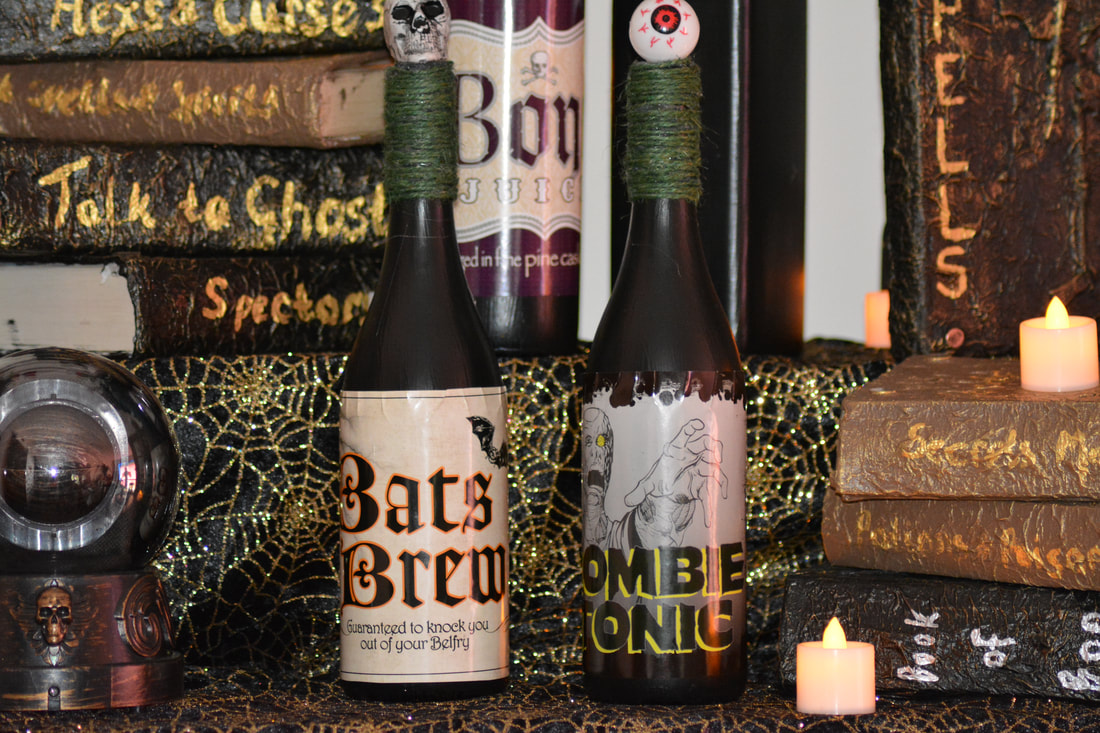
- I used wine and whiskey bottles to make these, I painted them all in a base coat of black
- Some I used a hot glue gun to fix string/juet around the neck and then used pre printed sticky lables on them
- On these ones I also glued eyeballs and skulls to the tops.
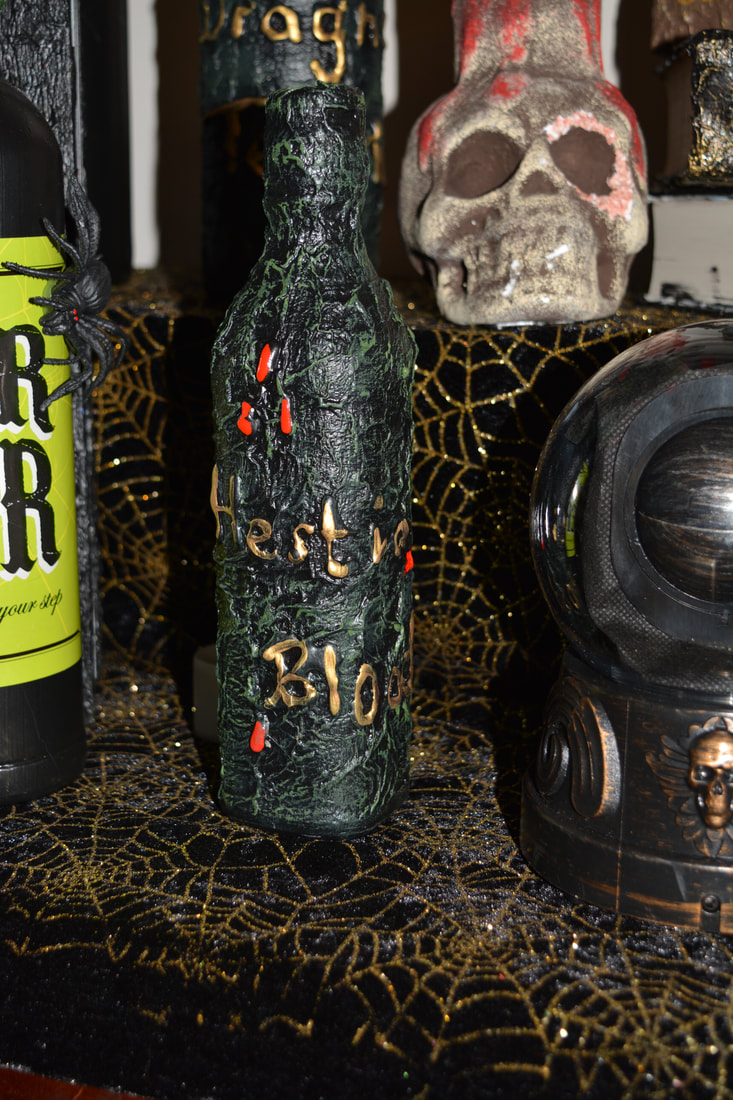
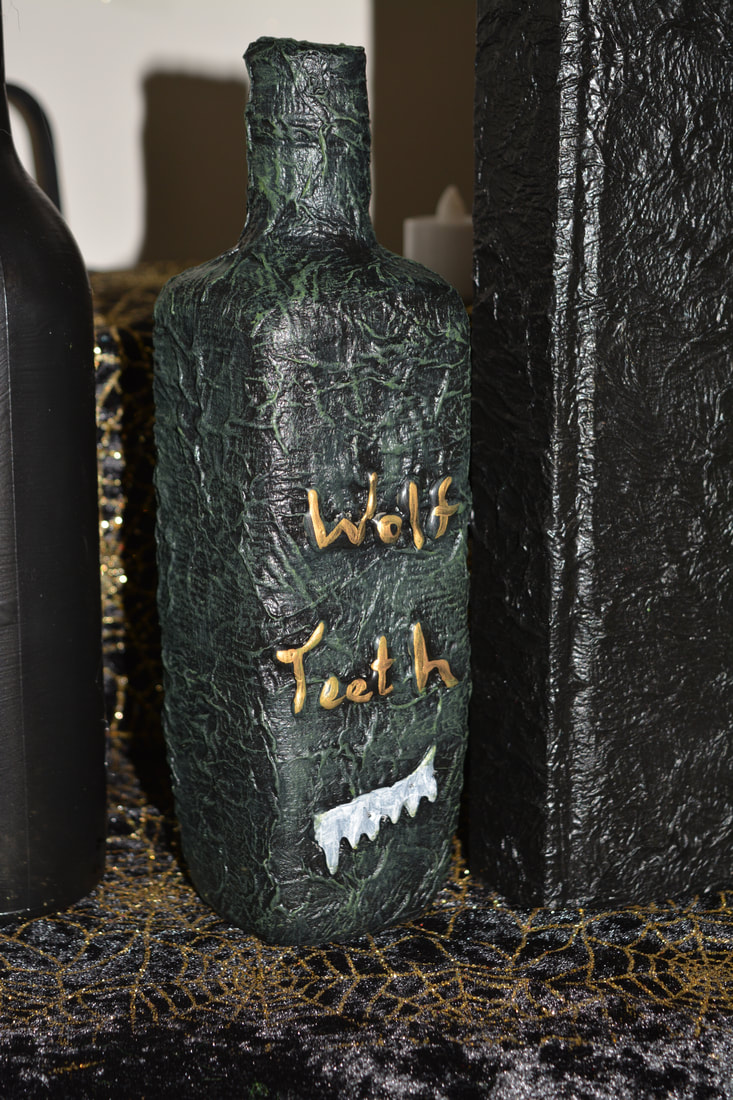
- The other bottles I used the same technique to cover as I did with the spooky books that is 1/2 & 1/2 PVA glue to water and tissue paper dabbed onto the bottles with a paint brush until covered
- When they were dry and finished I painted another base coat of black and dry brushed a green over it
- Then to finish I used the hot glue gun to write the ingredients on them with a few other decorative touches and when this was cool I painted over them so they stand out


Silhouette Scene
Materials Used
1800 x 915 x 3mm (or 6mm) MDF Sheets - I used 4
Black Acrylic Paint
Paint Brushes
Jigsaw
Pencil
Orange LED Lights
Staple Gun/Tape
Materials Used
1800 x 915 x 3mm (or 6mm) MDF Sheets - I used 4
Black Acrylic Paint
Paint Brushes
Jigsaw
Pencil
Orange LED Lights
Staple Gun/Tape
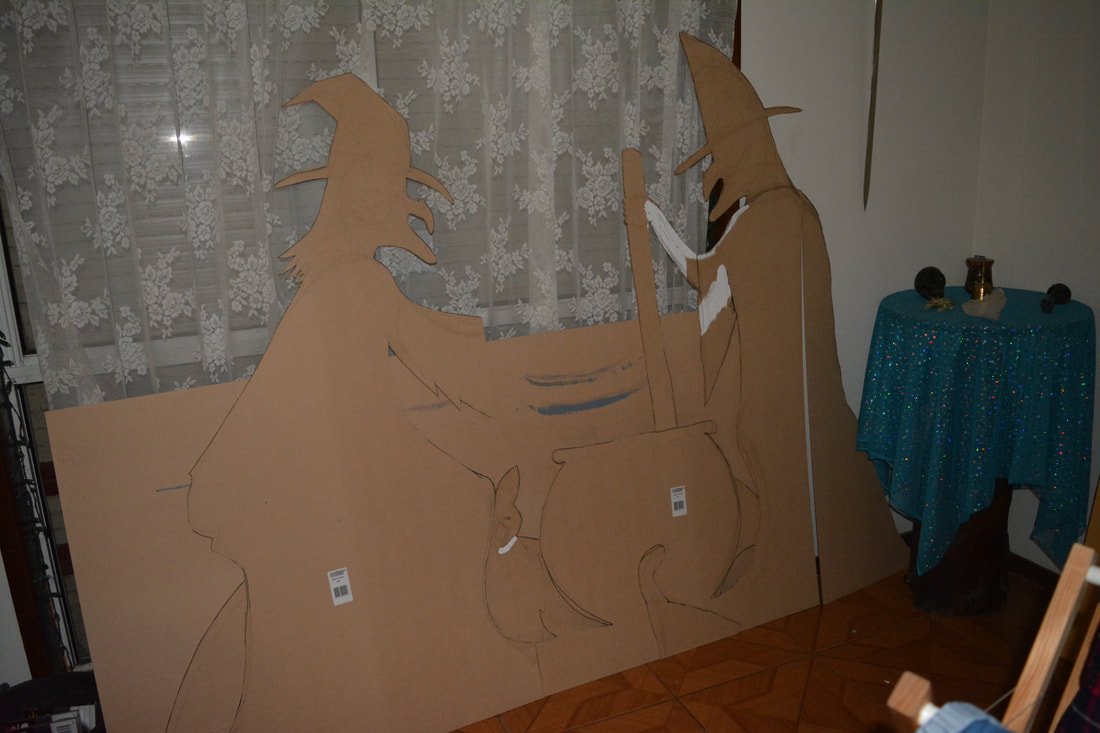
- This design was copied from Instructables. My scene isn't as big as the one I used from this site. The wall I am putting it one isn't big enough to hold the trees so I am using the 2D trees I made with creepy arms and sitting them forward of the witches stirring their brew.
- This was drawn freehand by a good friend of mine how helps with all my Halloween crafts every year.
- She draws them in pencil first then we go over them with black marker sharpie when the image looks right, if you have an image and a projector it is much easier to draw images out.
- Once outlined with black marker cut the image out with a jigsaw or dremel be careful of weak points and the way the cut out will flex at certain points, it doesn't take much to break MDF especially the 3mm.
- One you have the image cut out brace the back with pine 50x25mm, I used liquid nails to secure the bracing and wood screws from the image side.
- Once you have it braced use some more bracing wood pieces to secure any parts that have been cut from another piece of MDF, in my case it was a witches hand and the back of the other witch.
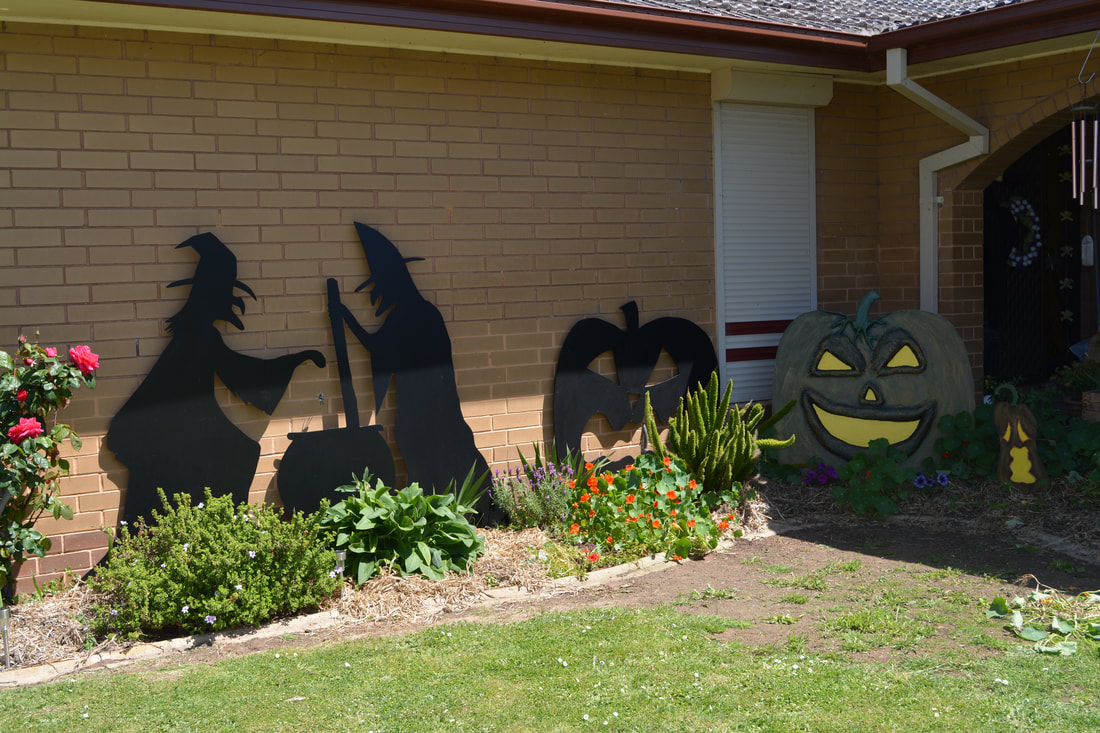
- Once the scene is braced and the other parts attached paint the pieces in satin/flat black acrylic (outdoor solar guard if possible).
- Take care to ensure the screws are painted and don't show.
- After this is dry take you LED lights and run them loosely around the back of the shapes, securing them with tape or a staple gun.
- I secured my scene against a brick wall on the house for the yard display but you can secure them to any flat surface or use polypipe on the back where the bracing is and slide them over stakes to secure them in the yard.


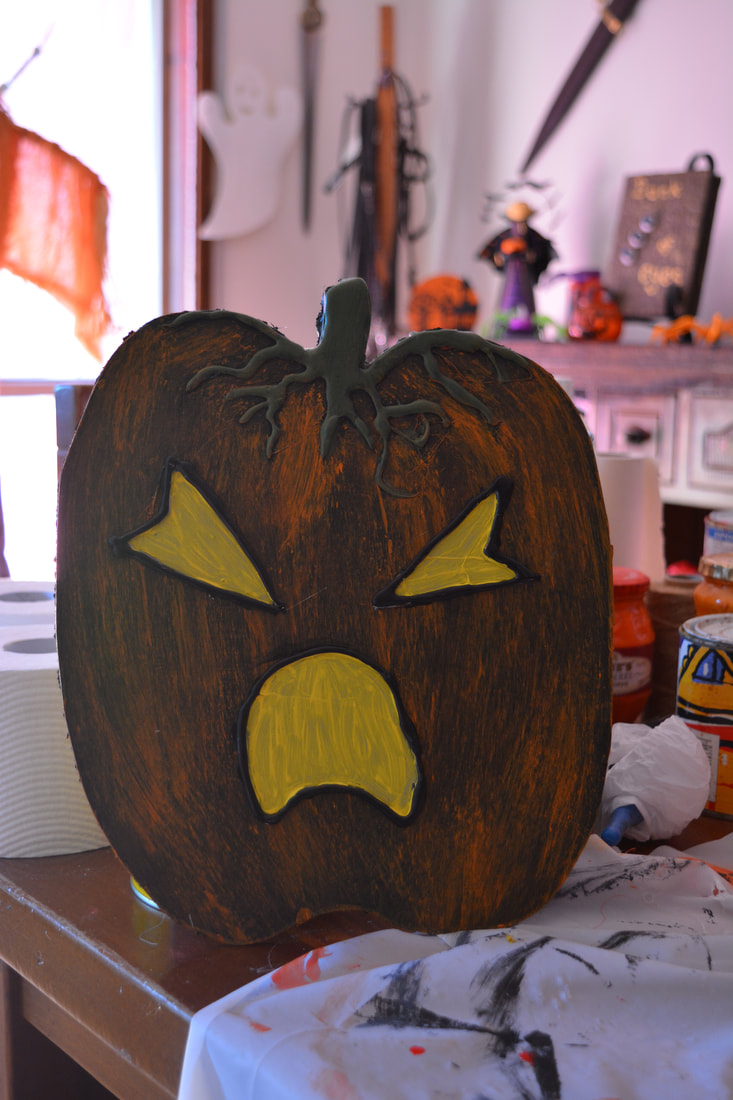
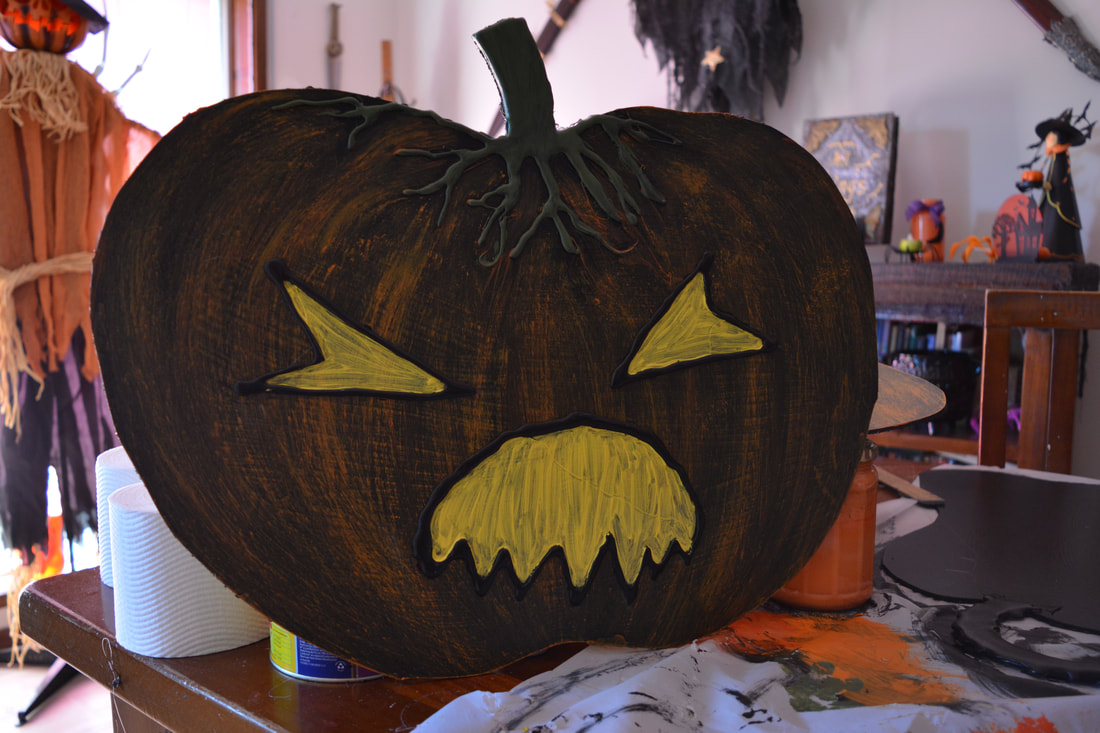
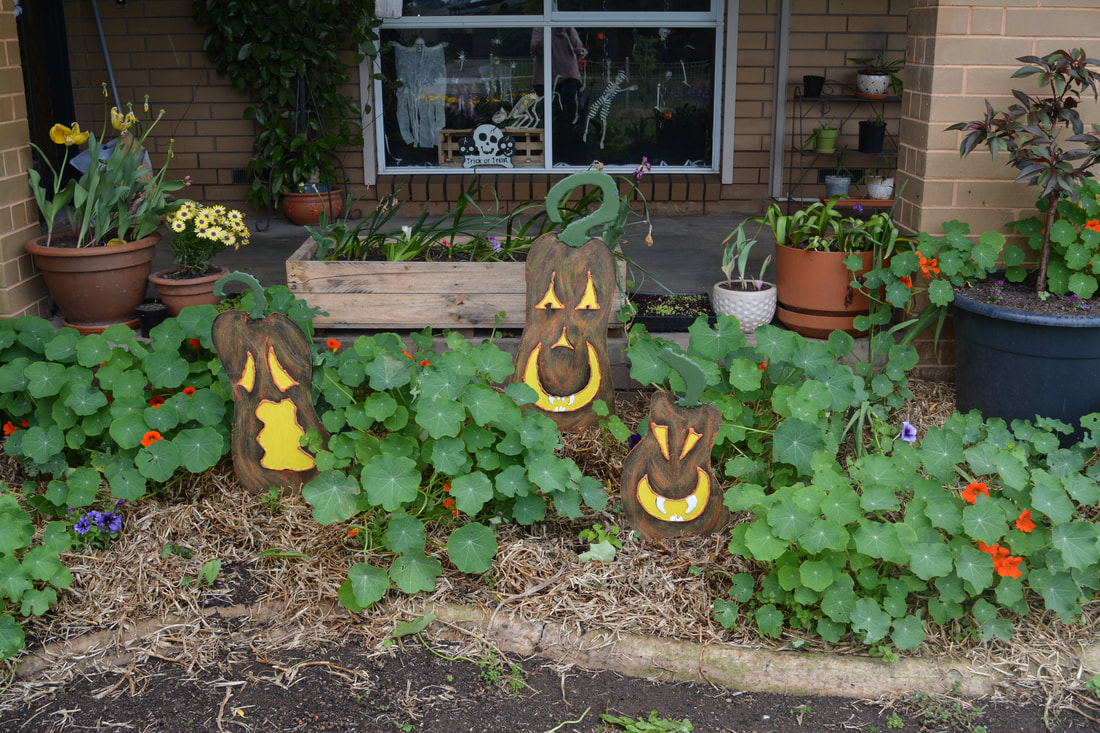
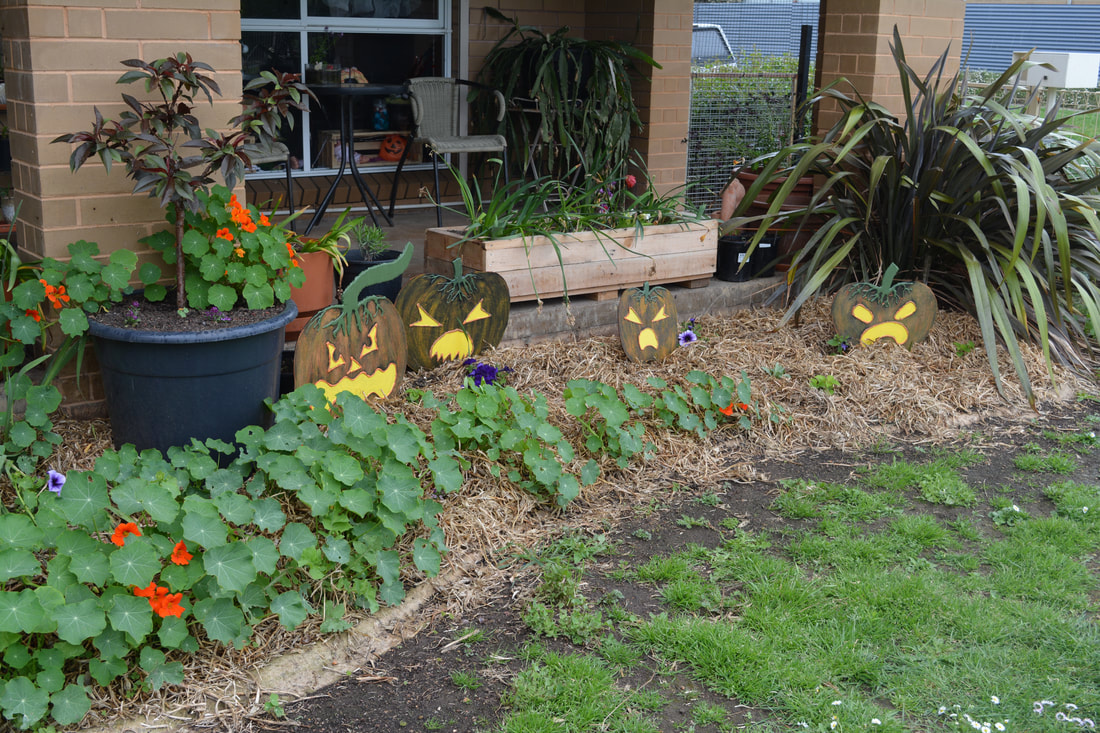
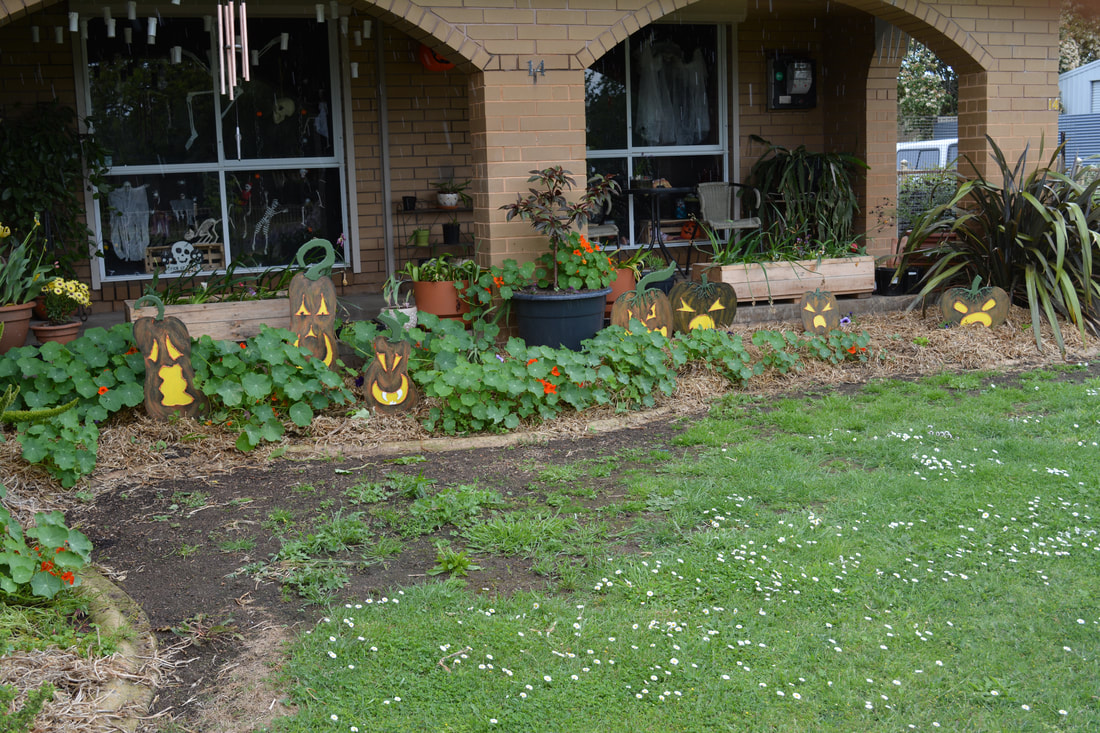
Small 2D Pumpkins
Materials Used
MDF Sheet Offcuts
Pencil
Jigsaw
Paint - black, orange, white, green, yellow (I also tried silver but didn't like it)
Hot Glue Gun
Garden Stakes
Liquid Nails
Materials Used
MDF Sheet Offcuts
Pencil
Jigsaw
Paint - black, orange, white, green, yellow (I also tried silver but didn't like it)
Hot Glue Gun
Garden Stakes
Liquid Nails
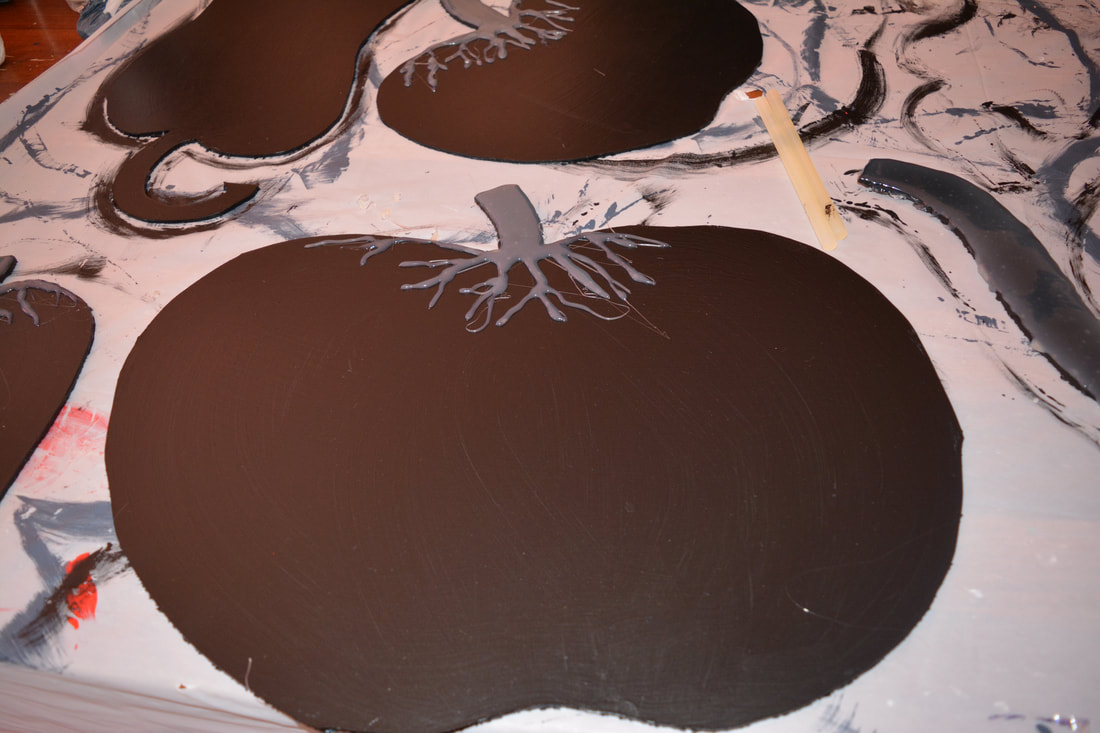
- First I draw out the desired design varying the size, shape and expression of each to ad interest.
- Cut them out with a jigsaw, I used 3mm MDF for these ones because that's what I had but 6mm would be better and easier to cut out
- I then Hot glue gun face details (with this lot I actually did this the wrong way round after the undercoat and the base coat)
- I then put a grey undercoat on them (same paint as used in the insul foam gravestones) and based coated them both sides
- The for creepy ones I use black as the base and for not so creepy ones I use orange as the base
- Initially I painted the hot glue detail in silver but it just wasn't showing up enough so I switched to bright yellow and then painted the rest of the detail on
- When they where dry I used liquid nails to attach the stakes to the back and gave it a good week to cure before positioning them in amongst the garden pants