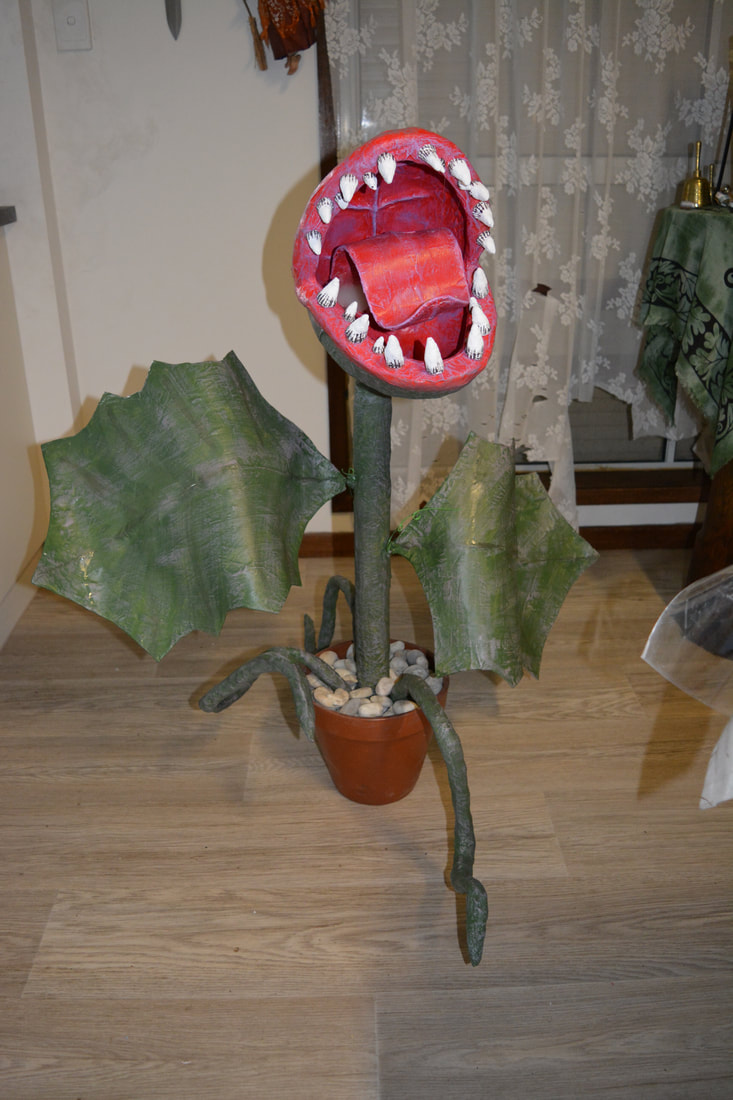
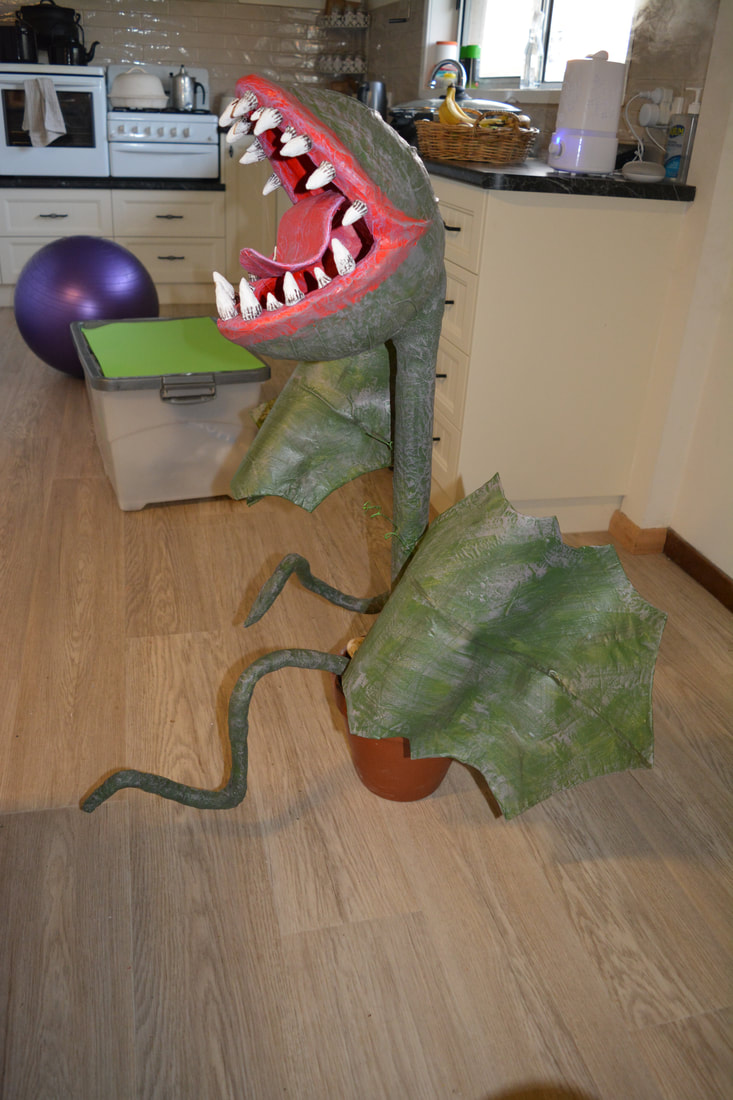
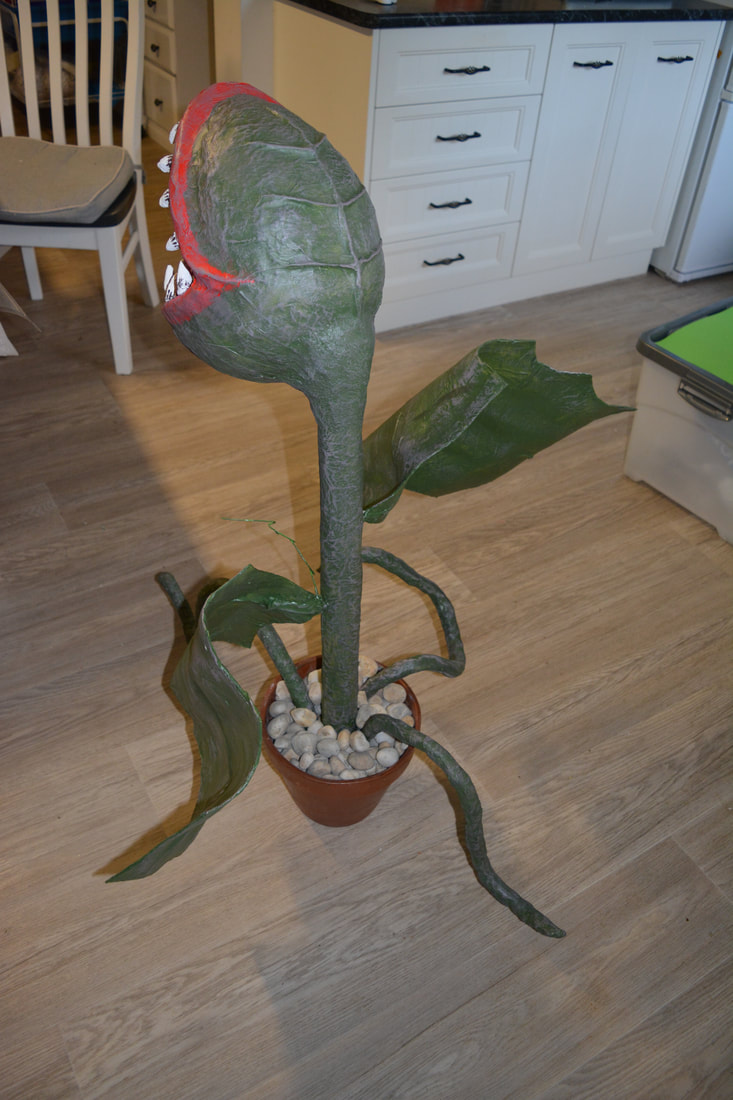
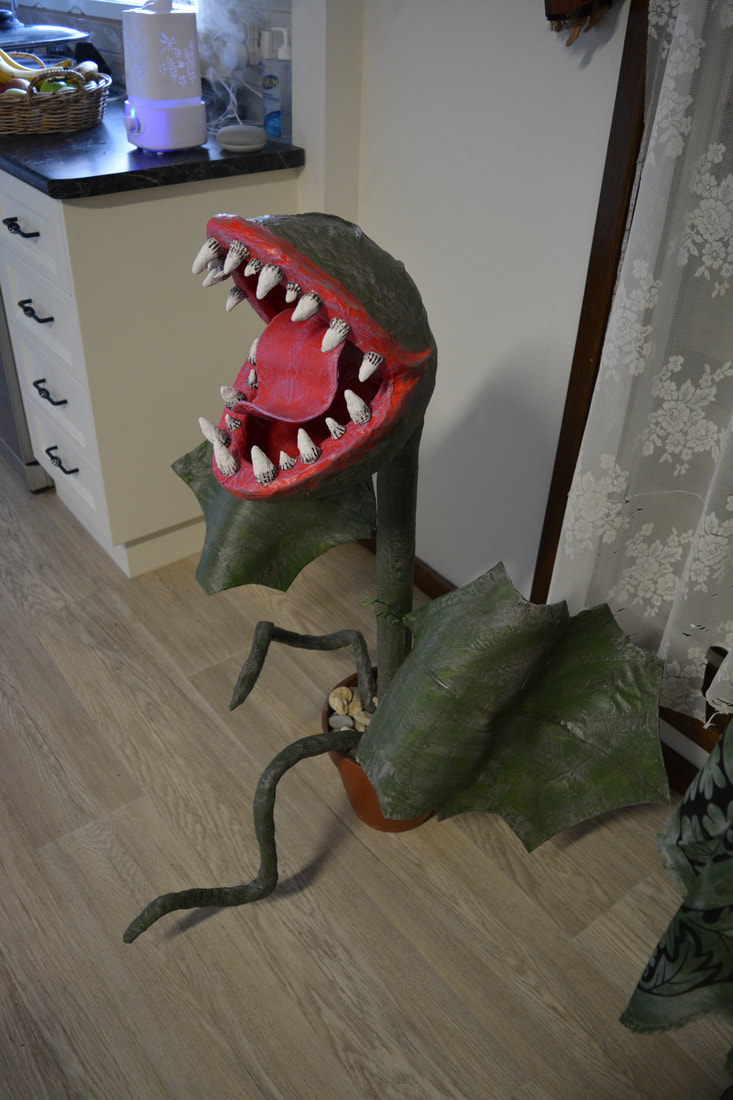
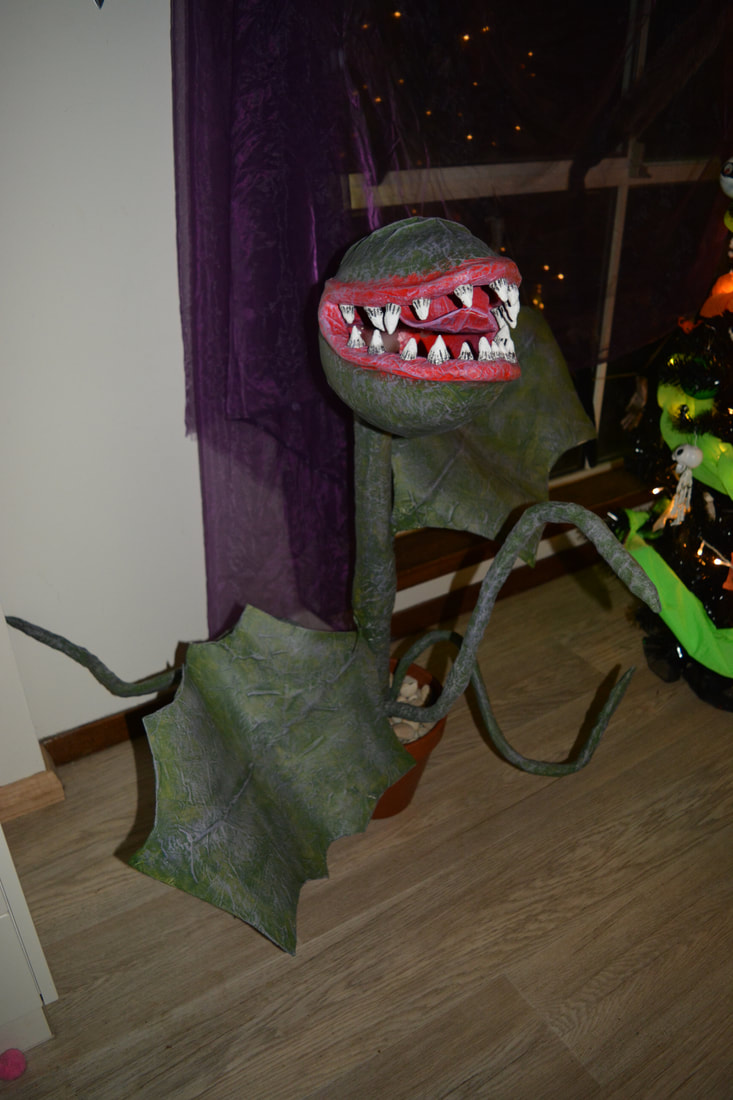
Monster Plant
Materials Used:
Balloons
Paper (torn into strips)
Paper Mache Paste (recipe below)
Paper Mache Clay (recipe below)
Butches Paper or News Paper
Cardboard or EVA Foam Sheets (for leaves)
Plastic Pipe (plumbing or irrigation)
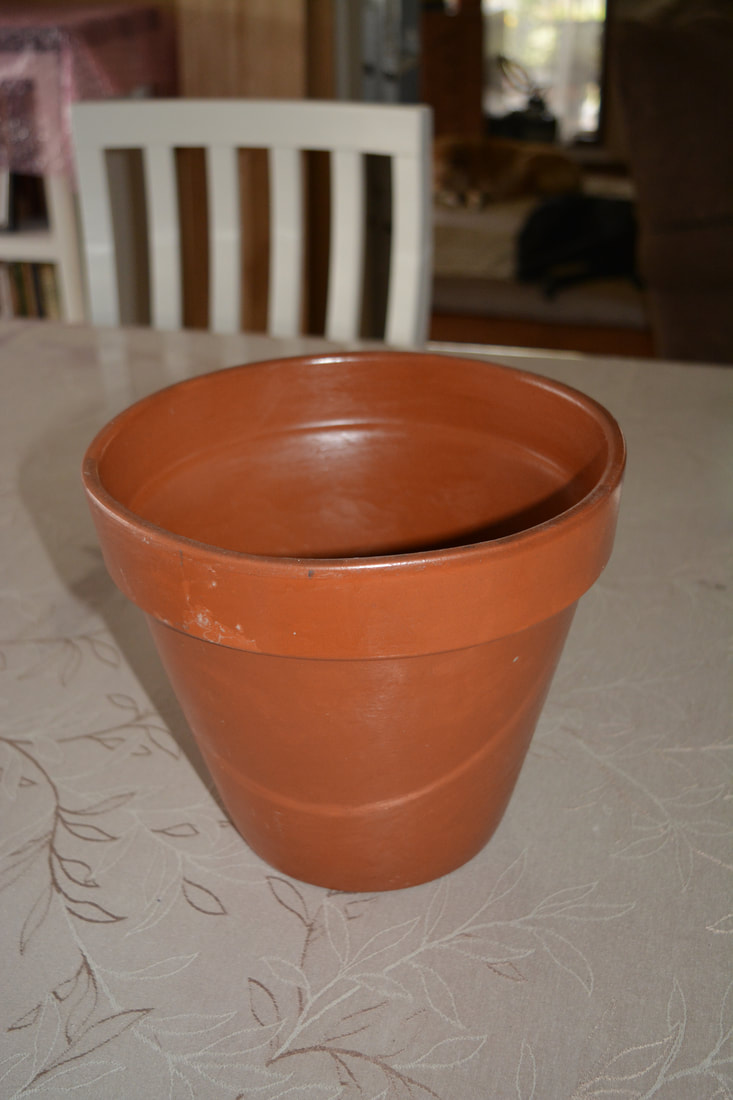
Terracotta Pots
Polyurethane
Paint - green, red, brown, green, black, white, yellow
Hot Glue
String
Garden River Stones
Fencing Wire
Method:
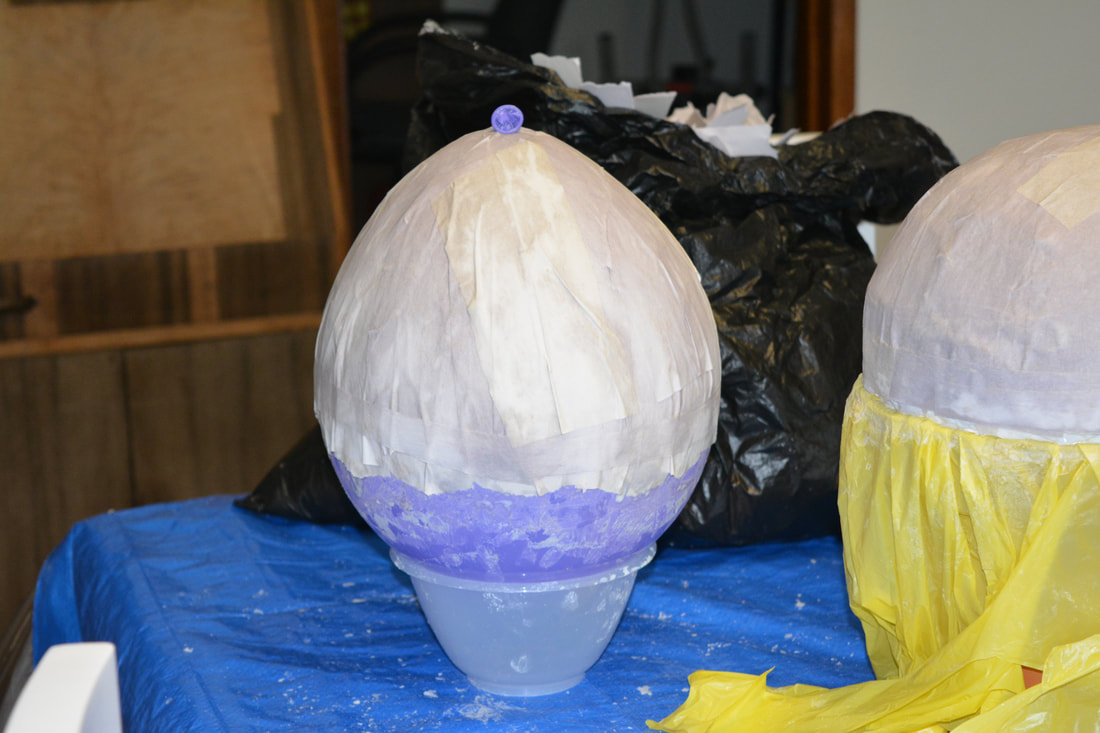
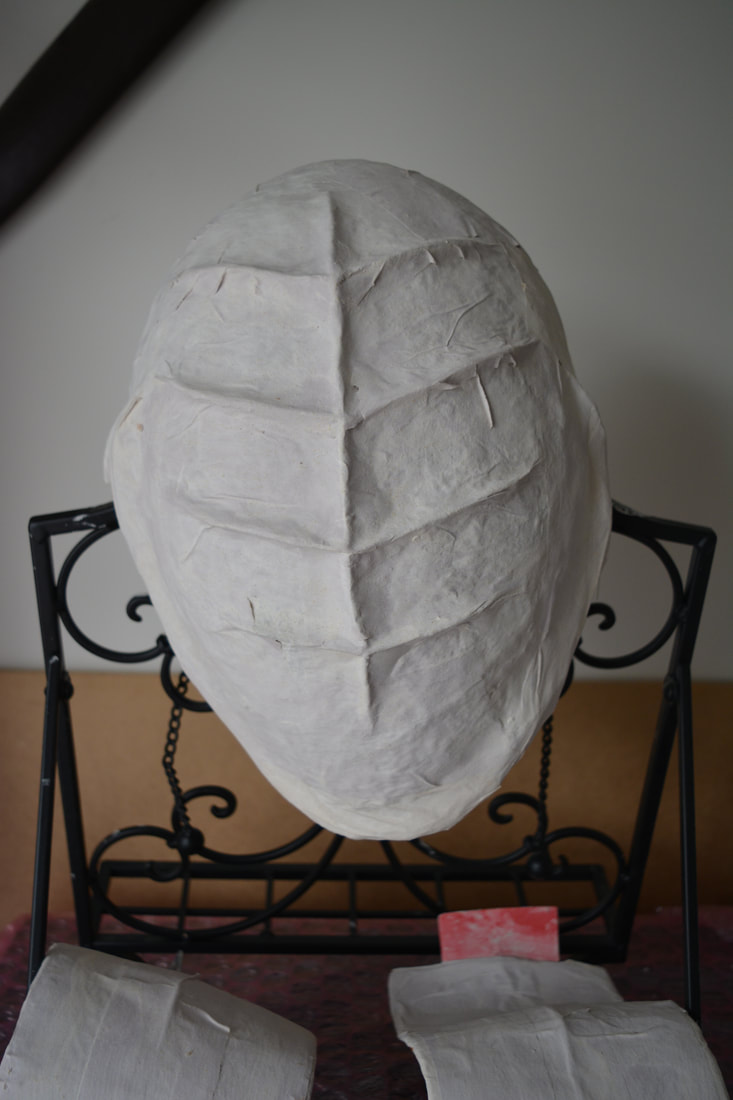
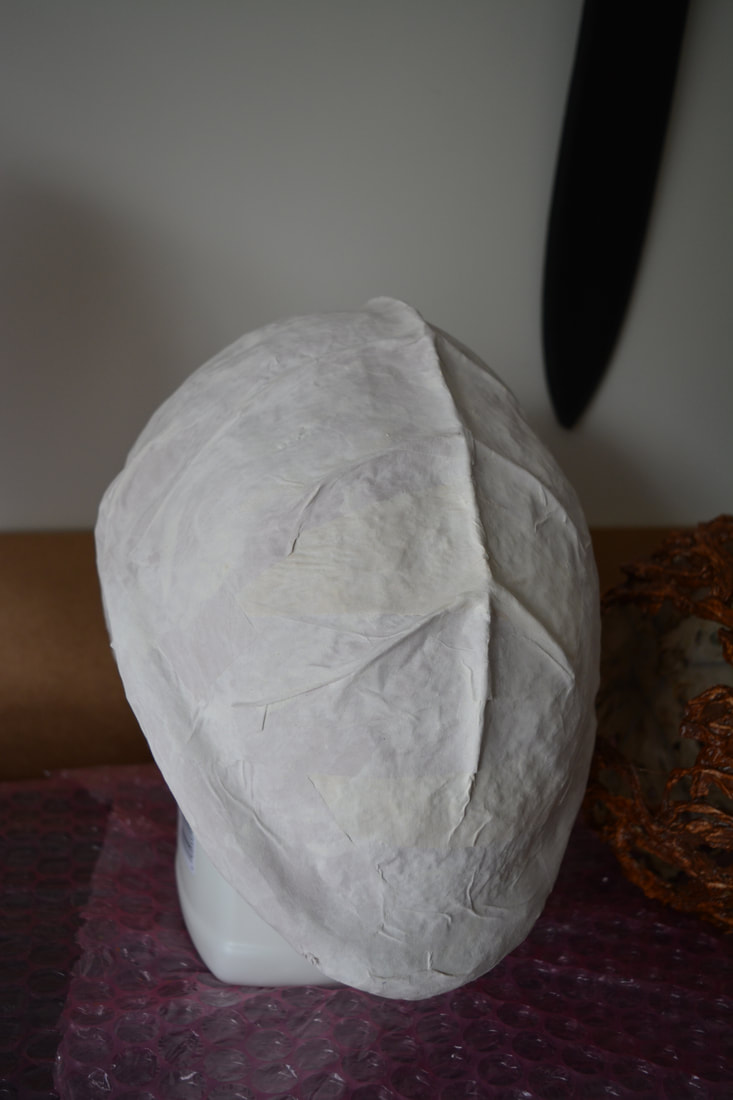
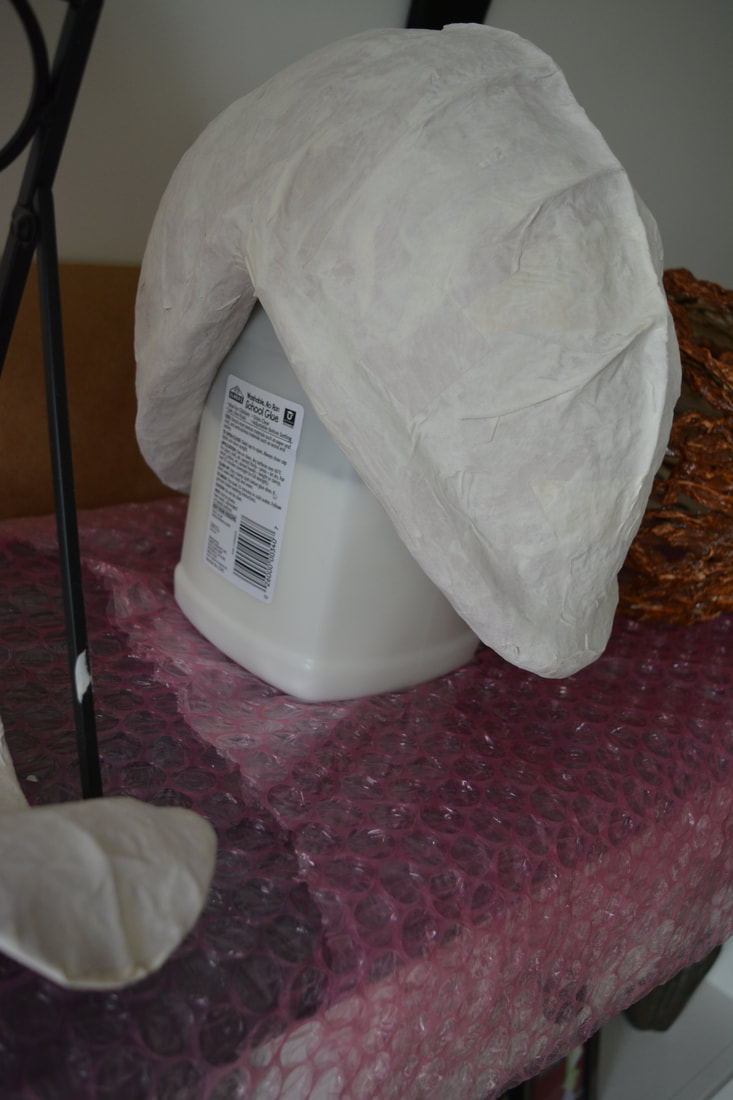
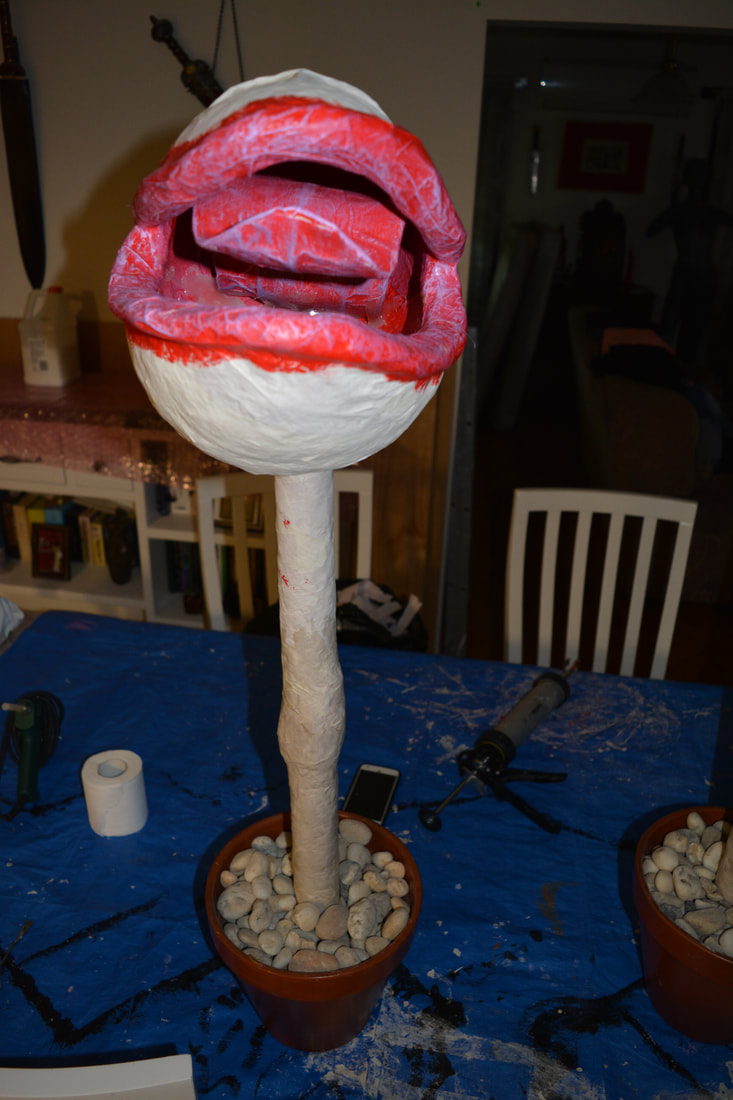
- We started by blowing up the balloons & using the paper strips with paper mache paste covered them.
- We did this in stages with 6 layers top & bottom but with enough time for each end to 3/4 dry before starting the other.
- Once the balloons are covered in papermache we left them for 5 days to dry properly & harden.
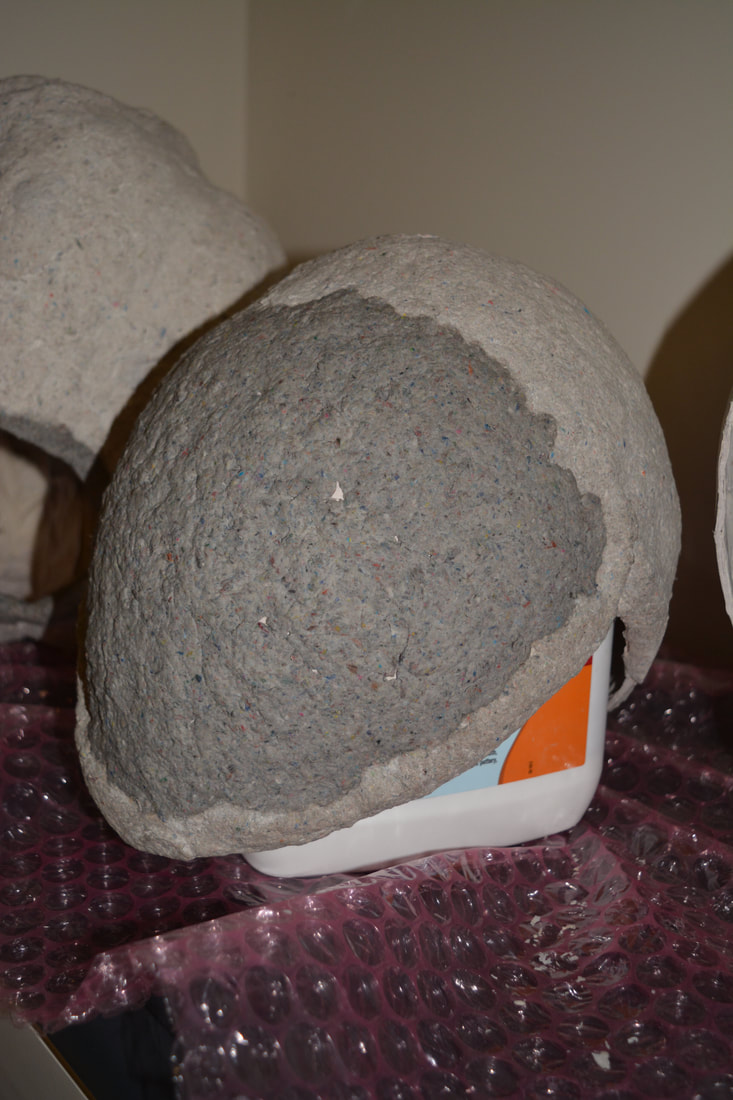
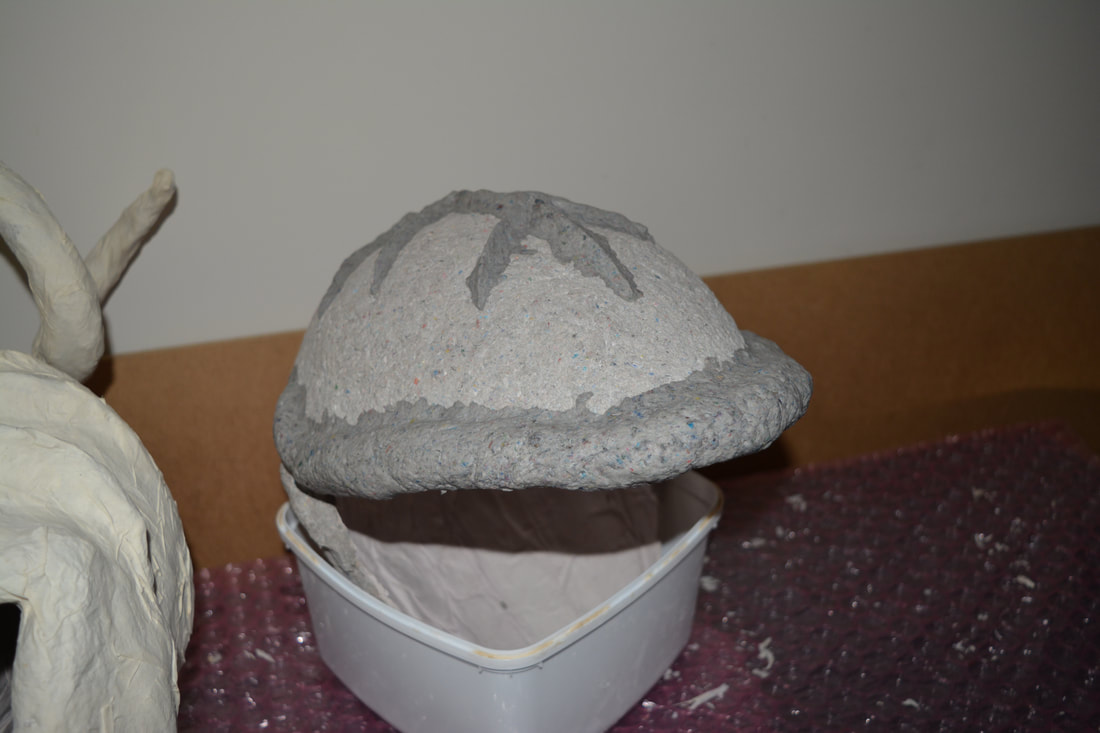
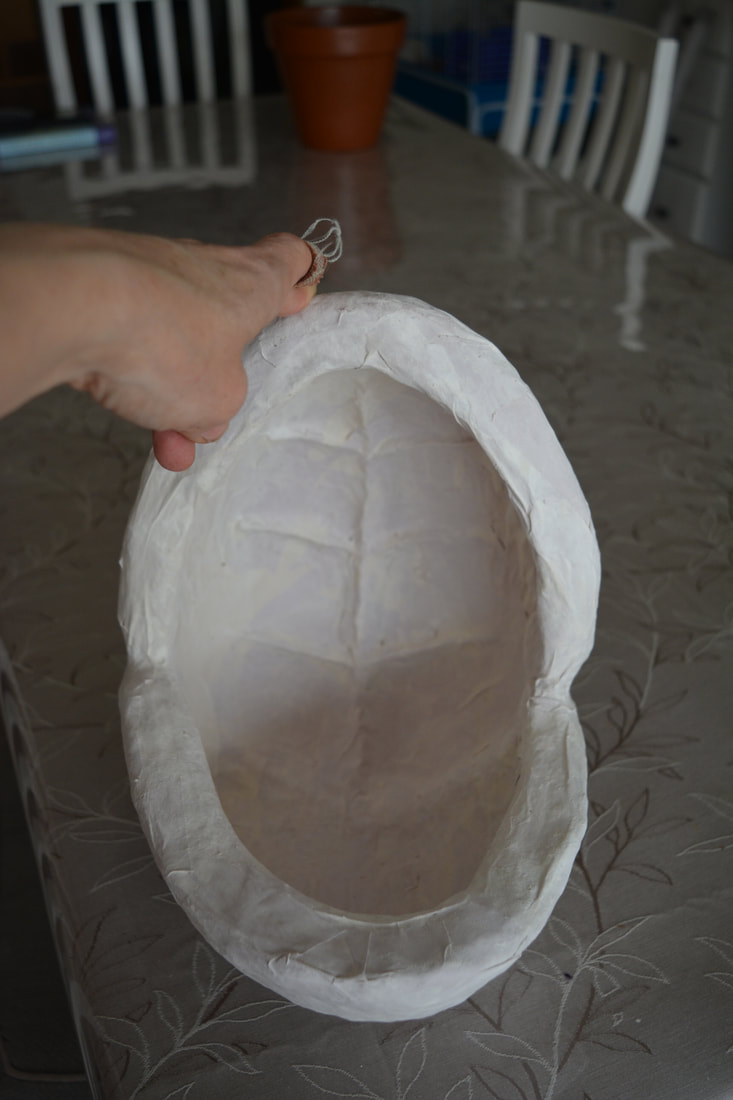
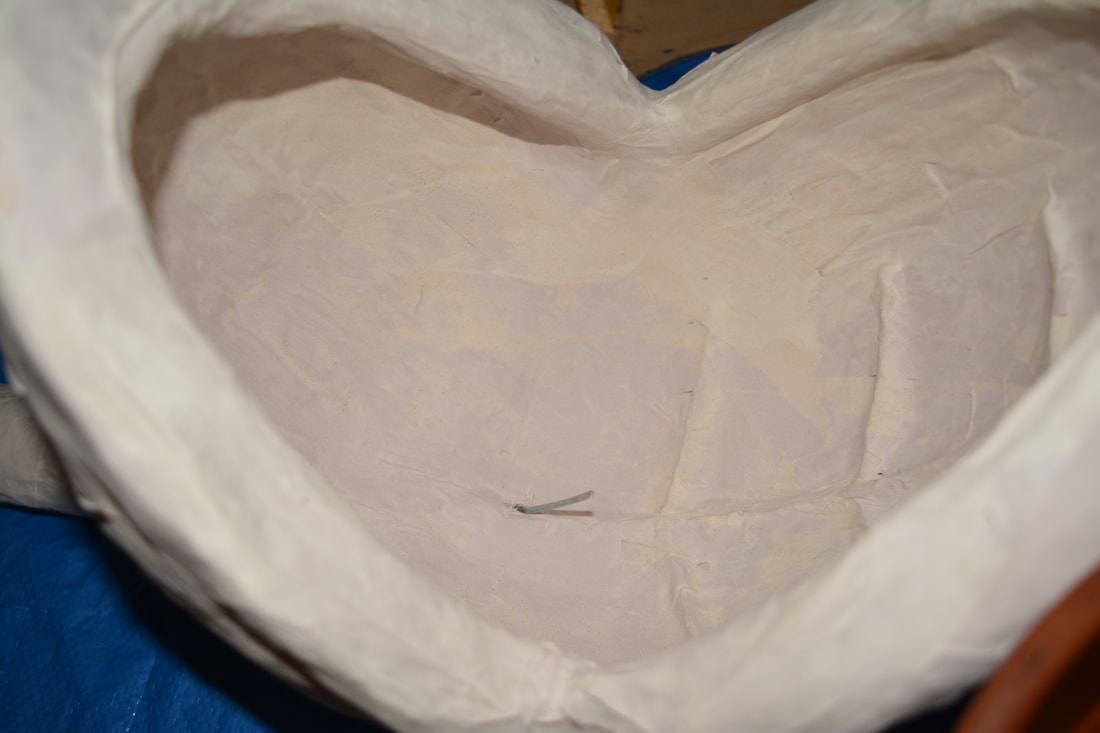
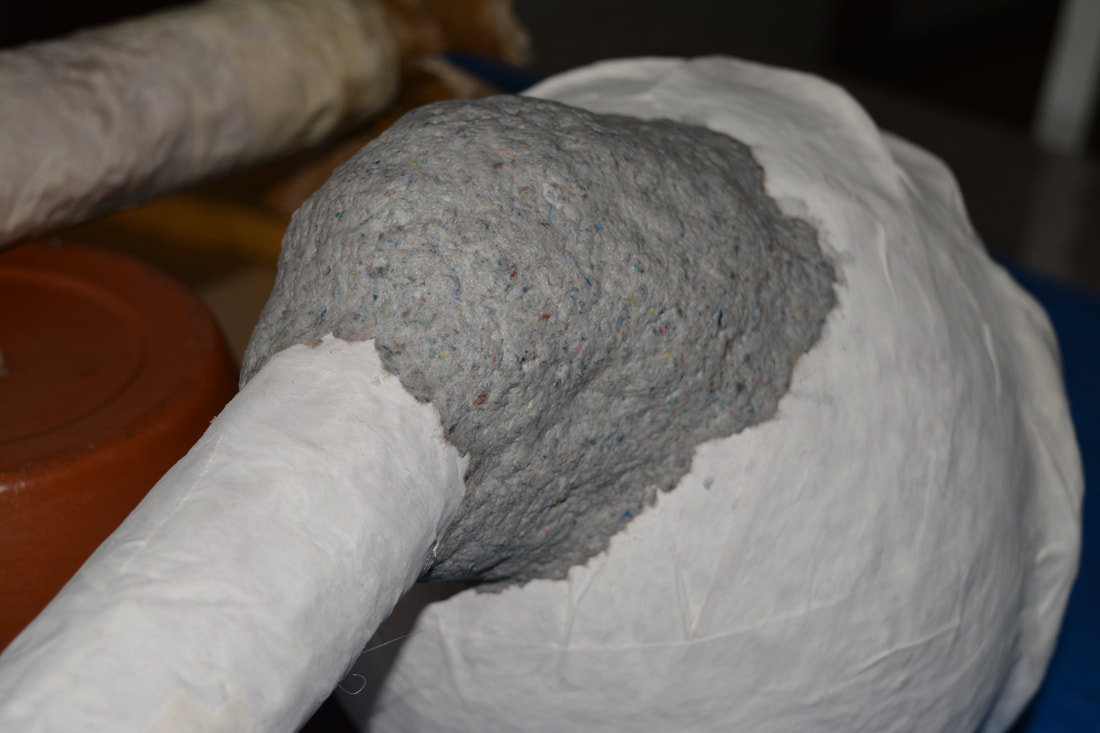
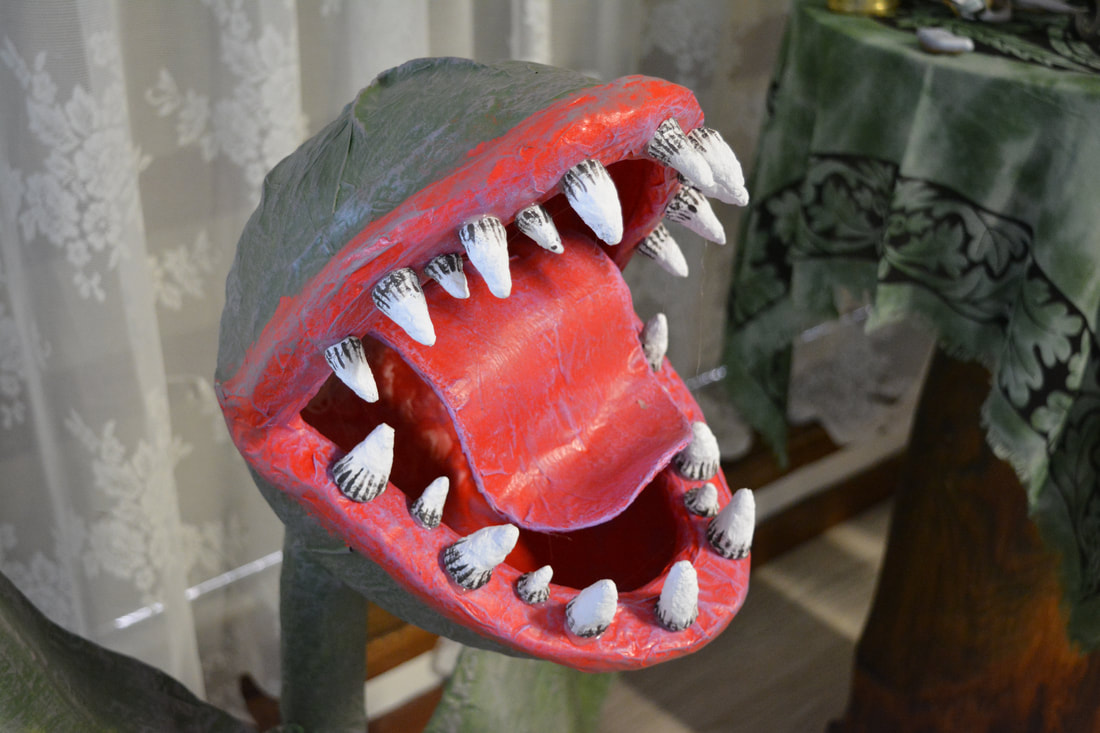
- After 5 days we cut out the mouths & then covered them in papermache clay.
- This was then left to dry for 5 days to dry and harden.
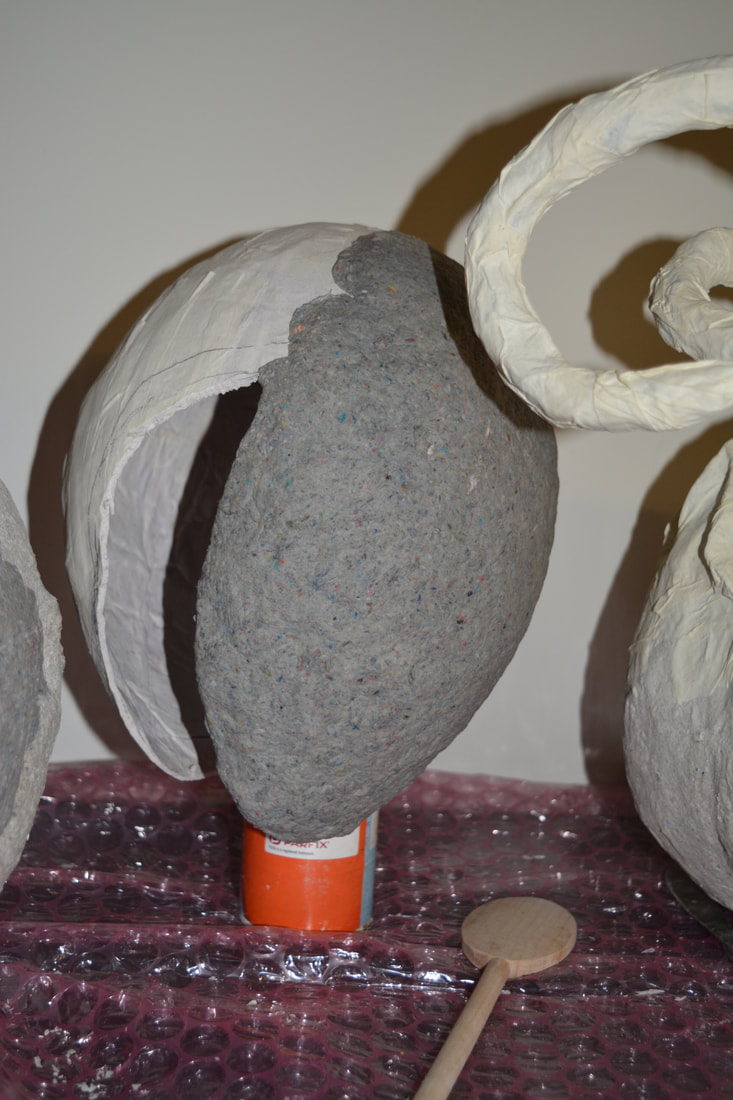
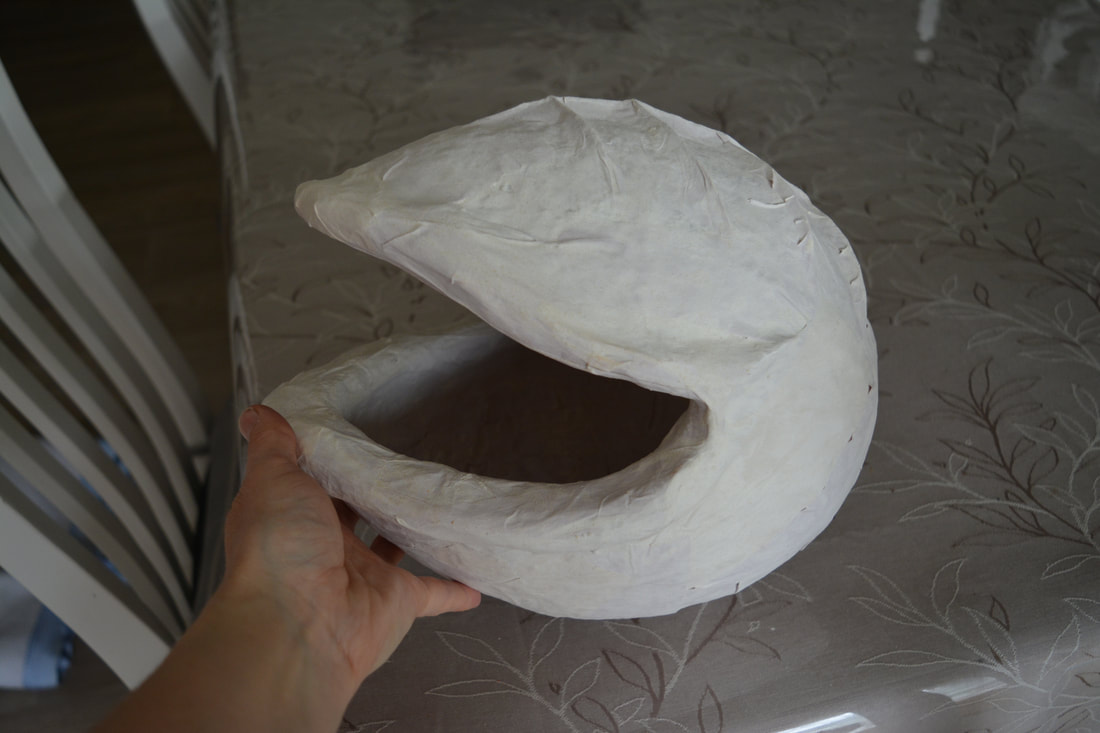
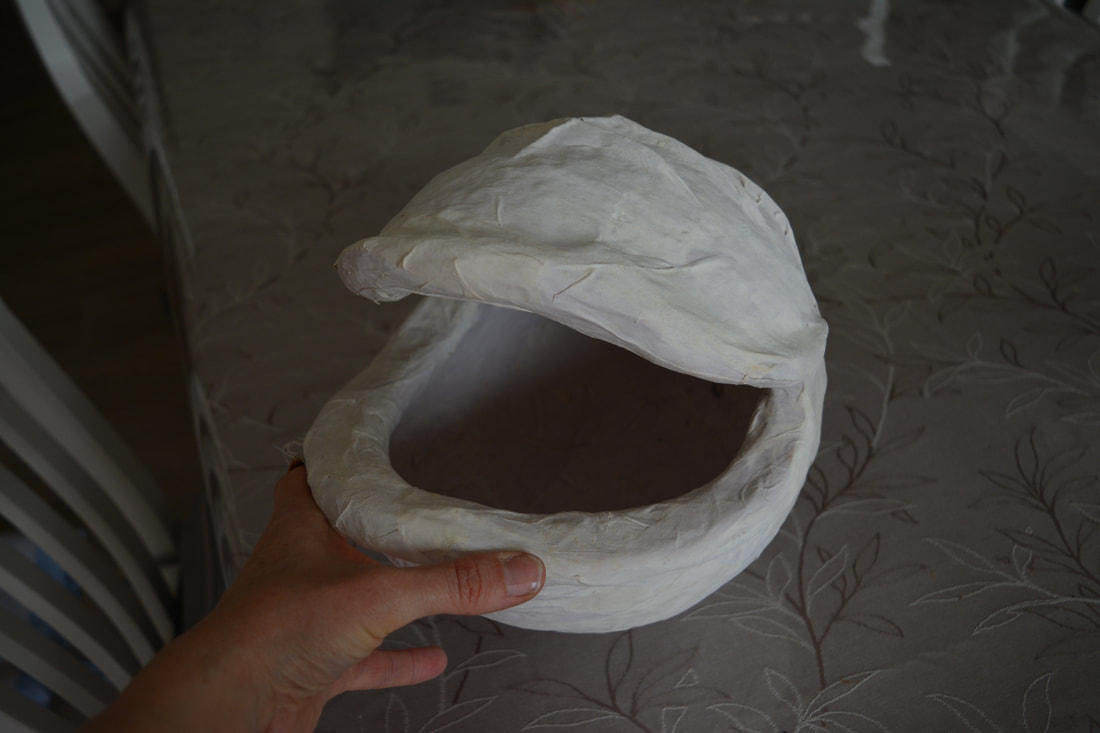
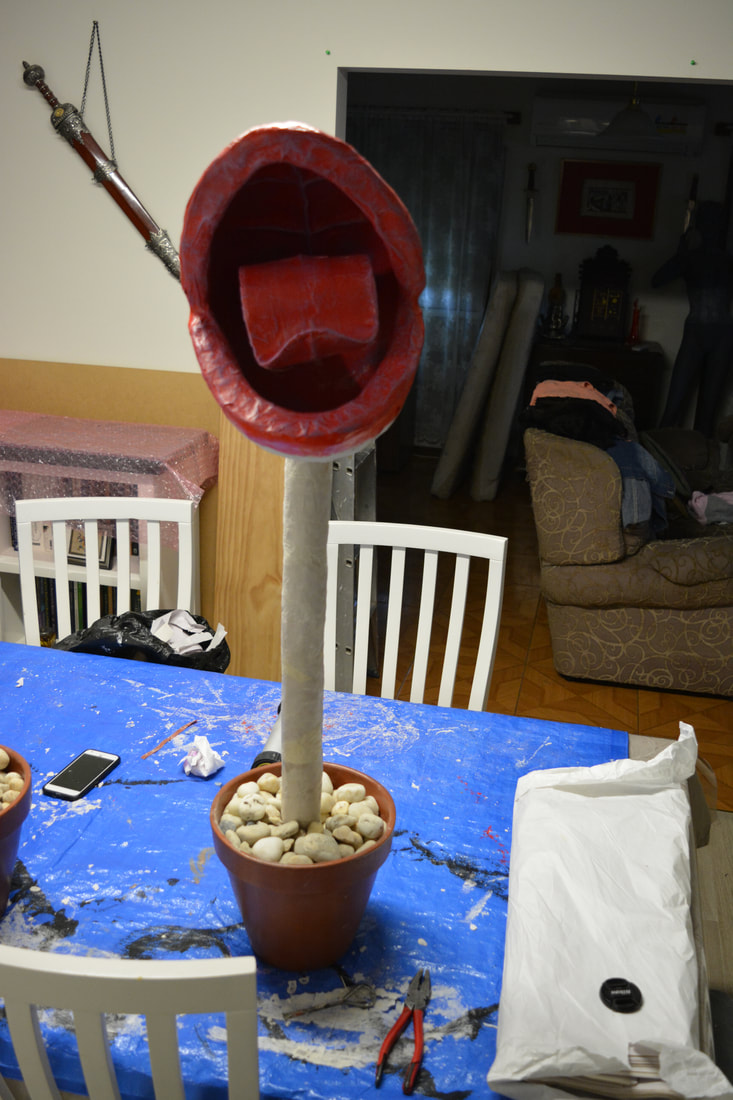
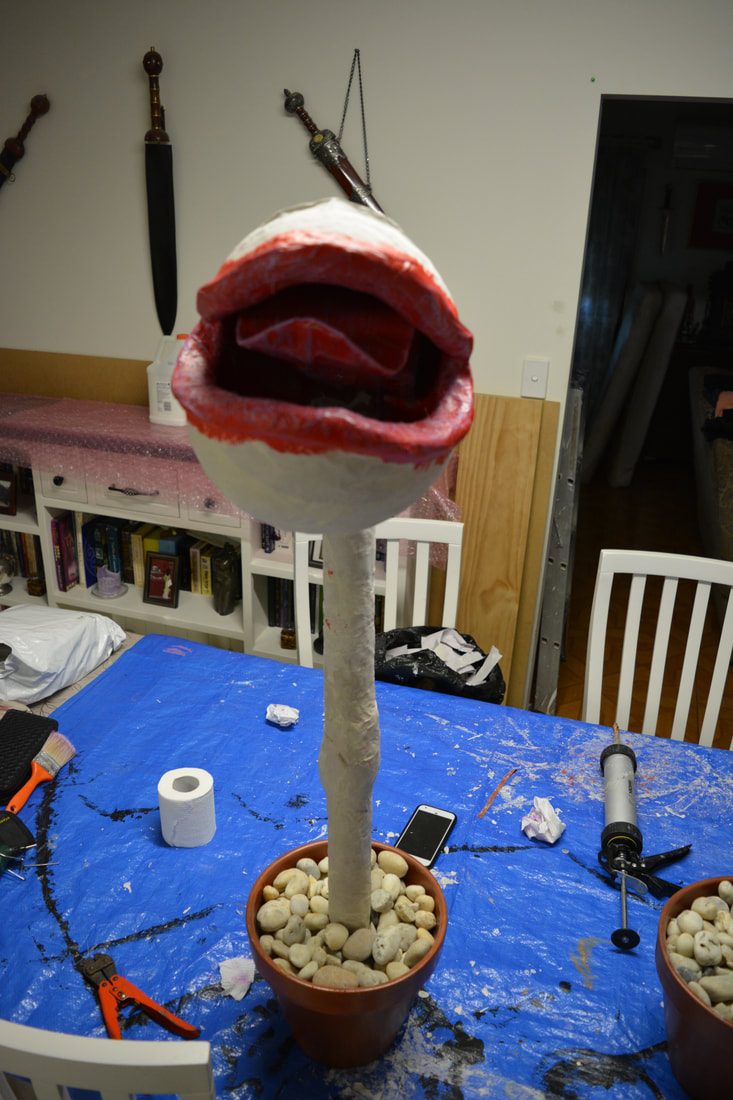
- After this 5 days we used papermache clay to make the lips & vein detail on top.
- We also put the vein detail on the inside of the plant with its mouth wide open.
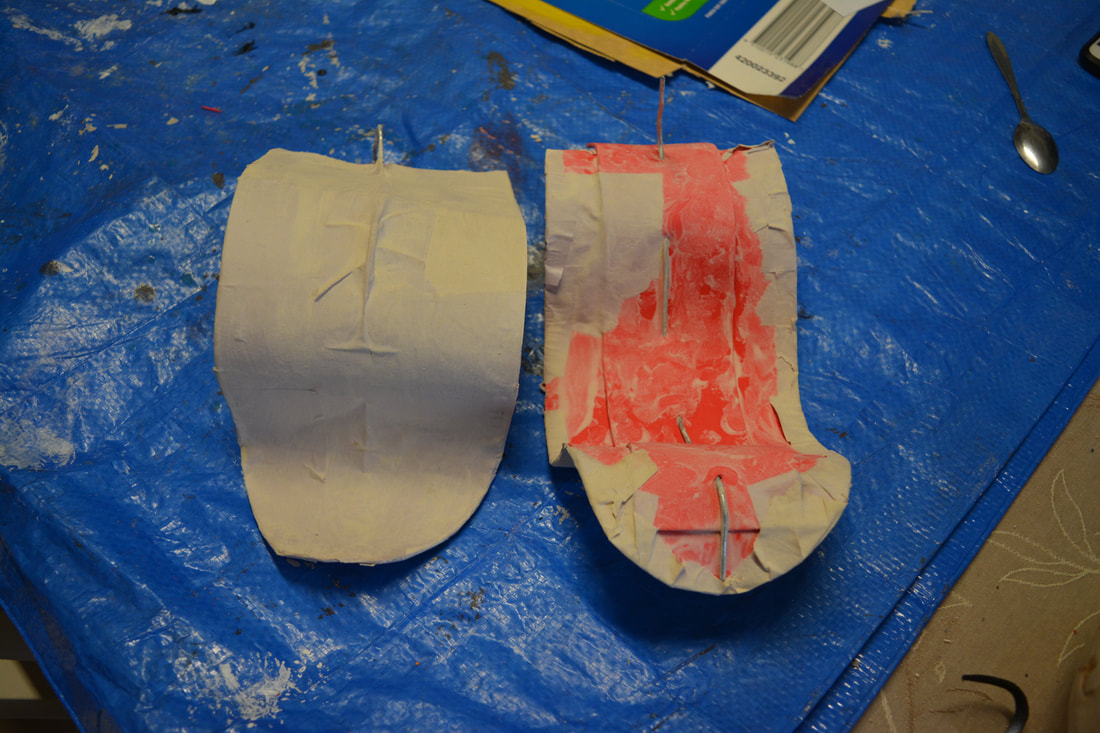
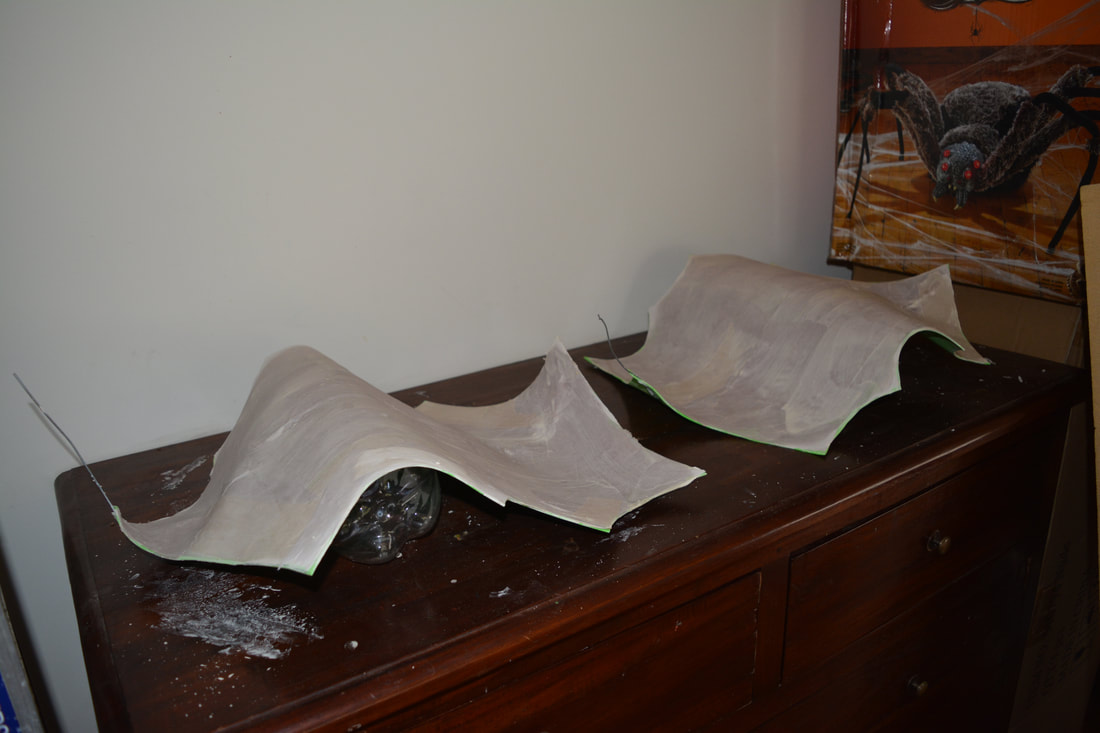
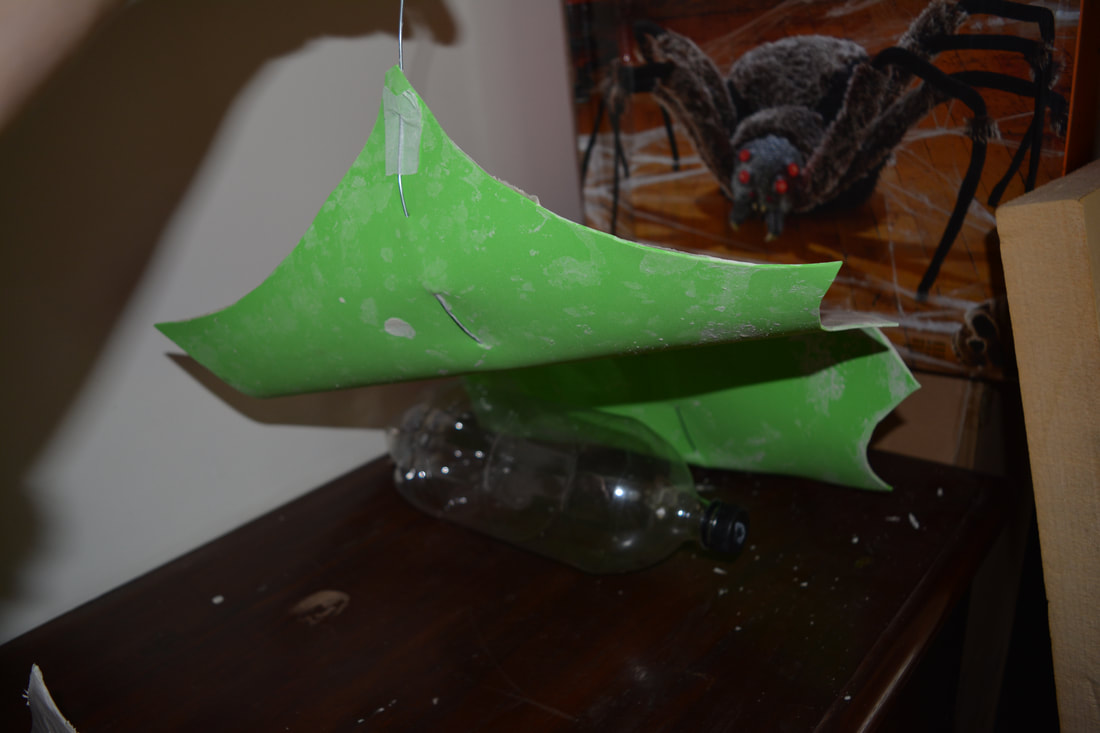
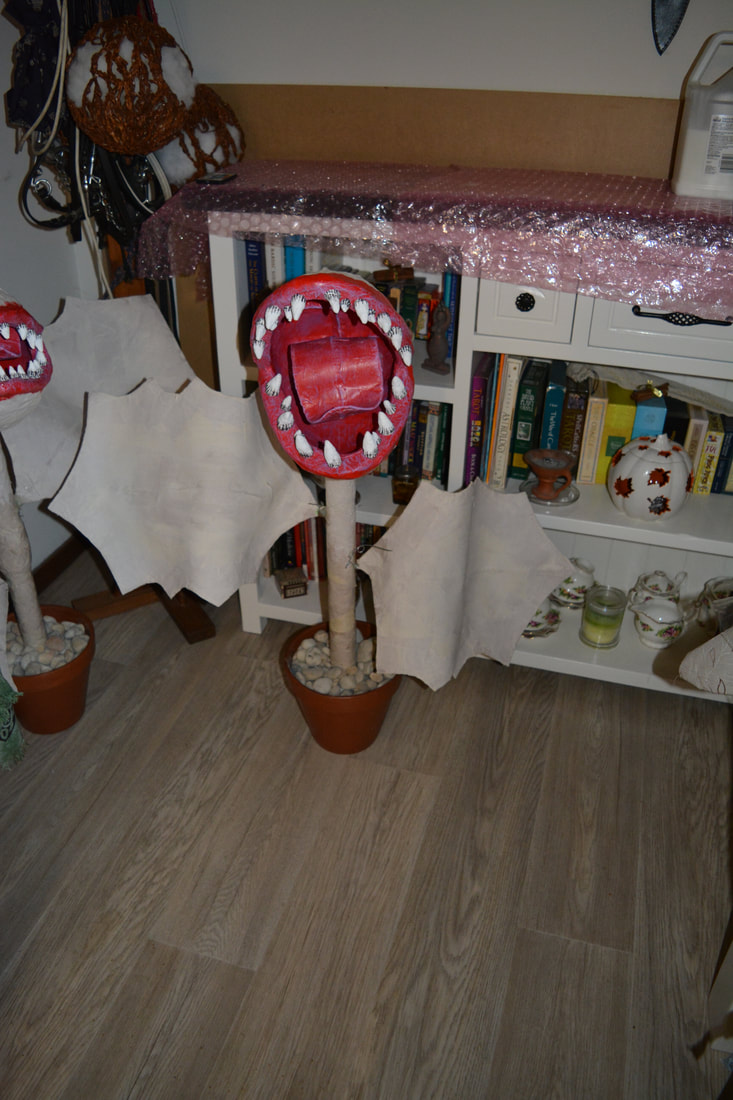
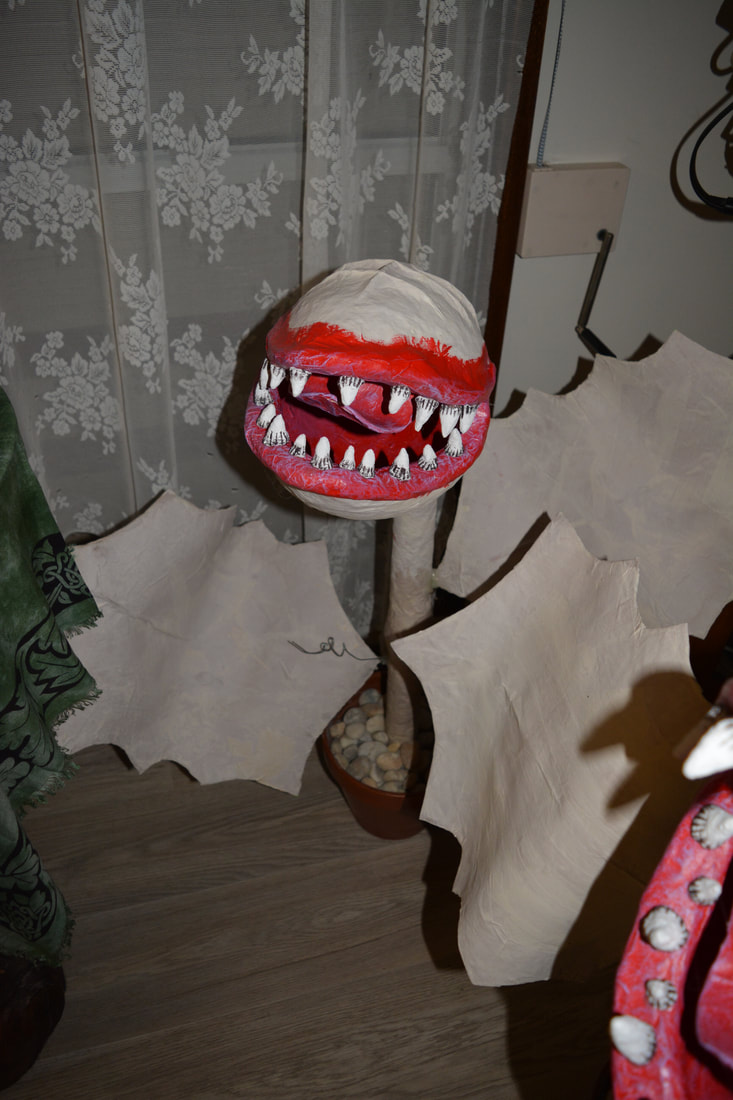
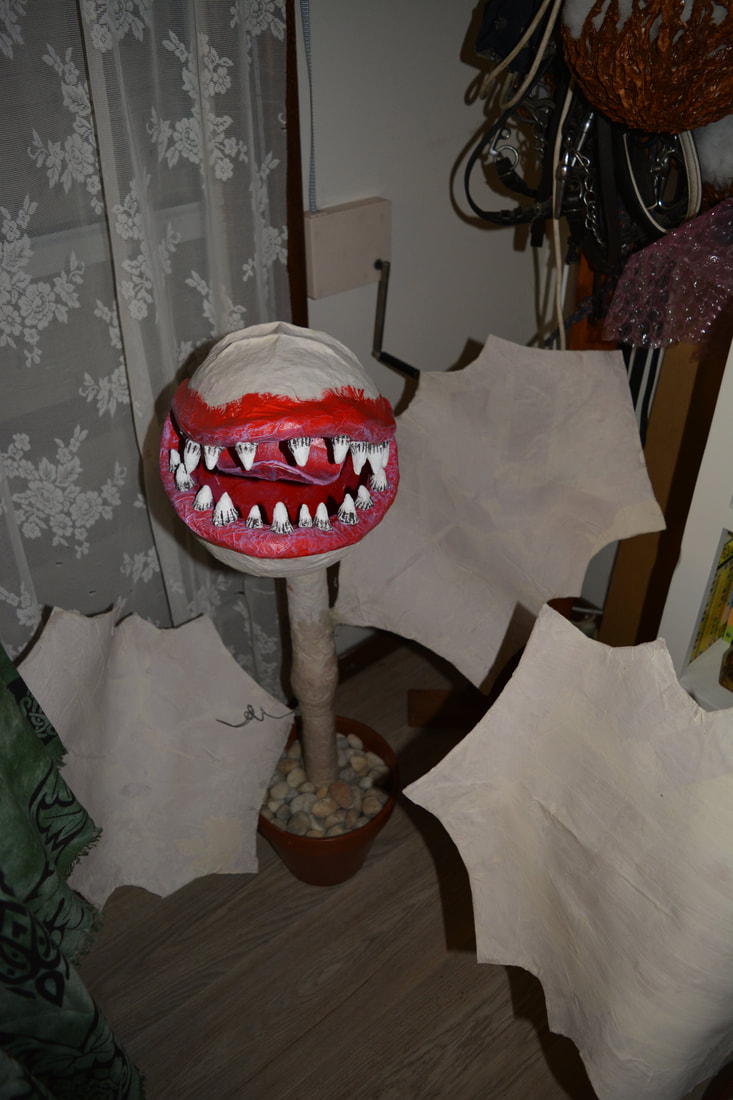
- While these dried we worked on the tonges using EVA foam & fencing wire.
- We cut out tongue shapes & threaded the wire through down the middle.
- Then we shaped them to look like they where moving & covered them in papermache strips & paste.
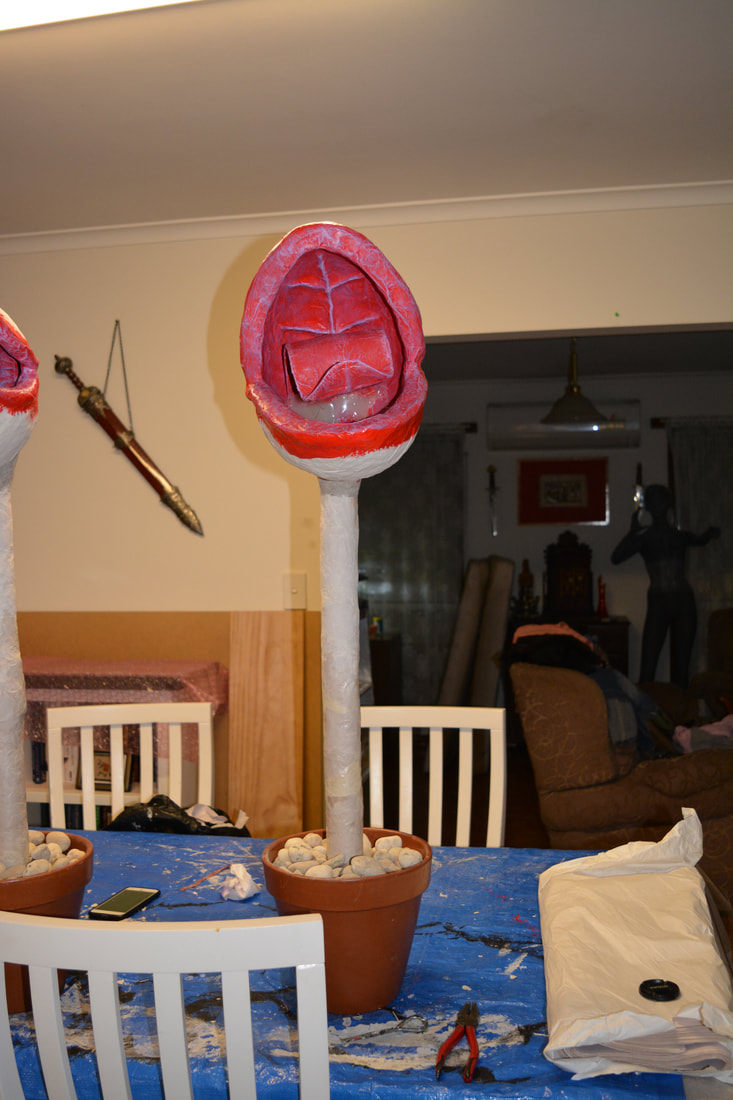
- While these and the heads dried we painted polyurethane inside & outside the terracotta pots.
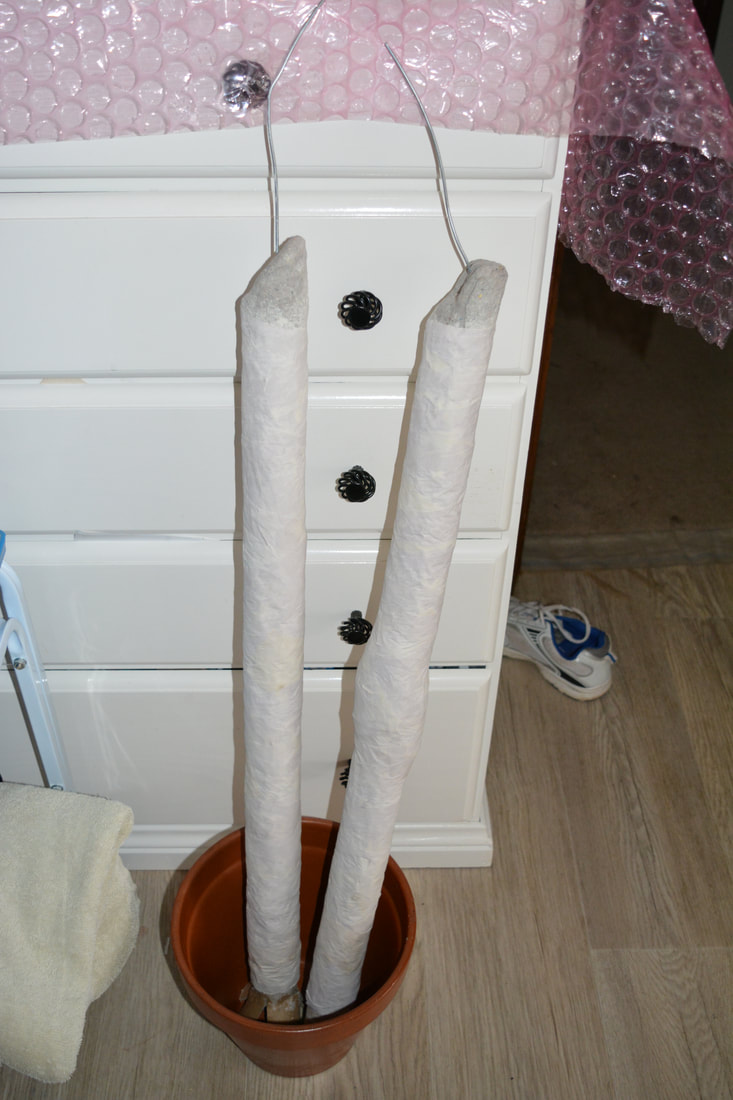
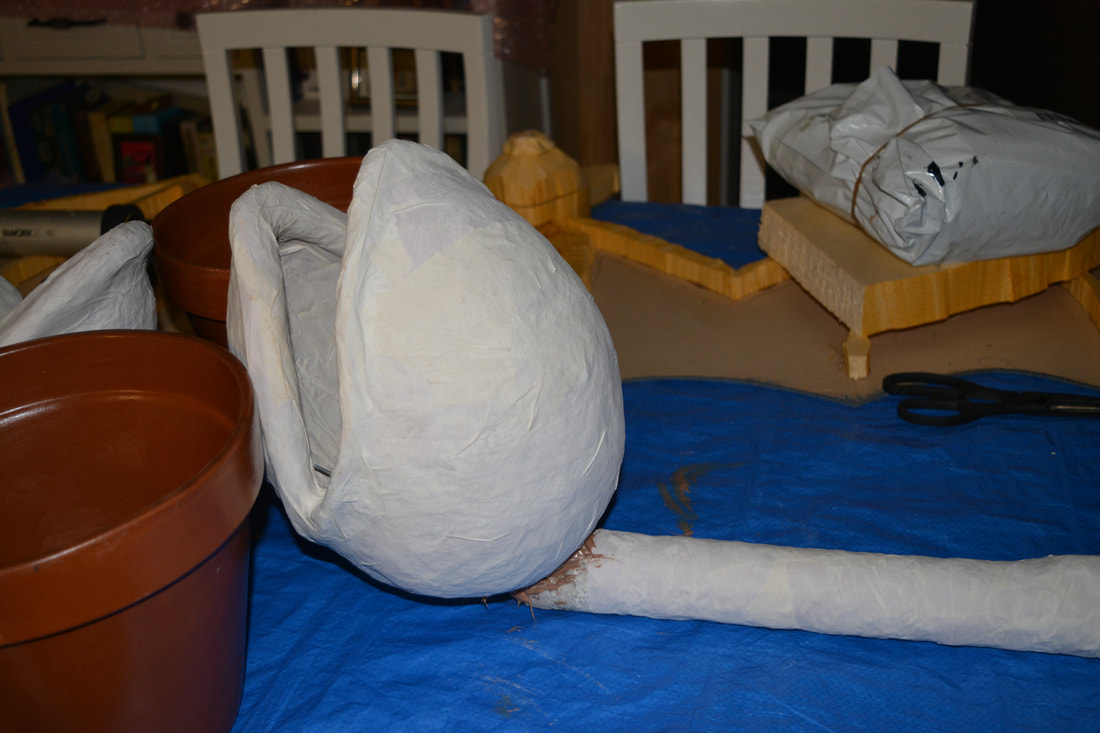
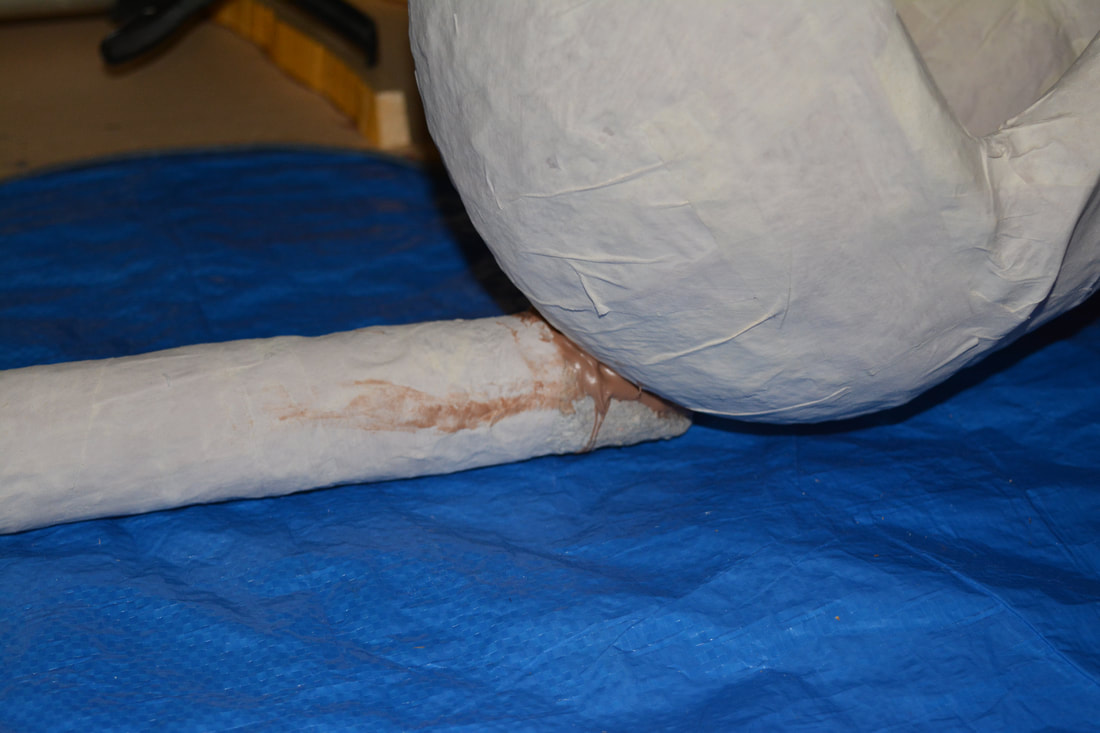
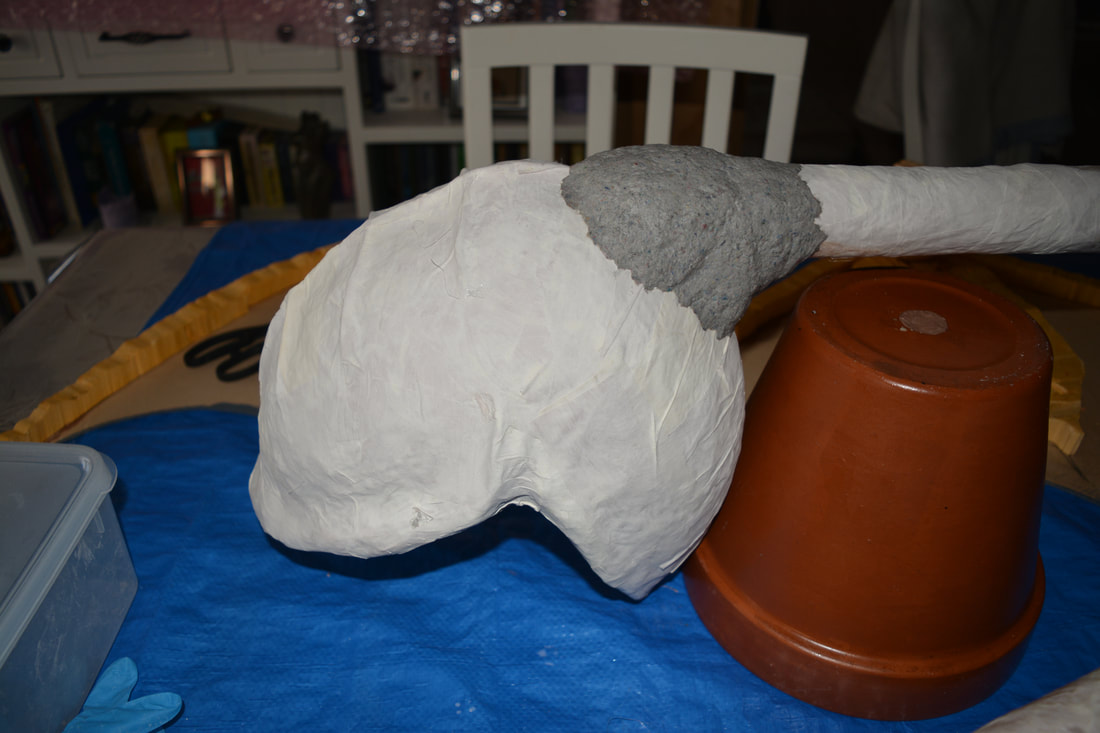
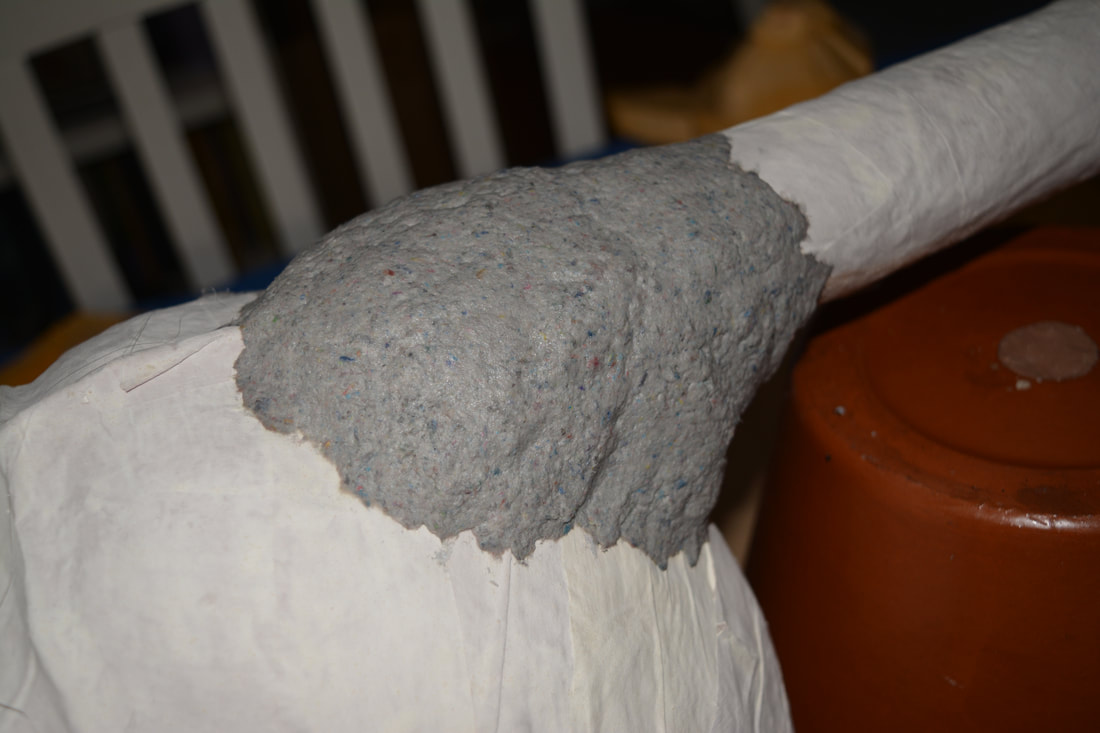
- We then moved onto the stalks using tubes from material rolls (spotlight) cut in half.
- Fencing wire was threaded down the middle to eventually hold the heads in place.
- To hold the wire in place we used papermache clay, after we covered the outside in papermache clay & left them to dry.
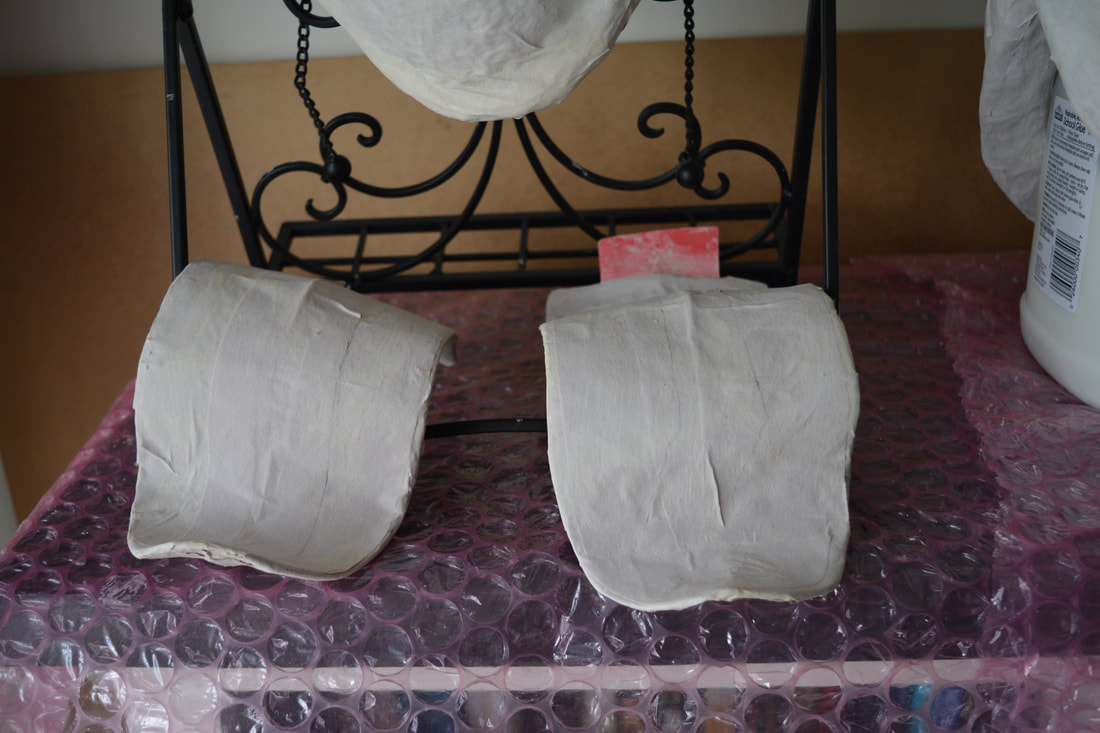
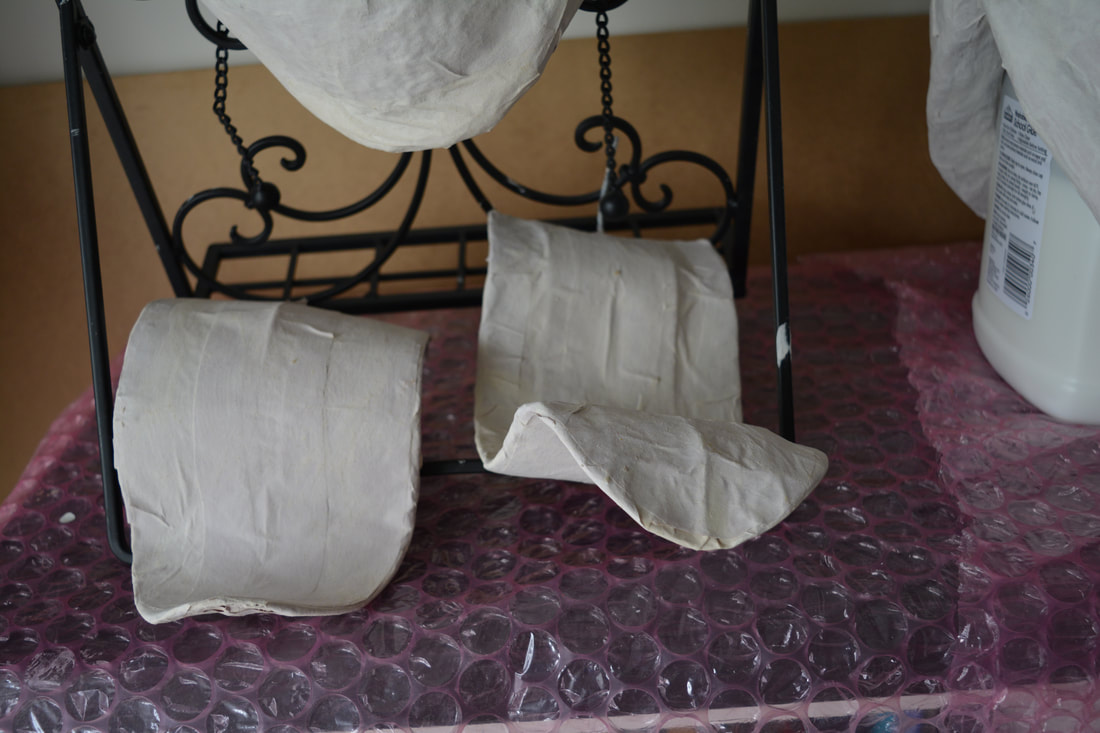
- To make the leaves we used the same method as making the tongues, although these where a bit more tricky due to their size.
- Once the heads & stems are dried and hardened we fixed the heads by drilling holes in the back of the heads & feeding the wire through & back on itself.
- We then glued it in place with hot glue & tidied up the look with papermache clay around the back of the head over the stem join.
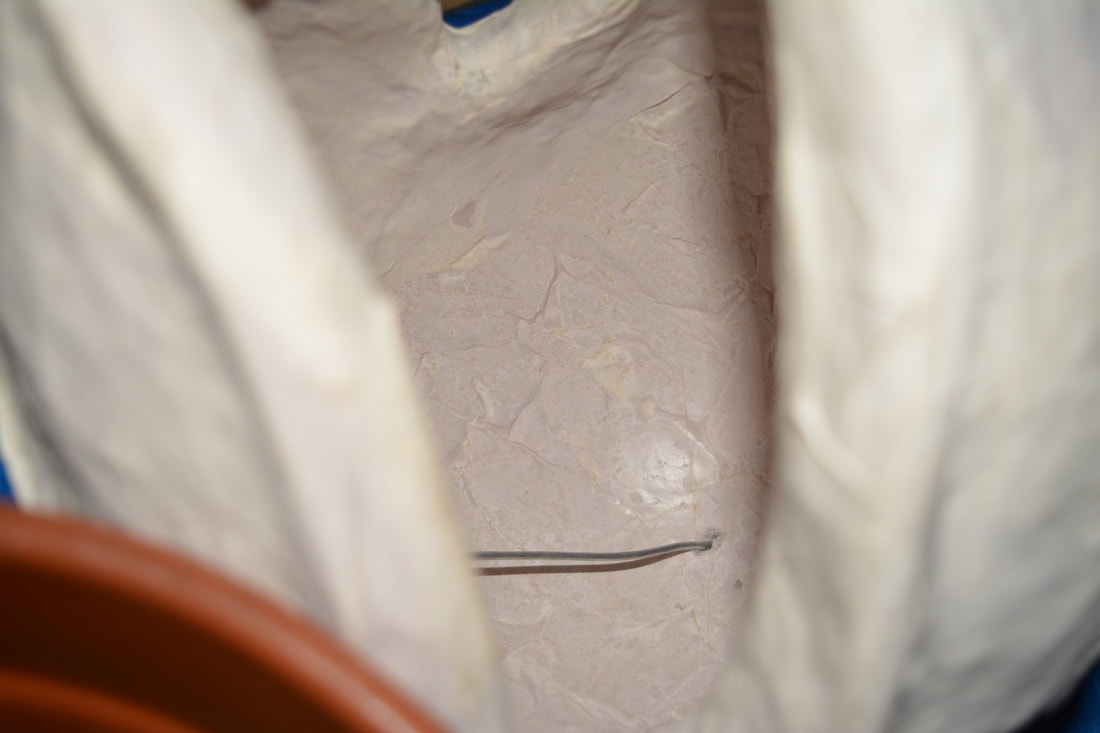
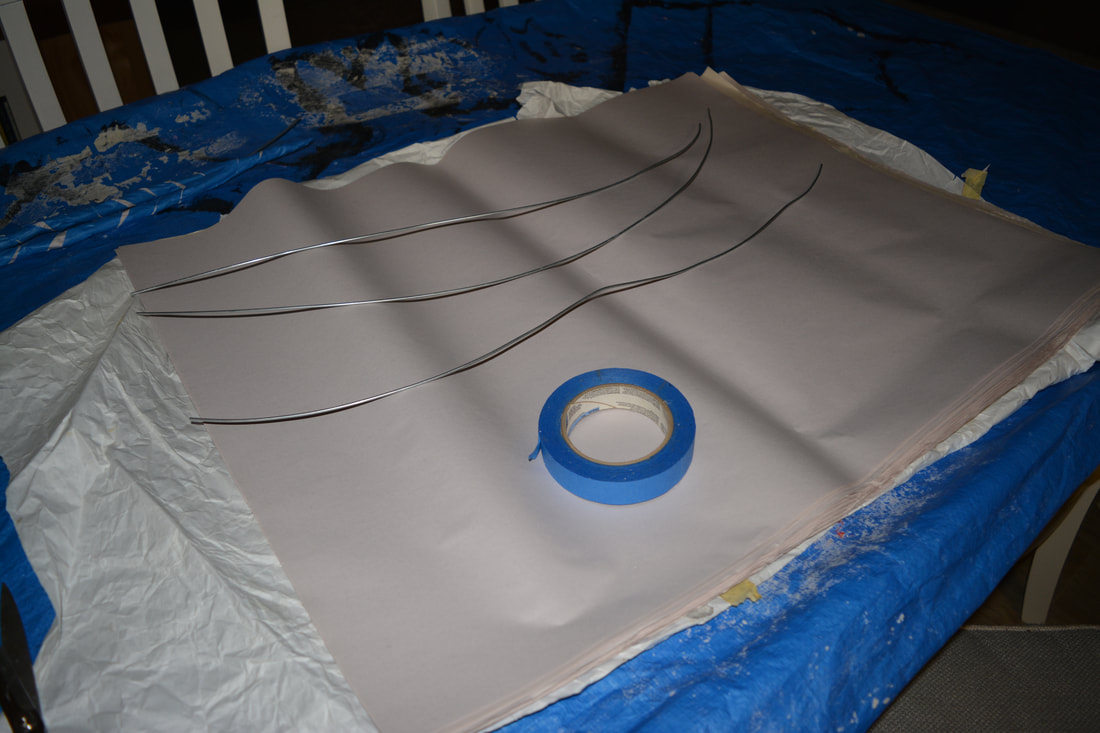
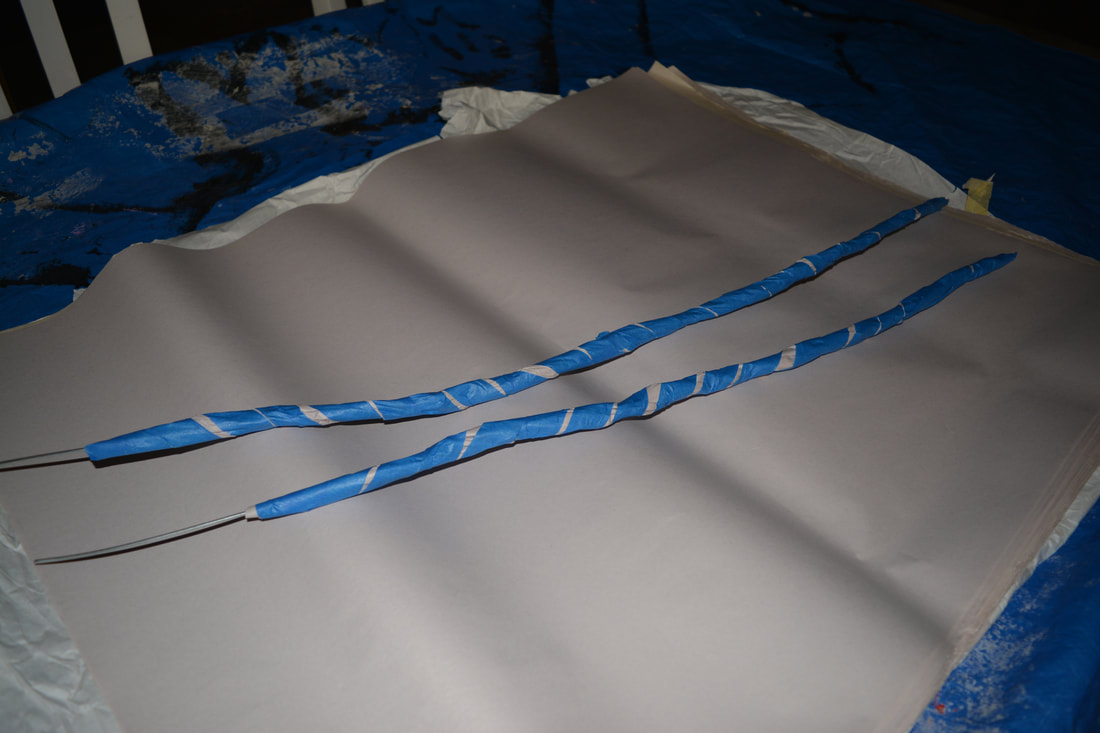
- While this dried we made the teeth & tendrils for them.
- The teeth were made from papermache clay as were the tendrils.
- The tendrils used a base of fencing wire with newspaper around them & a layer of papermache clay (same method as pumpkin stalks)
- When the heads on the stalks were dry and the heads stable we split about 10cm up the other end of the stem and folded them out into 4 tags.
- We then liquid nailed these 4 tags to the bottom of the pots & used river garden stones to hold them in place.
- We left them 5 days to harden properly before we started painting them.
- When we painted the stems & leaves we also attached the leaves.
- This was done by drilling holes either wide of the plants and slotting the wire excess into them.
- We hot glued them in place however it might be a better idea to make these detachable for storage (ooppps)
- When the painting was finished on all parts a clear coat of marine grade vanish was coated over them.
- We used a low sheen varnish.
- The final step was to place the tendrils into the stones gently & using the stones to hold them.