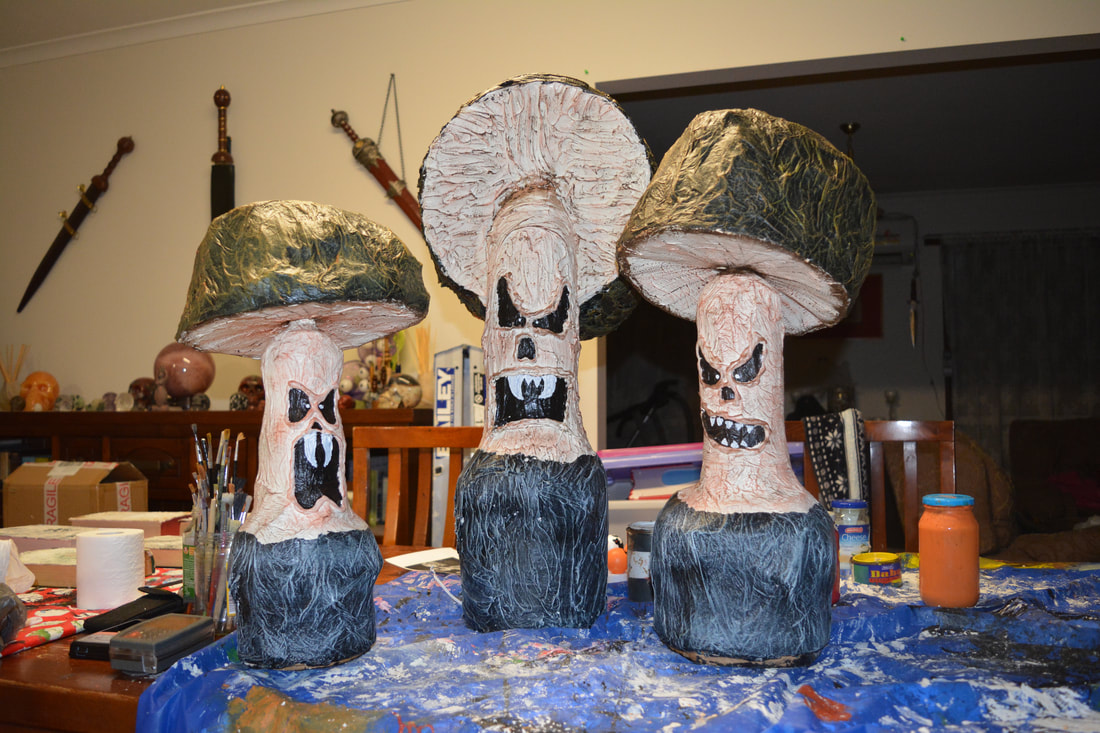
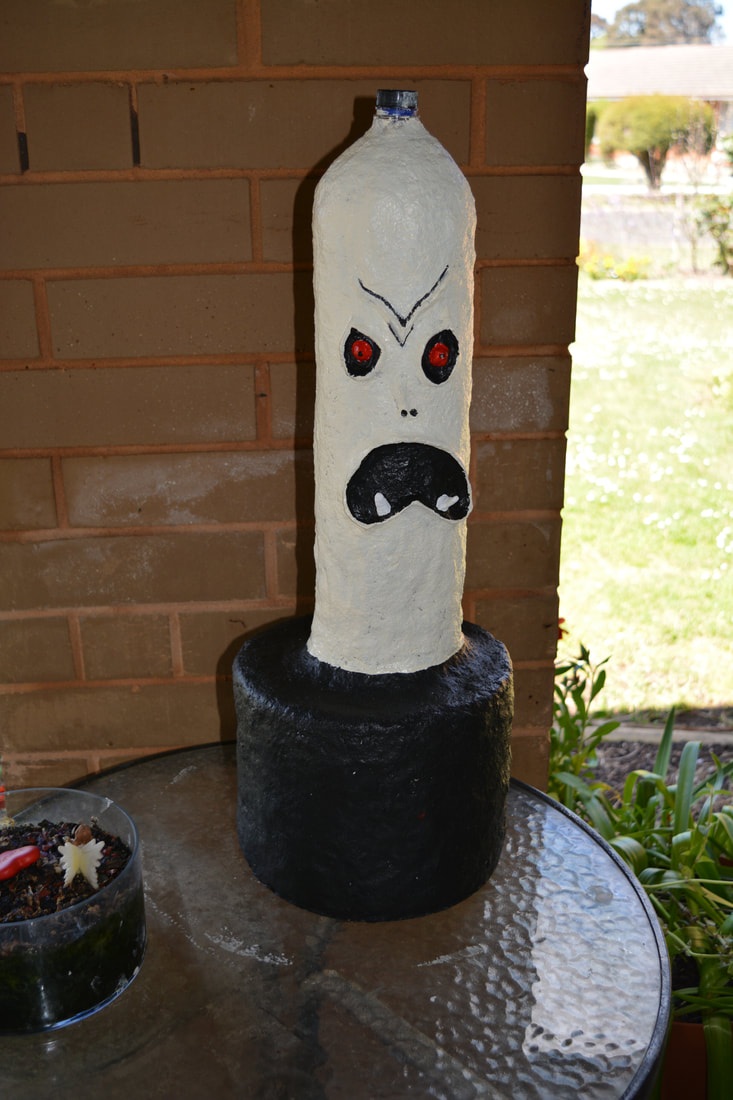
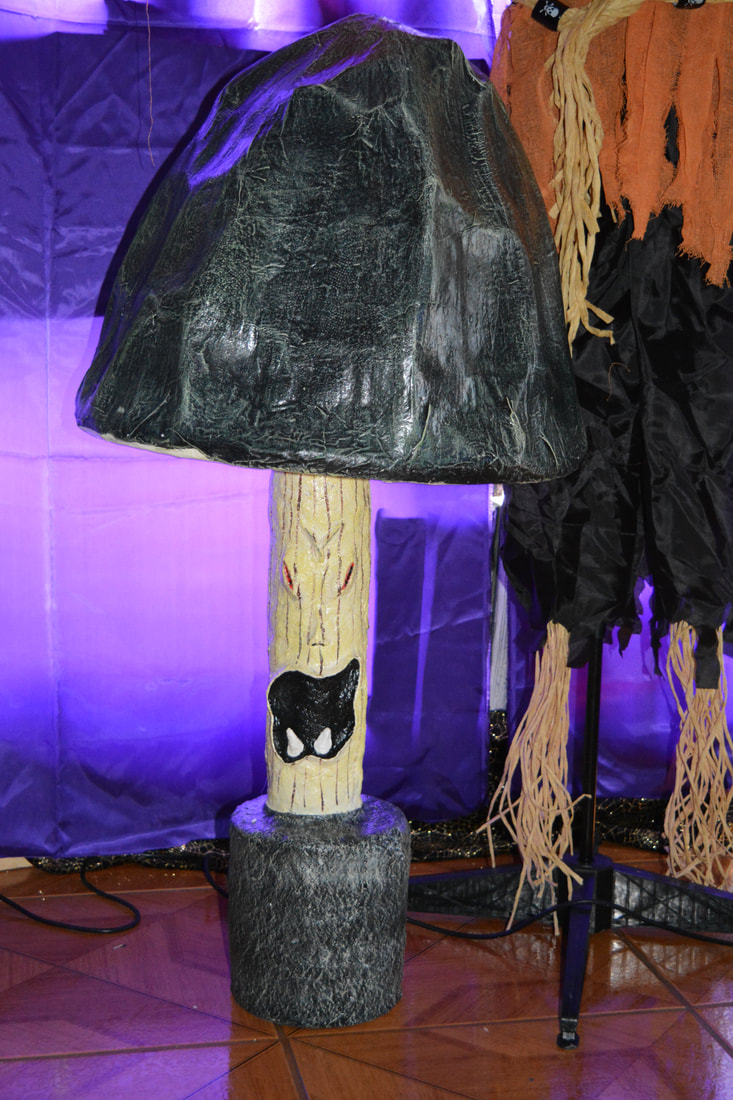
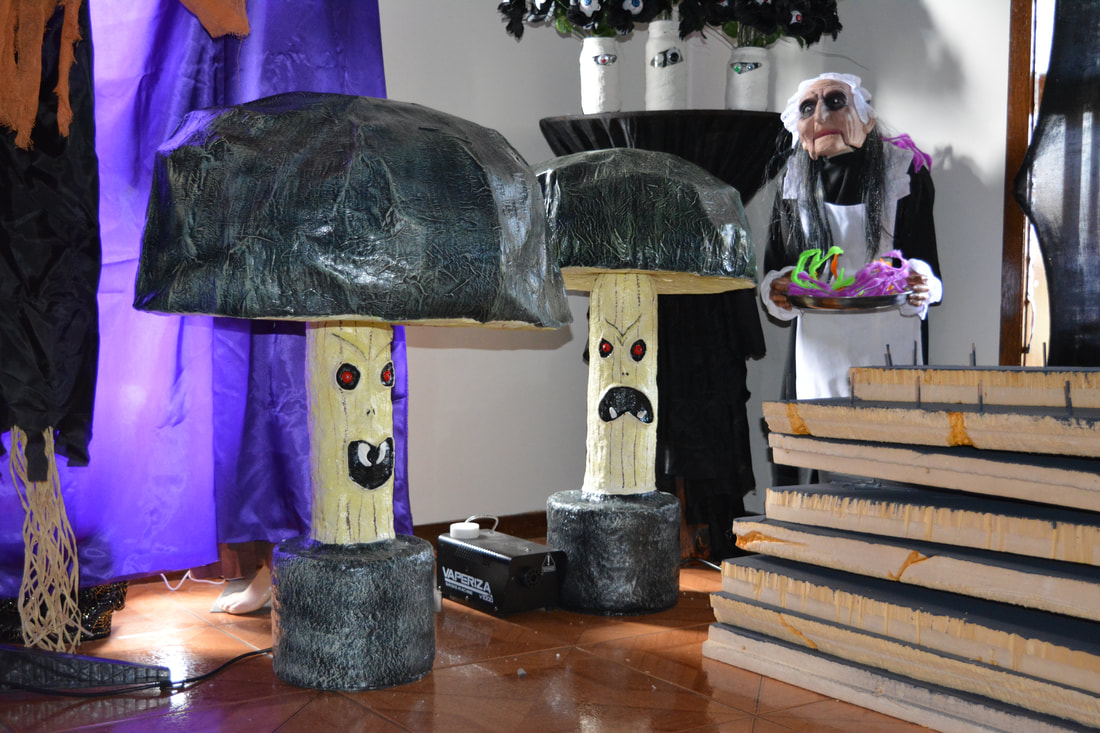
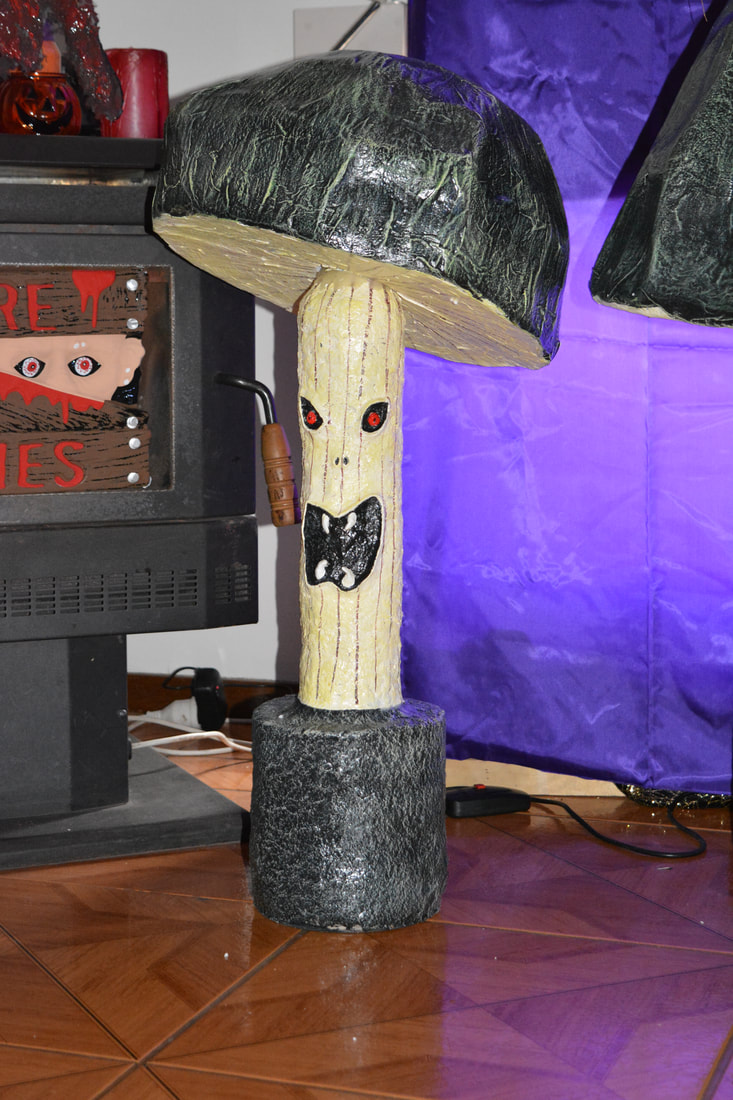
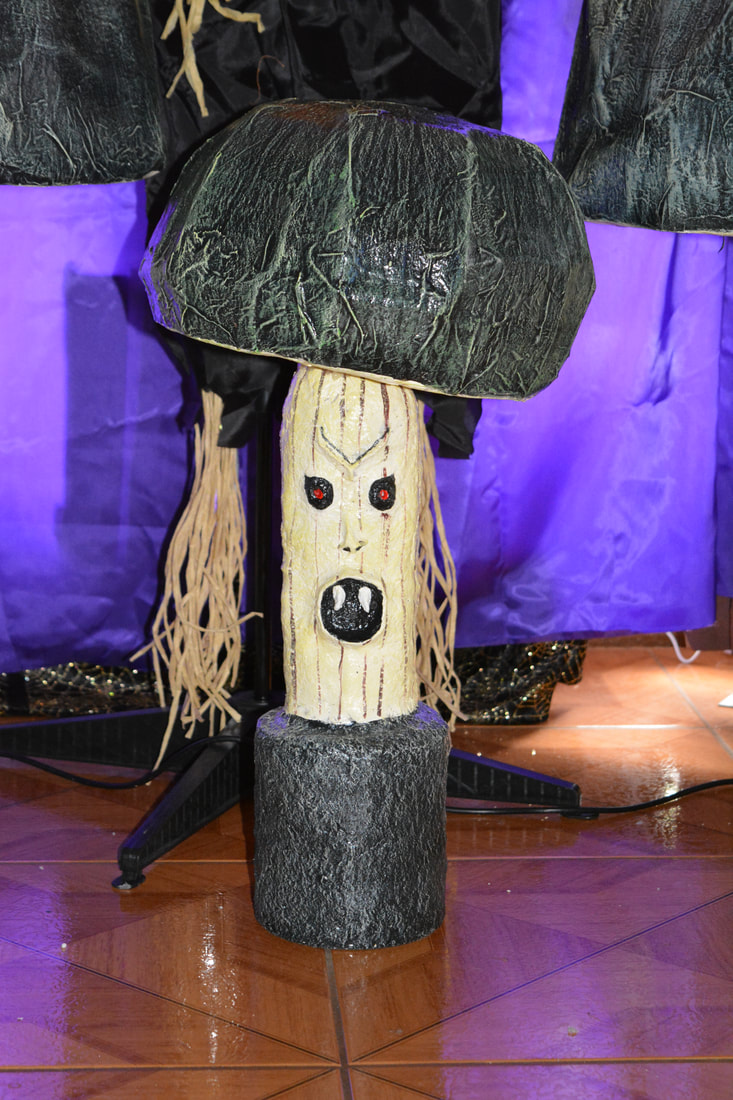
More Creepy Mushrooms/Shrooms
We have made these before you can find the lists for what you need below.
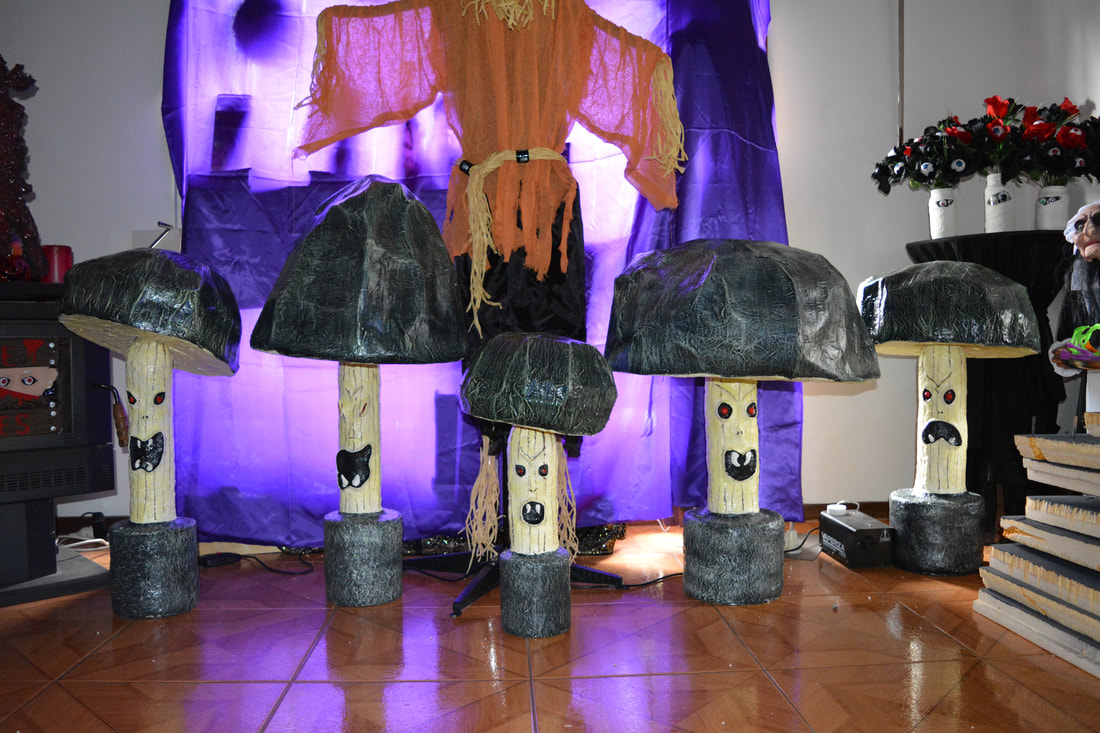
These ones are the 2018 versions the only differences are they are all paper mache including the faces that are paper mache clay & we used old paint tins for all the bases.


Creepy Mushrooms
Materials Used
Cardboard
Plastic Bags
Paper
Soda Bottles (2ltr or 1.5ltr)
Jointing Compound
Paper Towel
Tape
River Stones
Plaster Mesh Tape or Tulle Material
Bond Crete/Marine Grade Vanish
Materials Used
Cardboard
Plastic Bags
Paper
Soda Bottles (2ltr or 1.5ltr)
Jointing Compound
Paper Towel
Tape
River Stones
Plaster Mesh Tape or Tulle Material
Bond Crete/Marine Grade Vanish
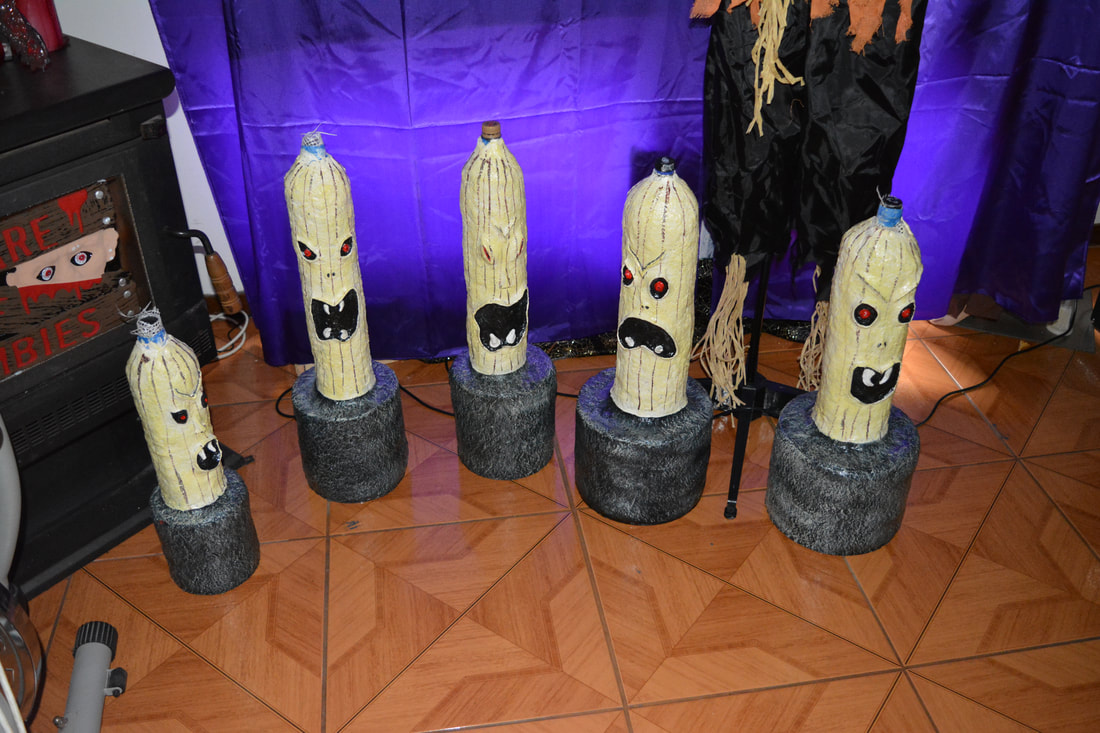
- These mushrooms or shrooms where a challenge to make and the next lot I do won't use jointing compound but paper mache clay instead as with the compound they are heavy
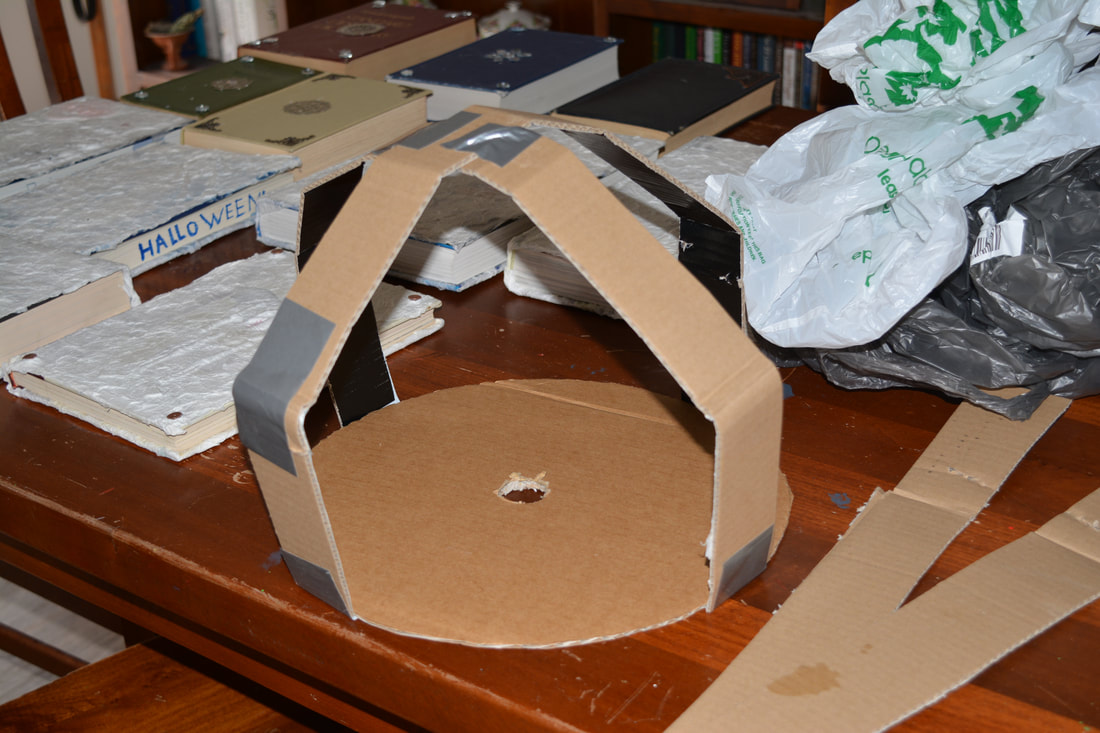
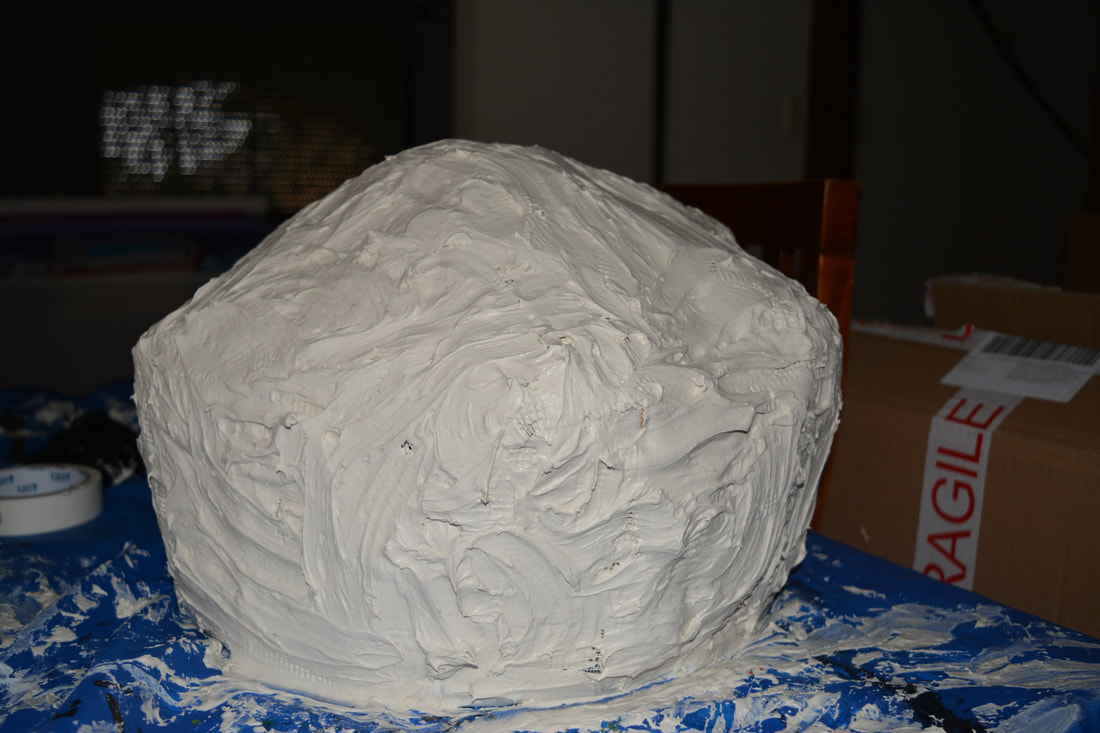
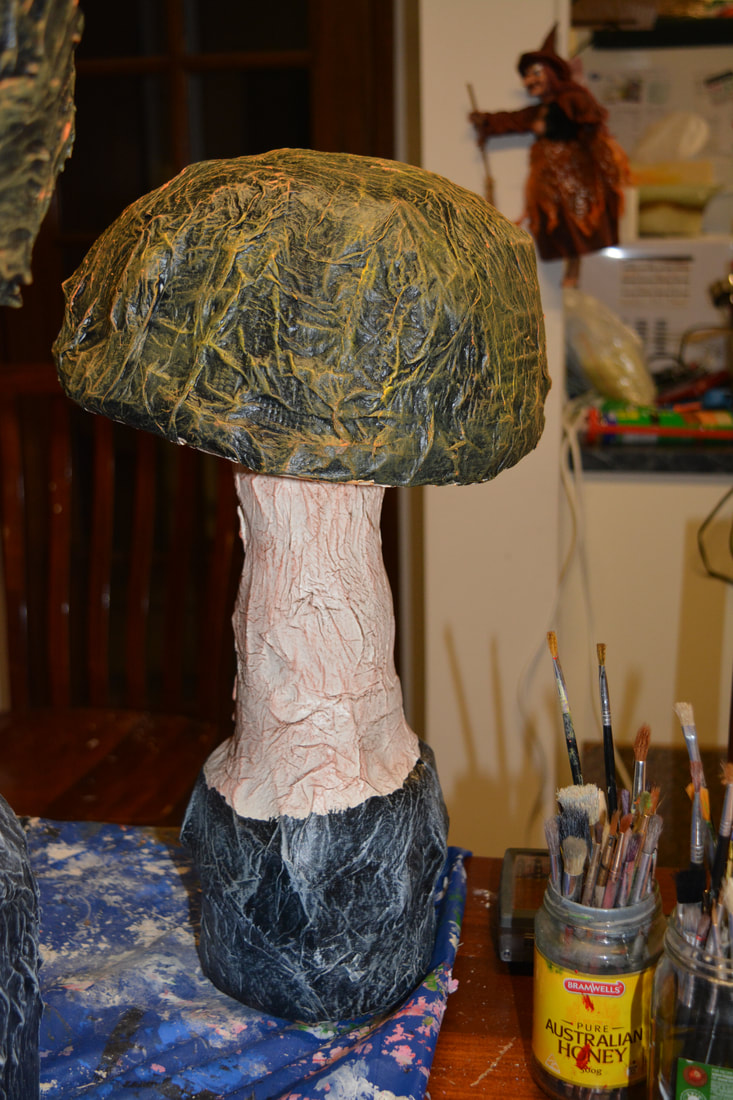
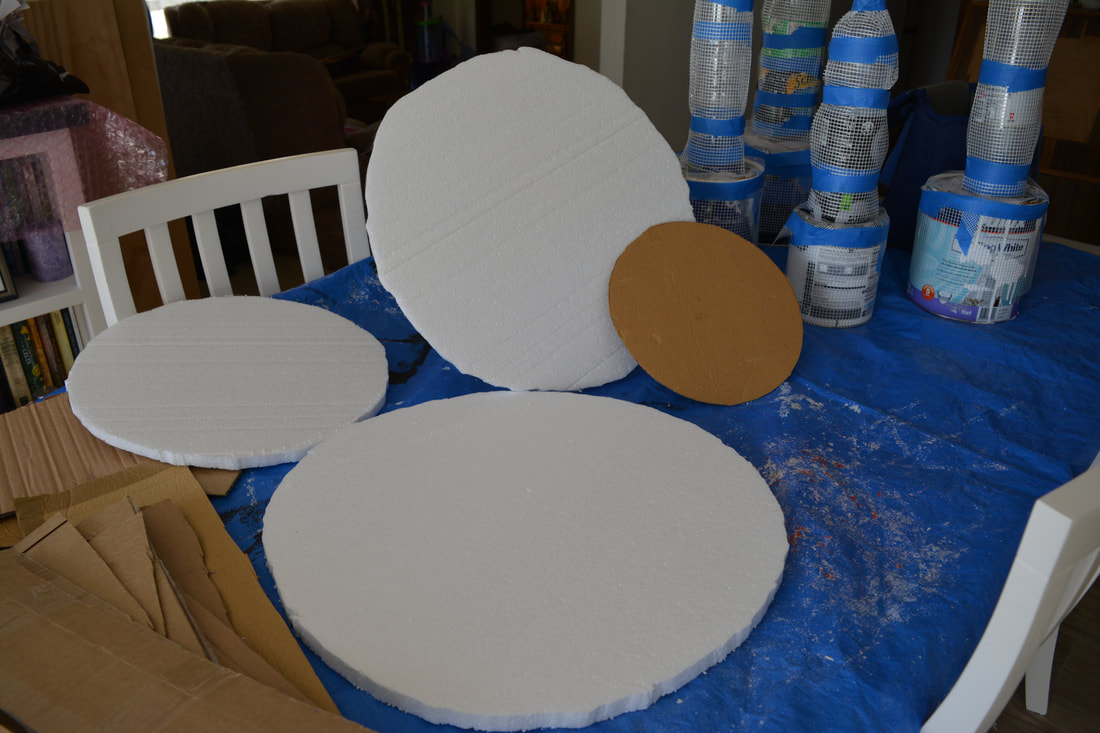
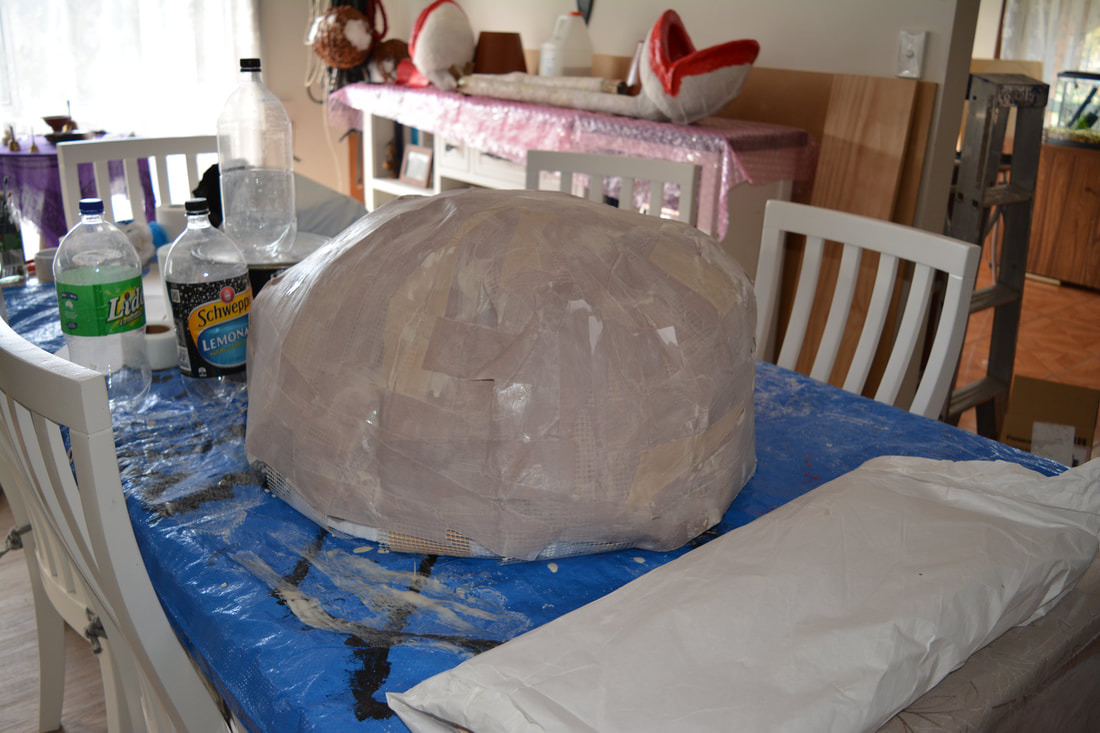
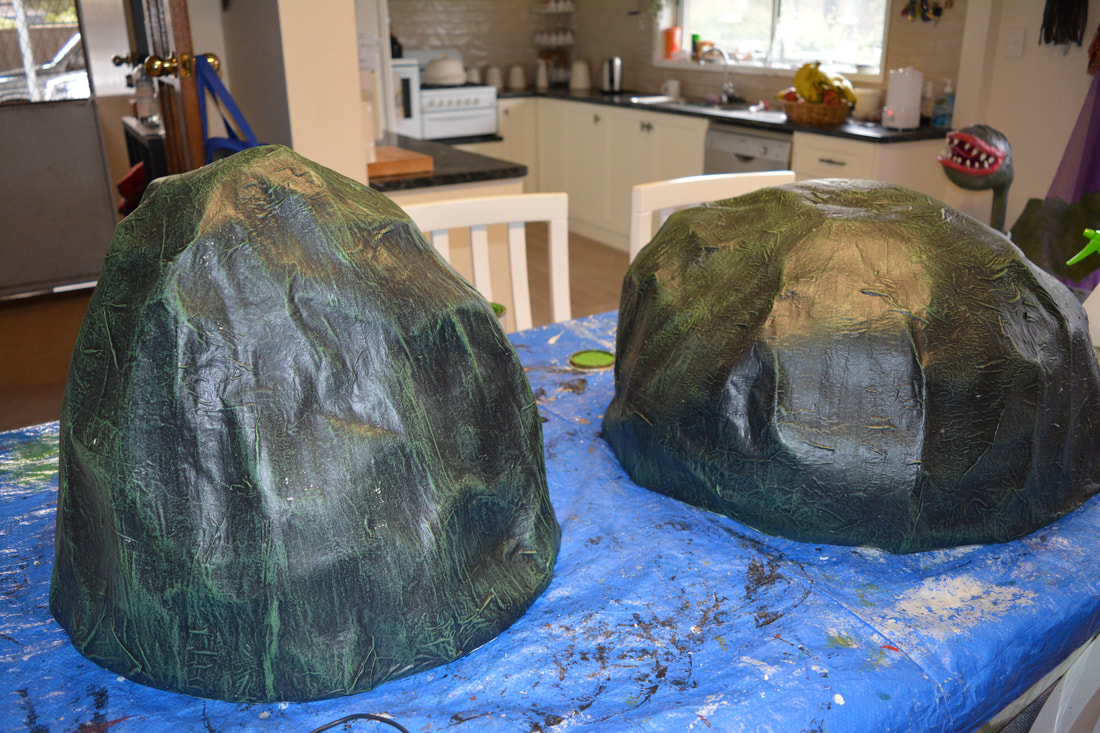
- Using old boxes for the cardboard I cut out the desired size of the caps and strips of cardboard for the top of the caps
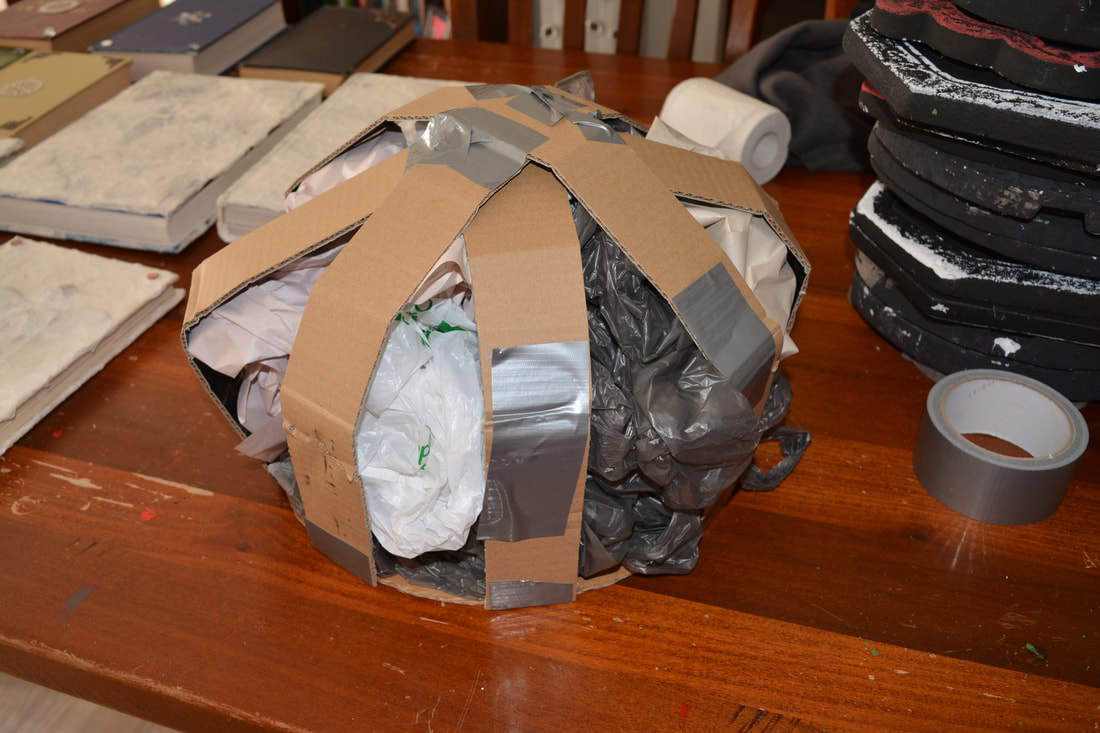
- I used tape to hold it together and lots of plastic bags and paper to support the shape, the paper was the better option so I will use that again for the next lot
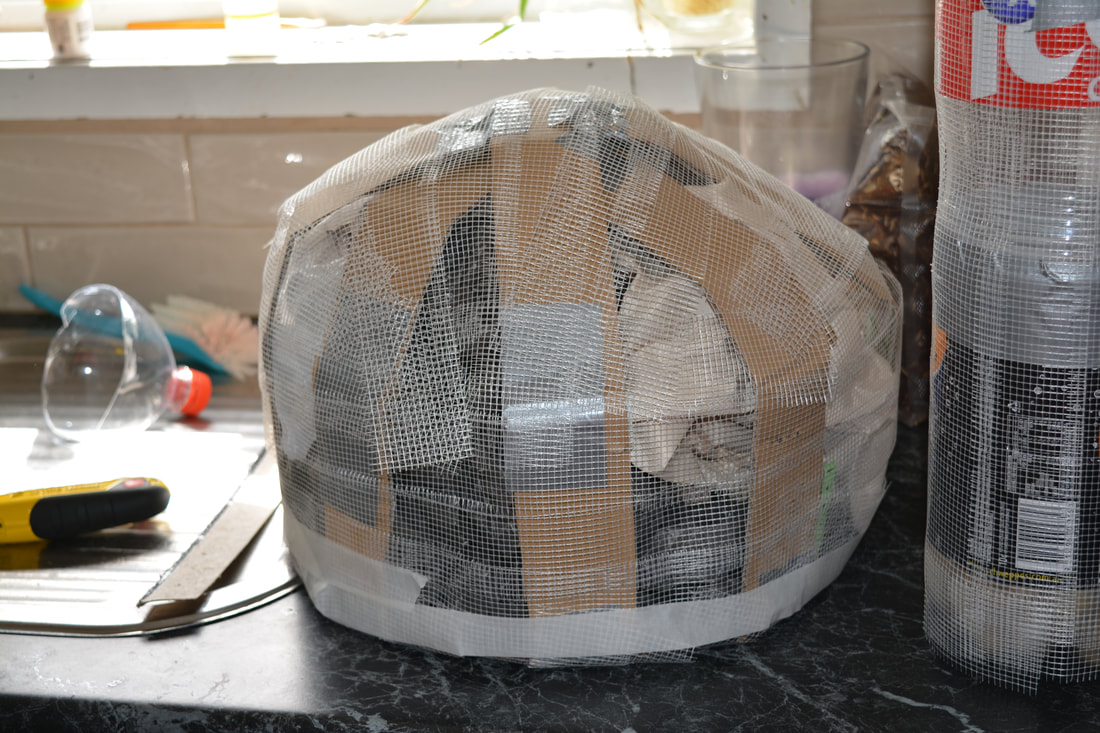
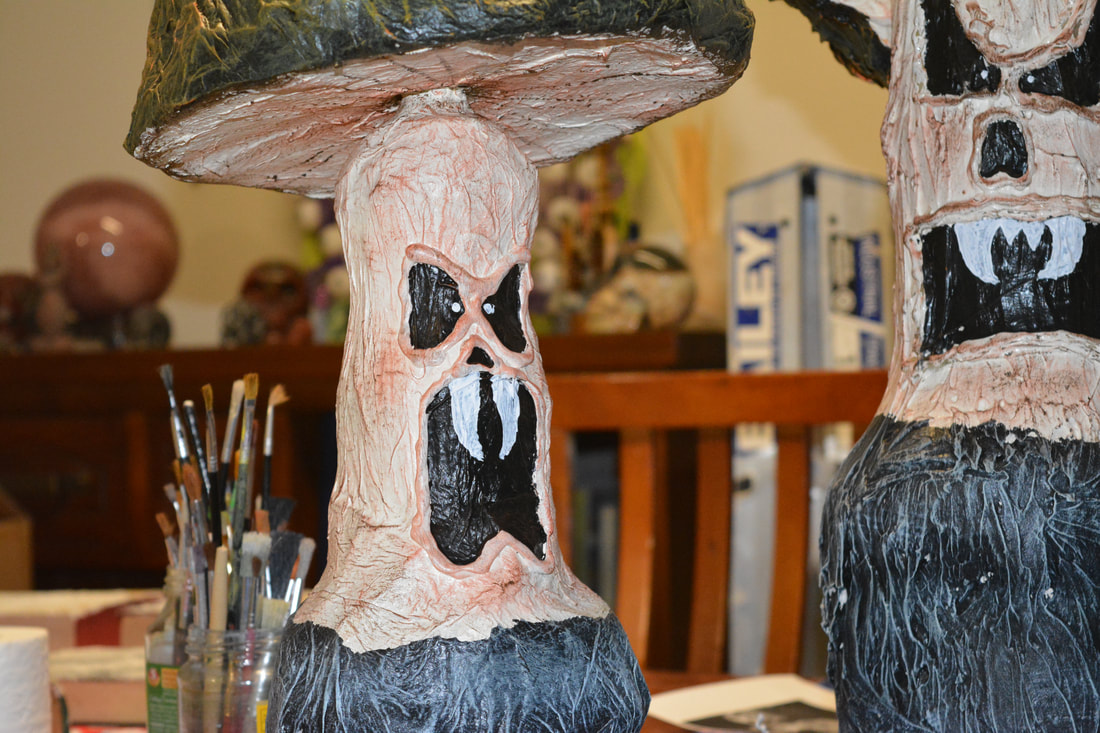
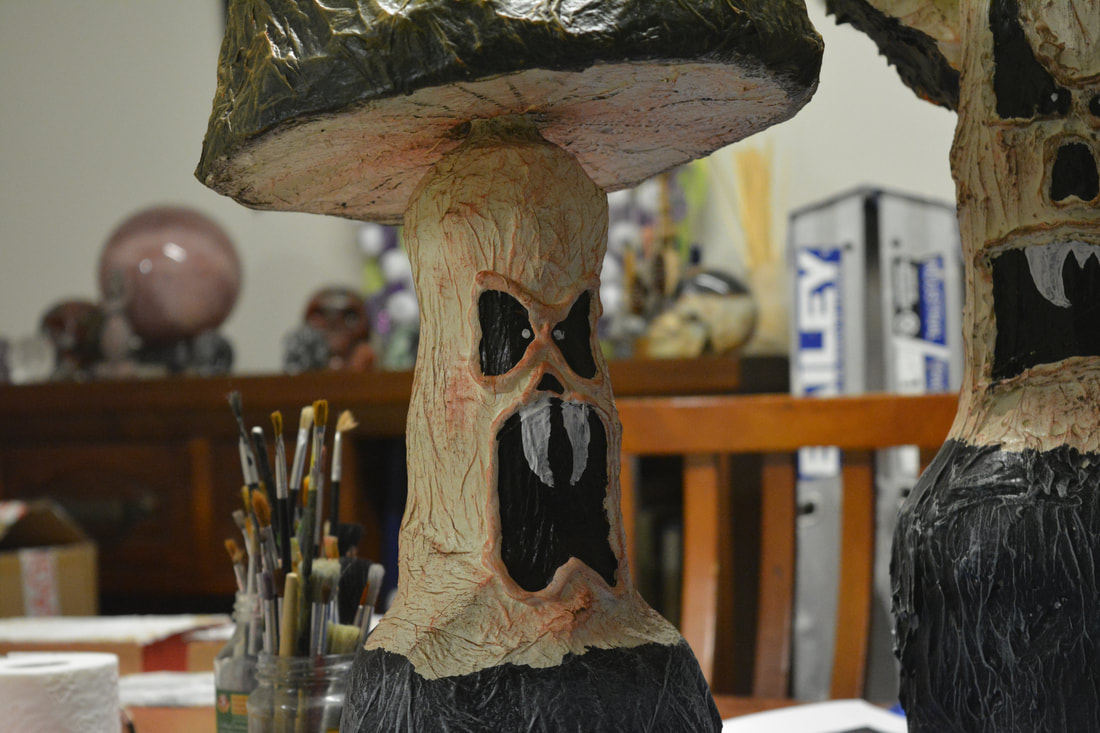
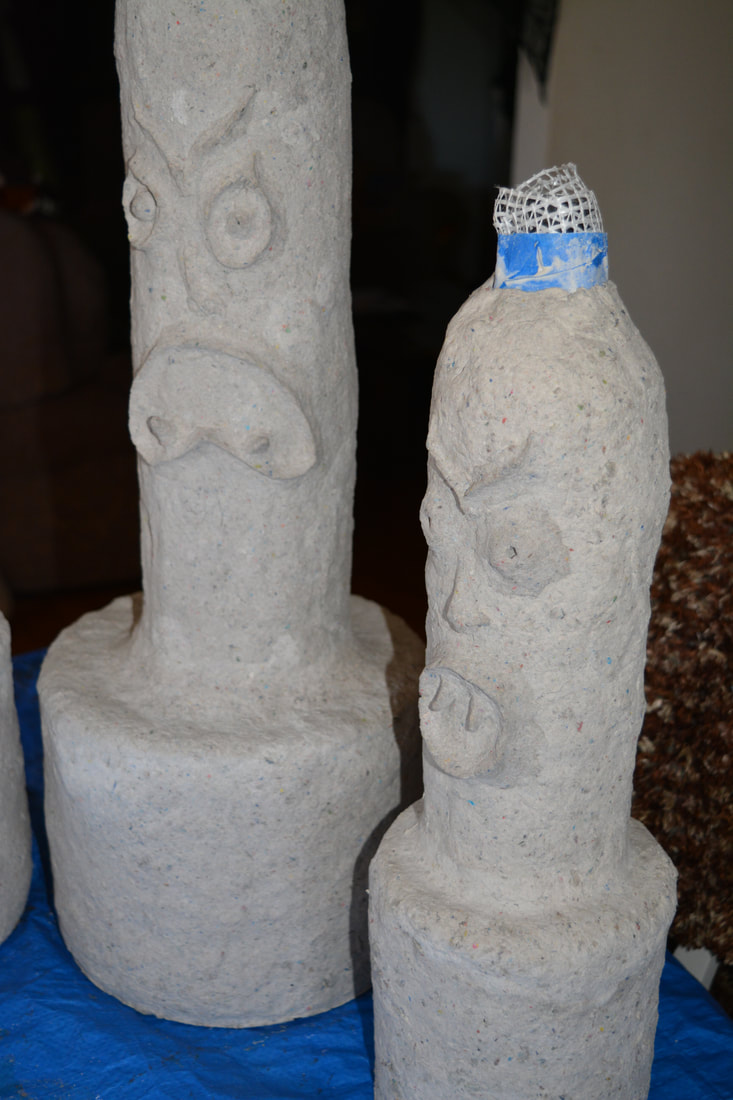
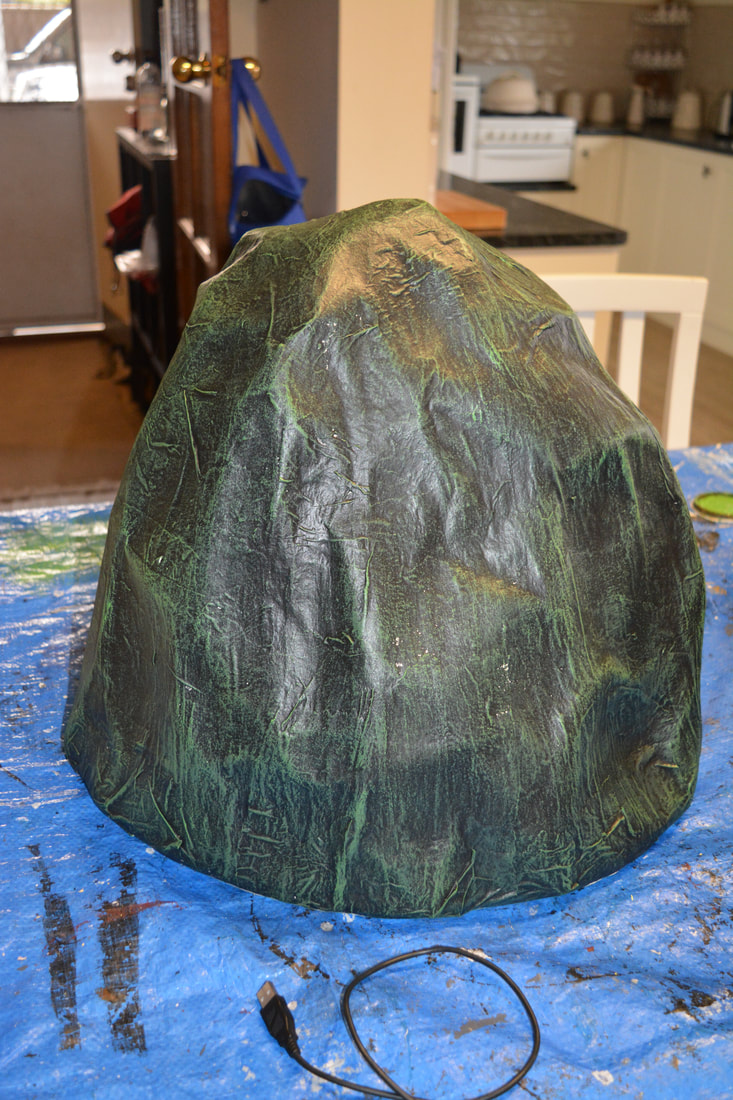
- I covered the caps with plasteri mesh tape and then with jointing compound (next time I will use paper mache clay)
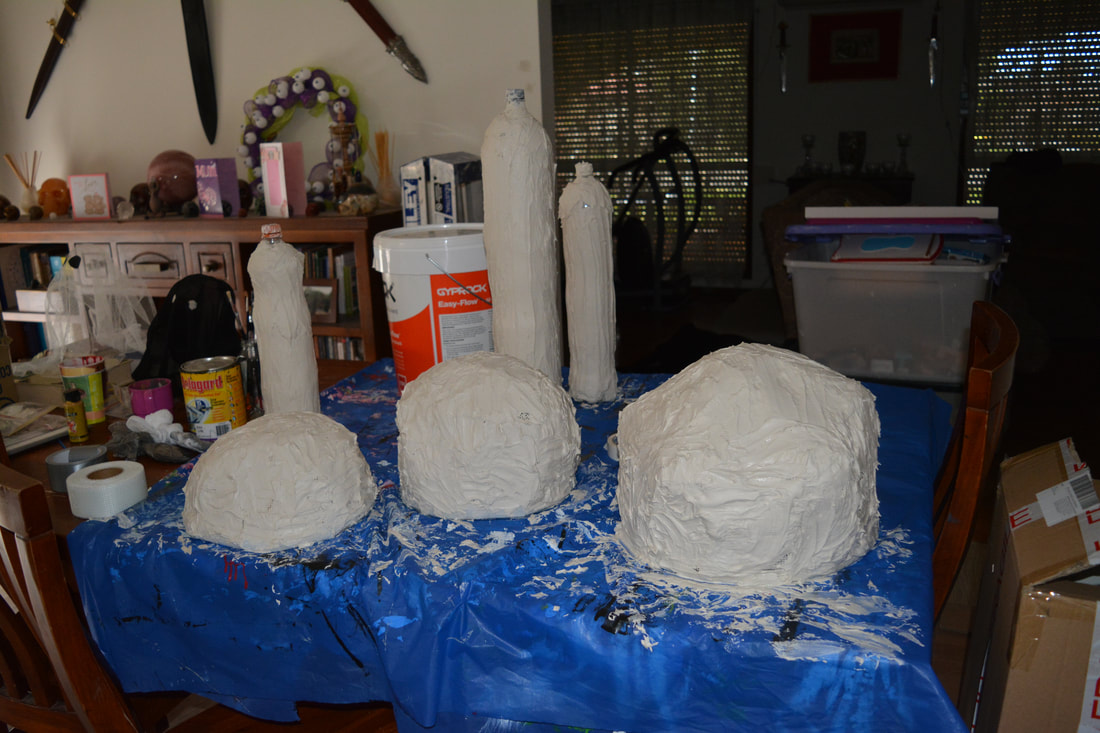
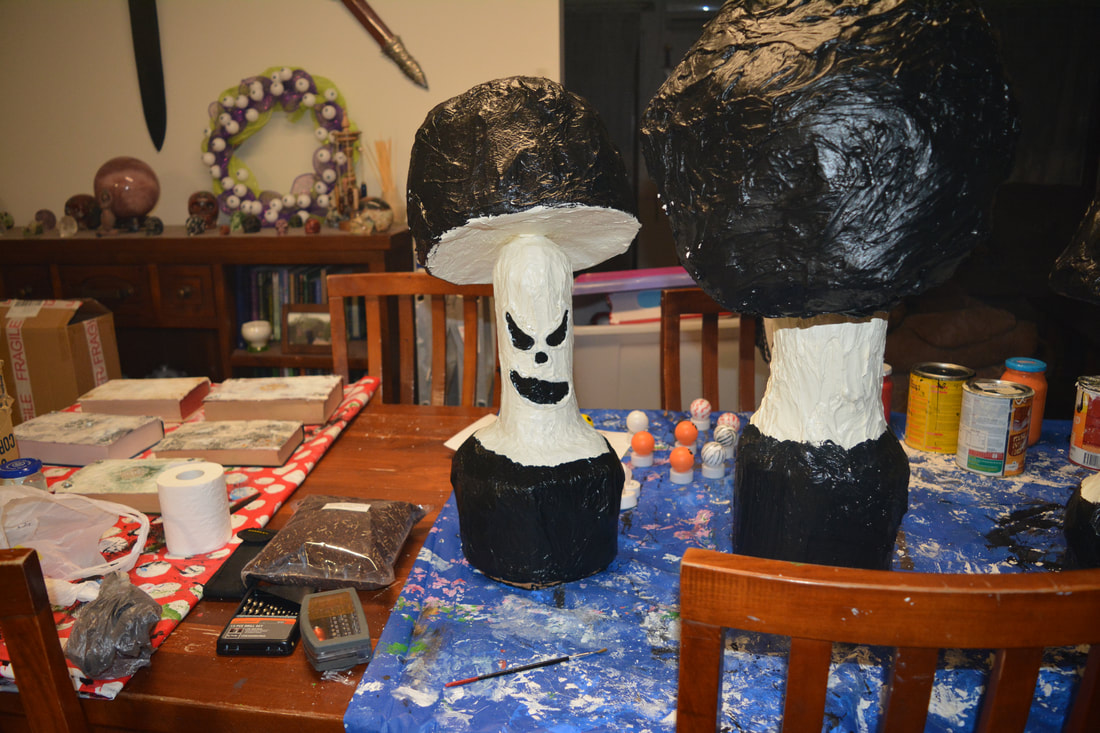
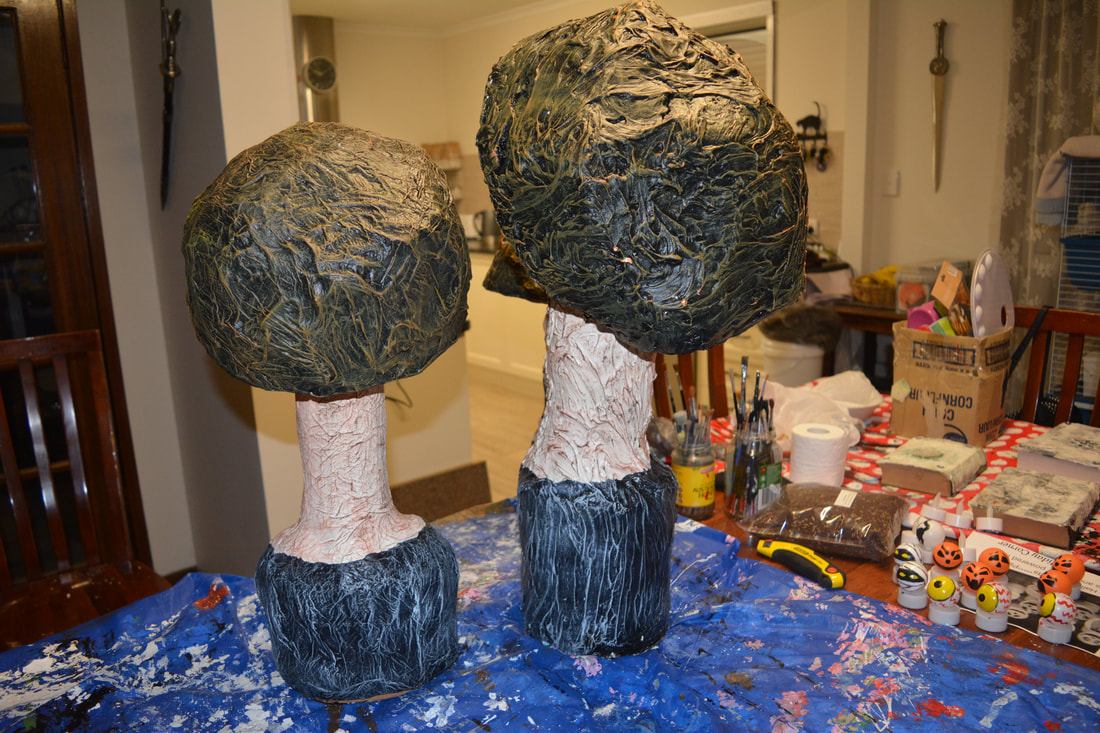
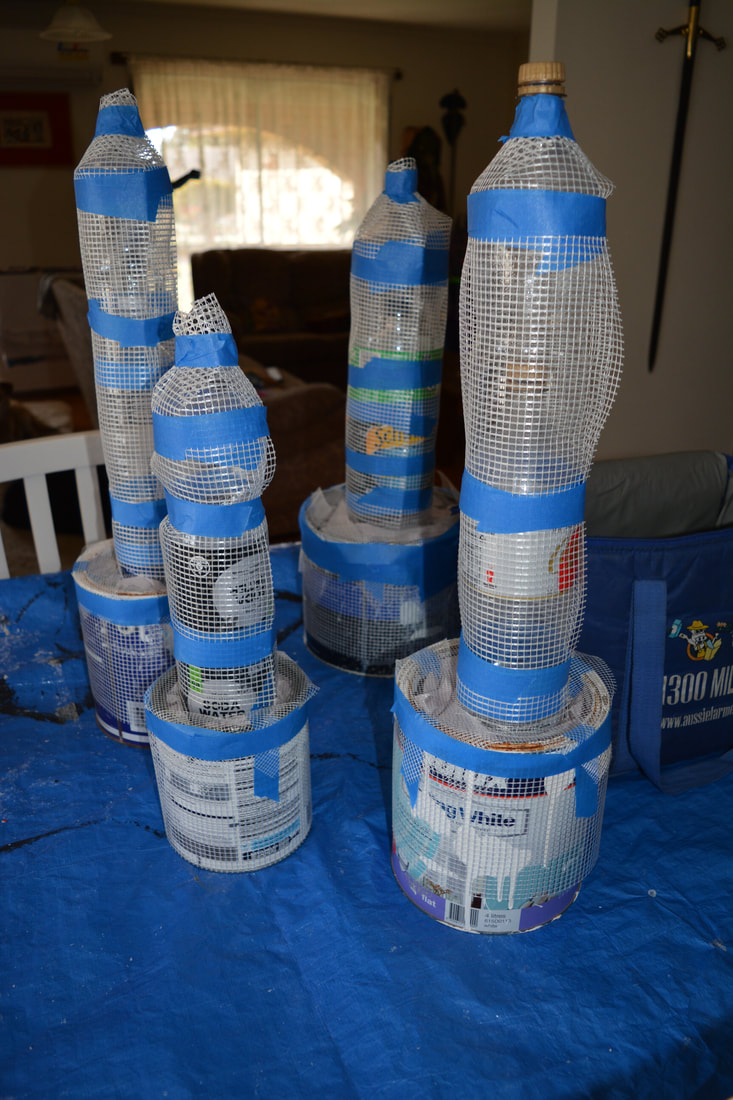
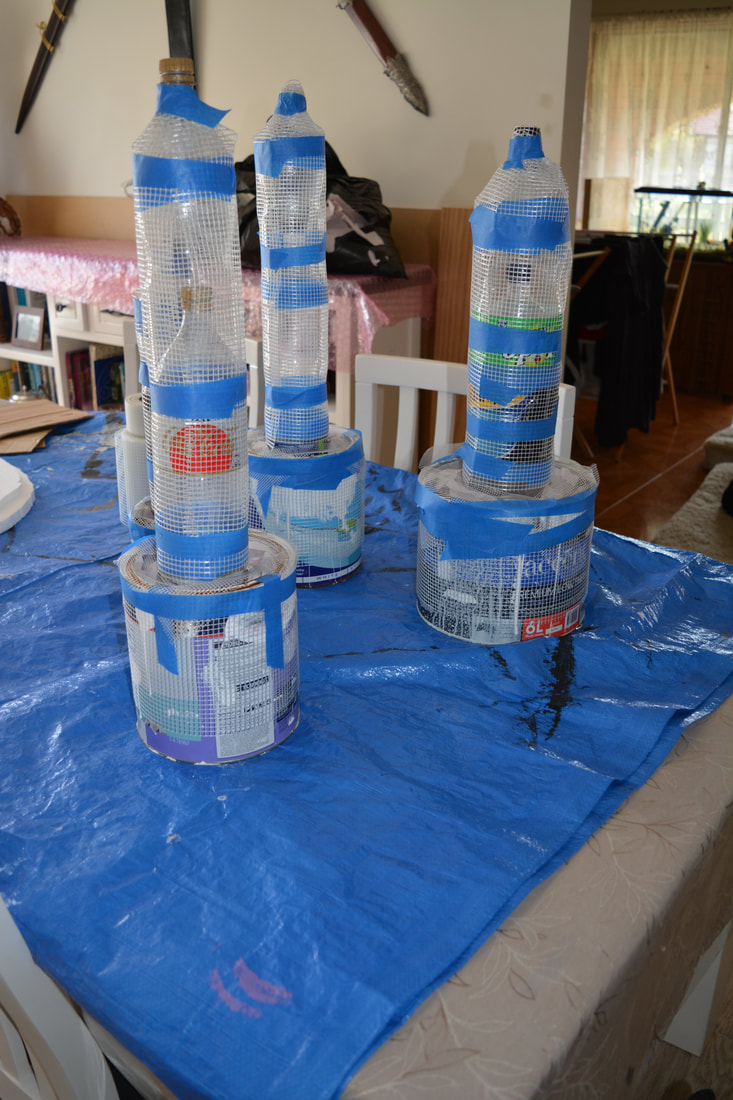
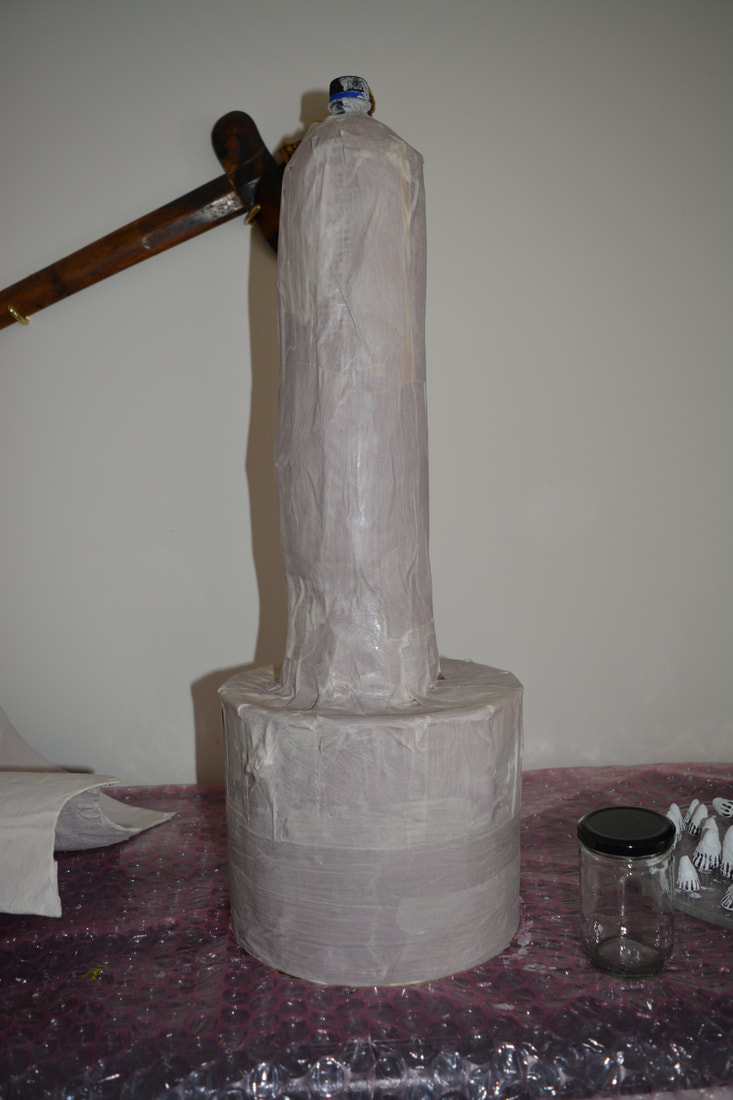
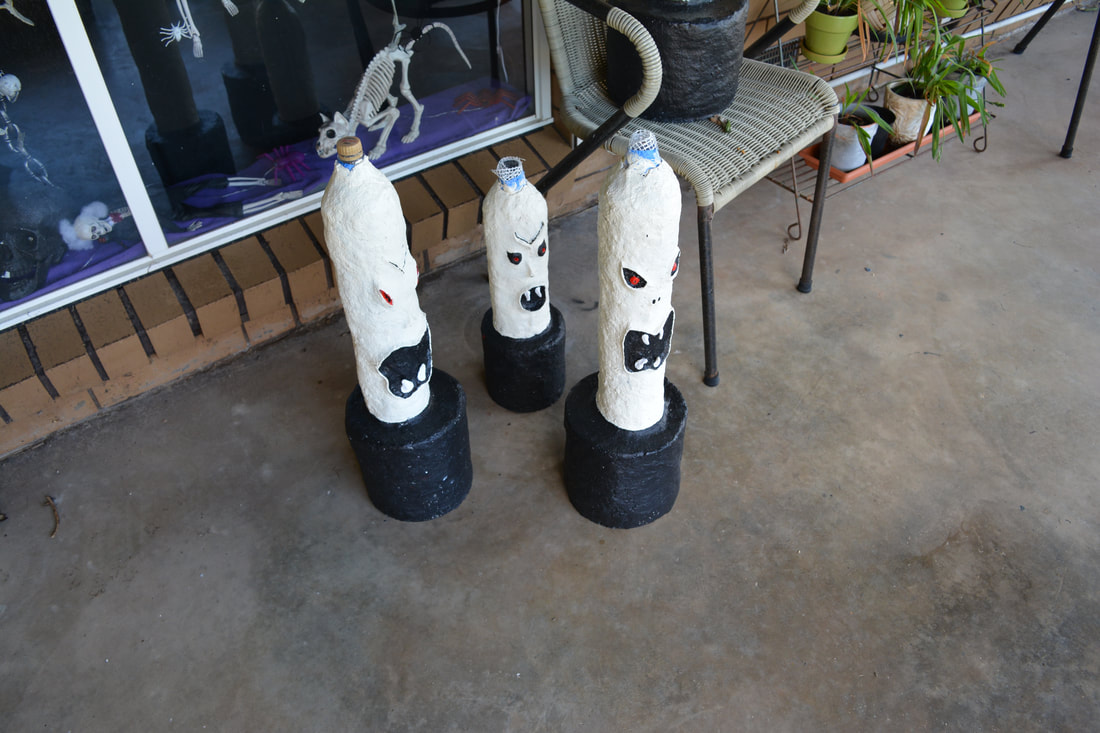
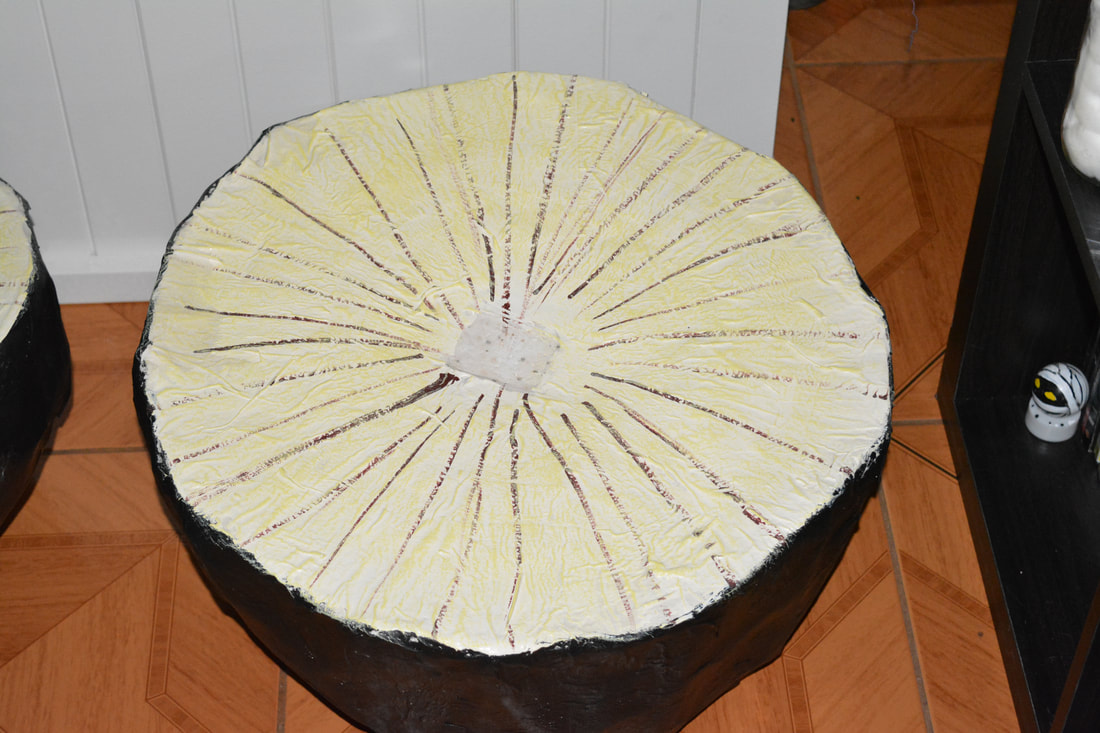
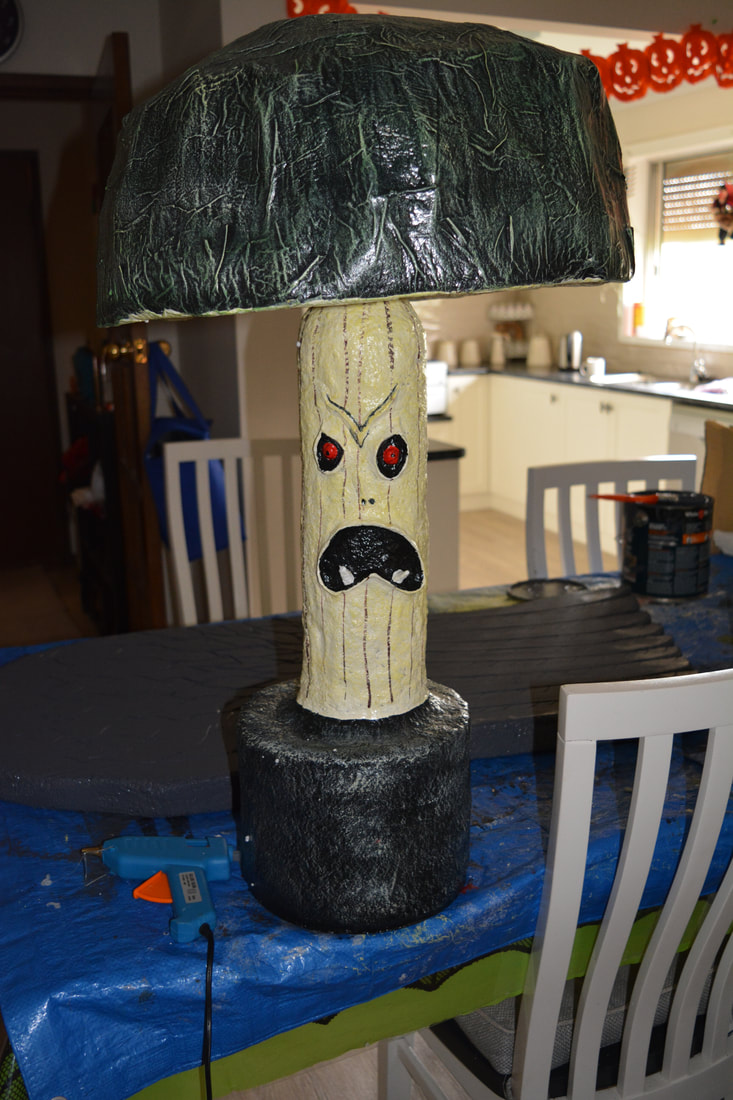
- I used 2ltr and 1.25ltr soda bottles for the stalks and an old paint tin and wrapped cardboard for the bases (the paint tin is the best one and I am saving them as I go to make more)
- I used three soda bottles for each cutting the tops off two in each shroom filled one in each with stones/pebbles to help counter weight them
- I joined them with the third intact one on top pointing up and as with the caps I then covered them with plaster mesh tape and jointing compound
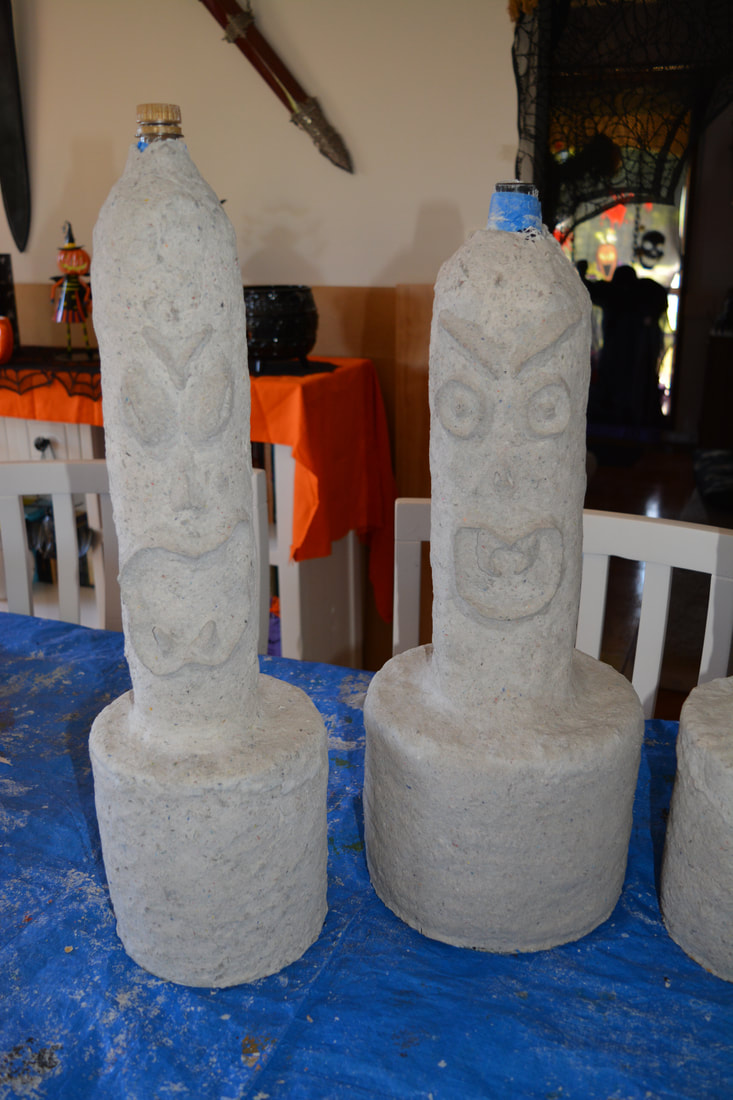
- I did the big one with entirely with joint compound but with the other two I switched to paper mache (not clay but strips)
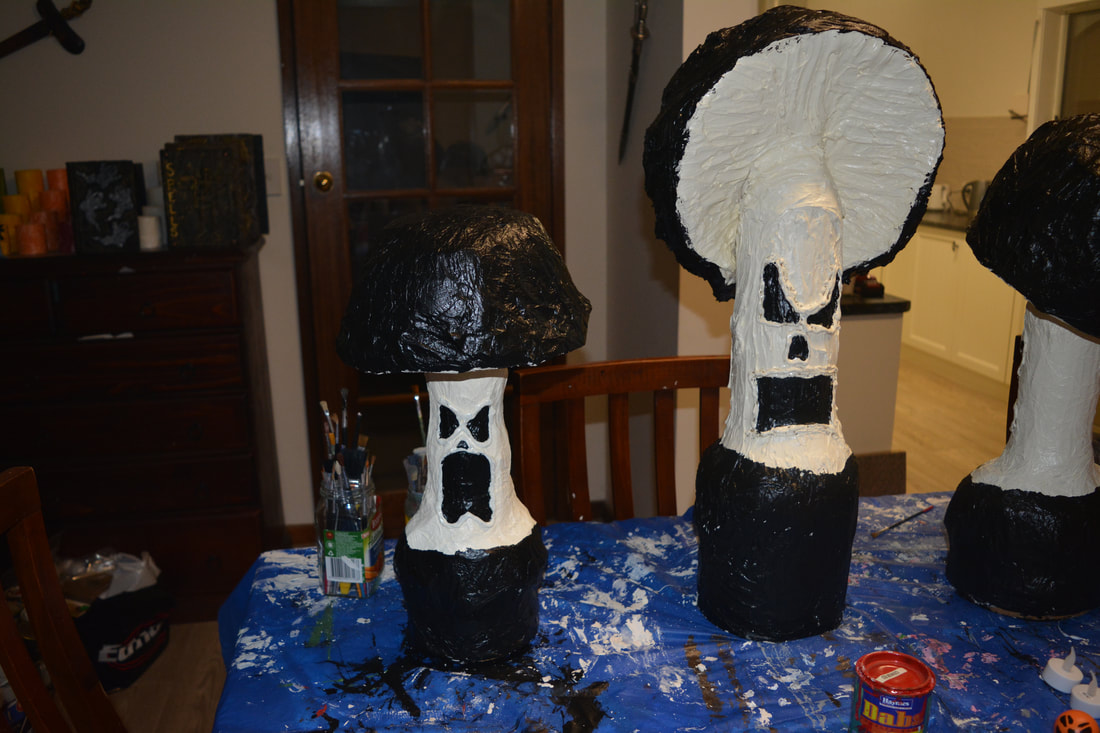
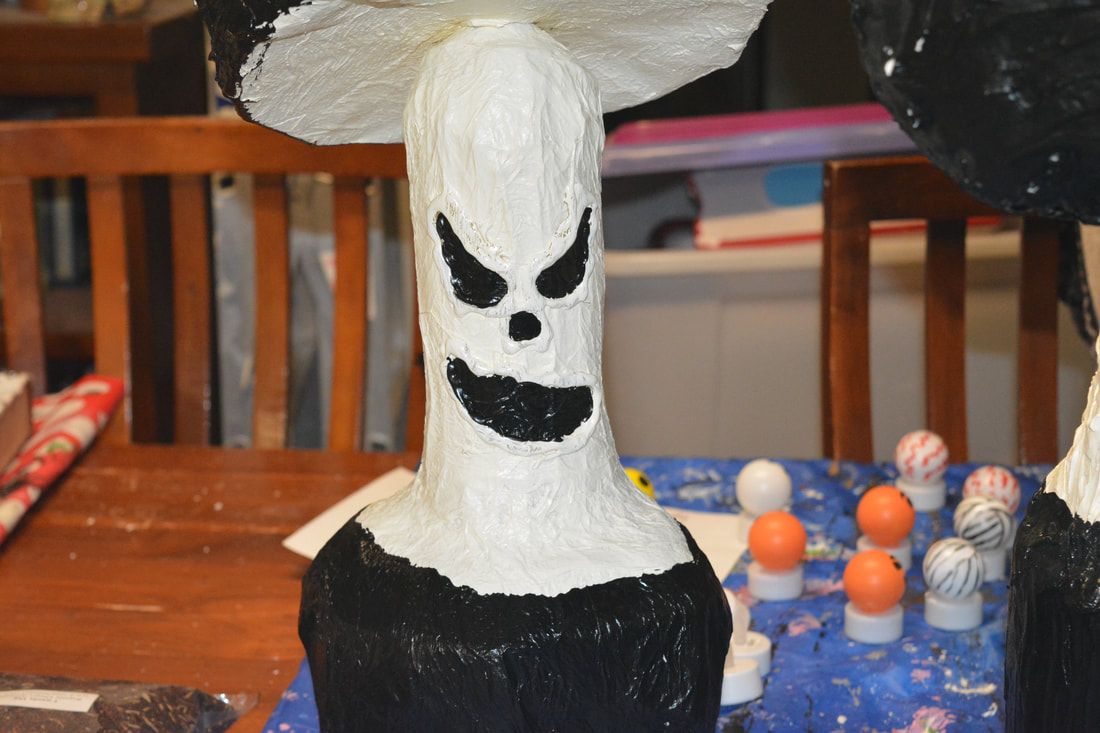
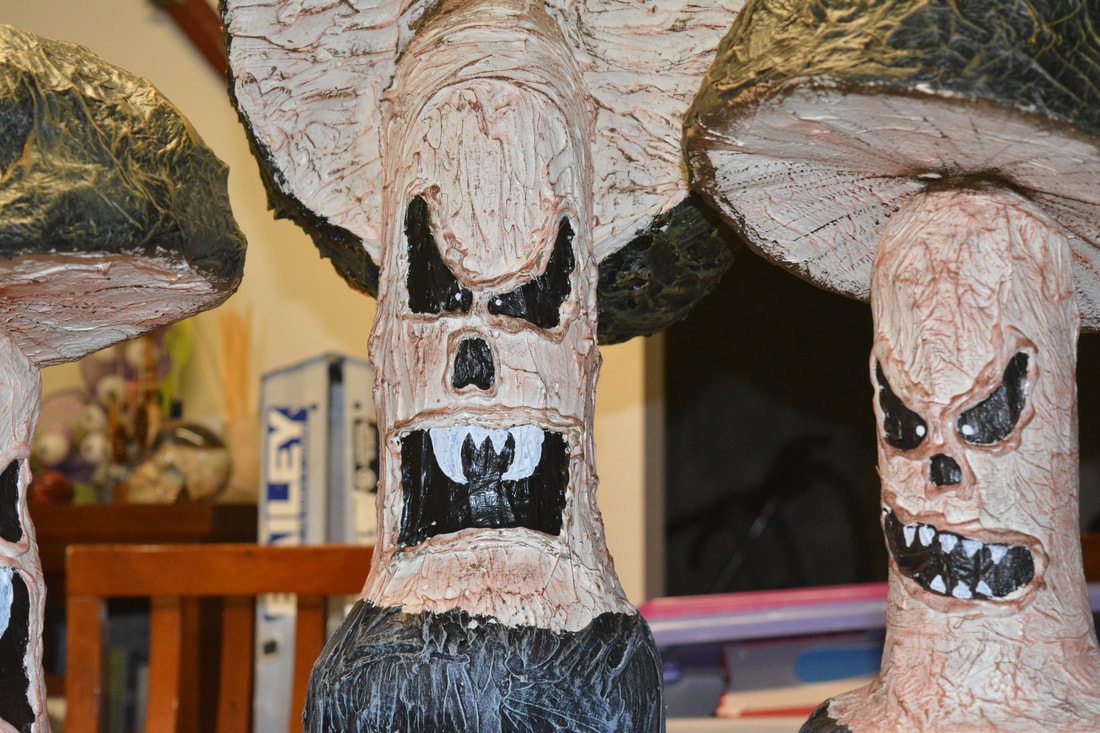
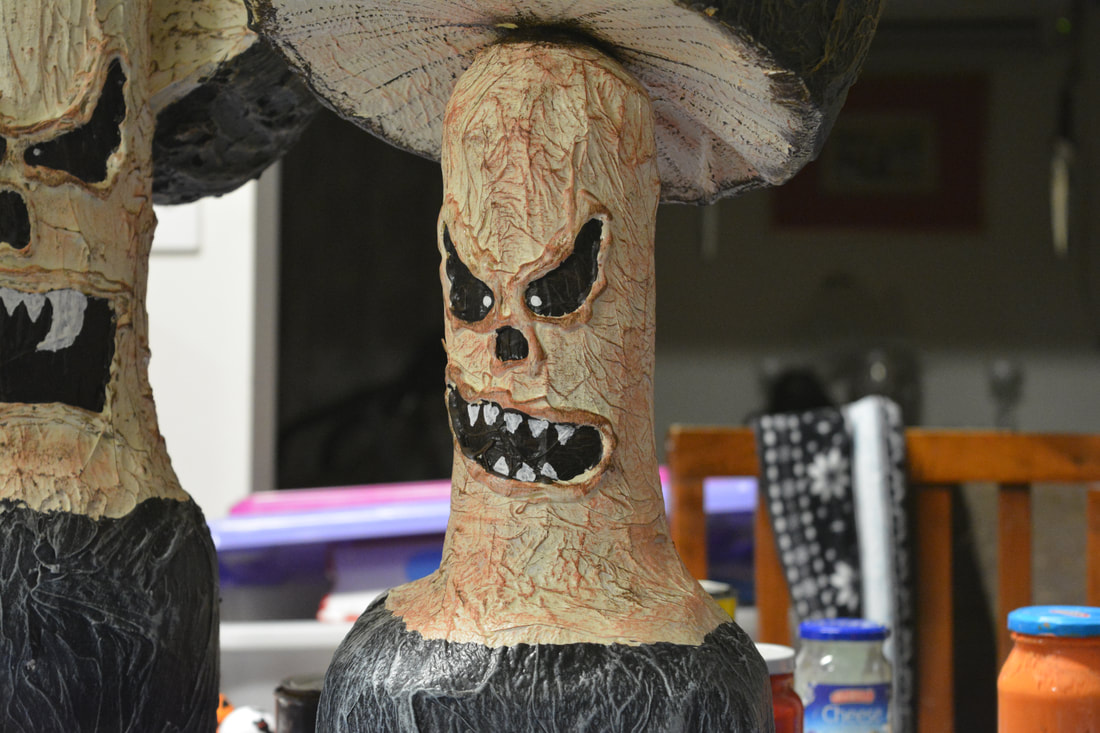
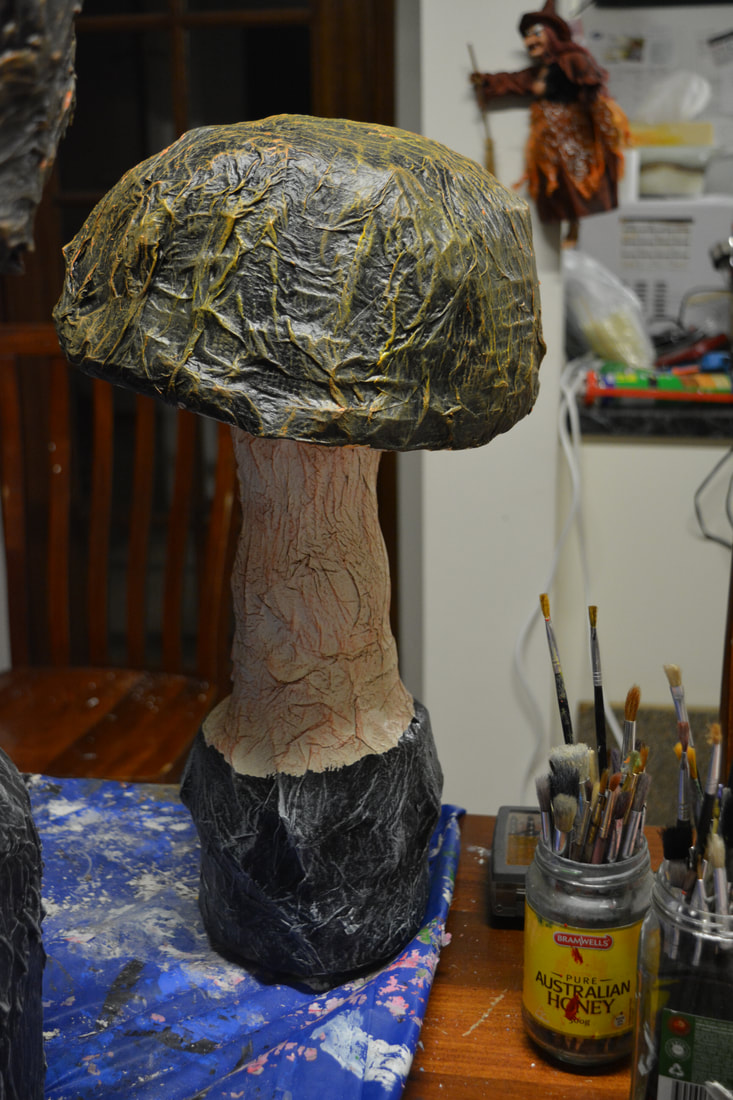
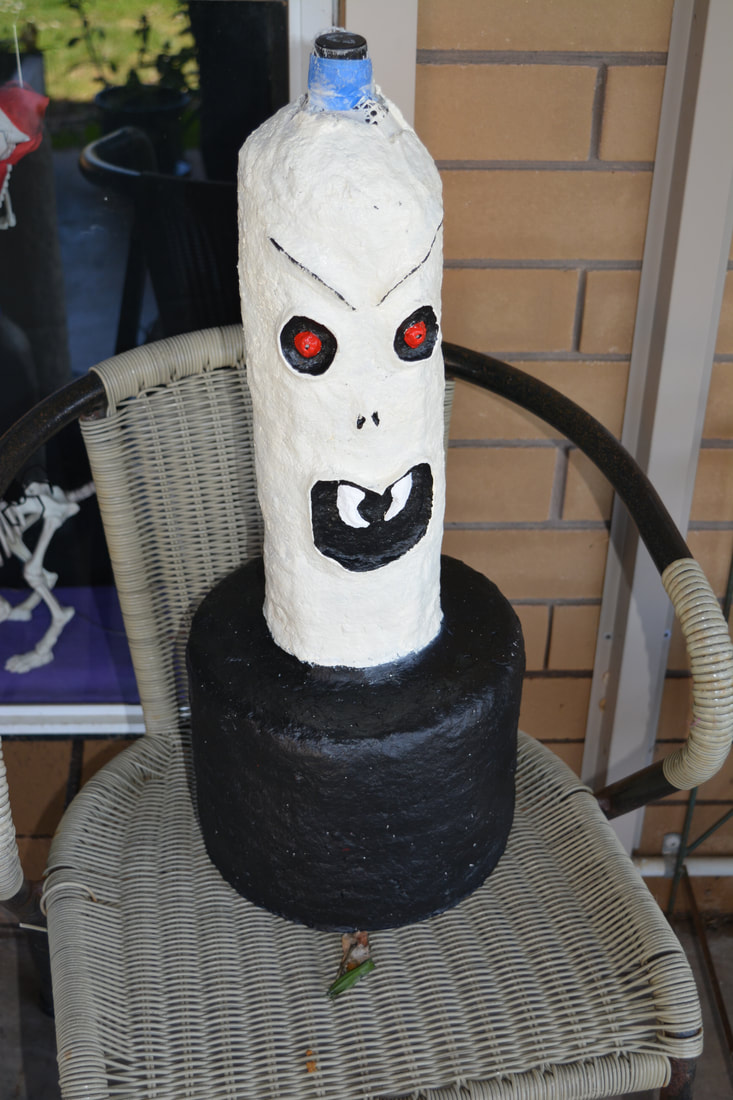
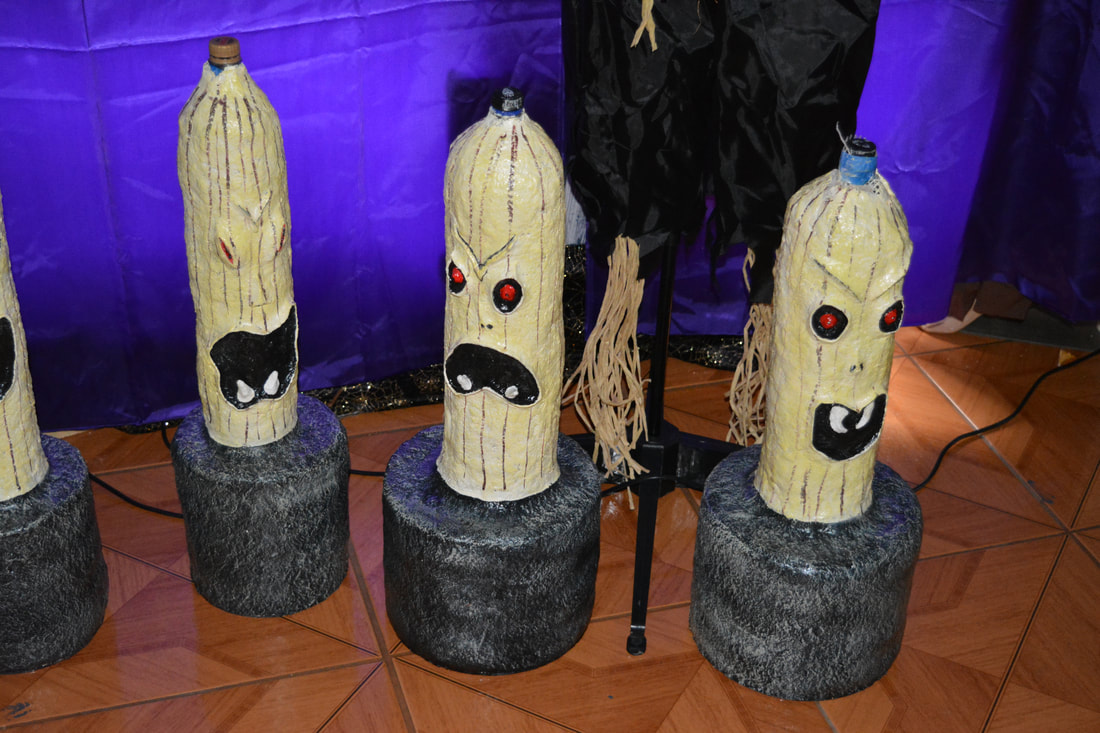
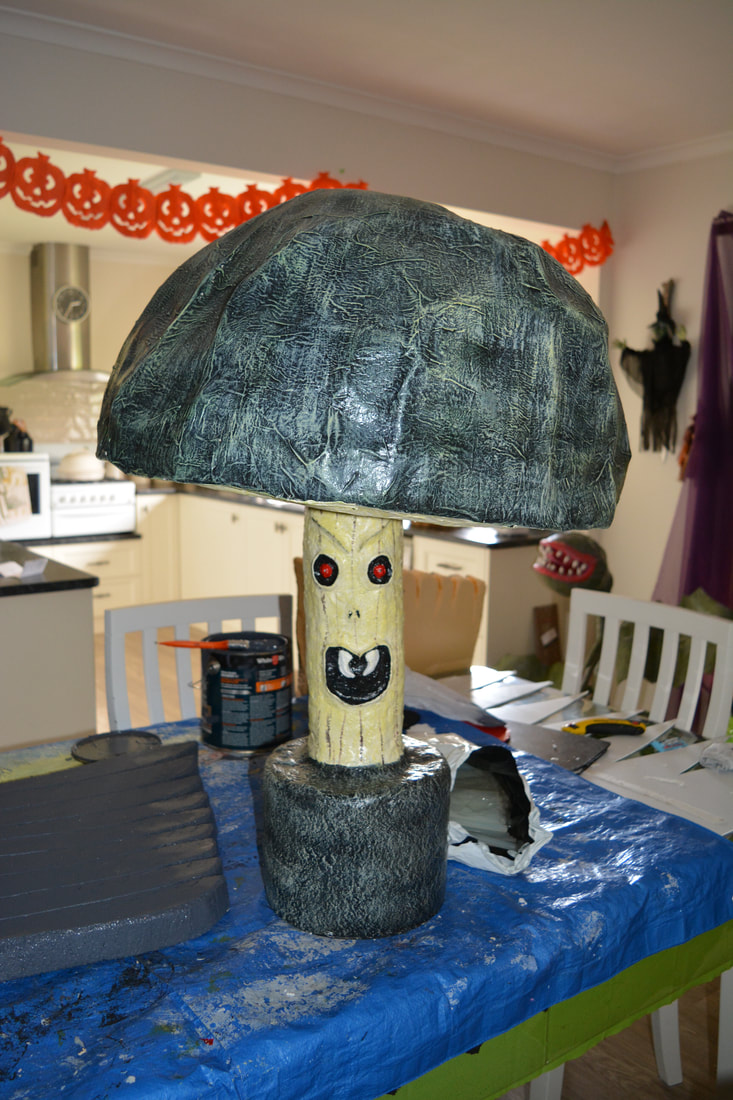
- After giving them a week to dry I then used the jointing compound to sculp their faces and left them for a further three days to dry
- Once the faces where dry I started the detailing with paints and when I finished that I sealed them with bond crete although next time I will a marine grade vanish instead as the bond crete drys white when it pools