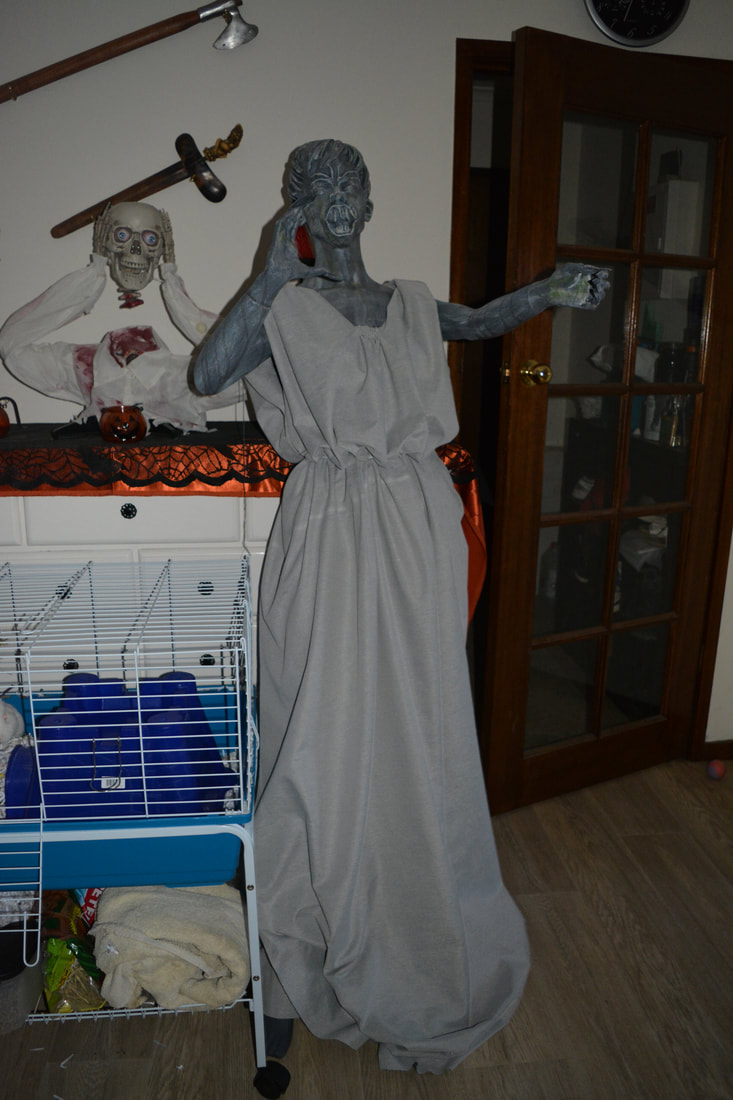
Creepy Angle
(just in case copyright is an issue)
Materials Used
Mannequin (you could make the body with poly pipe refer to life size props tab)
Grey material (we used upholstery material)
Underskirt hoop or fencing wire to make this
Paint - black, grey, white, green
Thick jute twine/thin elastic
Garden stakes (2 for the wings & 1 for mannequin if you don't already have stand)
Paper Mache Clay (recipe below)
2 1000mm x 35mm Poly Pipe
Liquid Nails
EVA Foam
Hot Glue
Insulation Foam Sheets x 2 (600mm x 1200mm)
Embroidery Thread (grey/dark) & Needle
Method:
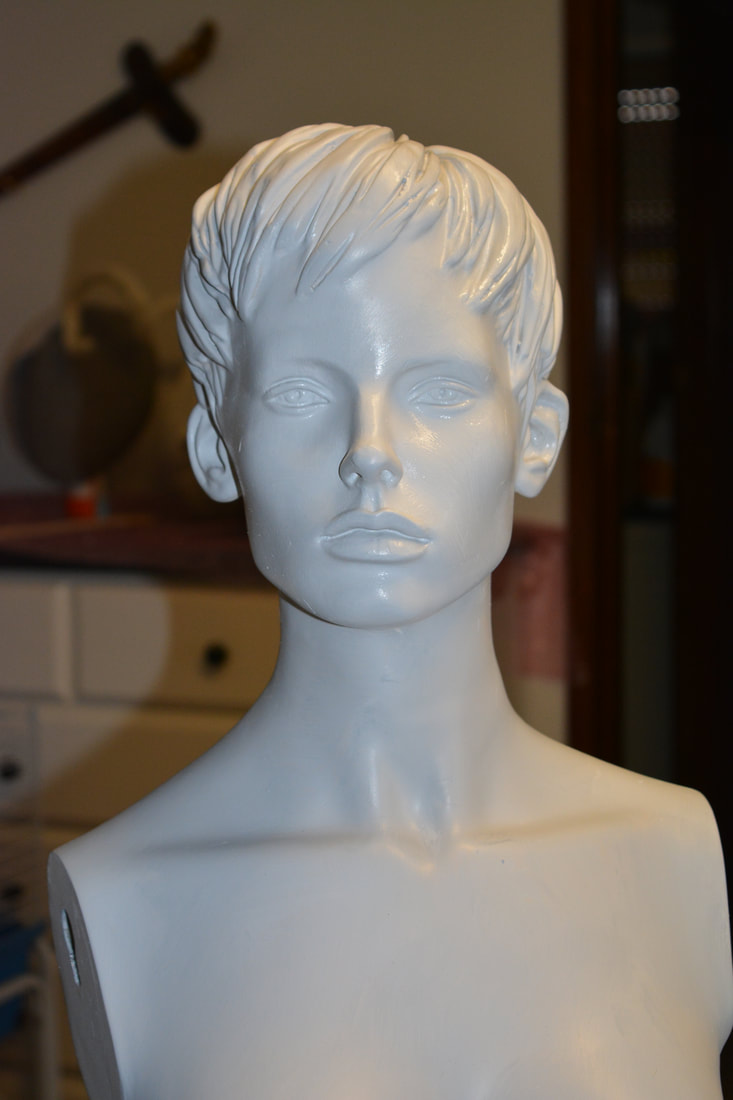
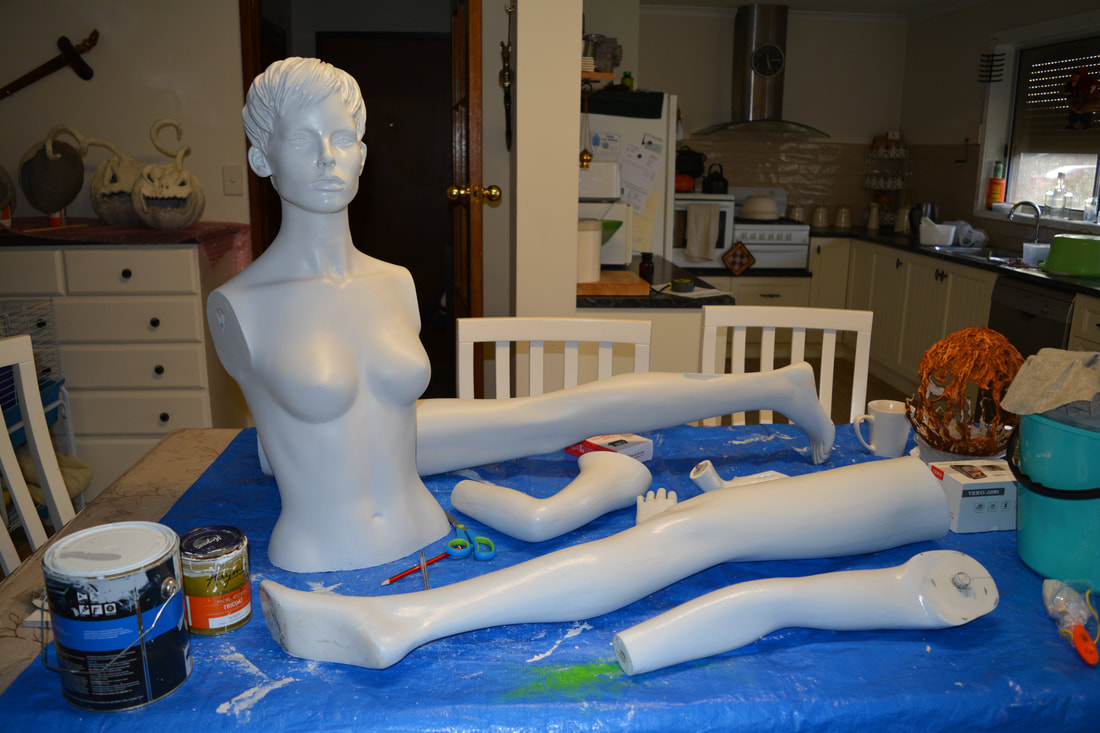
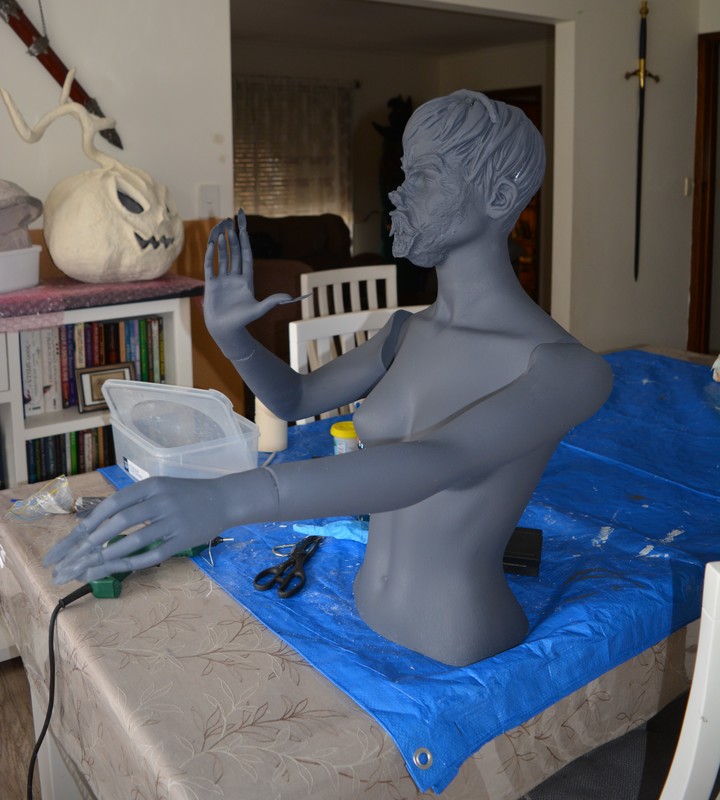
- We started with a mannequin for this project however you could easily use poly pipe, pool noodle etc., to build a body & a foam head.
- First we painted her with paving paint (has sand texture) you can use any grey acrylic paint.
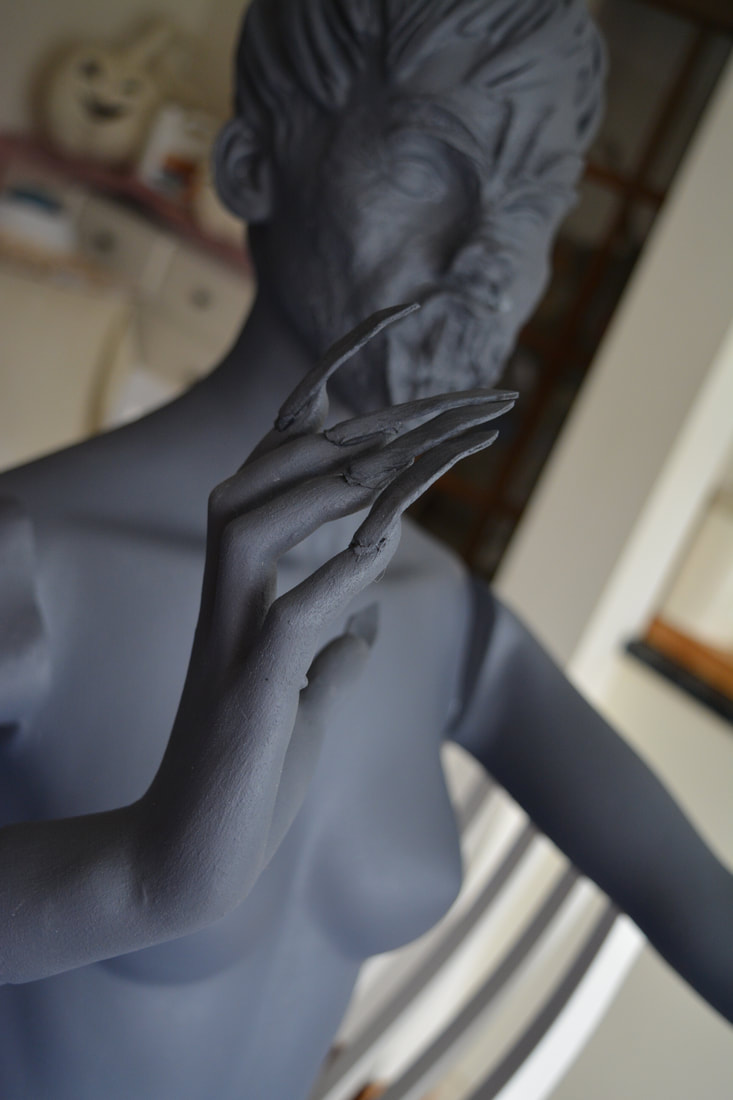
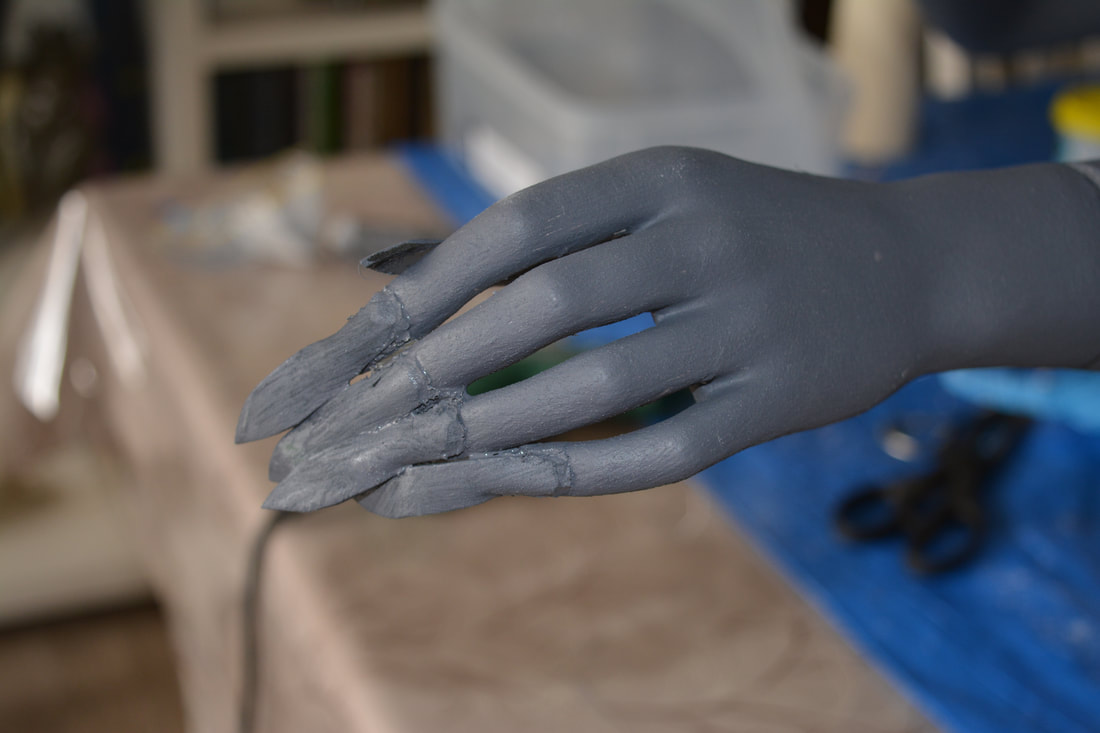
- Then we cut EVA foam pieces into long skinny pieces & hot glued them onto the finger.
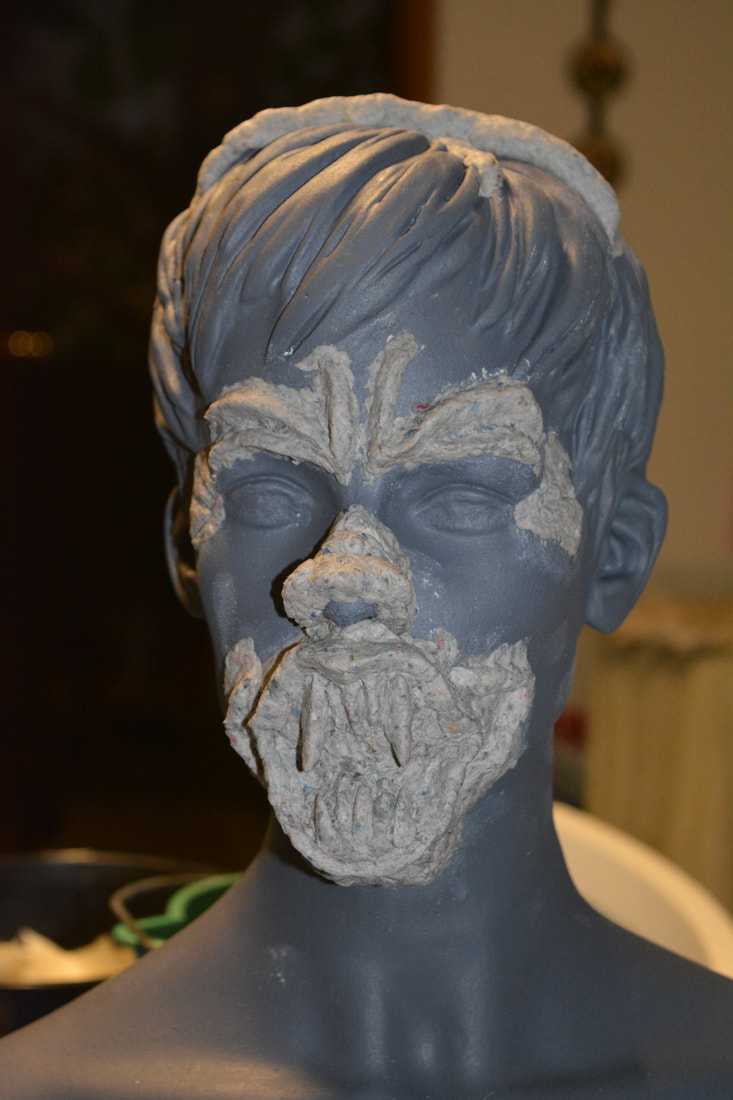
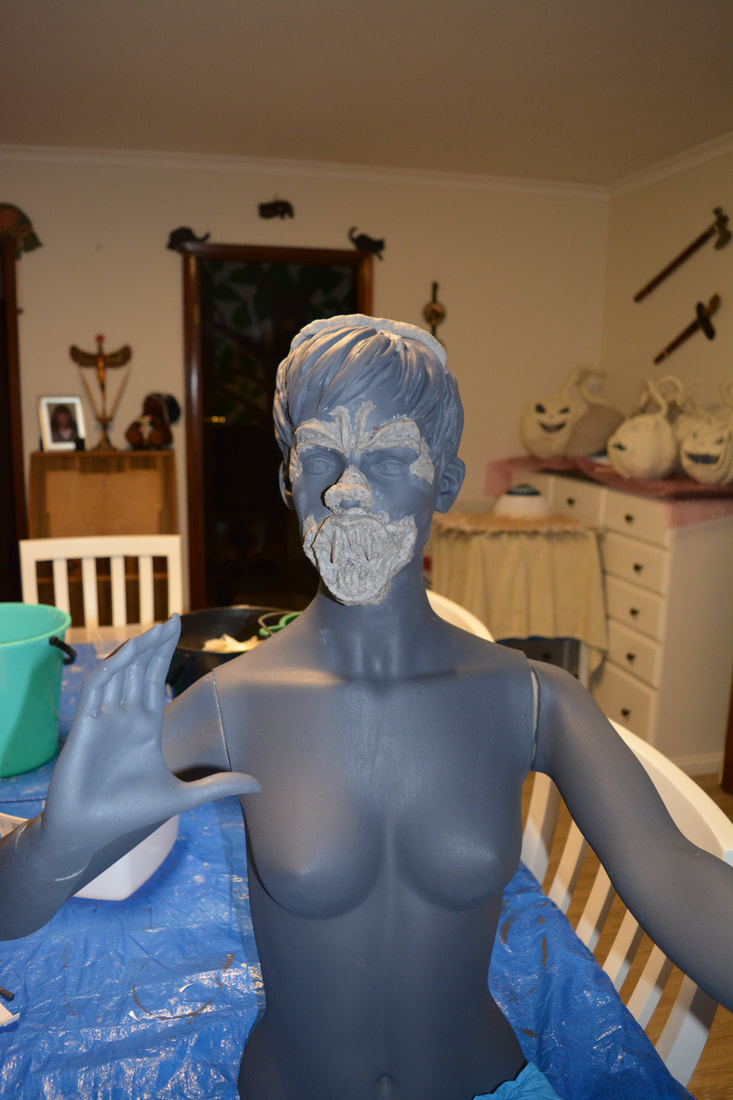
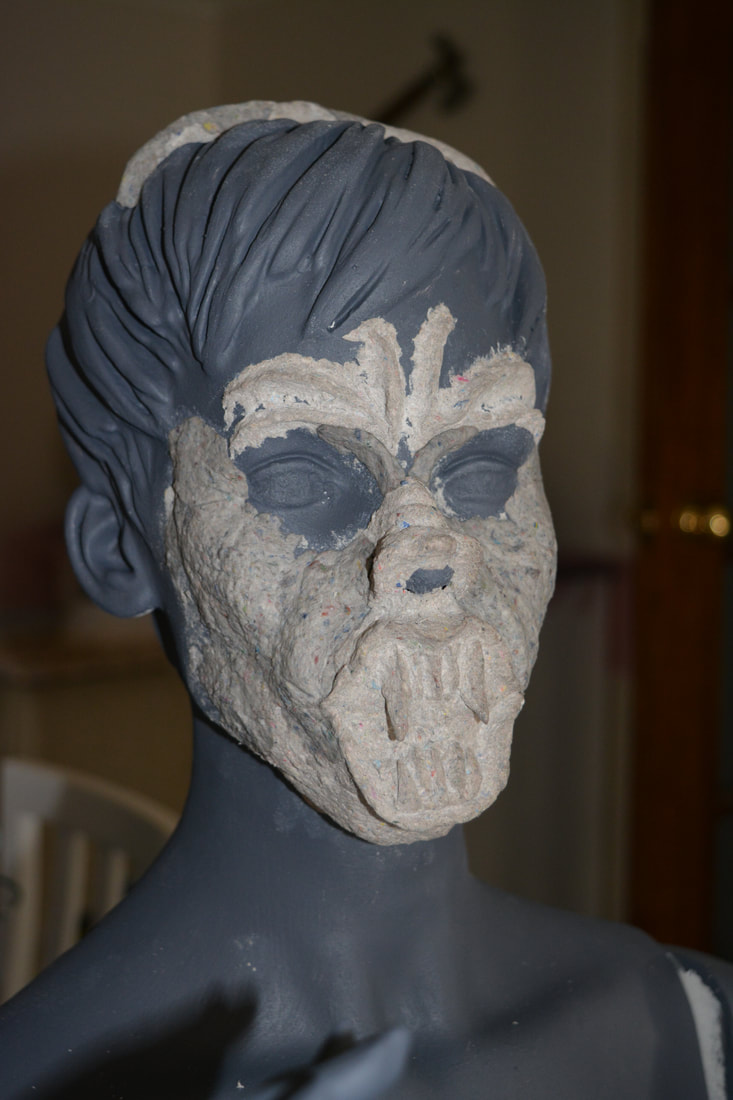
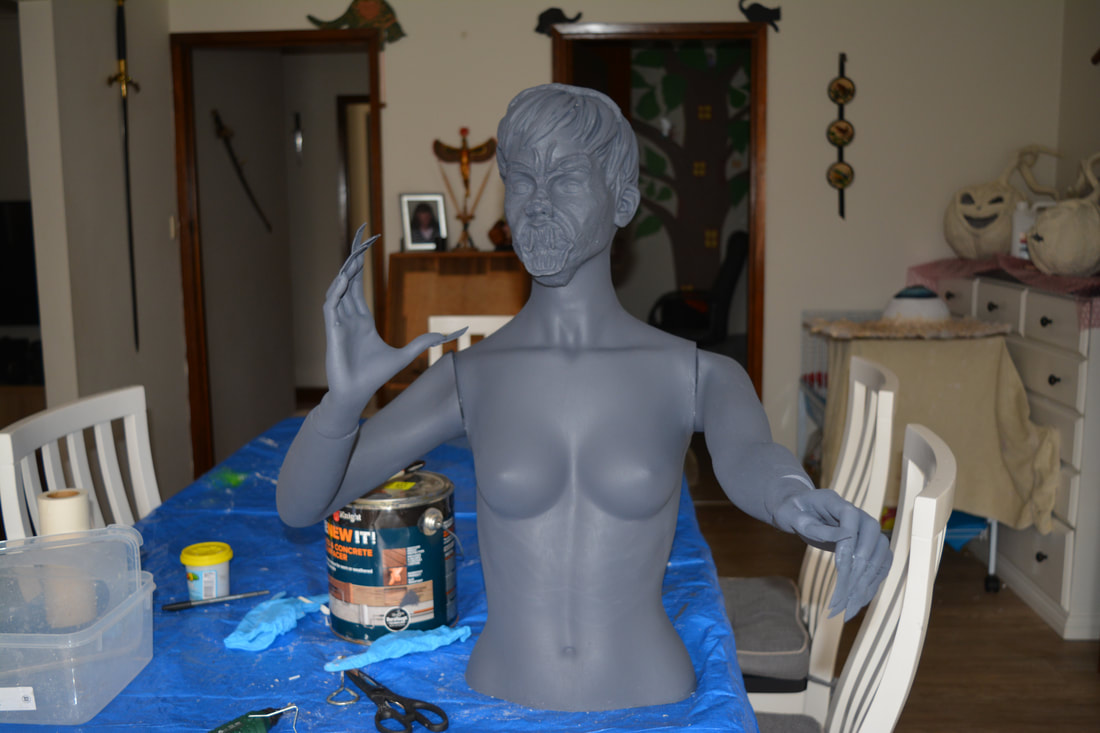
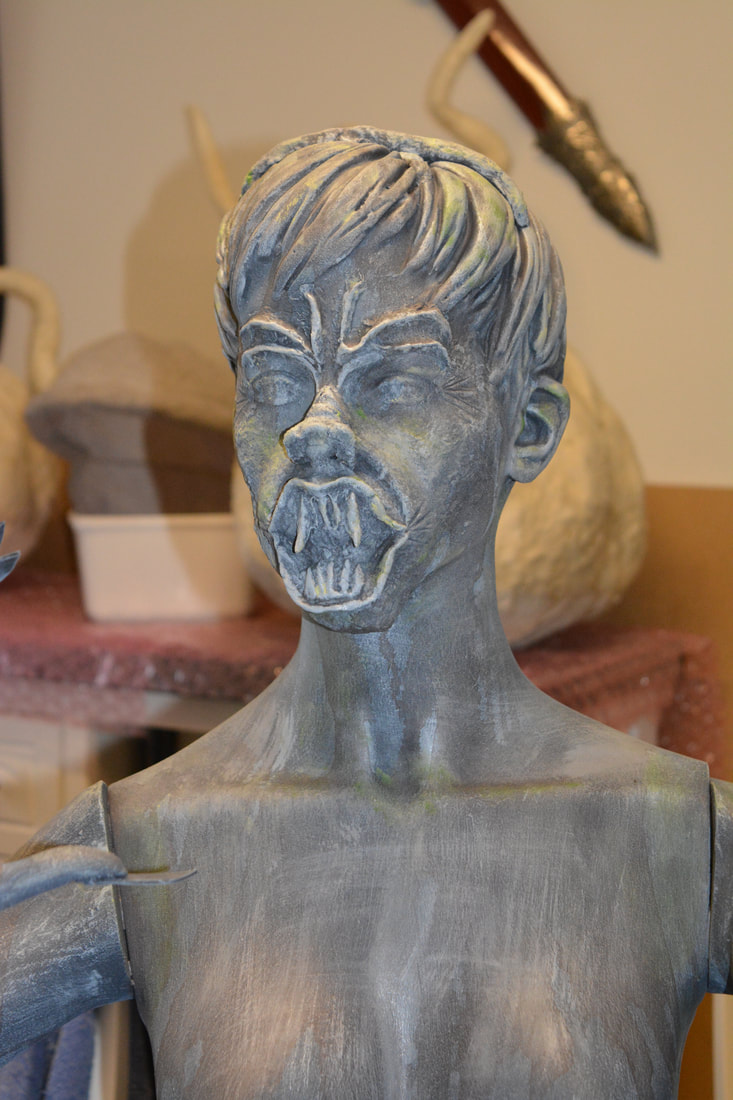
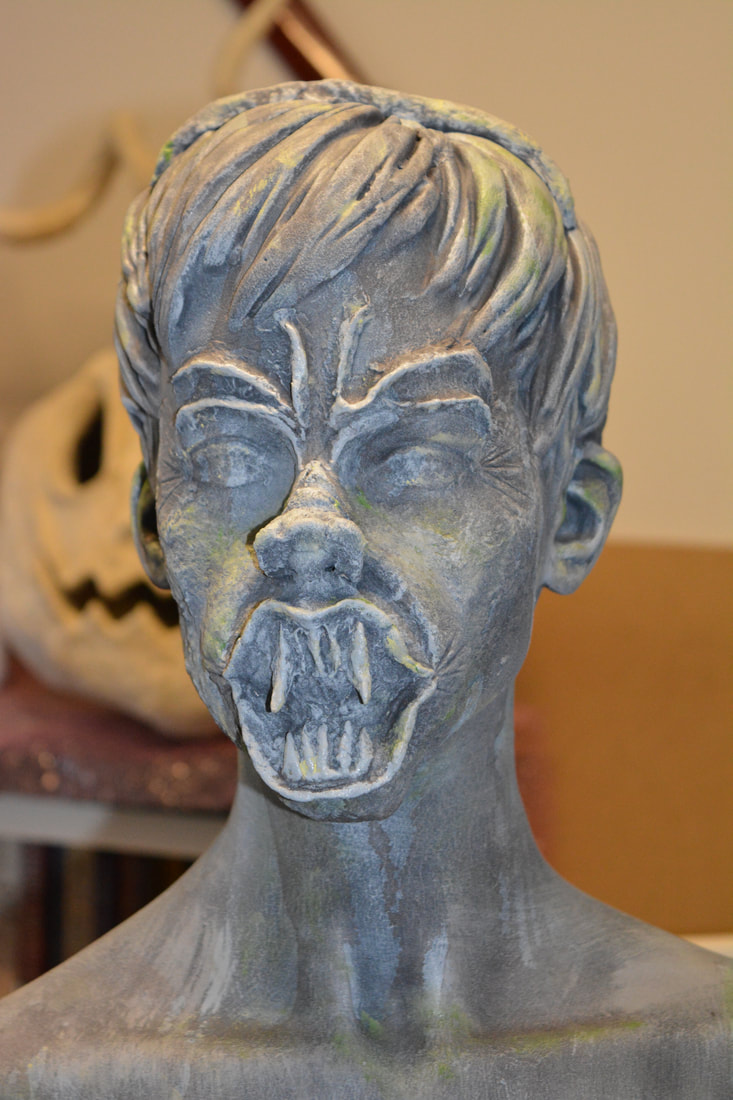
- Using paper mache clay we sculpted her face into an angry creepy fanged creature.
- We also sculpted a head band for her.
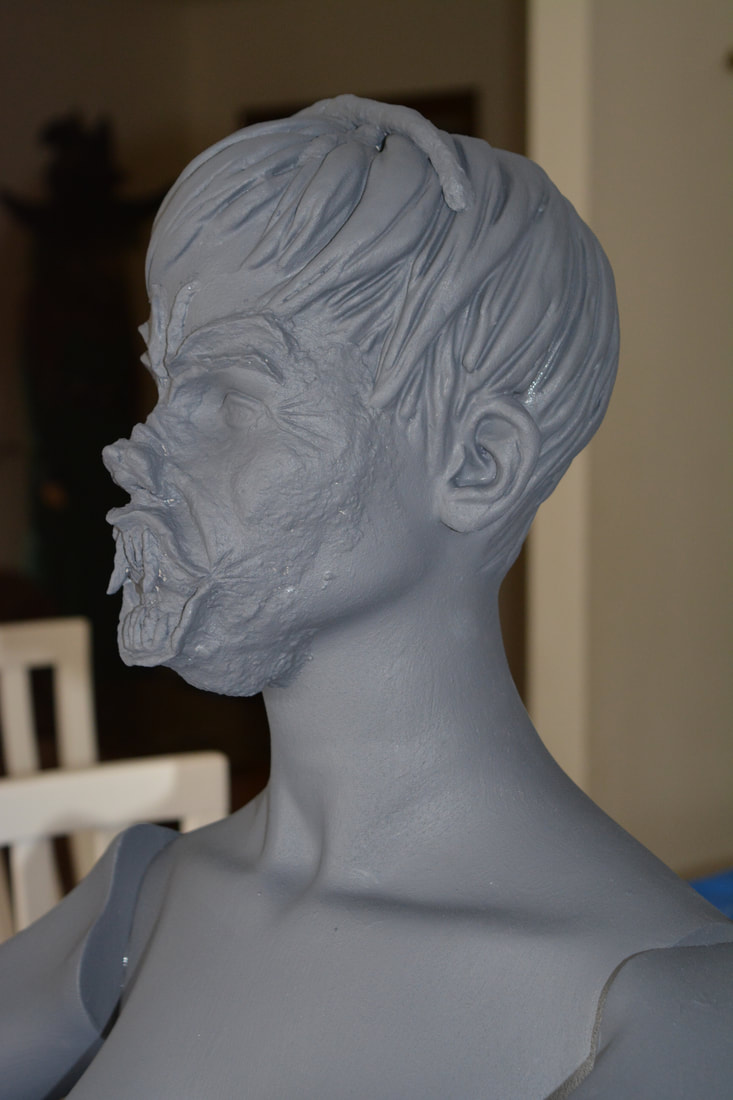
- After that dried we painted her face with the same paint we painted her undercoat in.
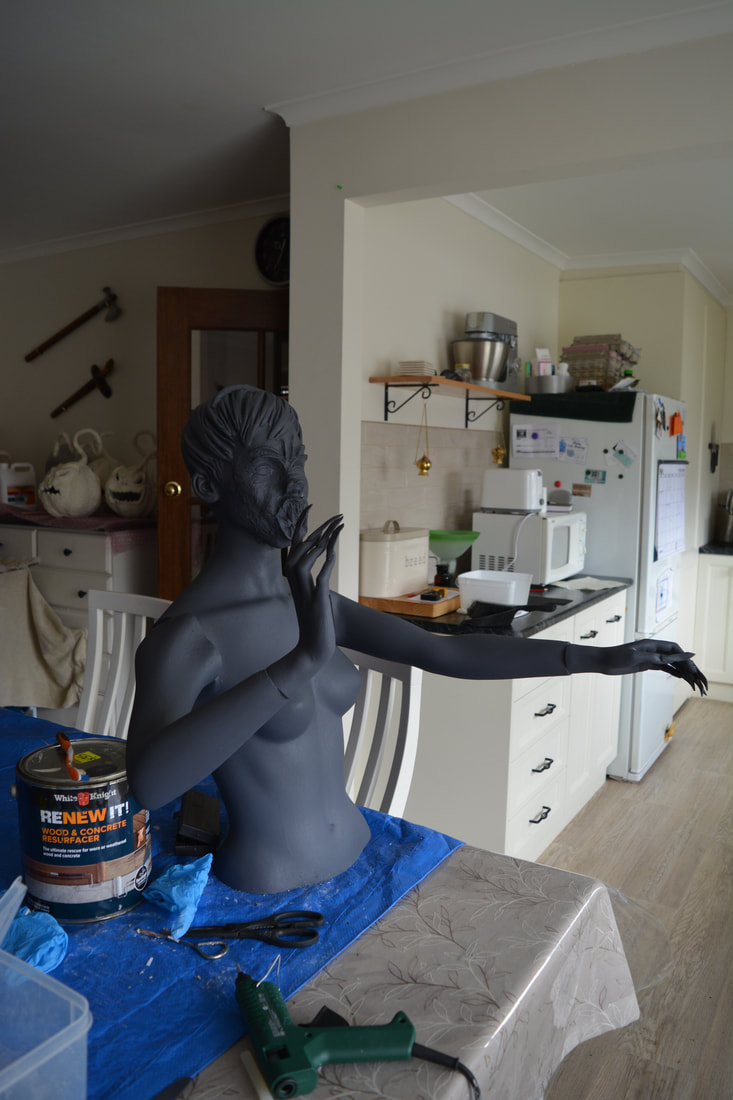
- Once this was done we dry brushed her face, arms and upper body with lighter shades of grey.
- We did not dry brush the legs/bottom half as that is covered by the material.
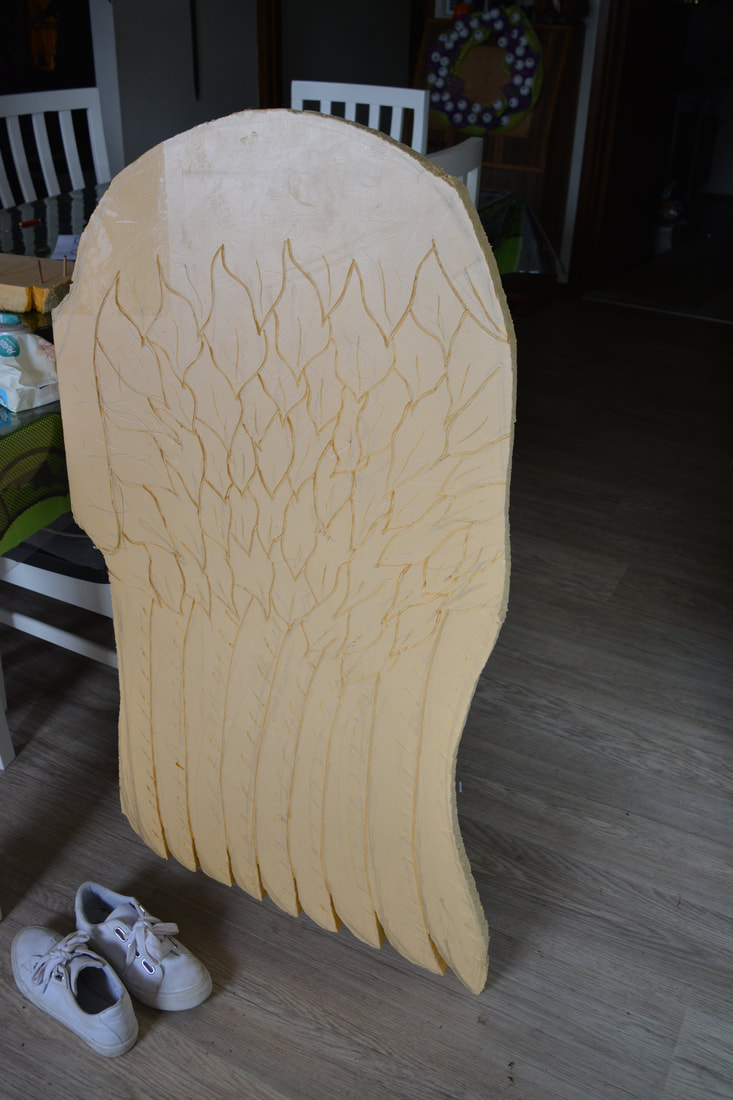
- After she was done we started on the wings drawing them onto the insulation foam sheets
- We used a hot knife to cut the wings out & to add detail to them.
- On the back of the wings we put poly pipe to hold the stakes.
- See our Gravestones for how to do this, we used 1000mm x 35mm pipe cut in half so we could use big stakes to hold them in place.
- We also put two per wing to help stabilize them when on display.
- Once they dried we painted the wings in the same base grey coat as the mannequin.
- When these where done we dry brushed them with lighter shades of grey.
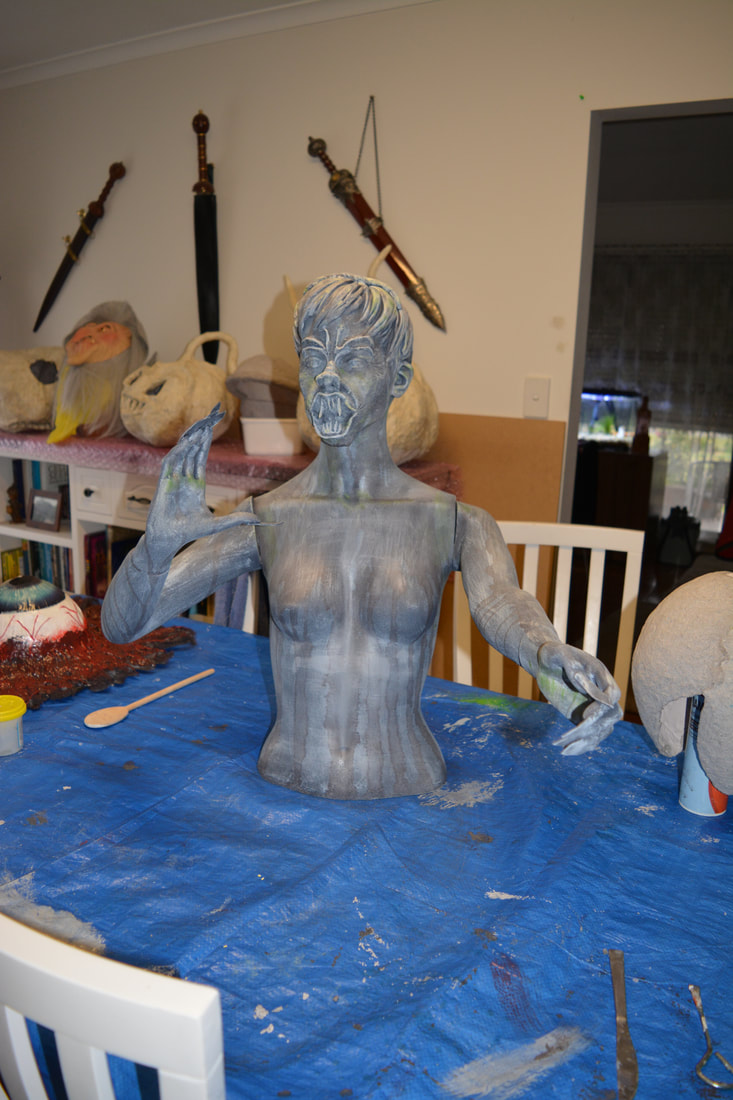
- We then used brown paint to great dirt & aging runs on her & her wings.
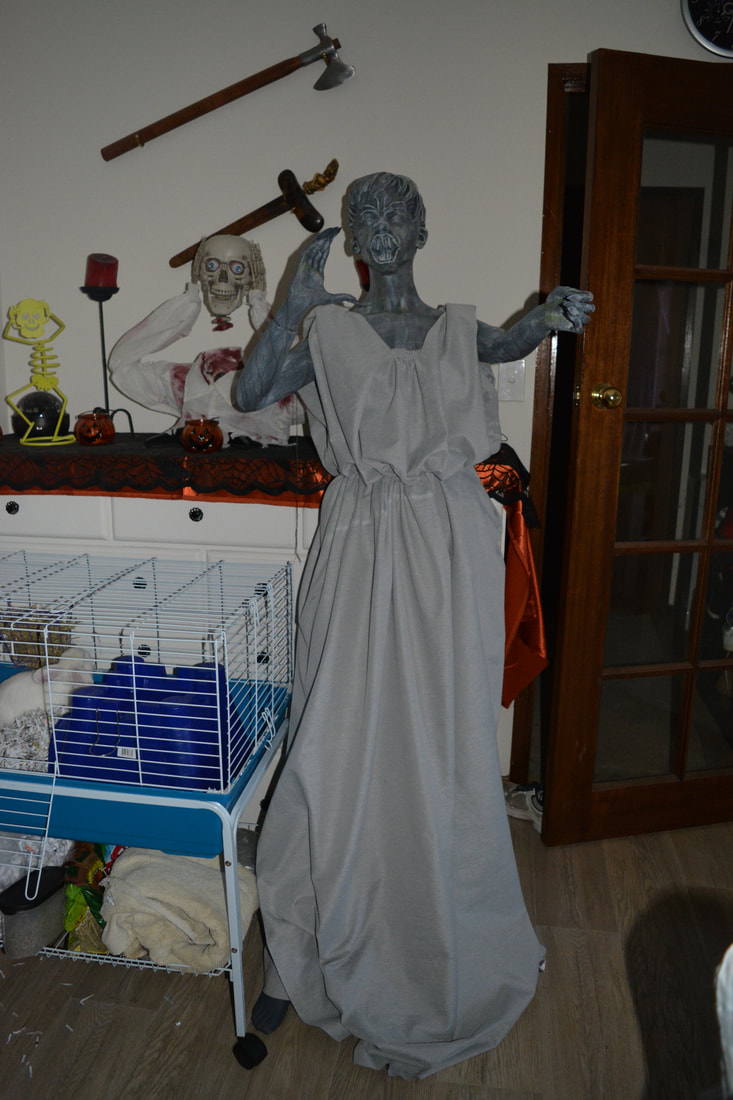
- Using the material we cut a square hole & draped it over her to hang as a tunic would.
- We then used embroidery thread to bunch up the neck line.
- To hold her dress in place & create the waist line we used elastic & pulled excess over the top of it.
- When she was outside, we used the same brown to create runs and some of the base grey to try to blend it more.