Ghosts
There are so many different ideas for Ghosts. These are just a few I have tried. Some I still use some I don't not because they didn't work well, I just ran out of storage space.
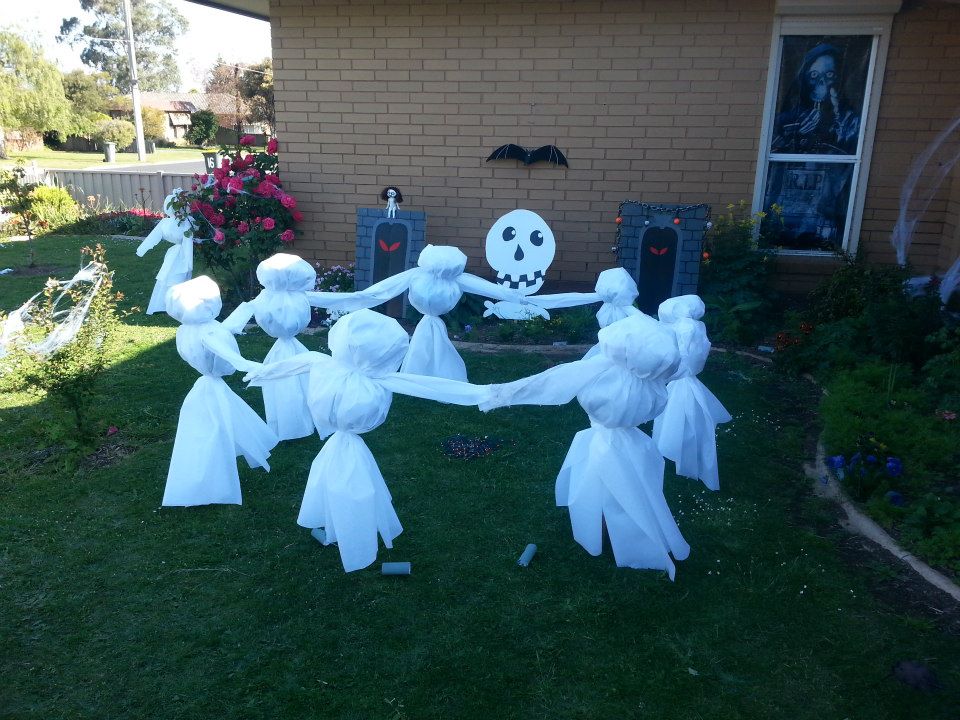
Dancing Ring of Ghosts
Materials Used
White Cloth
Newspaper/Plastic Bags
Garden Stakes
Warm White Christmas Lights
Materials Used
White Cloth
Newspaper/Plastic Bags
Garden Stakes
Warm White Christmas Lights
- These things are so easy and quick to make. You can pick up light coloured material or old white sheets from op shops. I used iron on interfacing to make this lot as I had a huge roll of it.
- Cut skinny lengths for the arms long enough to tie near the top of each stake and so there is enough to make two long arms either side.
- Then cut rectangle pieces to fold over the top to make the dress. Cut this long enough to reach the ground but not long enough to cover the whole stake.
- Fill a plastic bag with newspaper and poke the stake through it tie it up at the tied arms level.
- Cut a strip for the belt
- Then cut a small hole in the top of the folded dress and place it over the top of the stake.
- Drape it around the newspaper filled bag and tie it up with the belt.
- Now go and push them into the ground in a circle (I didn't do this I put their heads on and when I went to put them out had to take them off again to set them up).
- Then take another plastic bag and fill that will newspaper, tie it up and slide it onto the the top of the stake.
- Cut another piece of cloth in a roundish shape to cover the top bag and another tie, place over the head bag and tie it up.
- Make sure you put them close enough to tie their arms together, once they are in place tie their arms together and put the lights in the middle.
- At night they will look like they are dancing around a fire. I forgot to take a picture of them doing this after dark.


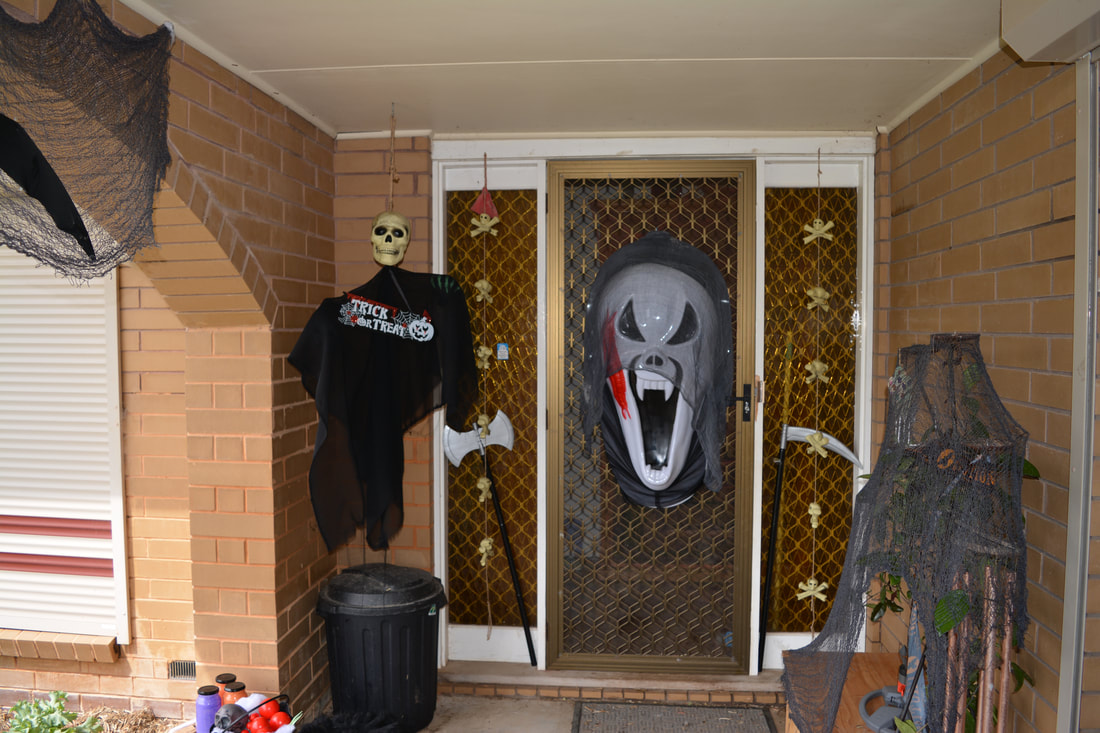
Creepy Mask Ghost
Materials Used
Wire Coat Hanger
White Material - I used some scrap satin
Creepy Plastic Skull Masks x 2
Clear Celo Tape
Wire Cutters
Pliers
Fishing Line
Plastic Bags
Glue Gun
- Cheap easy and quick ghosty
- Tape the two masks together so your ghost has a face on both sides and leaving a small space on the bottom and the top for the wire
- Pull the coat hanger into a straight form with the hook at the top then with the wire cutters cut the opposite end to the twist and hook
- Using the pliers bend the hook end over to form a loop
- Thread some fishing line through the hole you left in the top and the bottom of the masks.
- Tie the end of the fishing line to the coat hanger loop
- Gently pull and push the fishing line and coat hanger loop back into the masks and up through the top.
- Loop and tie off.
- You might need to re tape both top and bottom at this point or use a glue gun to secure it at the top and bottom
- Fold the material in half (make sure it's a good length) cut a small hole in middle and thread the two hanger lengths that will form the arms through
- Then bend the two pieces of the coat hanger out to form the arms and shoulders
- roll up the plastic bags and tape them to the ends of the arms in a small ball. (this helps to for a bit of shape)
- Cut the bottom into rough strips
- Hang and enjoy
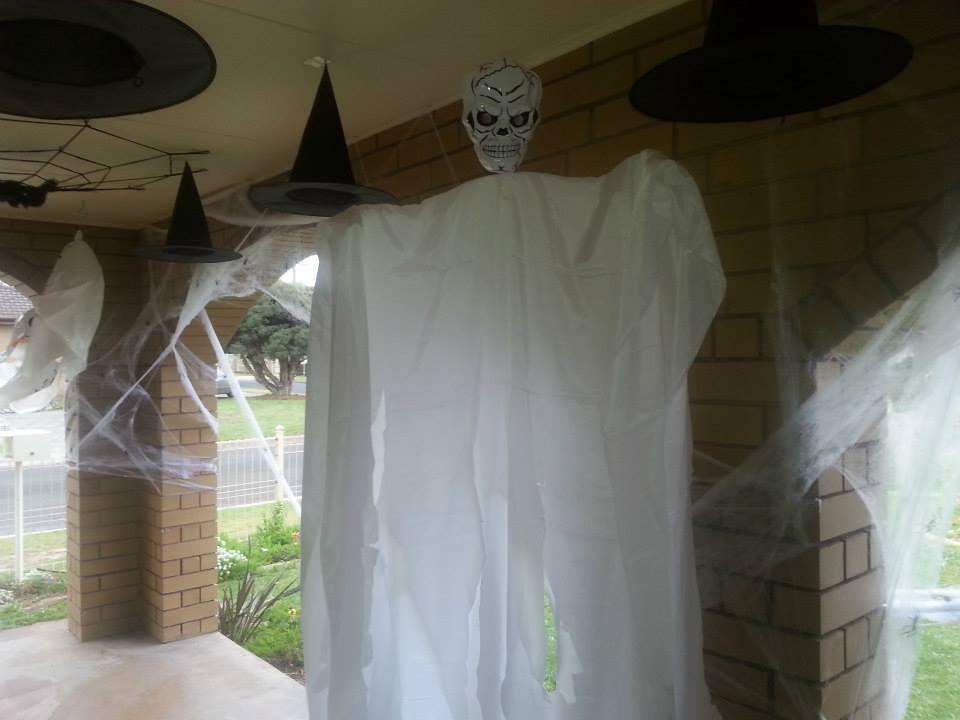

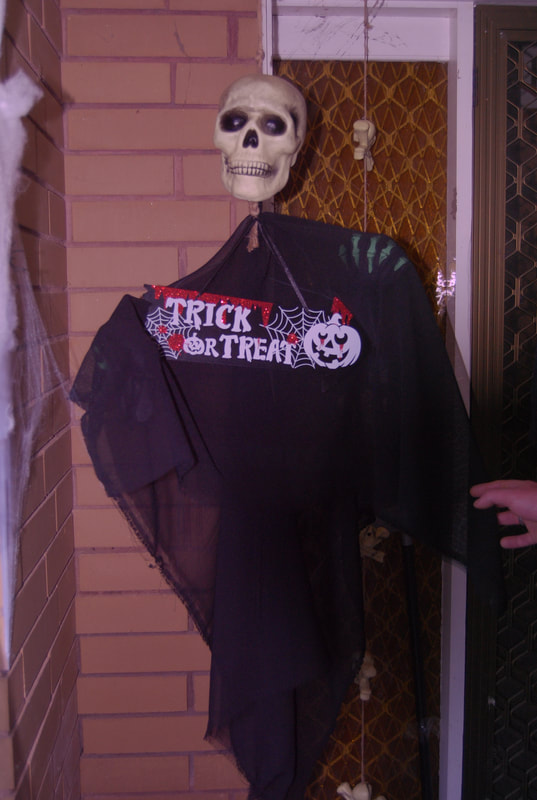
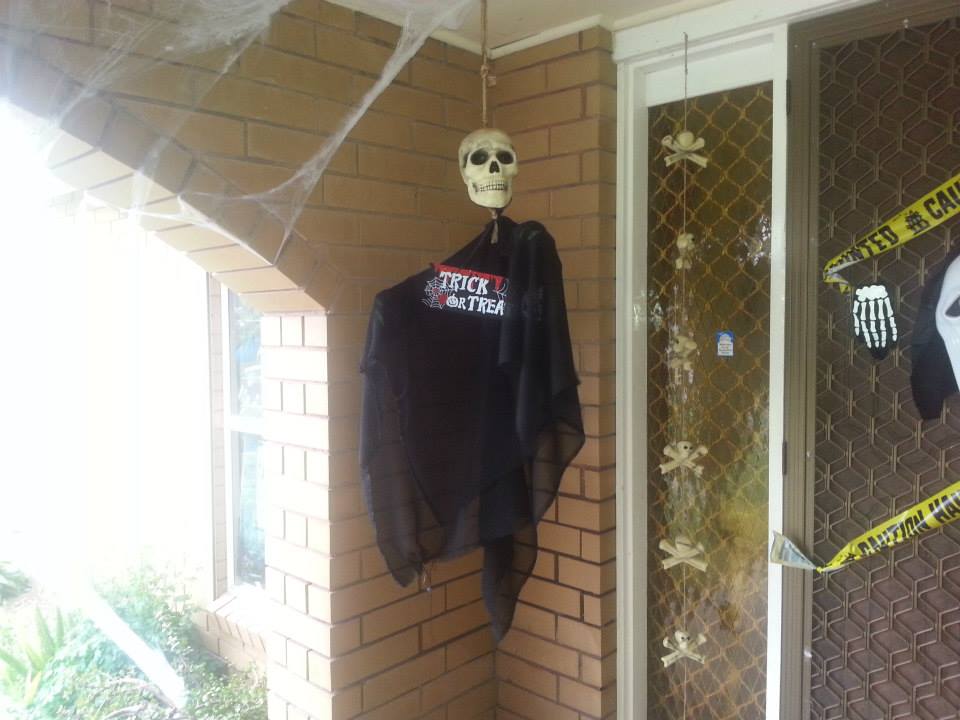
Solid Plastic Skull Ghost
Materials Used
Plastic Skull - life size or close to it
Wire Coat Hanger
Wire Cutters
Pliers
Material - I used some mesh/soft tulle I already had
Pair of Monster or Skeleton Gloves
Plastic Bags - To stuff into gloves and fill them out
Anything you want to hang onto it I used a trick or treat sign
Glue Gun
- Another quick and easy ghost
- Drill small hole in the bottom of the plastic skull if it doesn't have one
- Also drill one into the top if it doesn't already have one or have a cord for hanging.
- The one I used already had both and a cord for hanging.
- Pull the coat hanger into a straight form with the hook at the top then with the wire loop end cut it to form the arms
- Using the pliers bend or hook end over to form an L on the tip
- If you skull doesn't have a cord for hanging cut the end of the hooked end of the coat hanger with the wire cutters just above where the wires twist together.
- Use the pliers to form a loop and push it into the top using glue gun to secure it
- Then bend the coat hanger where the wires twist together to form the L shape (this will be pushed into the bottom of the skull later)
- Use wire cutters to cut other end and bend out to form arms
- Fold the material in half (make sure it's a good length) cut a small hole in middle and put the L shaped end through the hole.
- Manipulate L shaped end into hole in the bottom of the skull and use glue gun to secure
- Push plastic bags into gloves to fill out fingers and palms then put over the end of the wire and either tape them on or hot glue them on to form the hands
- Cut the bottom into rough strips if you like that look
- Hang and enjoy
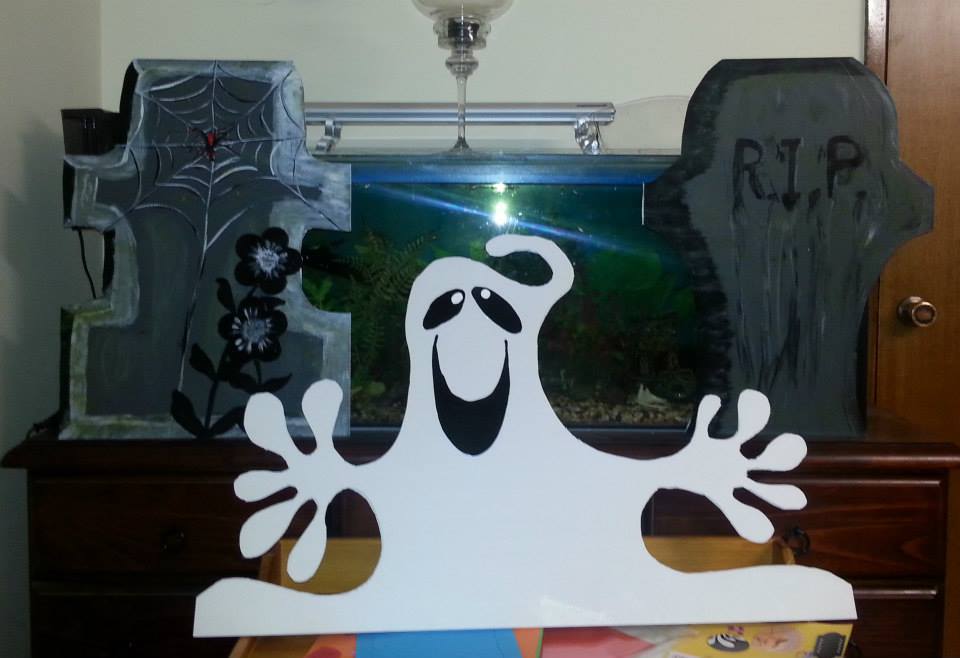
Corrugated Plastic Board Cut Outs
Materials Used
Corrugated Plastic Board
Black & White Paint
Scissors or Craft Knife
Sharpie
Materials Used
Corrugated Plastic Board
Black & White Paint
Scissors or Craft Knife
Sharpie
- I saw these types of things for sale somewhere once and thought they would be easy enough to make. So I bought some of the board from Bunnings Hardware and cut out similar shapes but much bigger
- I free hand the shapes in pencil then once happy with them I went over it in marker (Sharpie)
- Use the scissors or craft knife to cut out your shapes (if you use scissors I recommend Fiskar angled scissors as this stuff is hard on your hands)
- Use paint for faces and details


Cute Little Bell Ghosts
Materials Used
Fold out Bells - usually wedding supplies
Black Card or Plastic - I used the back off an old display folder
Hot Glue Gun
Sheer Material - to drape over them if you like that look
Materials Used
Fold out Bells - usually wedding supplies
Black Card or Plastic - I used the back off an old display folder
Hot Glue Gun
Sheer Material - to drape over them if you like that look
- Fold the bells out and glue them into place
- Cut out Black circles and Ovals for eyes and mouths
- Use glue gun to stick eyes and mouths on

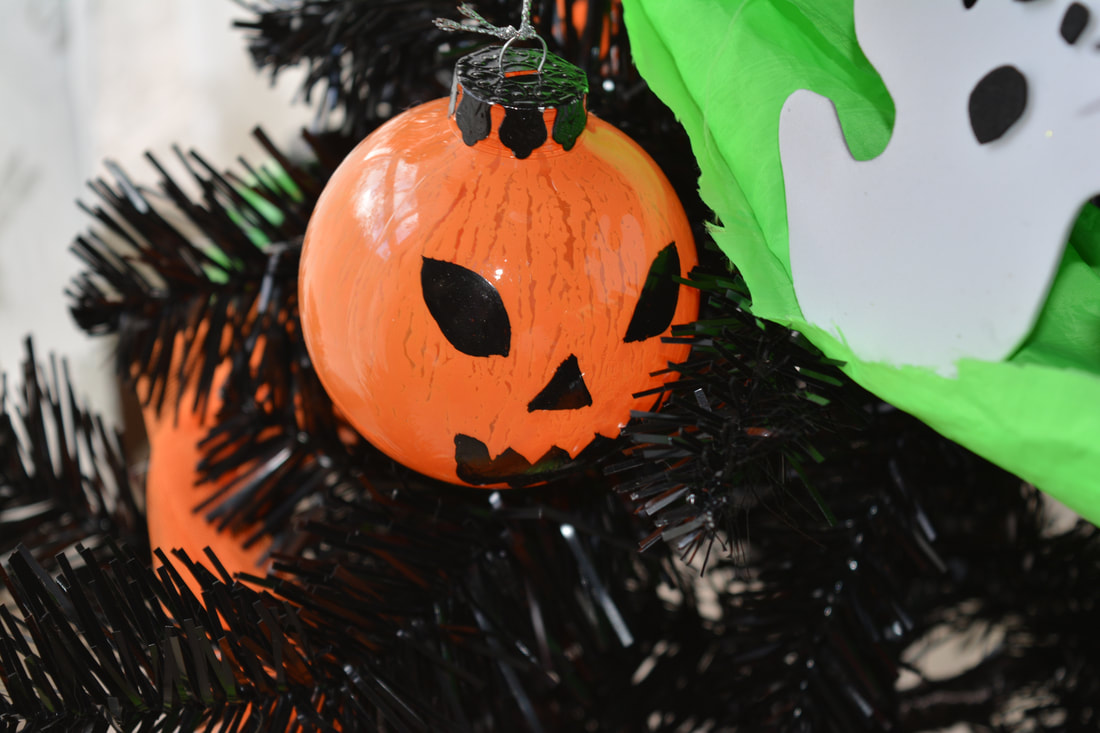
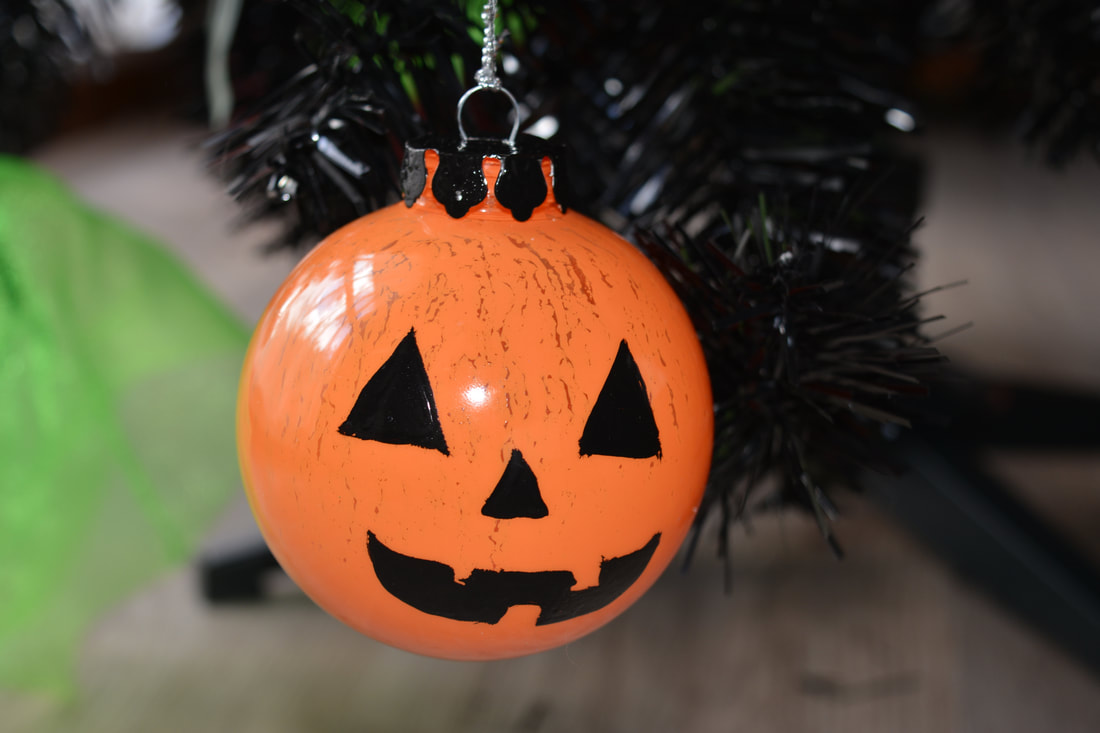
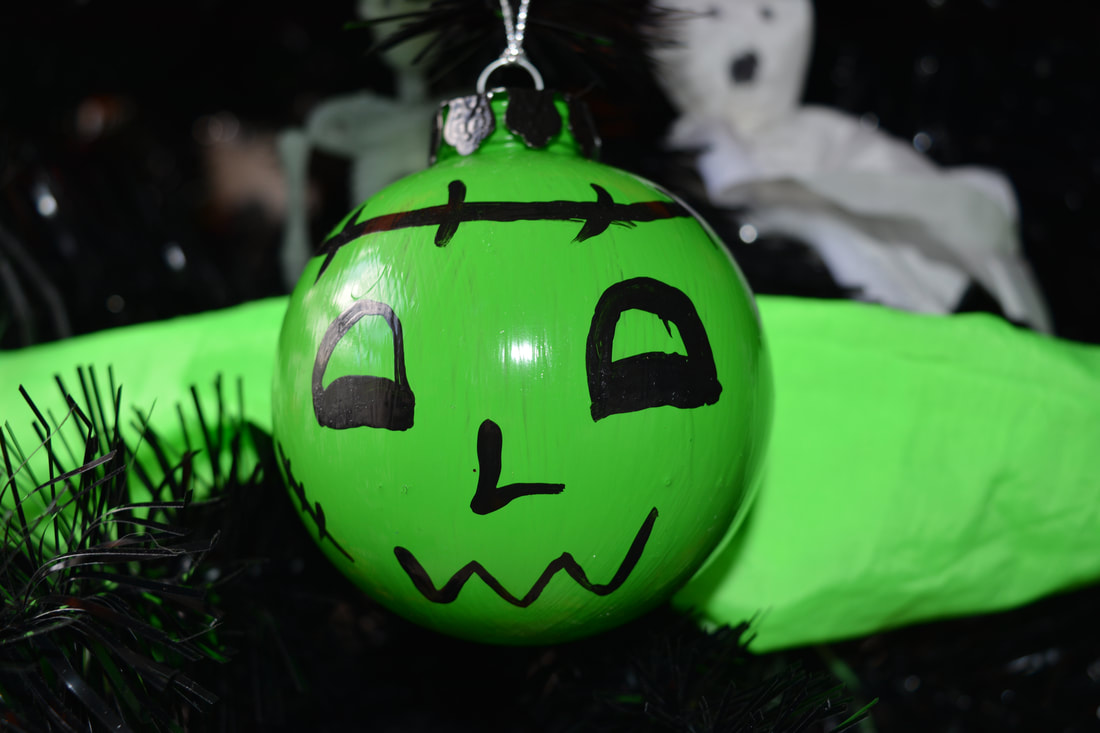
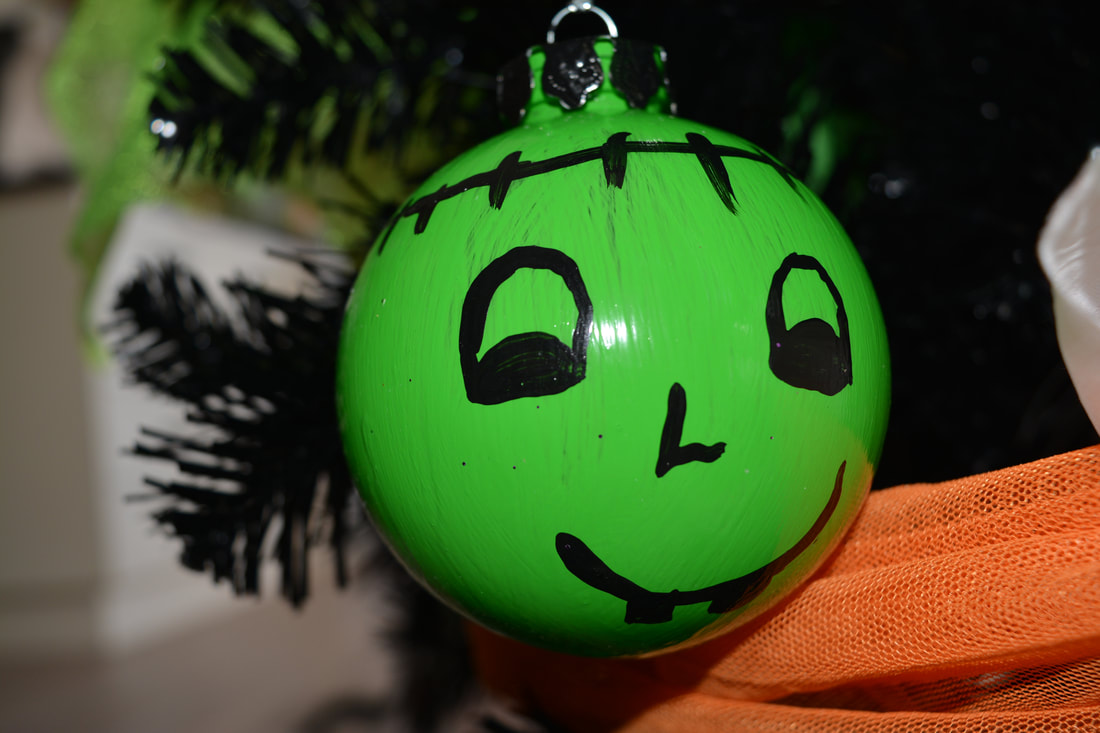
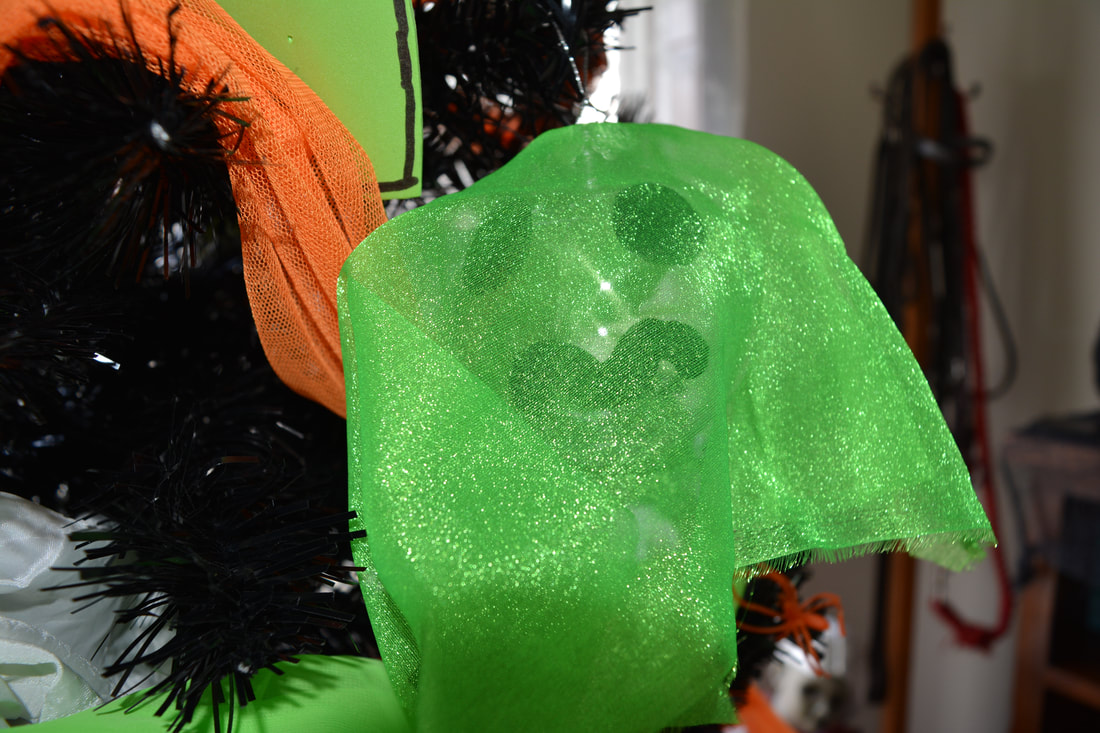
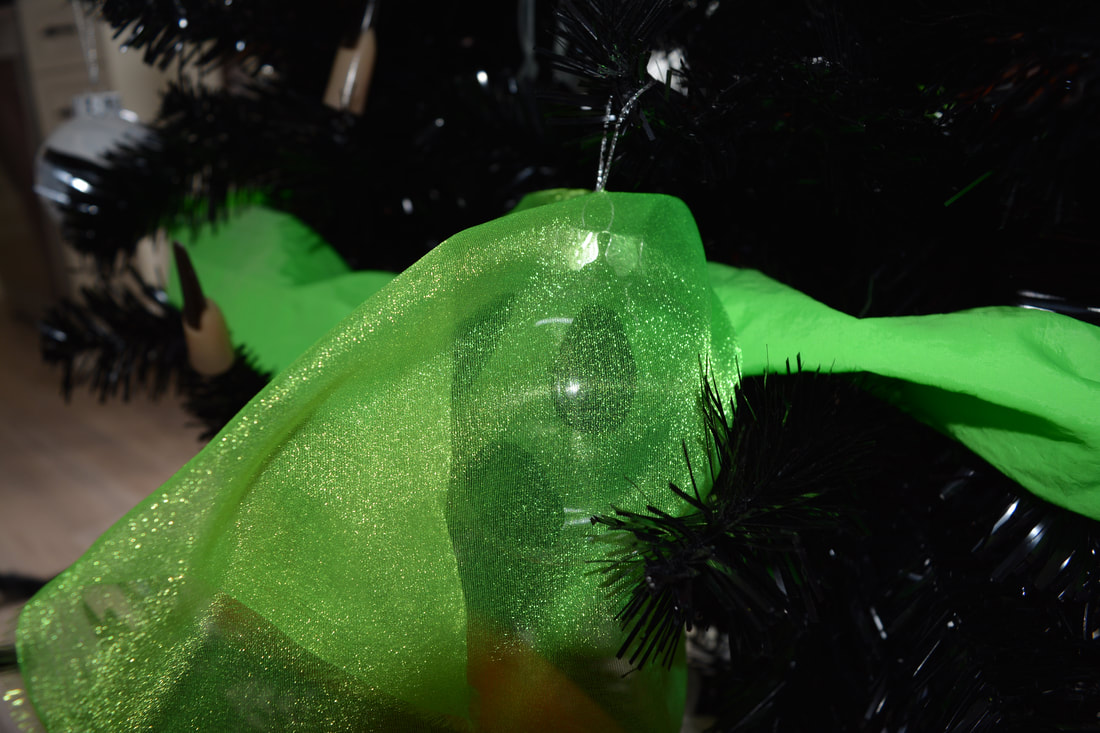
Baubal Ghosts
Materials Used
Clear Baubals - Lyncraft or eBay are the best sources
Paint in Halloween Colours
Paint Brushes
Sheer Material to Cover - to taste
Googly Eyes - for mummy design
Glue Gun
String/Twine/Cotton
Materials Used
Clear Baubals - Lyncraft or eBay are the best sources
Paint in Halloween Colours
Paint Brushes
Sheer Material to Cover - to taste
Googly Eyes - for mummy design
Glue Gun
String/Twine/Cotton
- Choose your design, I made pumpkin, mummy, frankenstein and ghost ones.
- I did try filling the inside with paint and swishing around every now again after tipping the excess out but it really didn't work that well
- Paint in the base colour for your chosen design
- For the mummies I painted them first in black then painted white stripes over it after it dried
- Wait for base coat to dry then paint on the detail
- I also painted the little caps
- Black for pumpkins & frankinsteins and white for ghosts and mummies
- Make tie loops and attach to clips on the top
- If you want to cover some with sheer material cut them into small squares enough to cover the baubal fold it in half then half again and cut small hole in fold point
- Then drape over the top, threading the cotton/string/twine through the hole
- For mummies use glue gun to sick on googly eyes
- Then hang on the tree