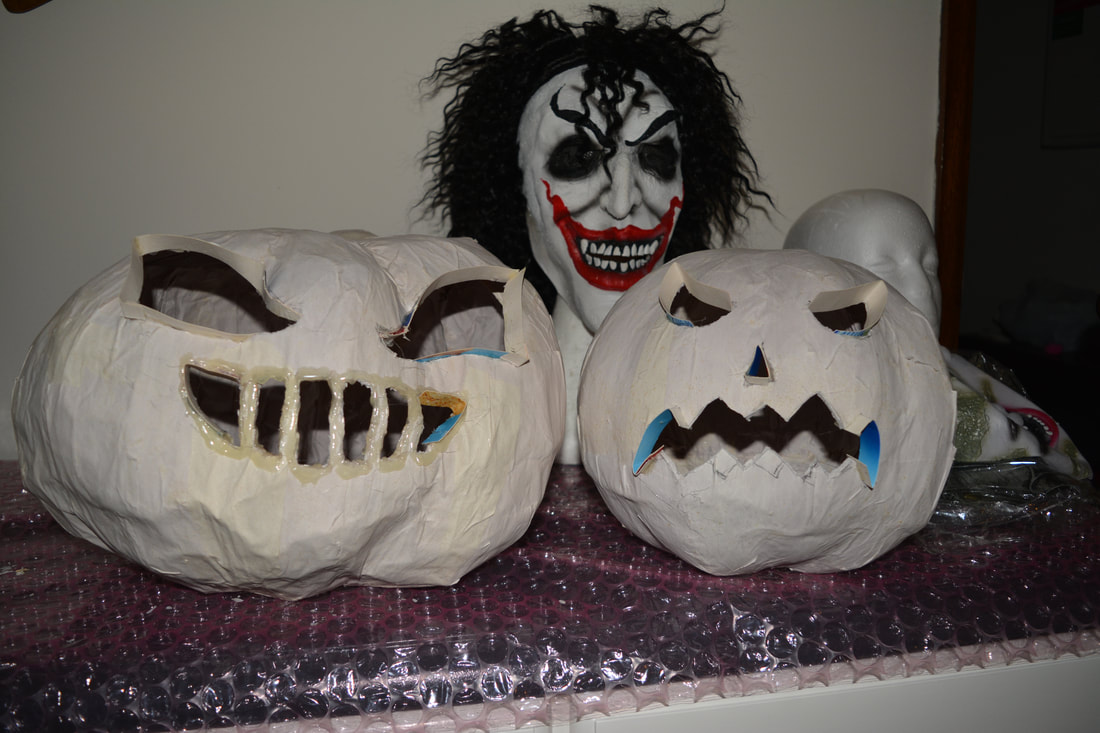
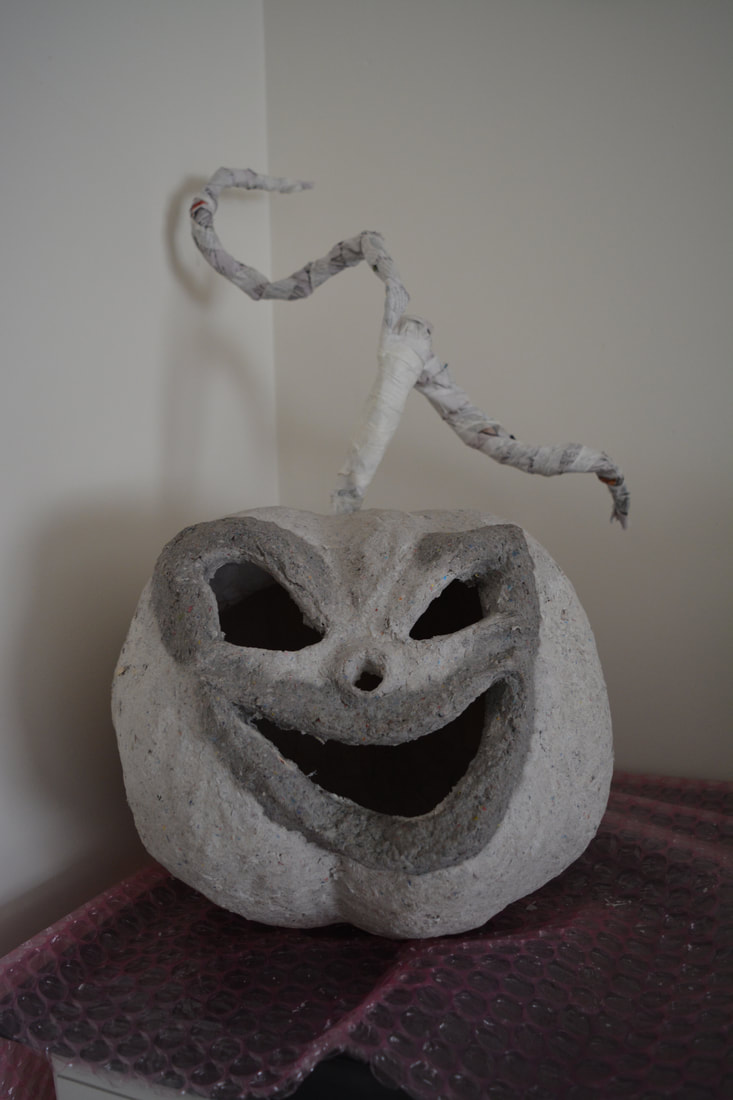
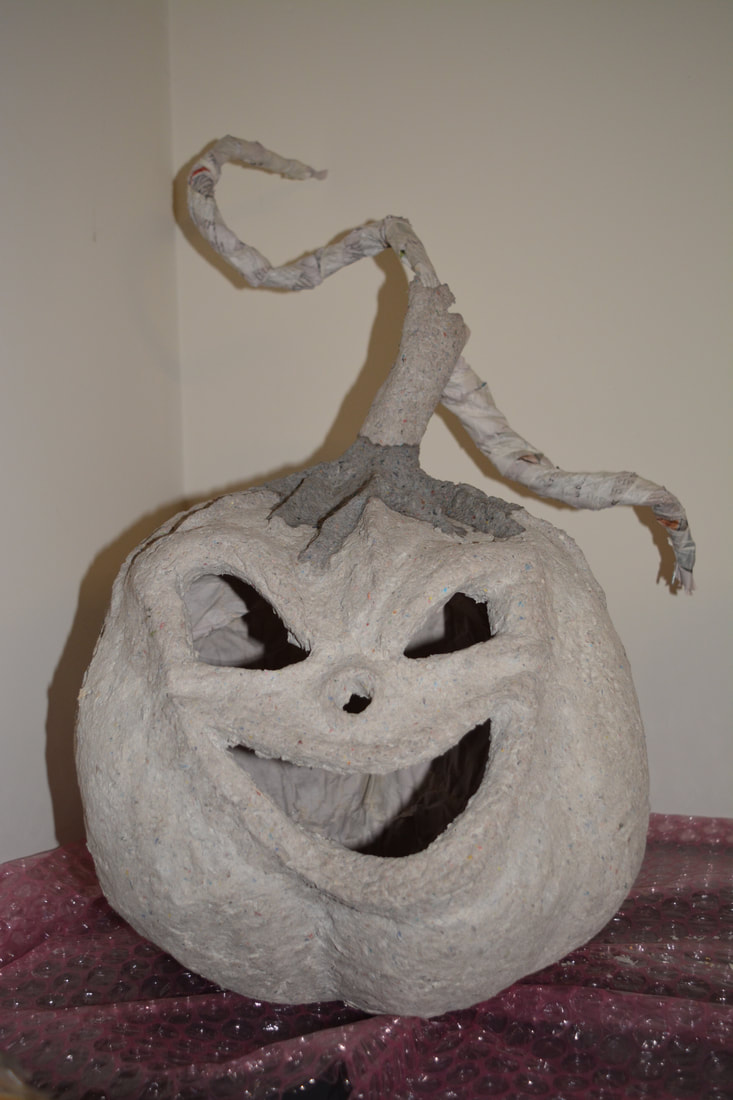
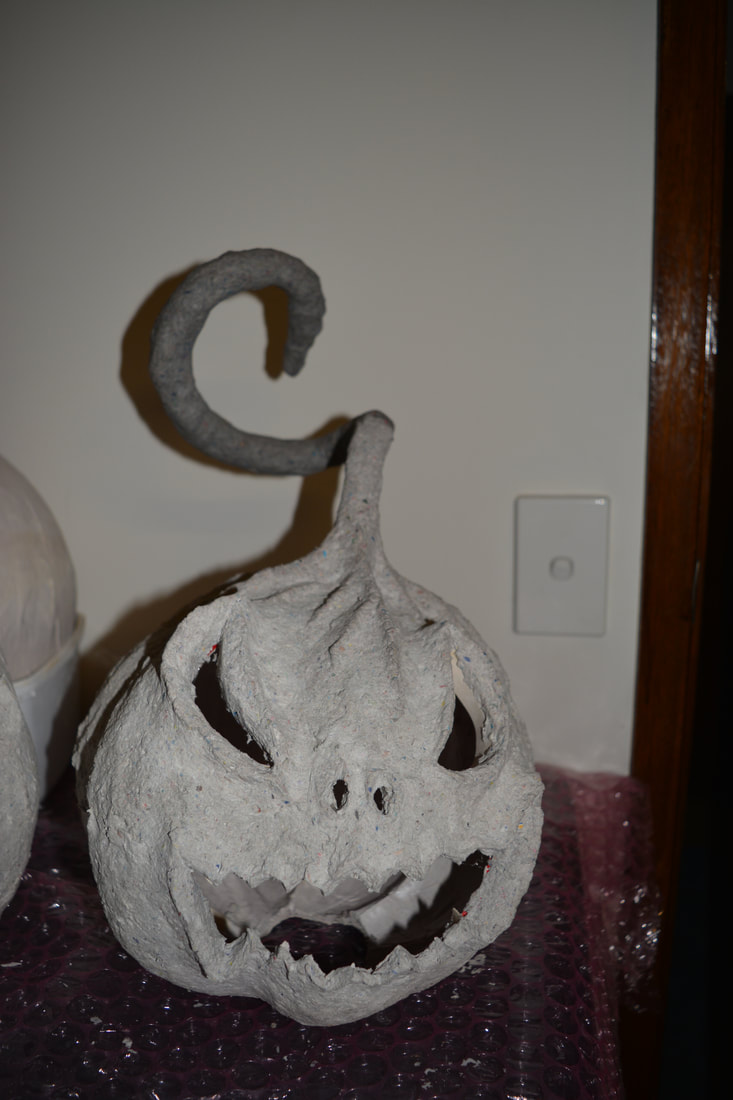
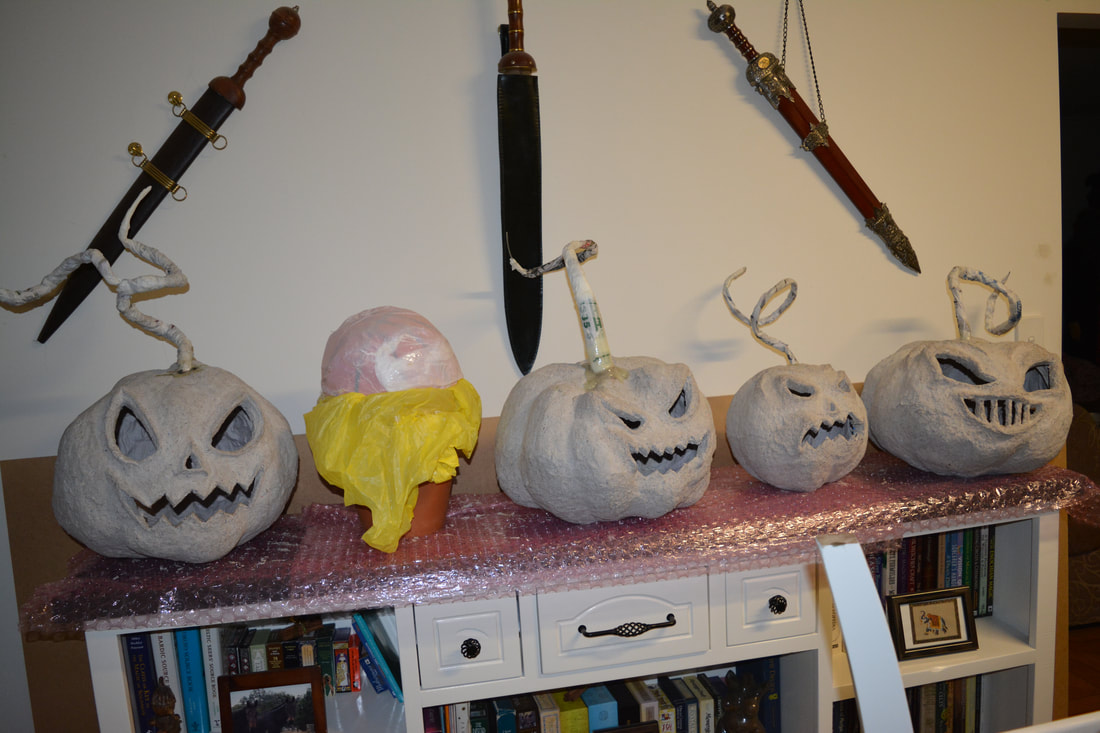
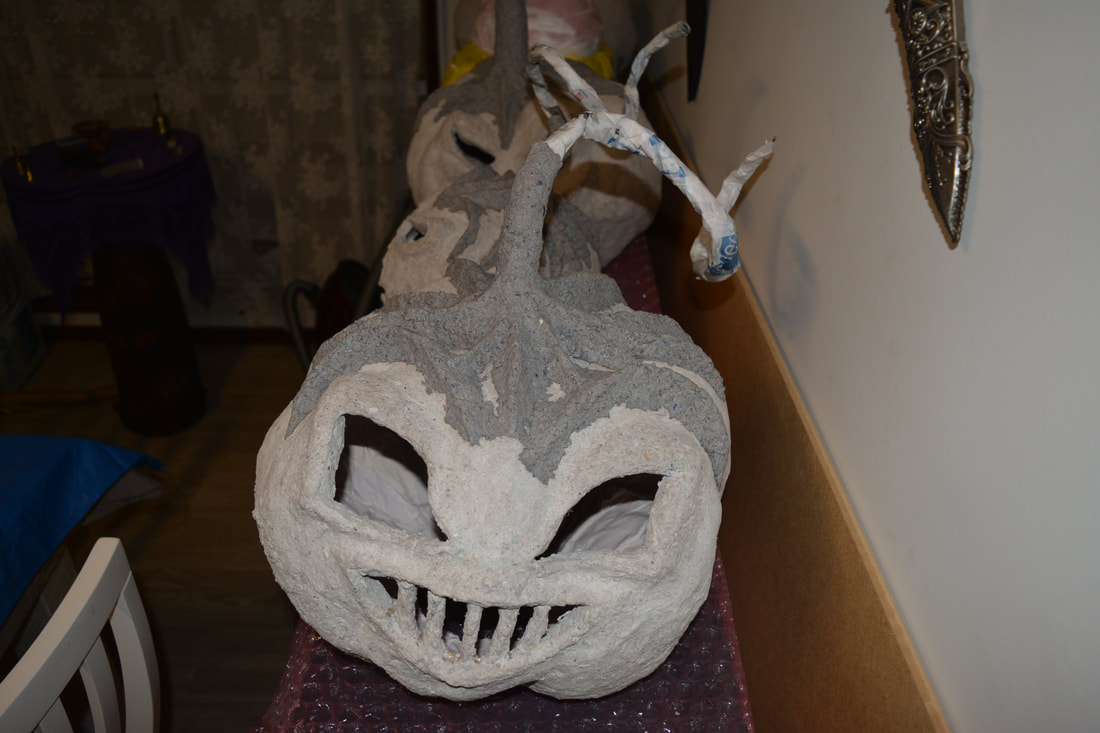
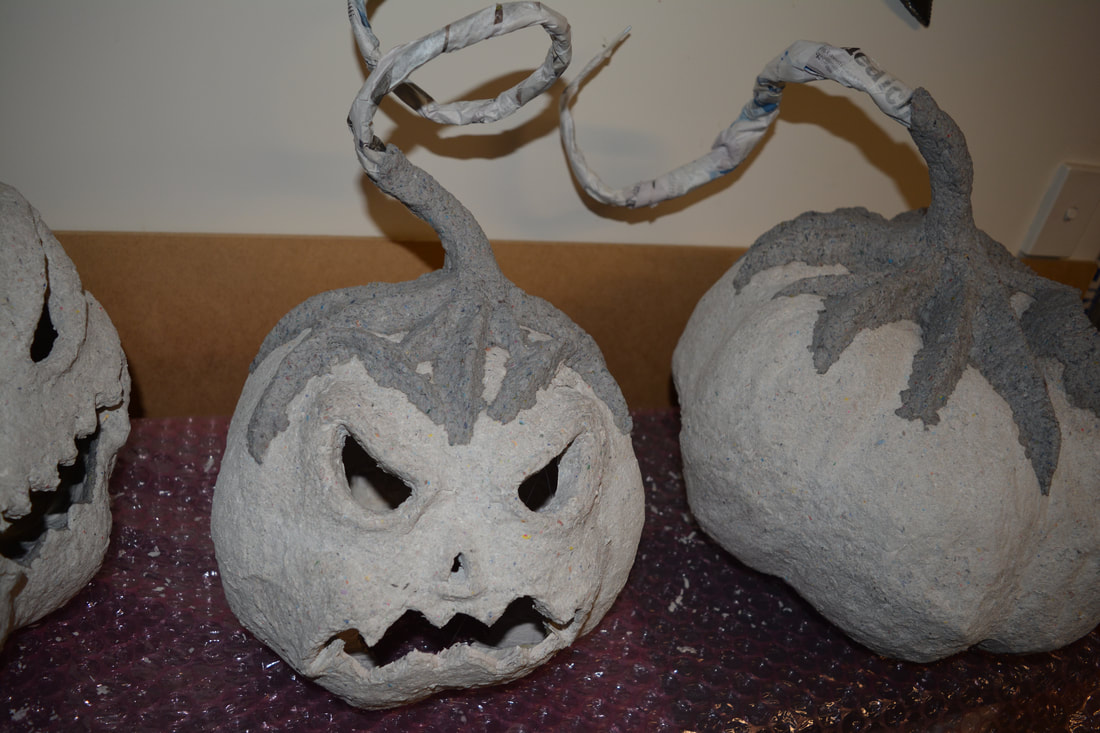
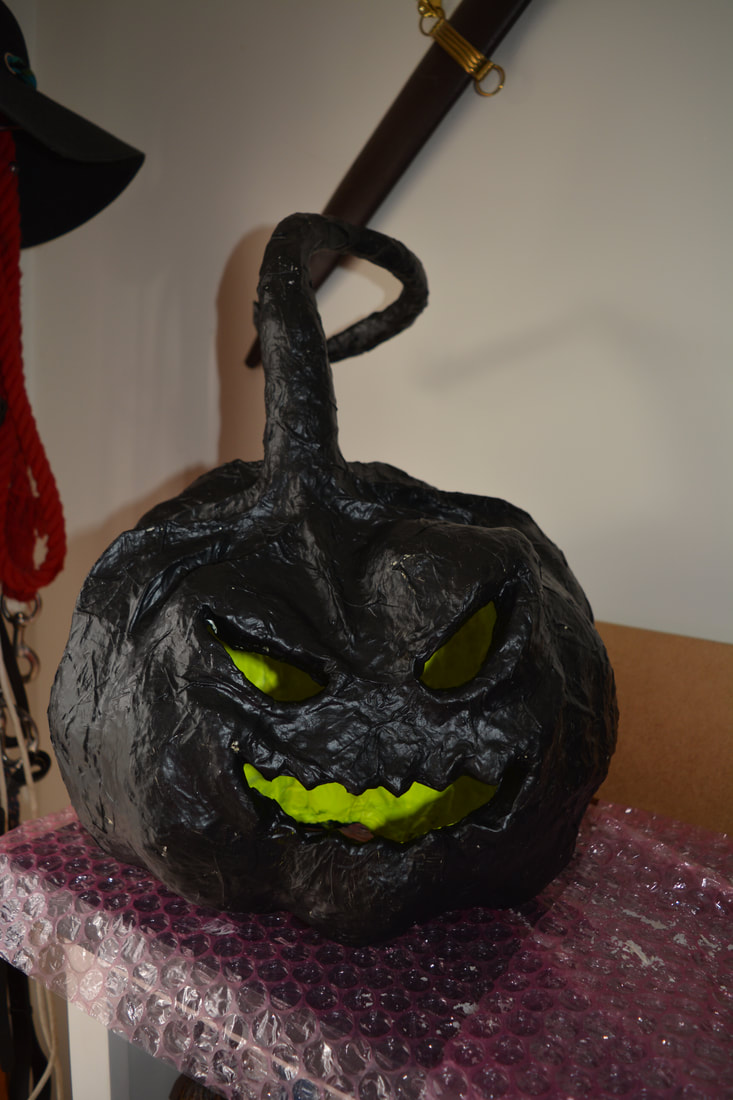
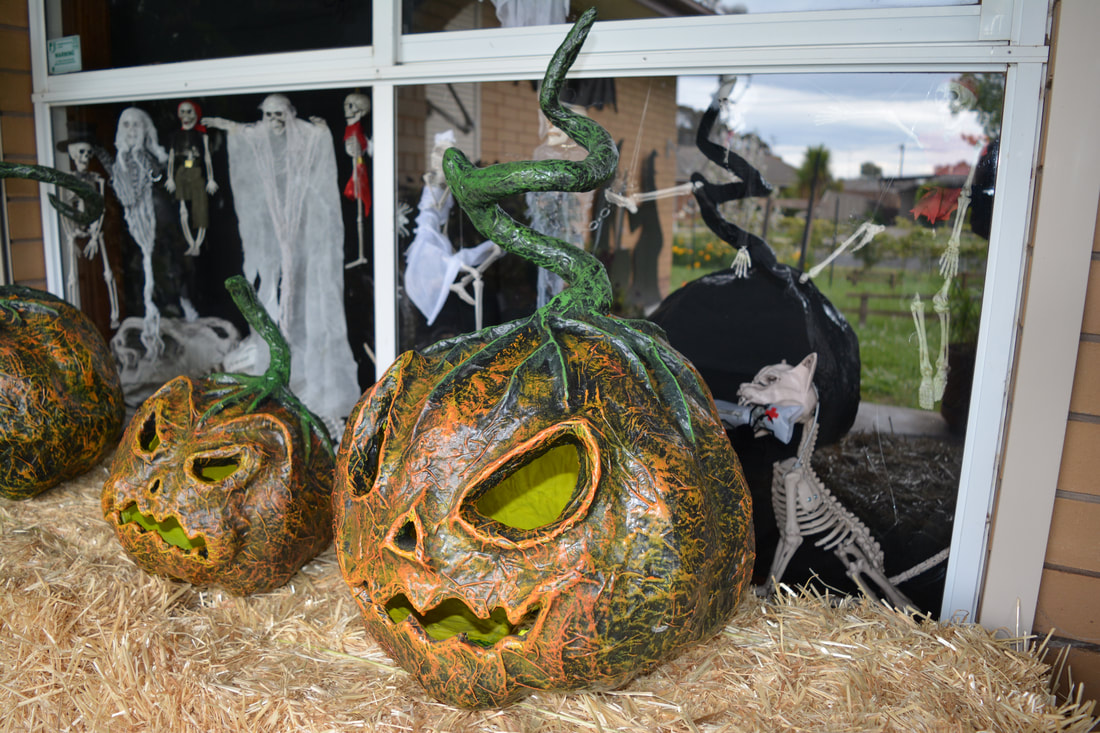
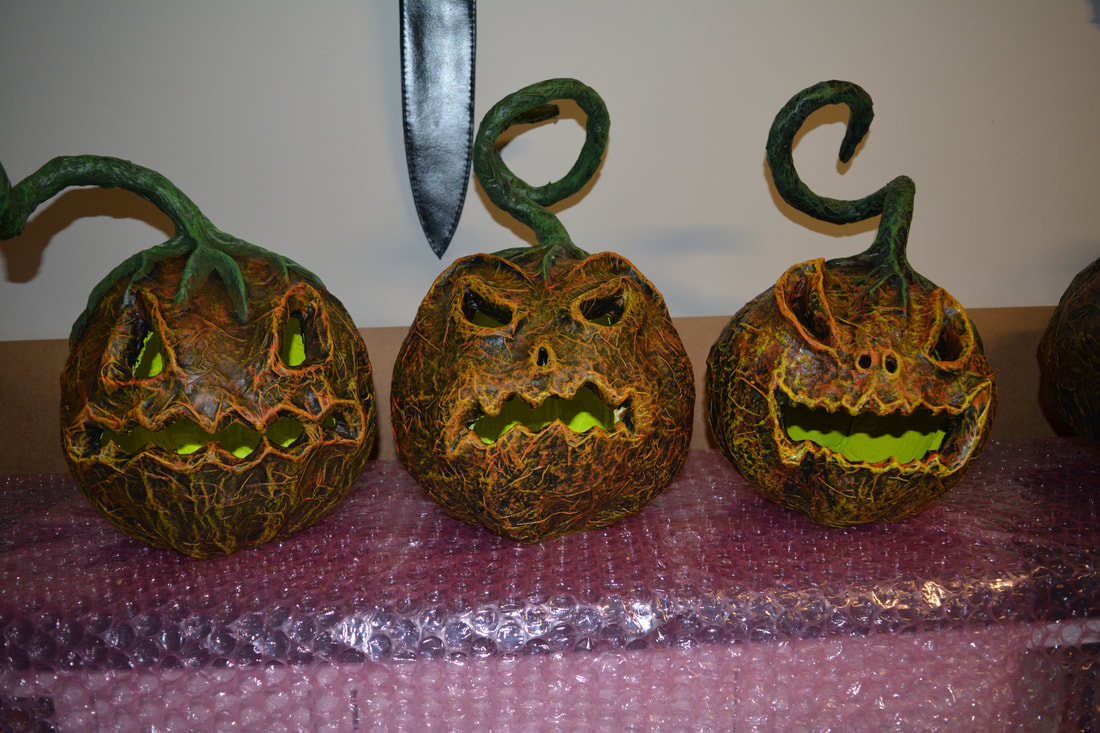
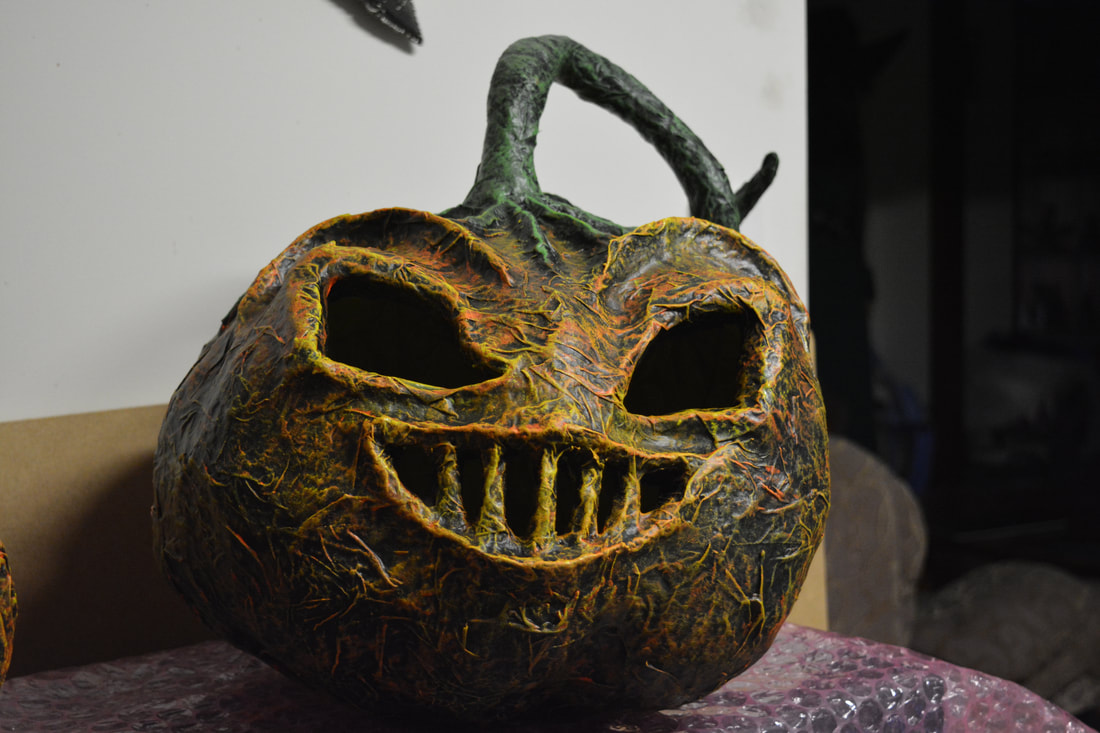
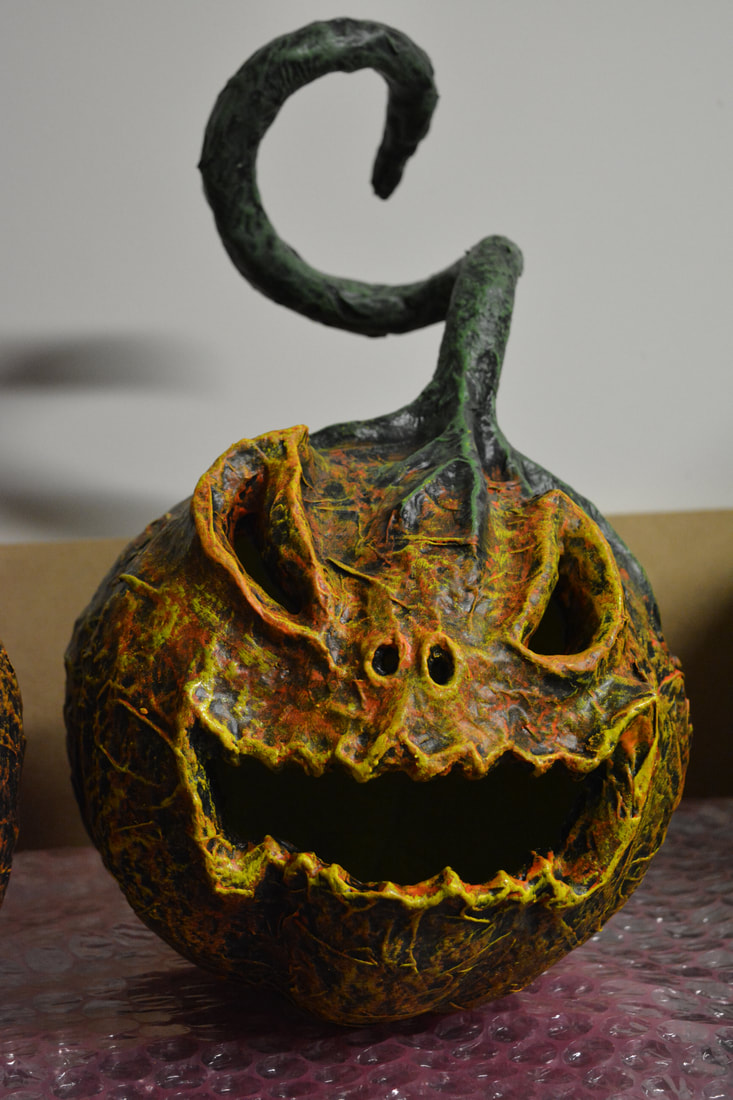
Creepy Paper Mache Pumpkins
(will start these, might not finish them in 2018)
Materials Used:
Plastic Bags/Paper/Bubble Wrap
Balloons
Clothes Line Rope/Twine
Paper (in strips)
Paper Mache Paste (recipe below)
PVA Glue
Corn Starch/Starch (make your own recipe below)
Paint Brushes
Paint (white, orange, red, black, white, brown, green, yellow)
Marine Grade Varnish
Fencing wire (for scolding & stalk)
Craft/Stanley Knife
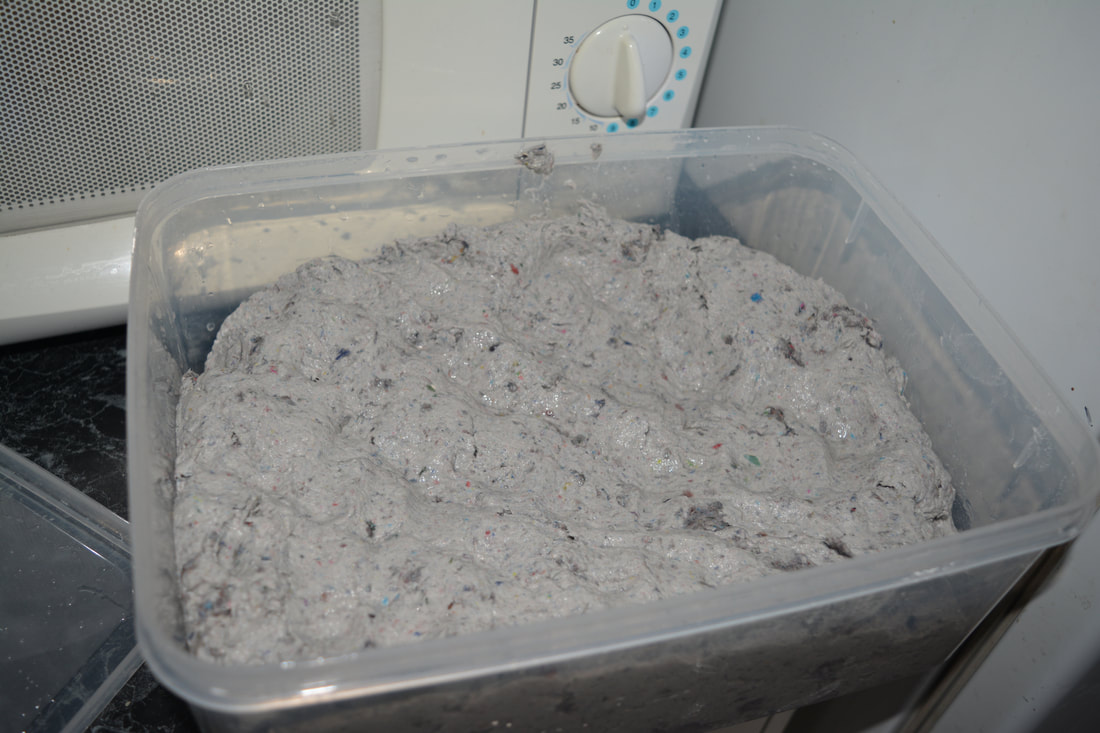
Monster Mud/Paper Mache Clay (recipe below)
Plastic Containers
Buckets or Containers (to sit the pumpkins on while they dry)
Plastic Bags/Paper/Bubble Wrap
Balloons
Clothes Line Rope/Twine
Paper (in strips)
Paper Mache Paste (recipe below)
PVA Glue
Corn Starch/Starch (make your own recipe below)
Paint Brushes
Paint (white, orange, red, black, white, brown, green, yellow)
Marine Grade Varnish
Fencing wire (for scolding & stalk)
Craft/Stanley Knife
Monster Mud/Paper Mache Clay (recipe below)
Plastic Containers
Buckets or Containers (to sit the pumpkins on while they dry)
Method
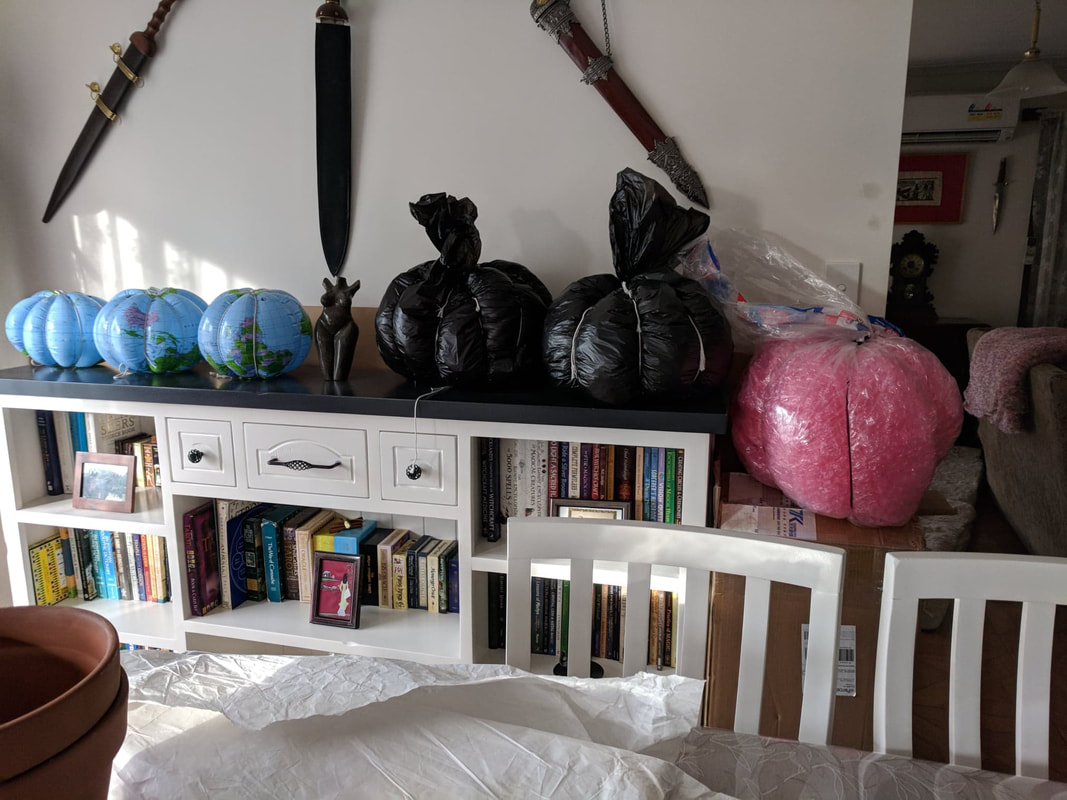
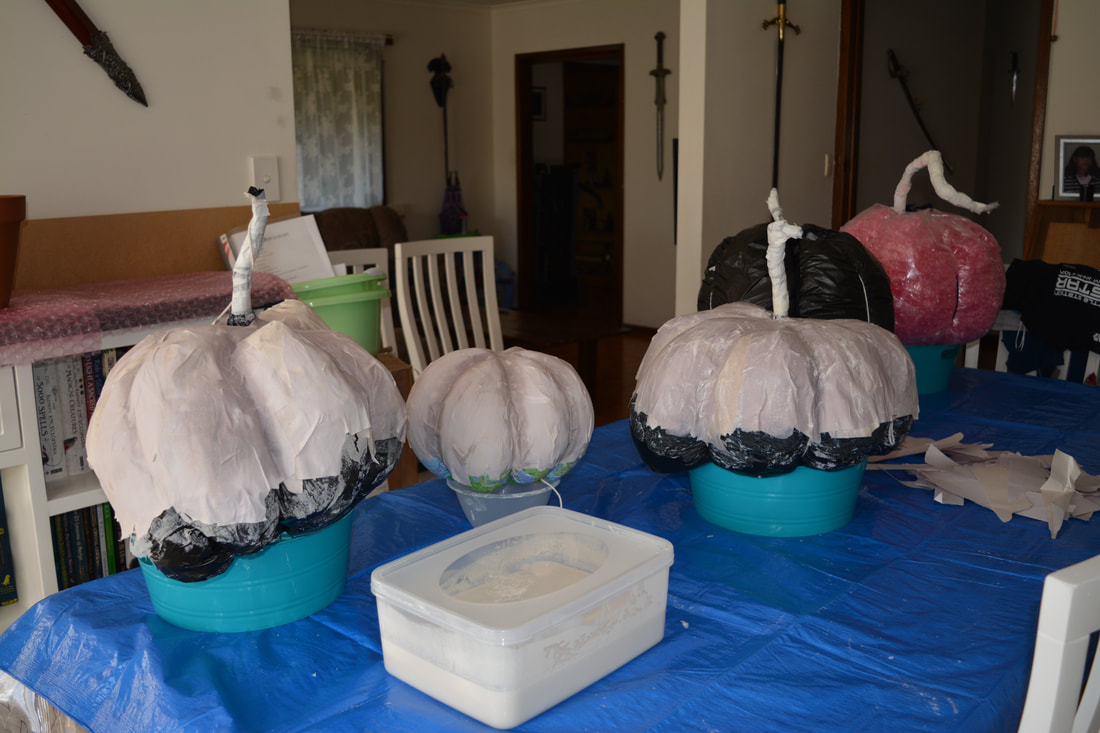
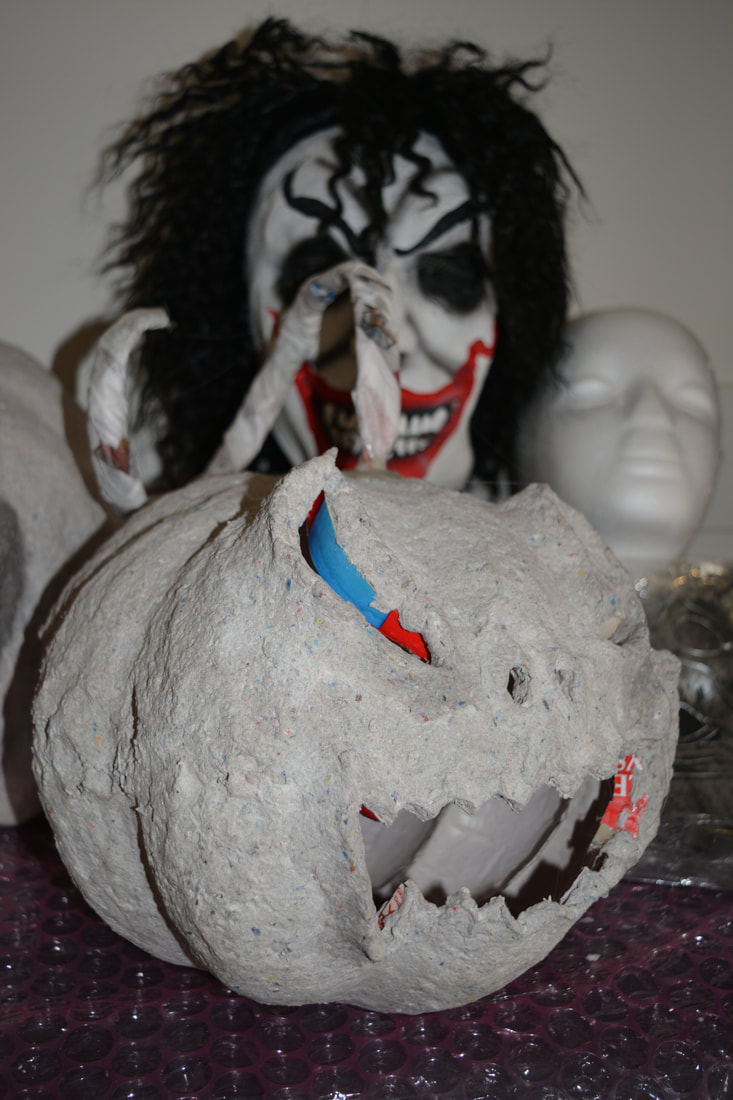
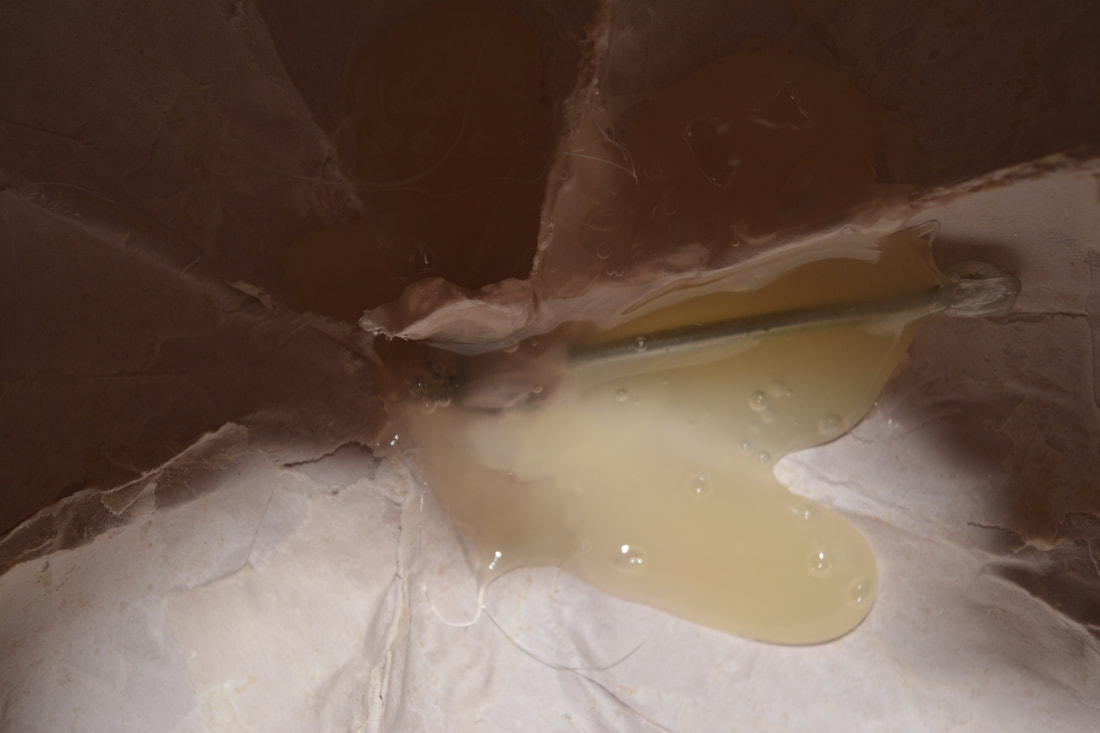
- We used a number of methods to make the moulds for these including blow up beach balls & plastic bags stuffed with plastic bags & bubble wrap.
- After blowing up the beach balls & stuffing the plastic bags we used string/rope to tie them into the pumpkin shapes.
- Some of them have the excess bag taped together that looks like a stalk, although we didn't use these as the stalks you could easily if you wanted to.
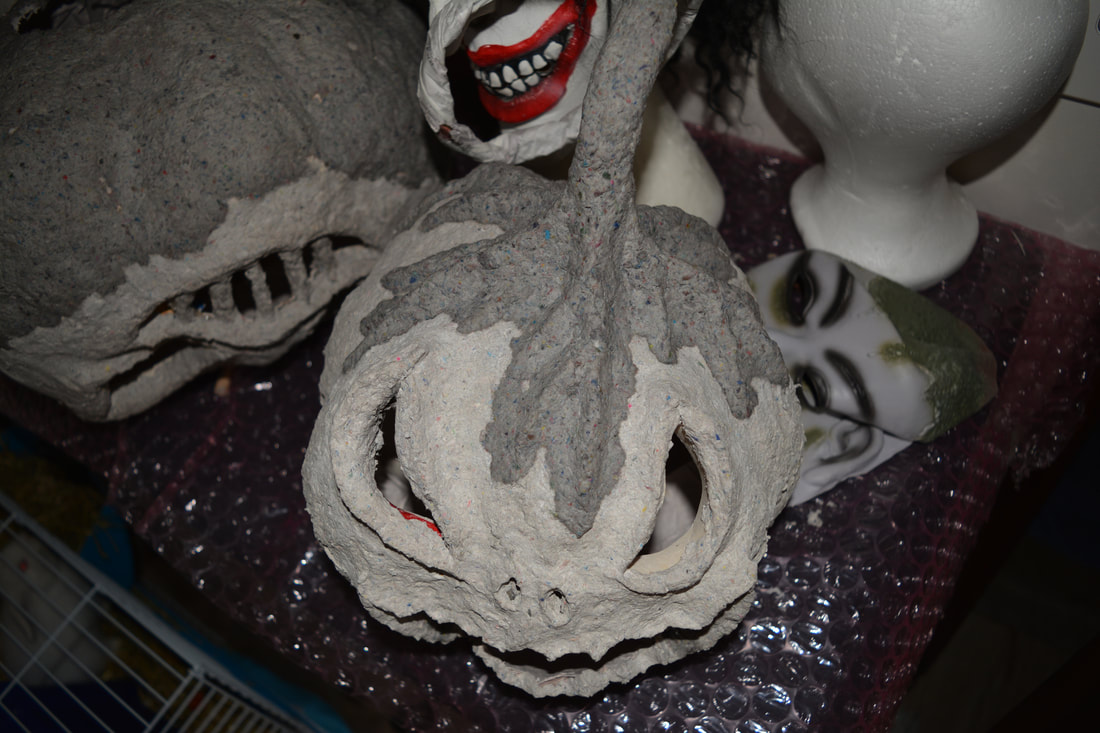
- We made them with various degrees of stuffing to make them various shapes.
- The beach balls turned out nearly round, if you want to use these make sure you know which end is the valve (we didn't & we had to cut them to get them out)
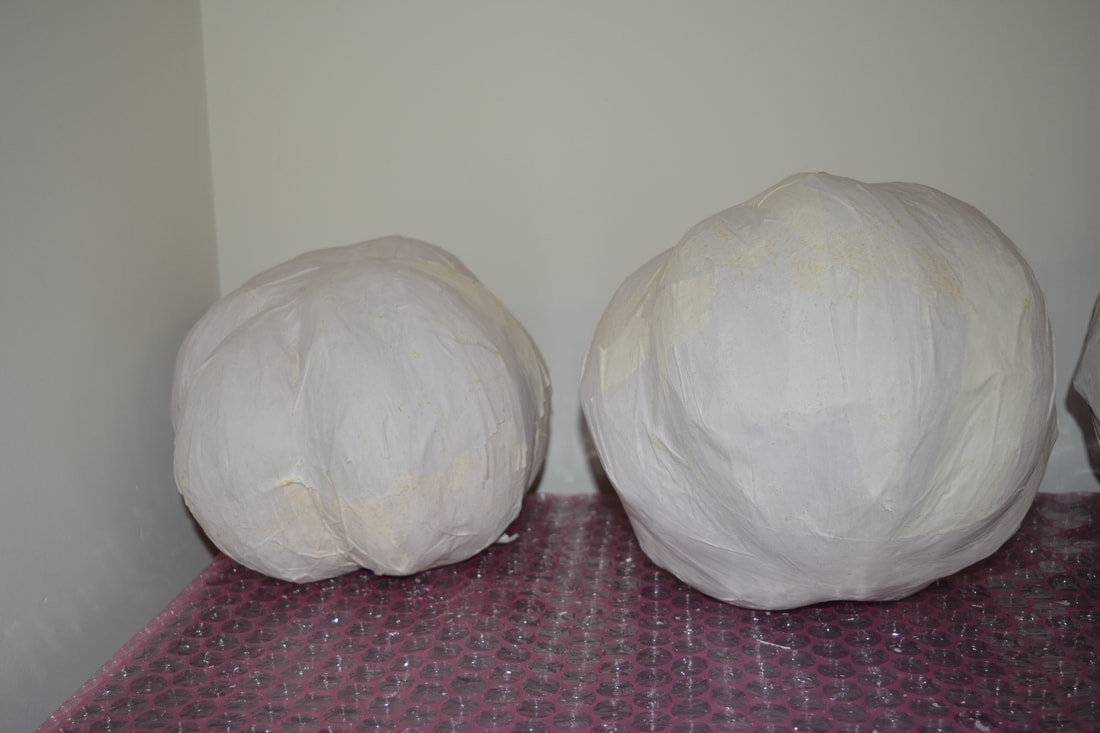
- Once the they were stuffed, taped & tied we put 6 layers of paper strips on them with papermache paste.
- We did one end at a time making sure they where well dry (not completely) between ends.
- On some of them they did flare out a bit but moistening them with the paste when starting the other side helped to reshape them.
- On some of them we put horizontal strips around the middle before we left them to dry, which helped reduce the flaring.
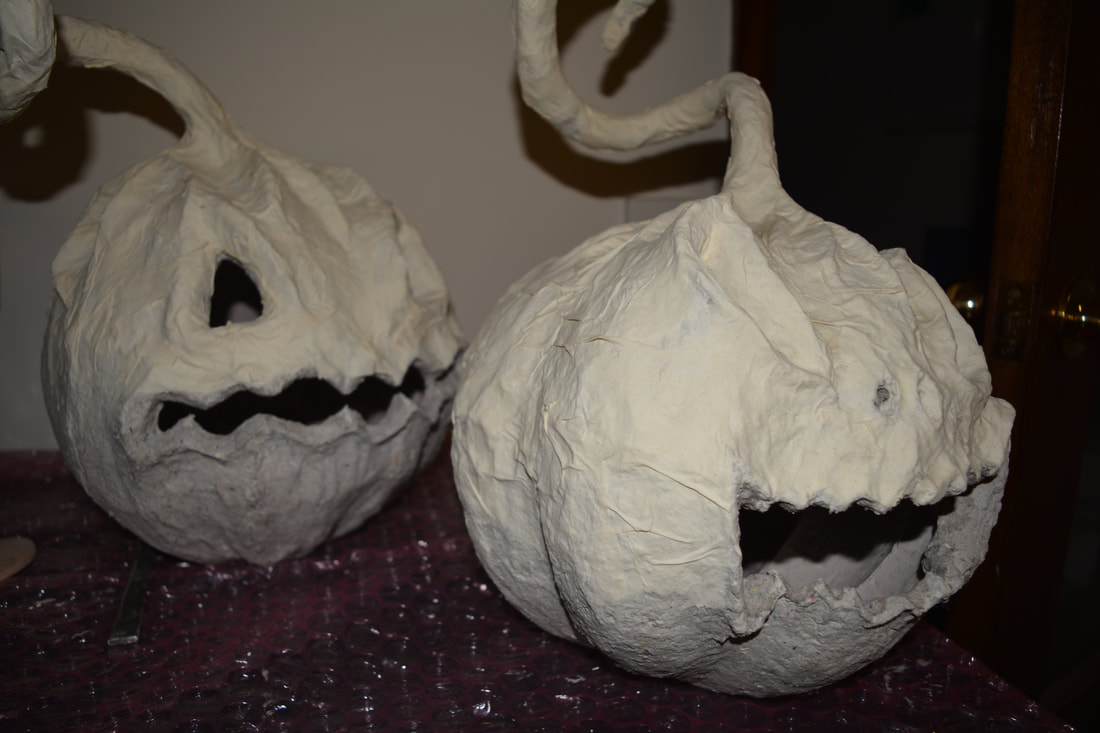
- When both ends had their 6 layers of paper strips we left them for a good week to dry completely and harden.
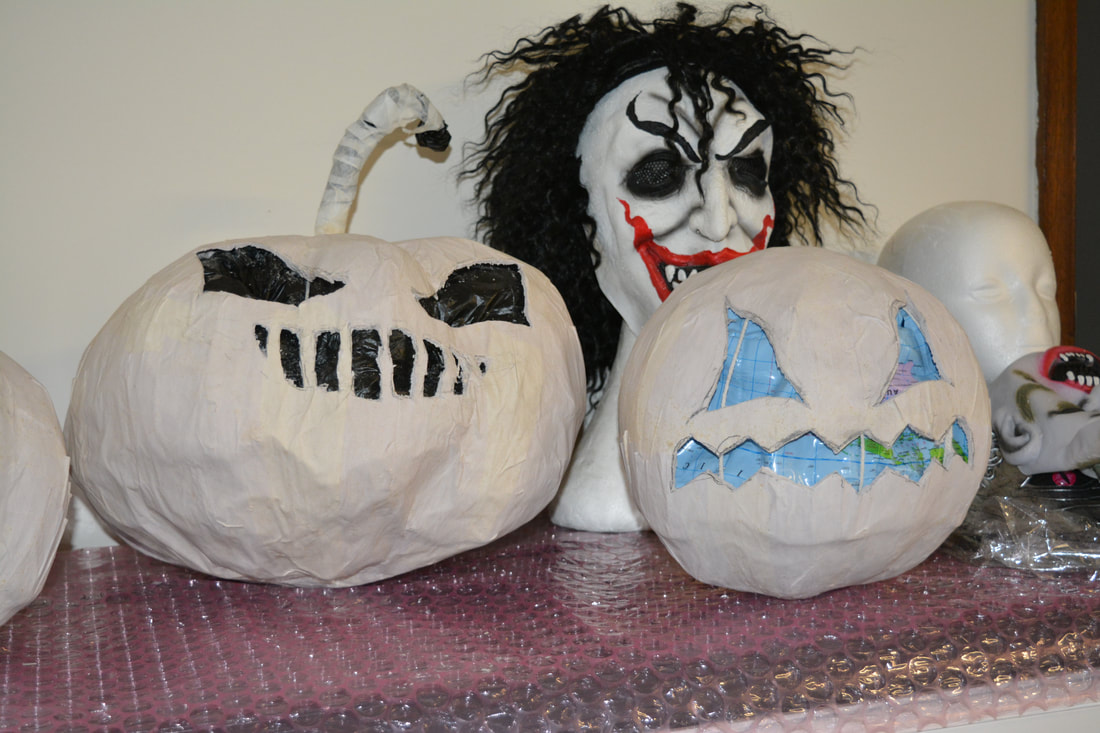
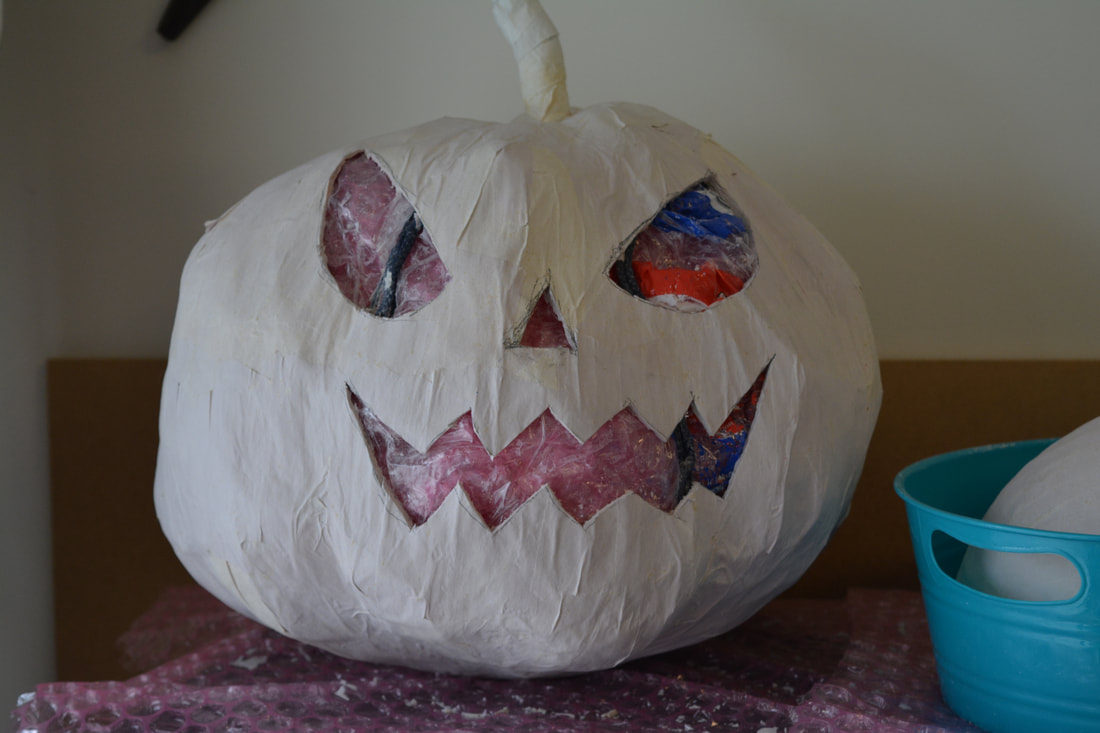
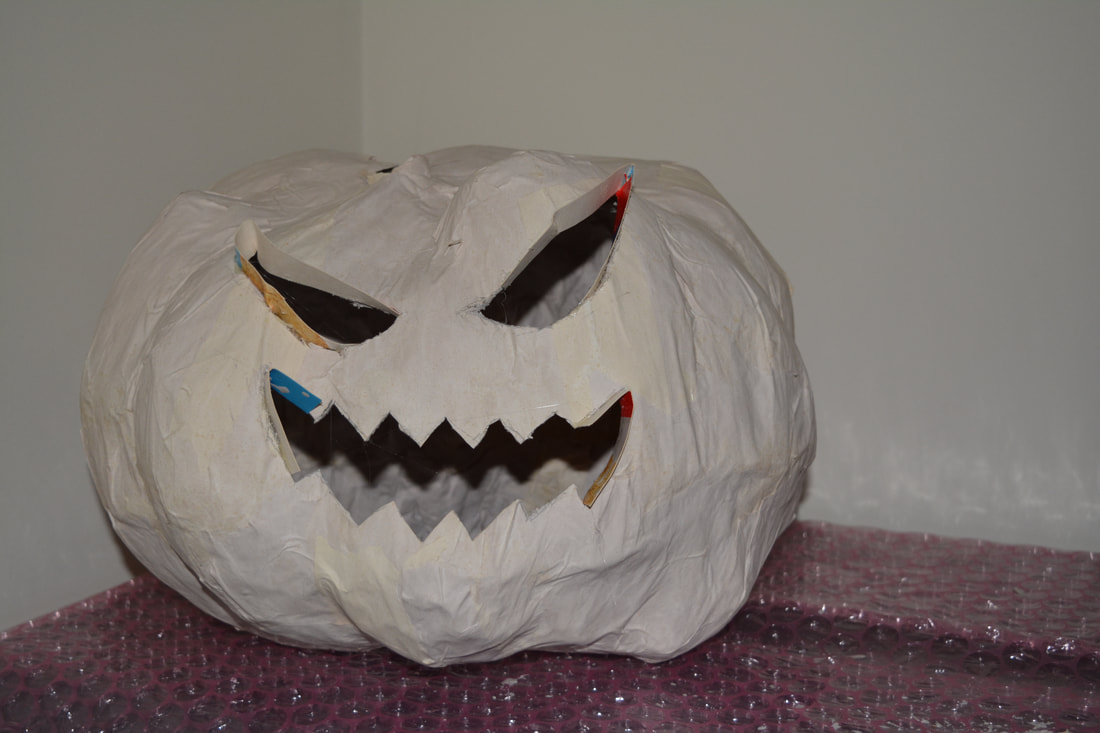
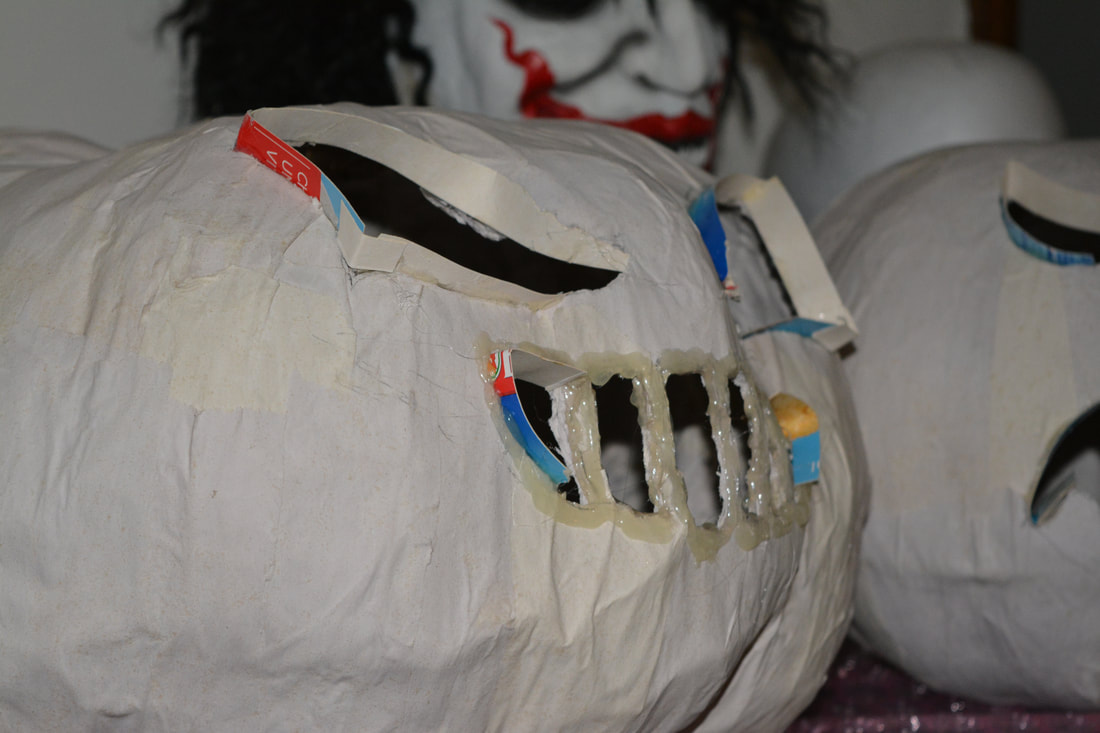
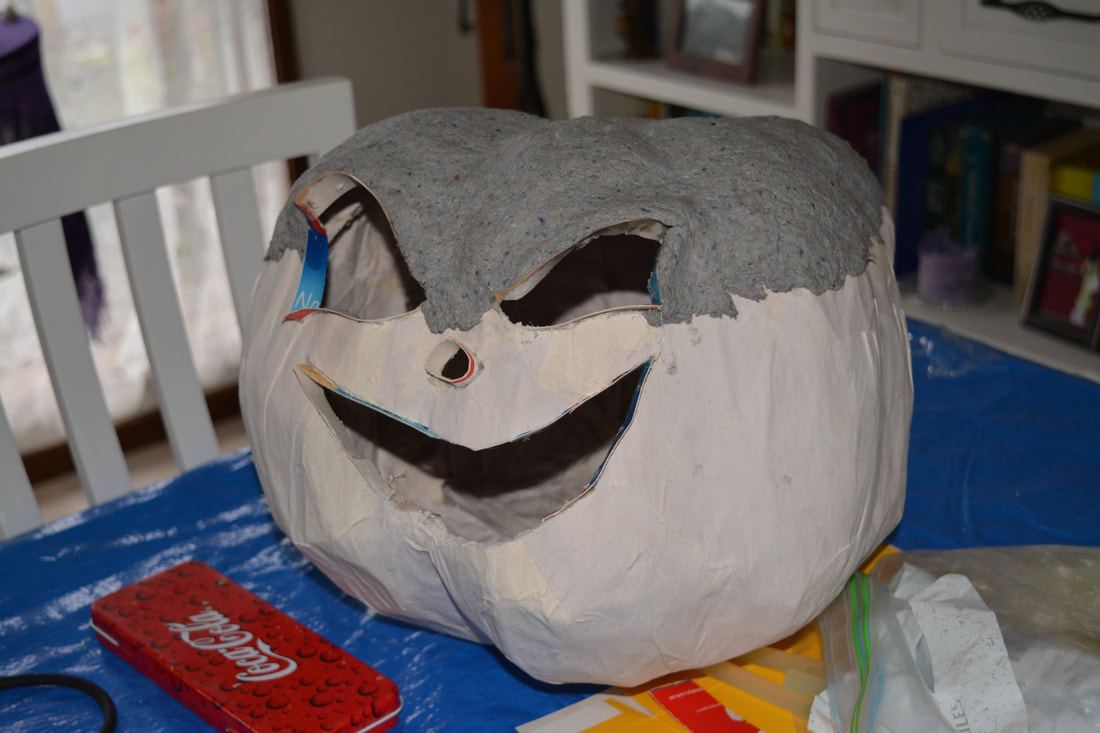
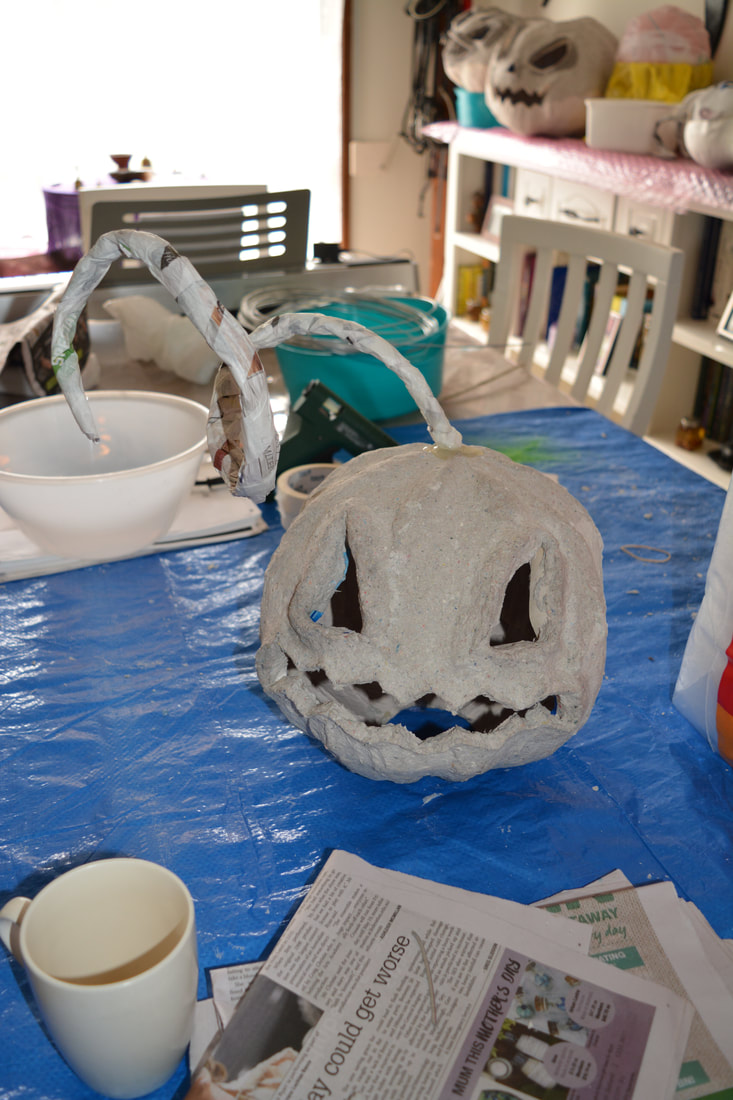
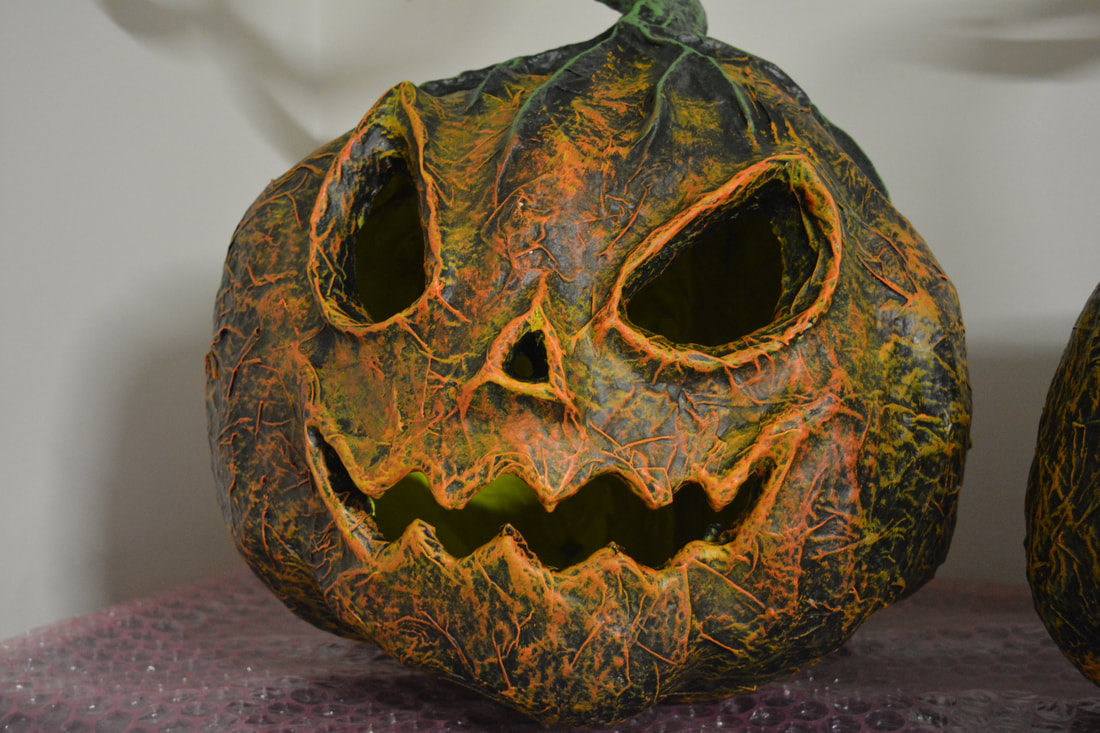
- Once hard & dry we drew & cut out faces, the bottom hole & top holes for the stalks.
- It is a good idea to do this while the stuffing is still in them even when they are completely dry, so the have some structural stability to them when applying the layer of paper clay.
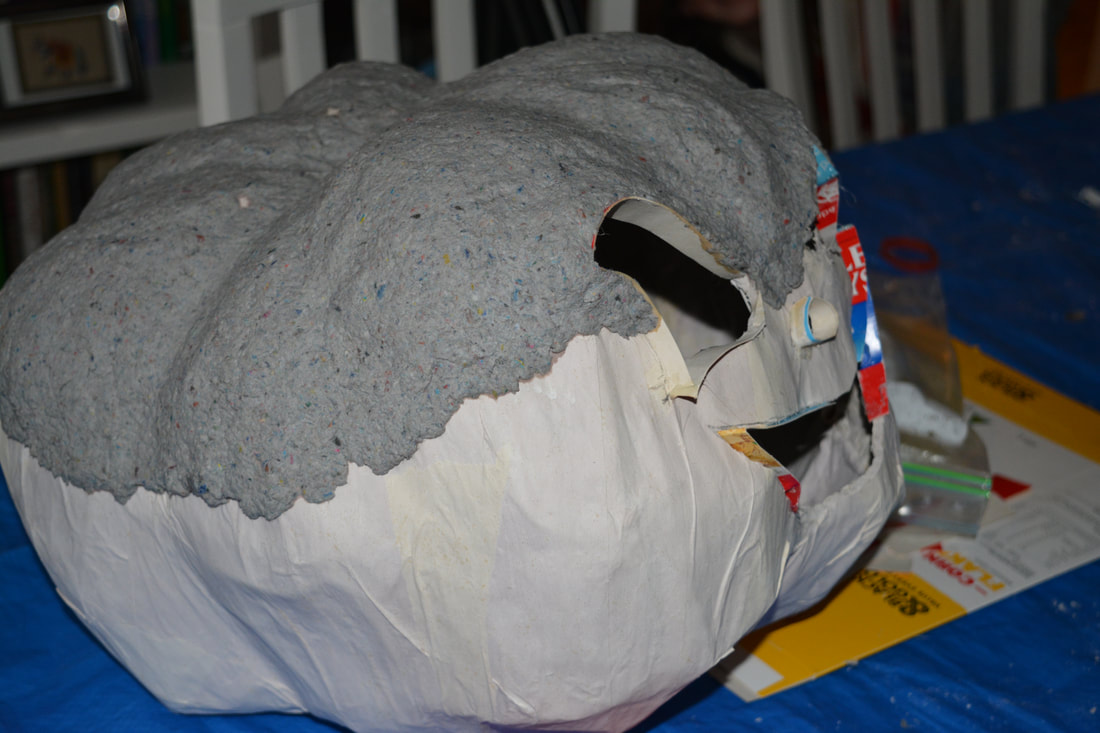
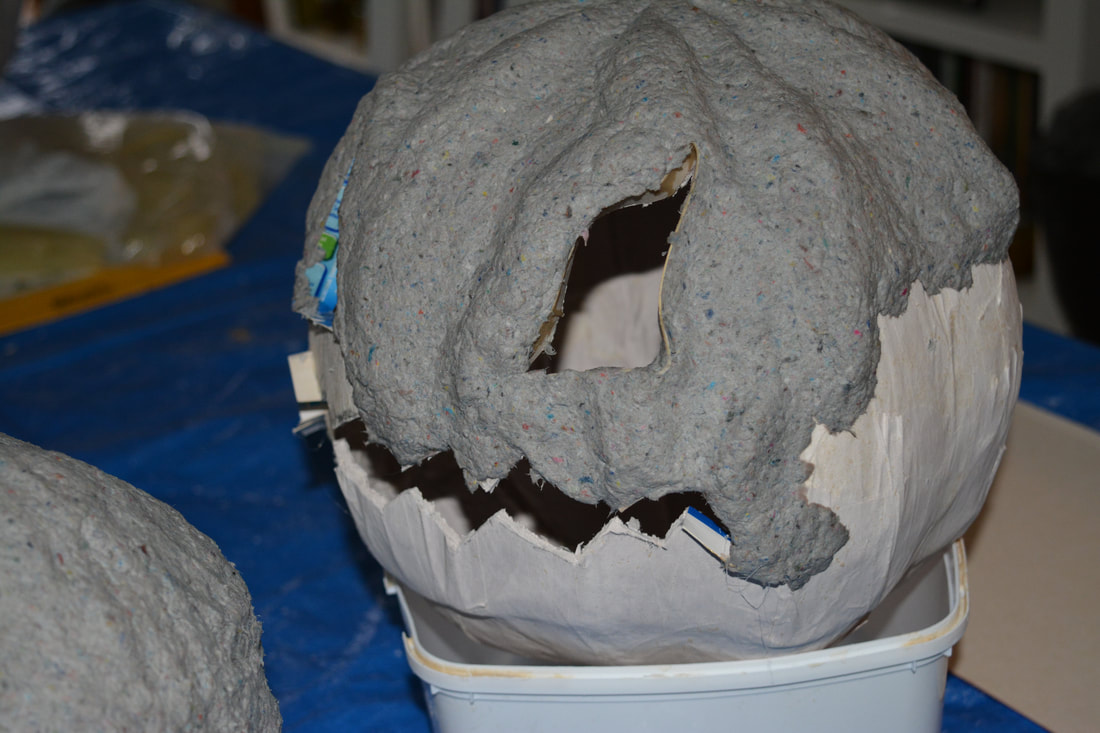
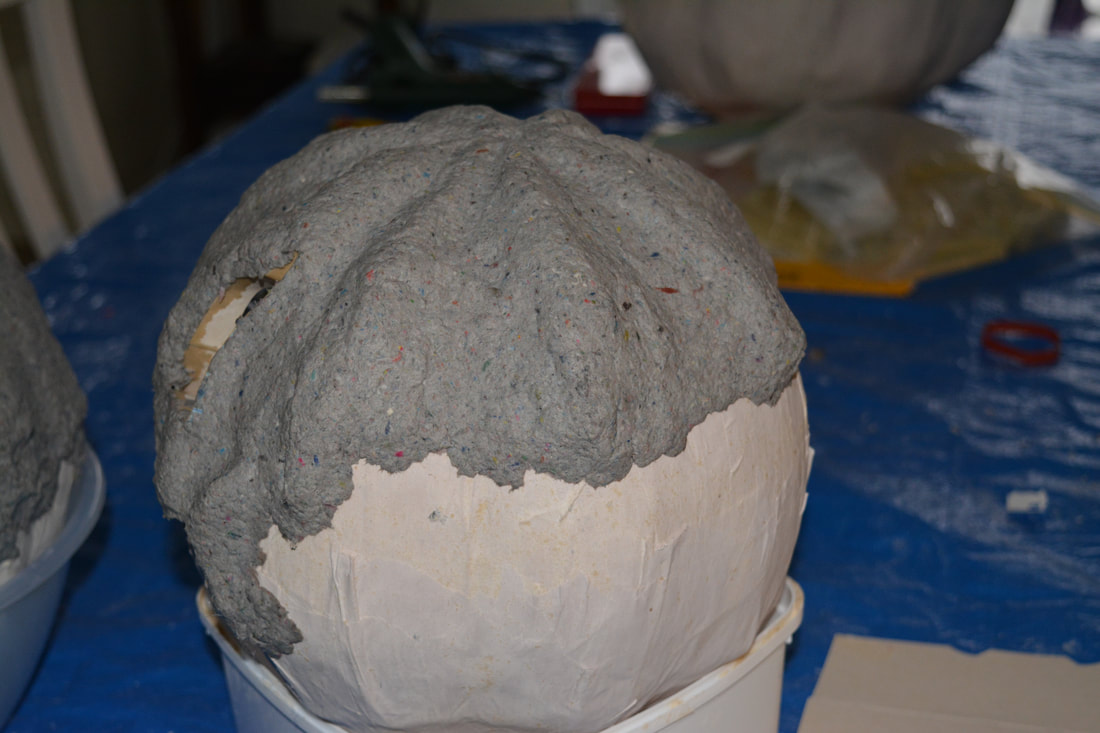
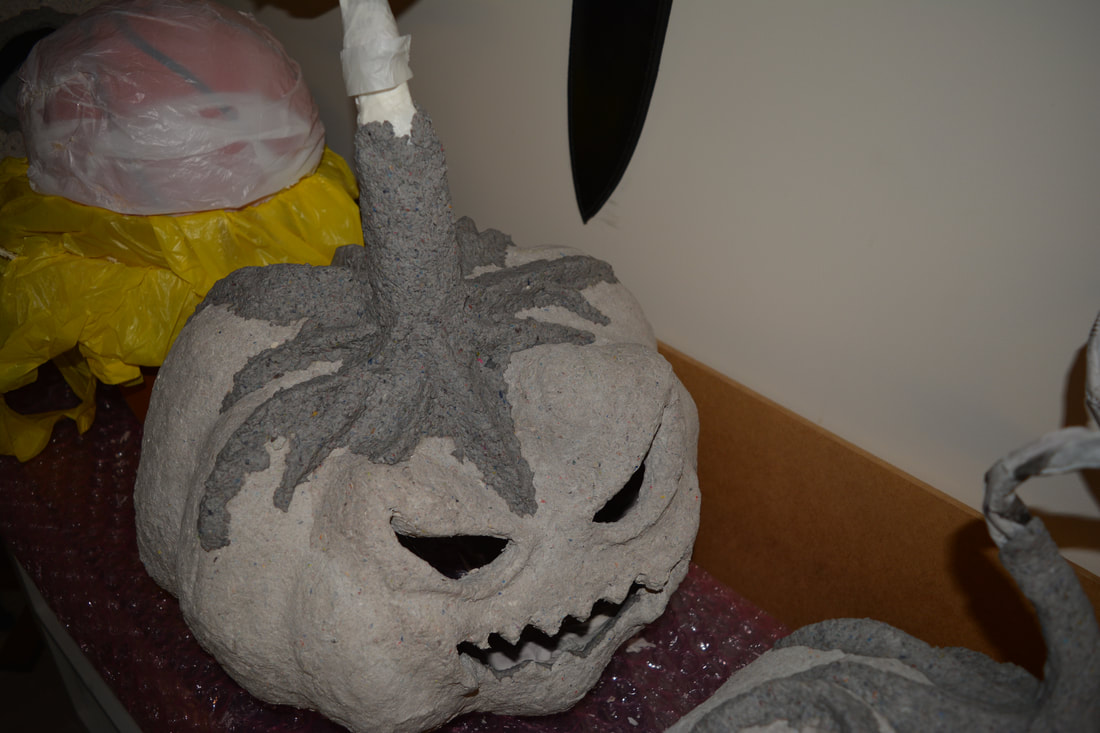
- When they were hard we covered them completely with papermache clay in stages.
- We were lucky with these they didn't collapse, but it would be better to do the top & bottom before the face.
- This is just in case the paper clay softens the paper too much & they collapse.
- We left them for another week to dry properly & harden.
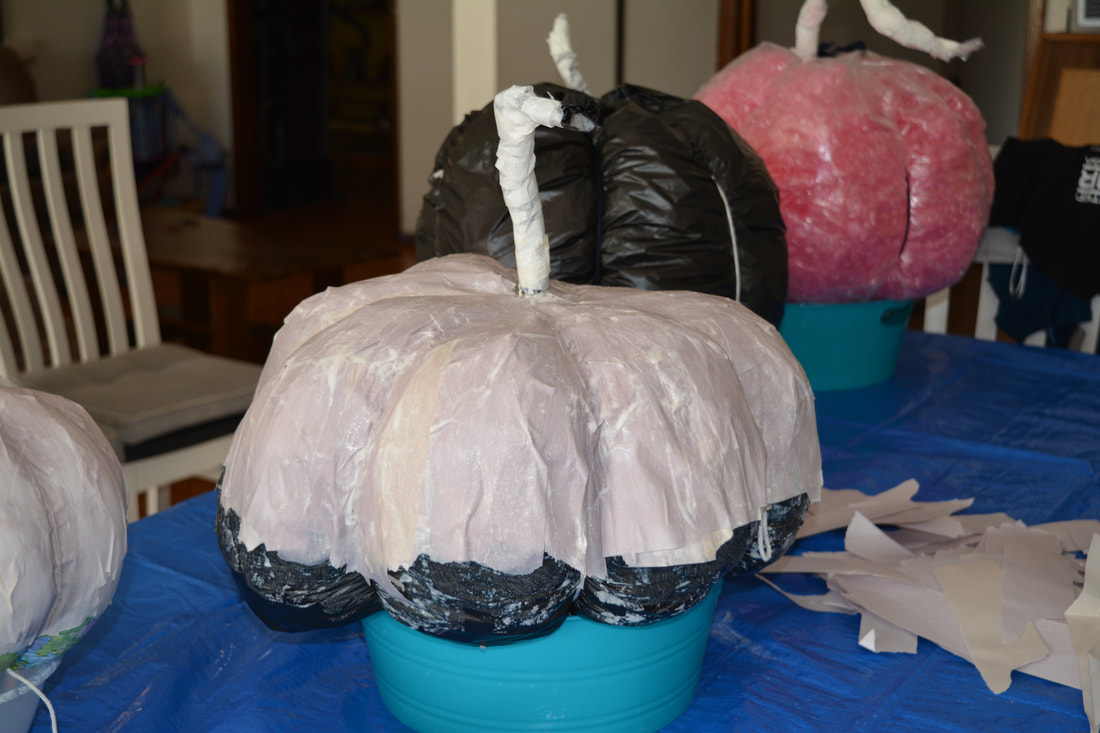
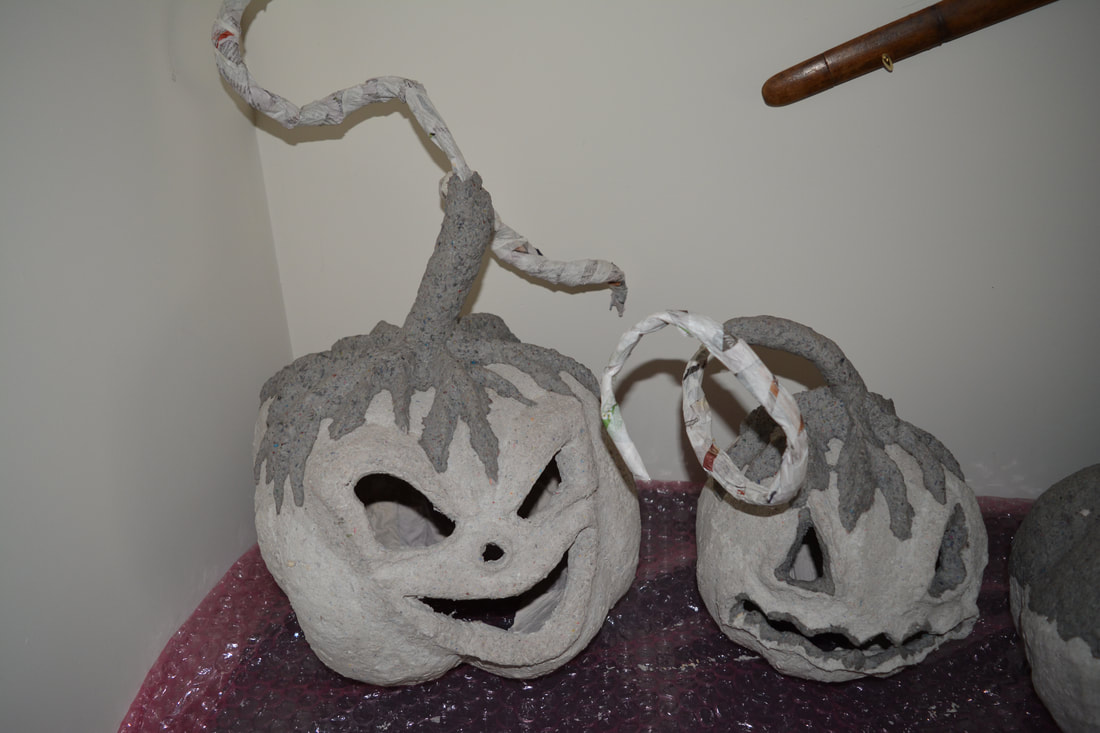
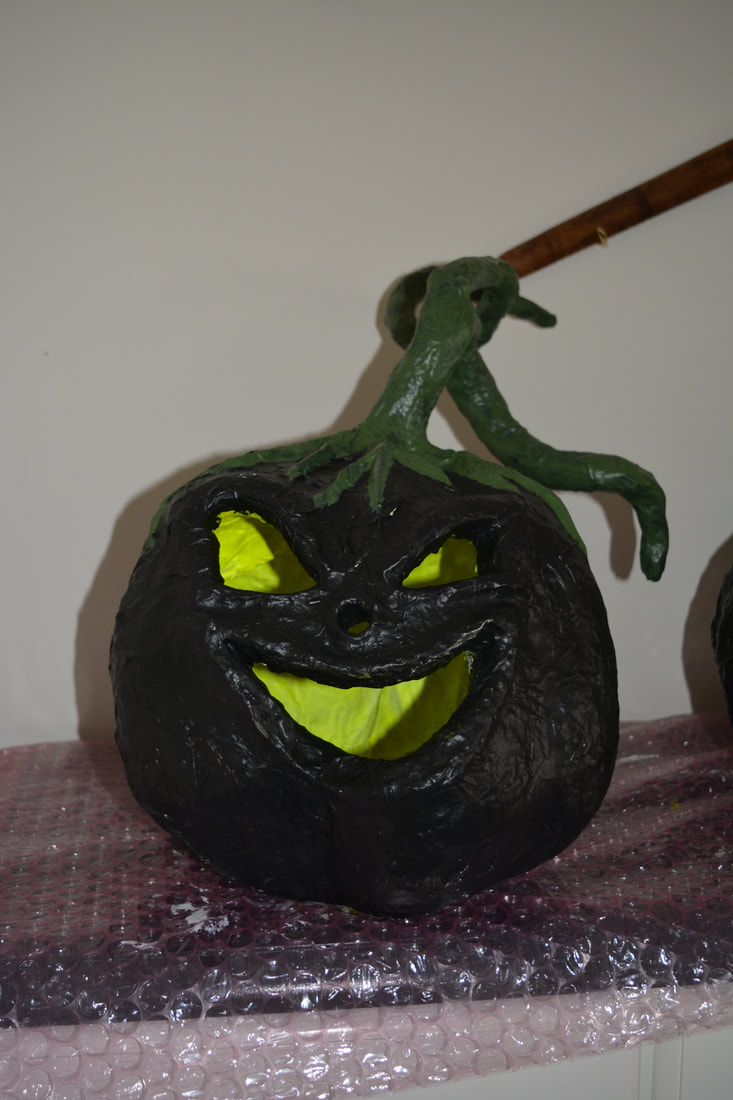
- After this we started on the stalks.
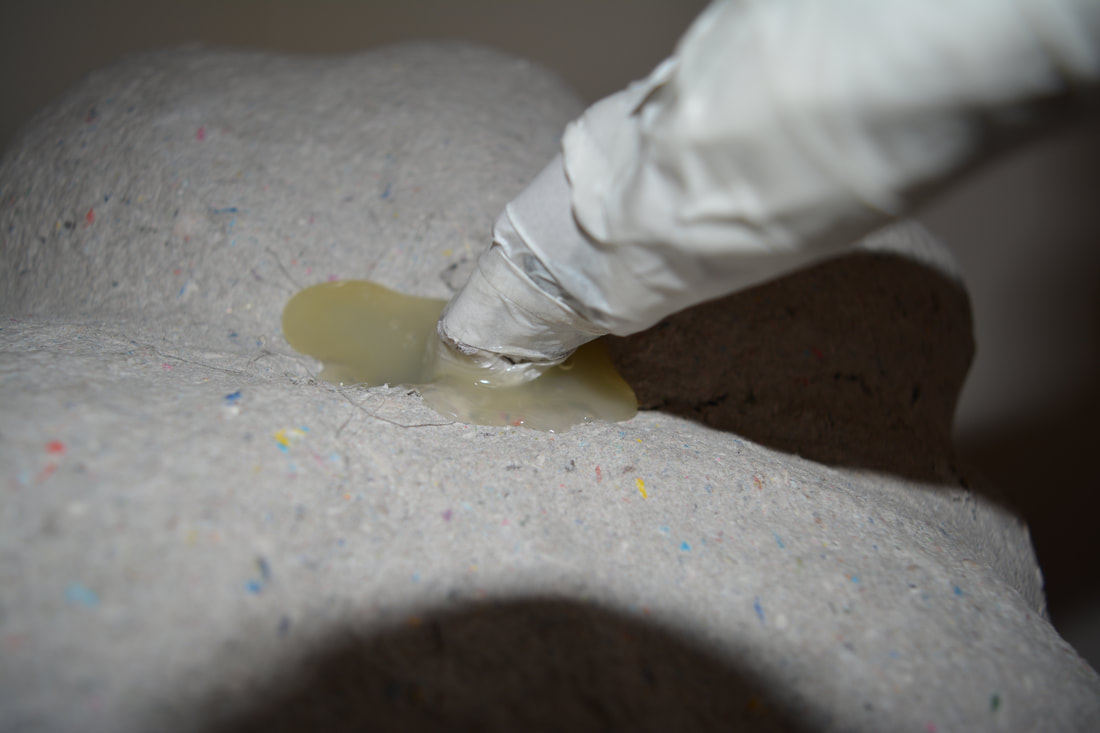
- We make the stalks our of fencing wire, newspaper & masking tape & then hot glued them in place.
- This took a lot of glue but was worth it to keep them stable.
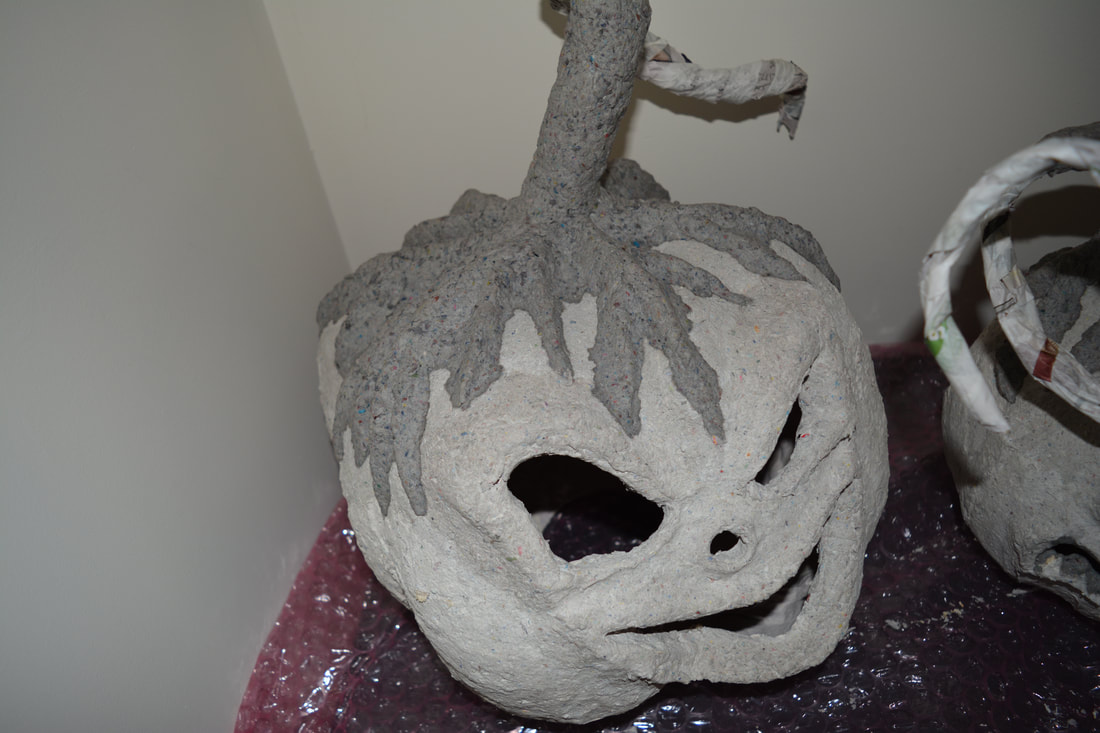
- The they where covered in papermache clay & blended into the top of the pumpkins after the stalks were, bent & shaped onto the pumpkins.
- These were also left for a good week to dry properly & harden.
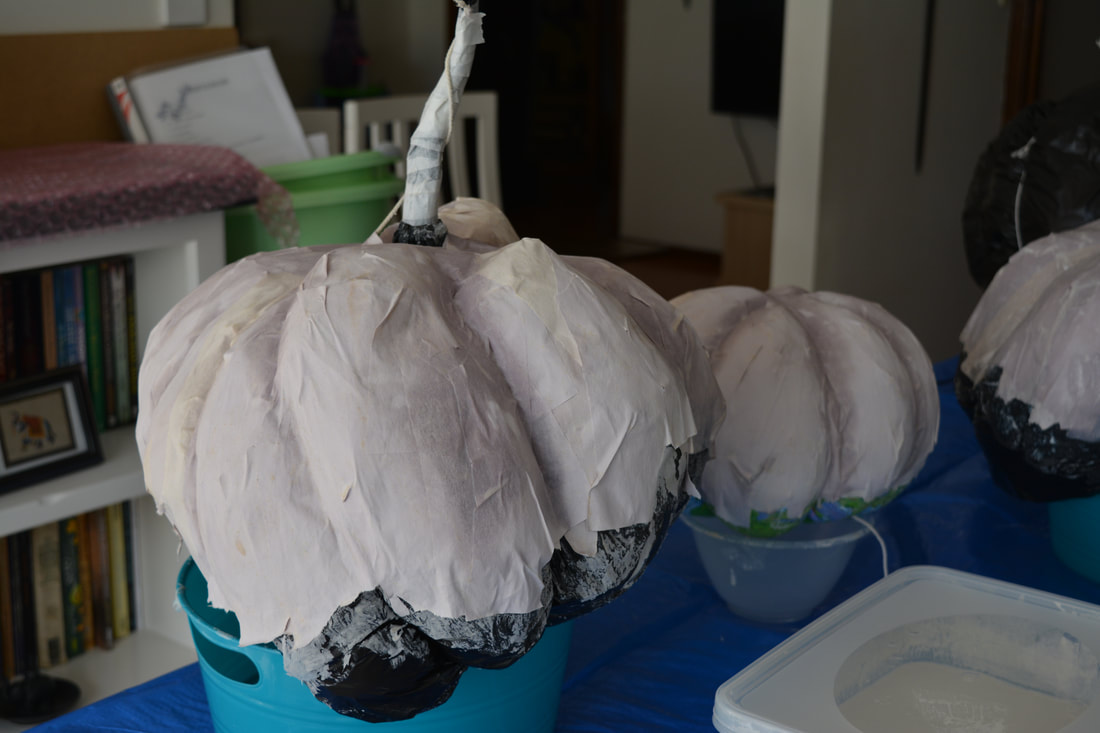
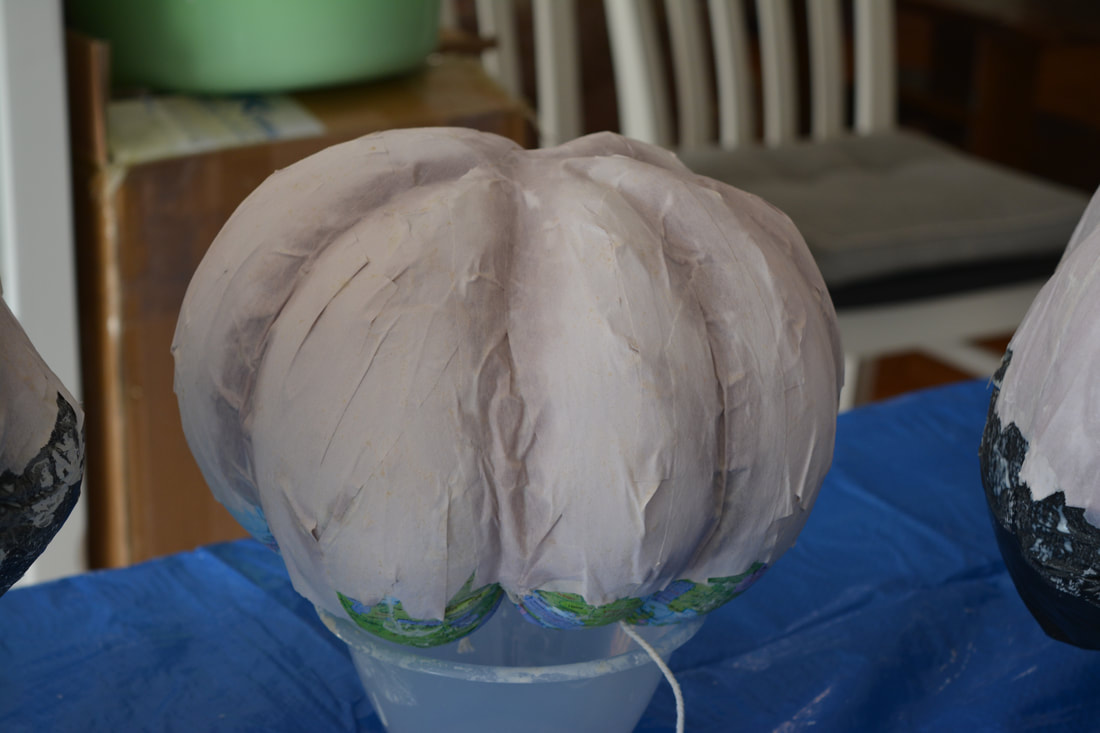
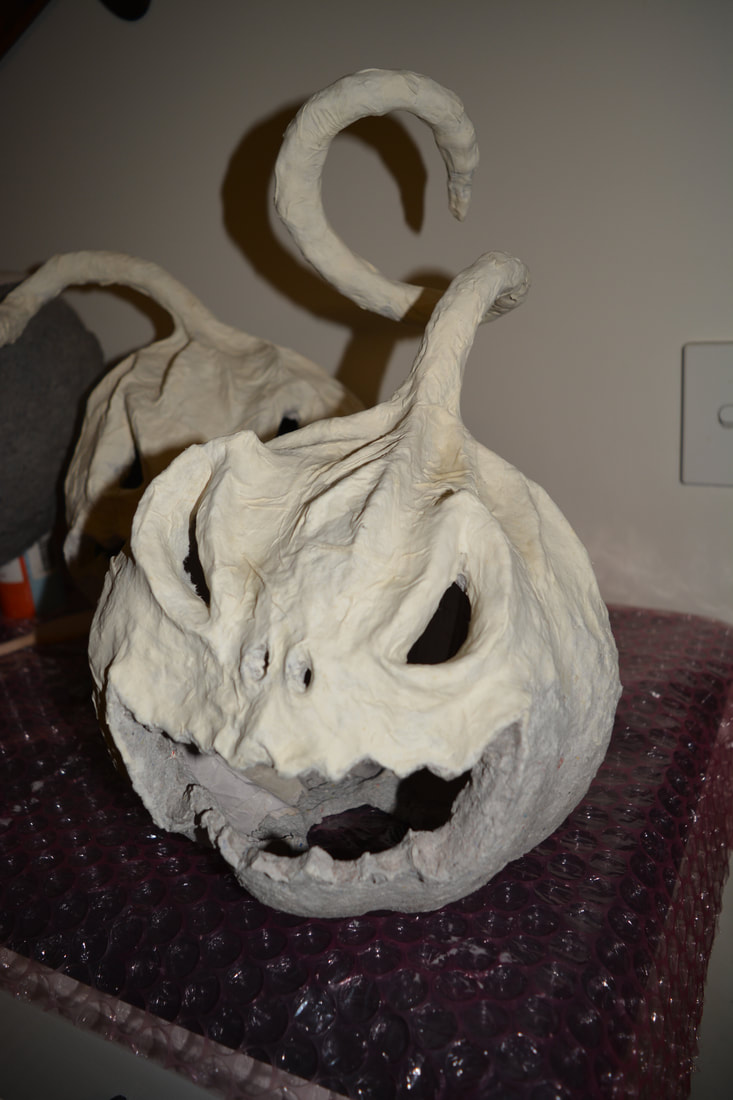
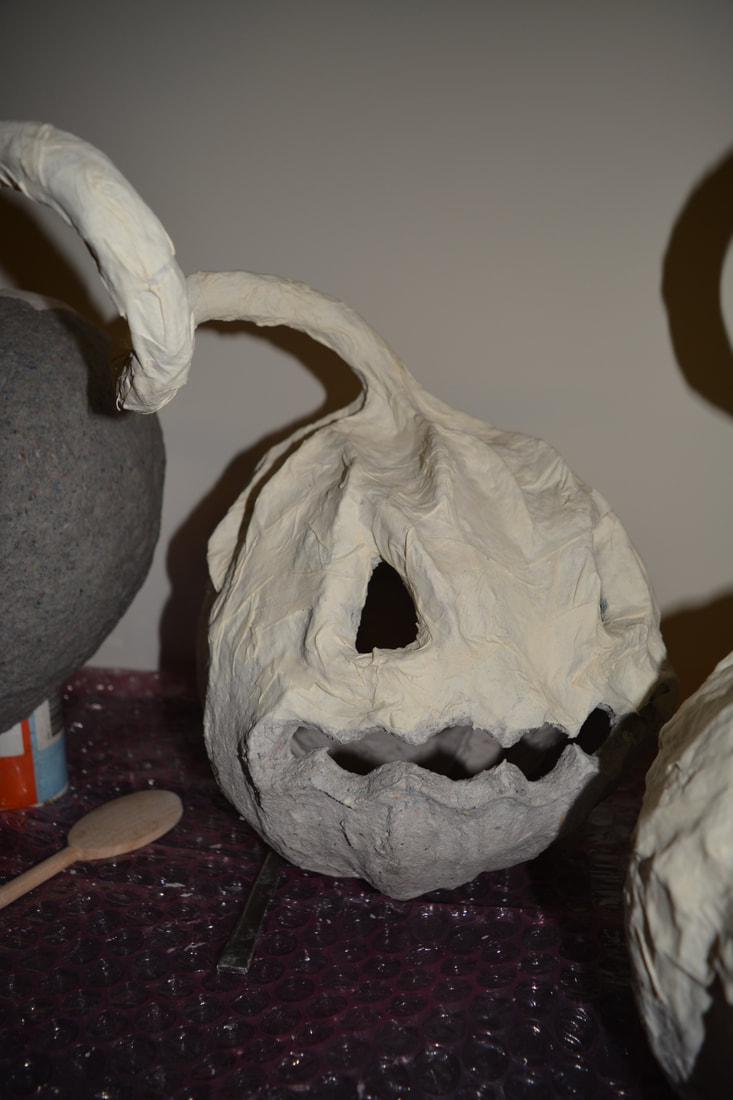
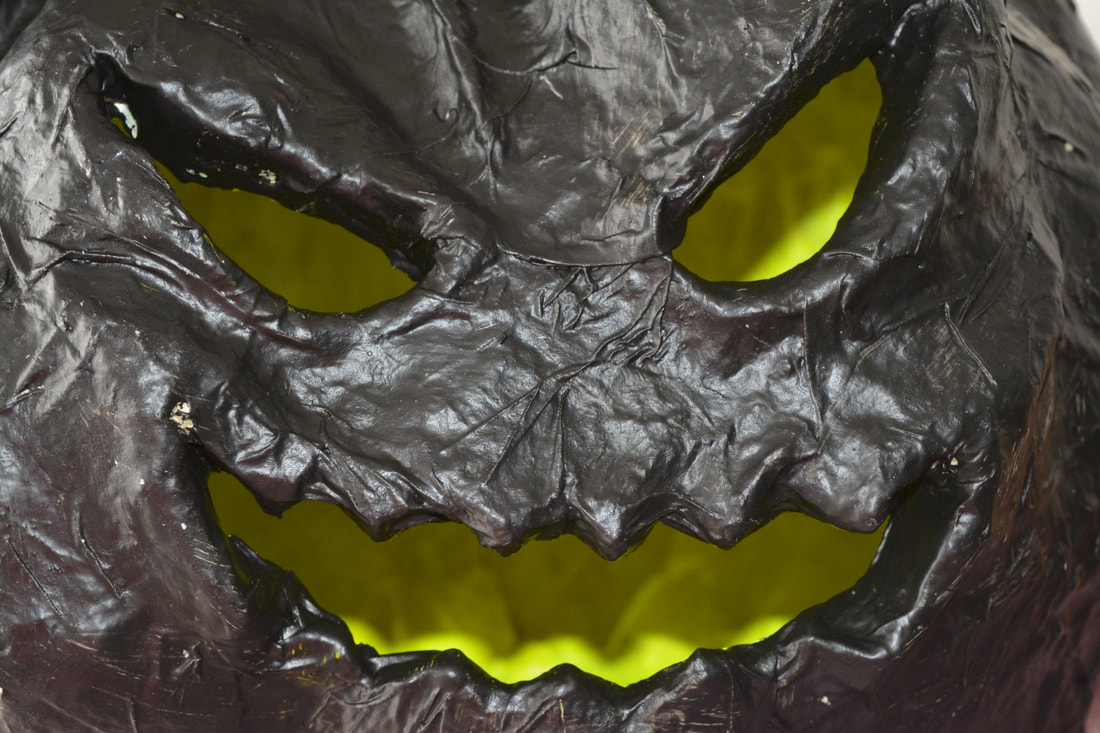
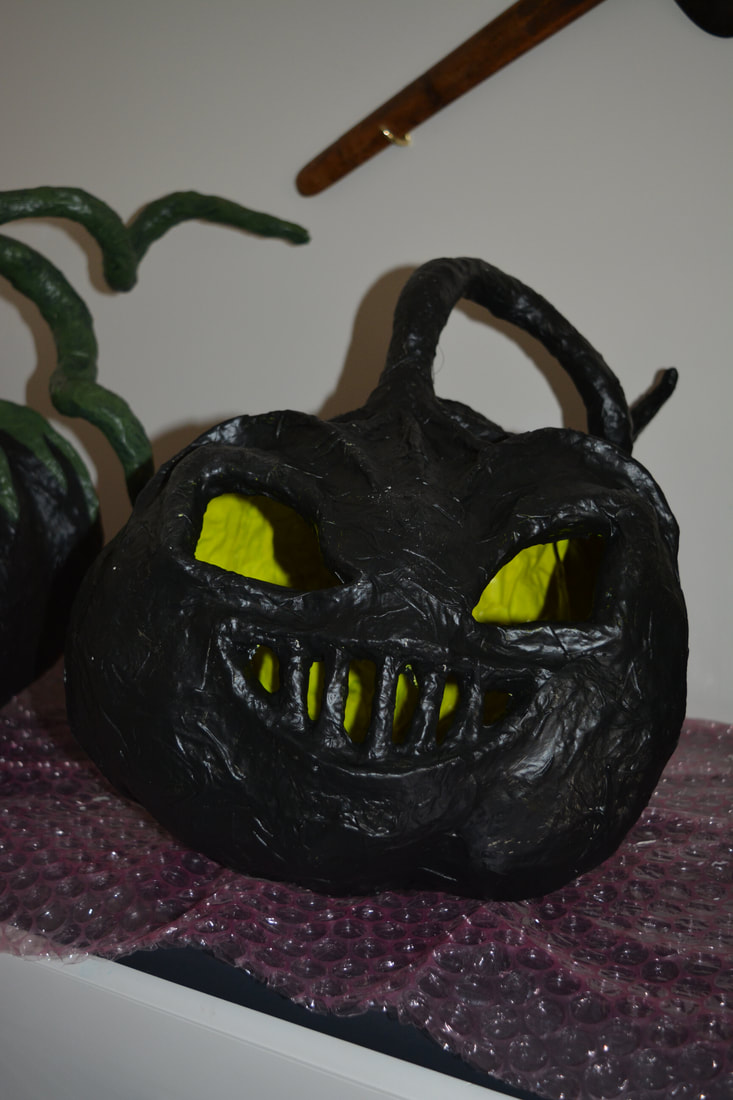
- We used cheap commercial/office hand towel to add one layer of skin them.
- This is done by tearing strips & applying them but loosely so they wrinkle.
- We left these to dry and harden again but only for a couple of days.
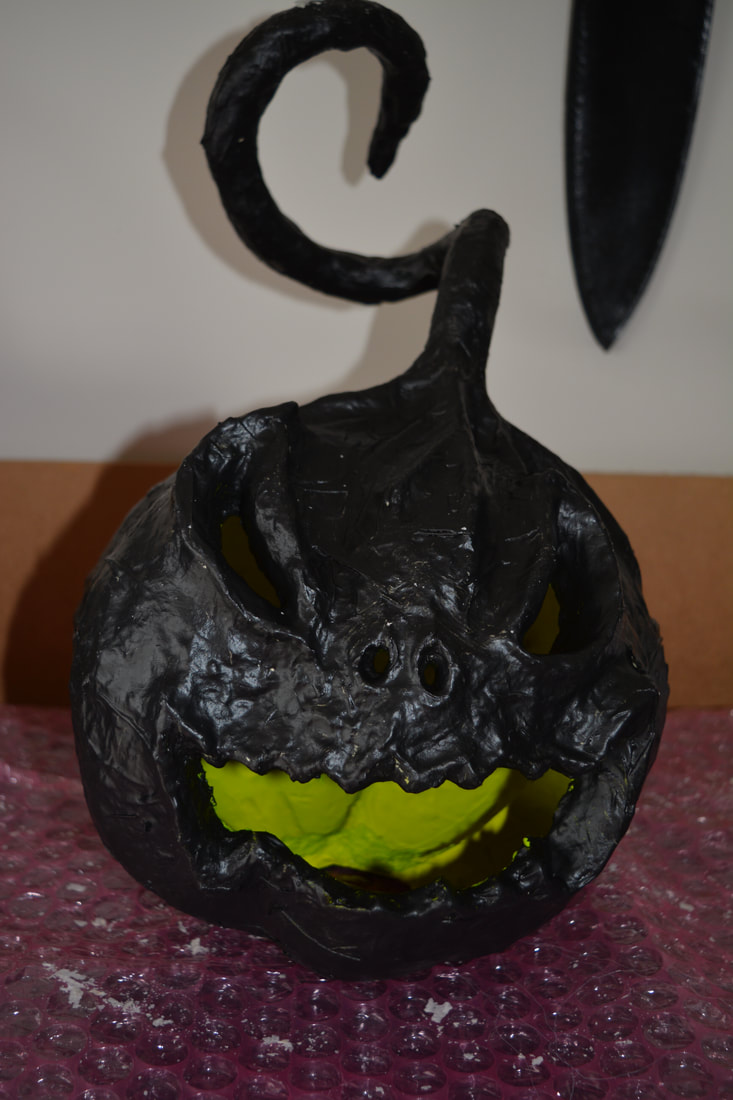
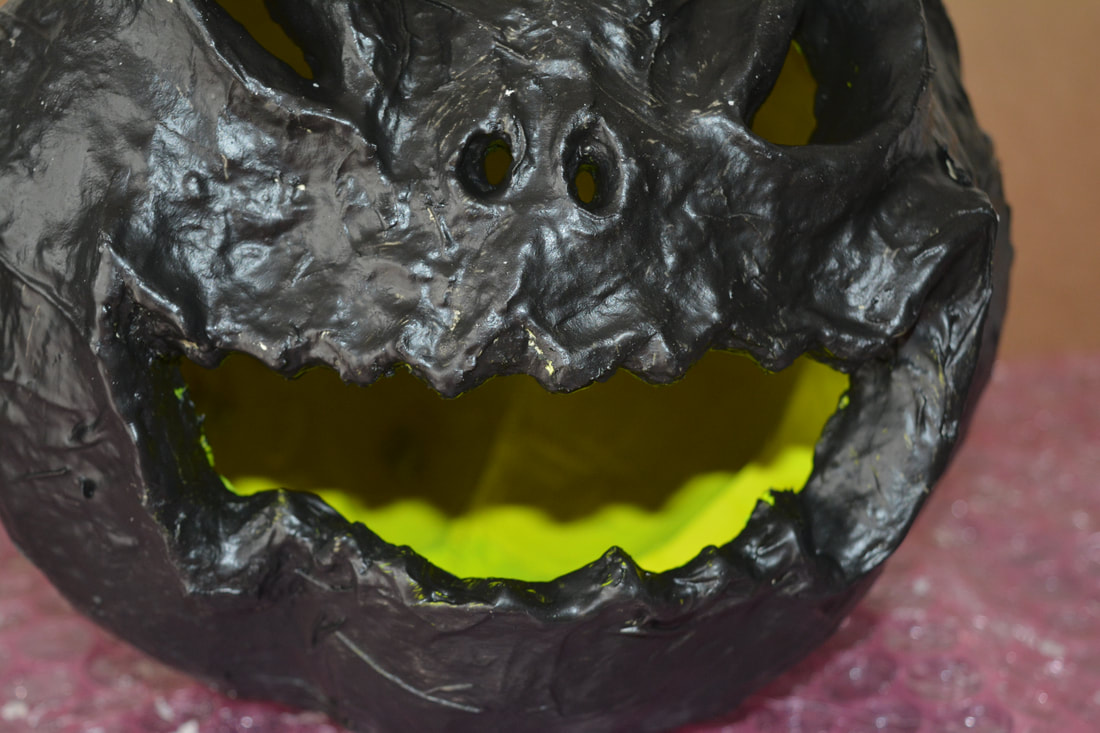
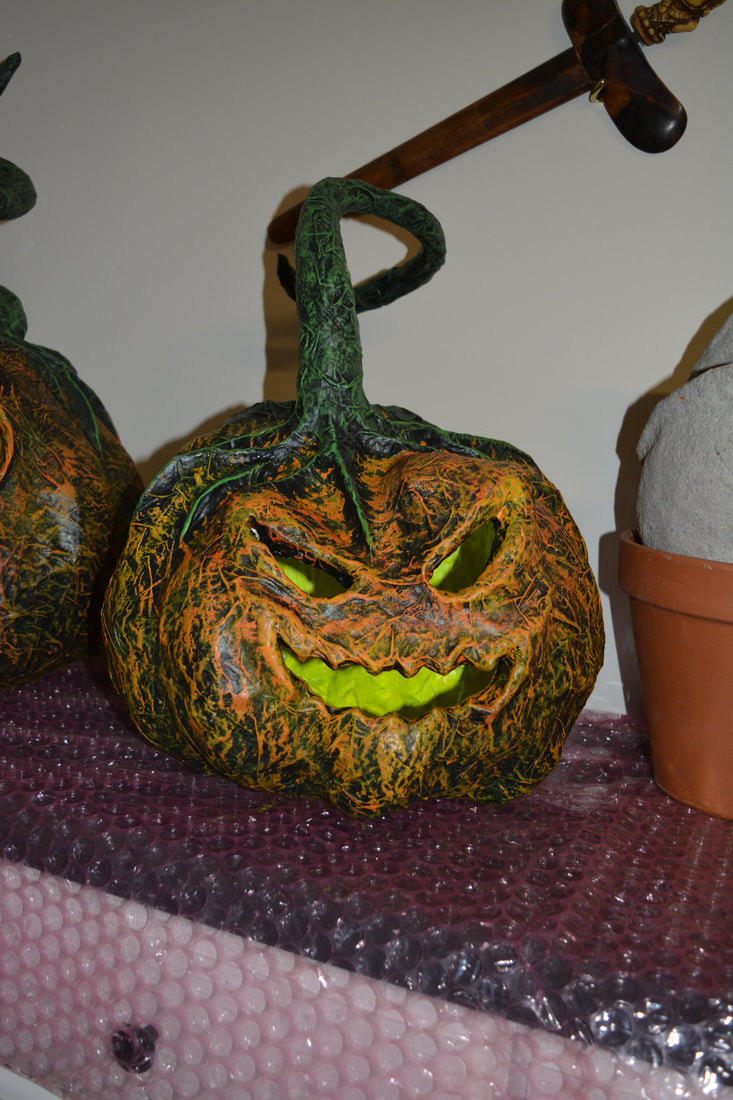
- Once hardened we used fluro yellow spray paint on the inside (we couldn't find orange at the time)
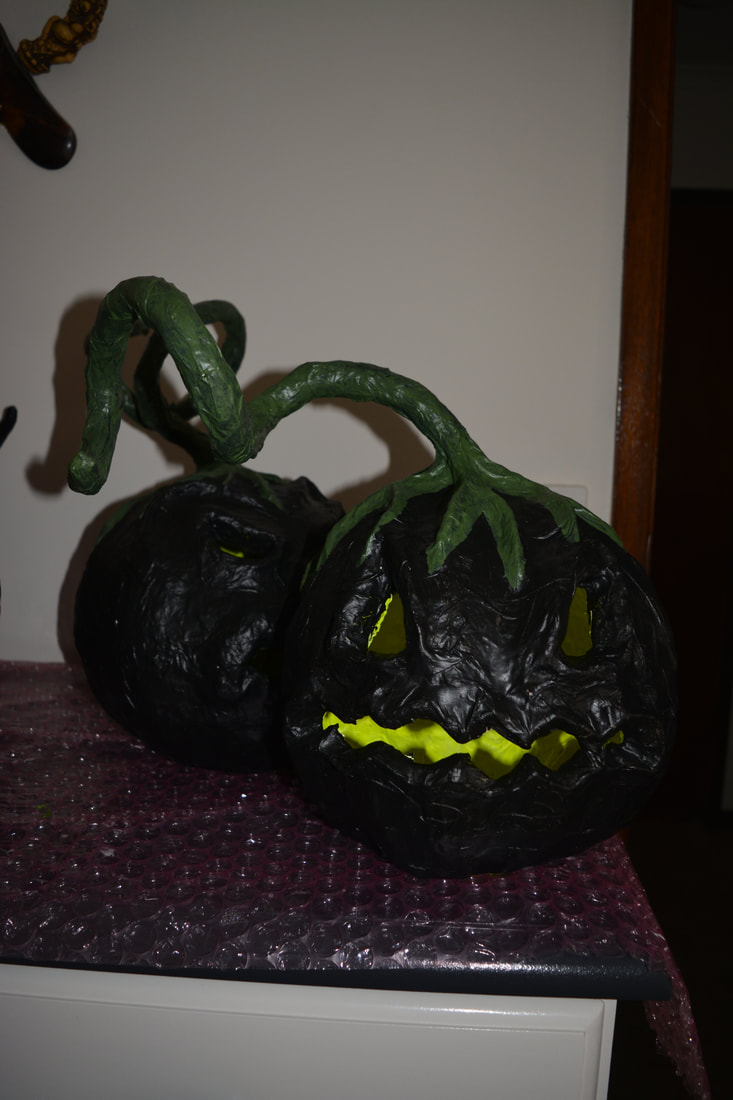
- The base coat we used was black as we wanted these to look creepy.
- Once the base coat was on we dry brushed in a few different orange & yellow tints.
- The trick is to start with the darkest tint & move up to finish with the lightest.
- We did the same with the stalks but with green tints.
- Once this was all completed we used marine grade varnish to coat them.