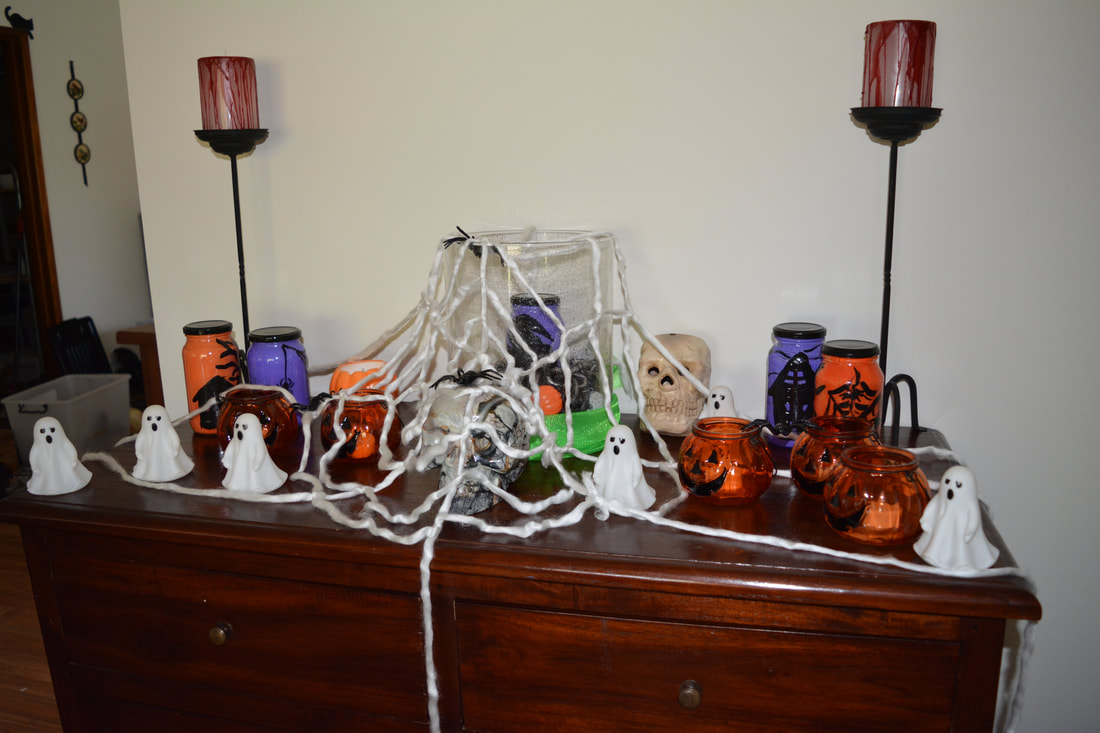
Creepy Jars
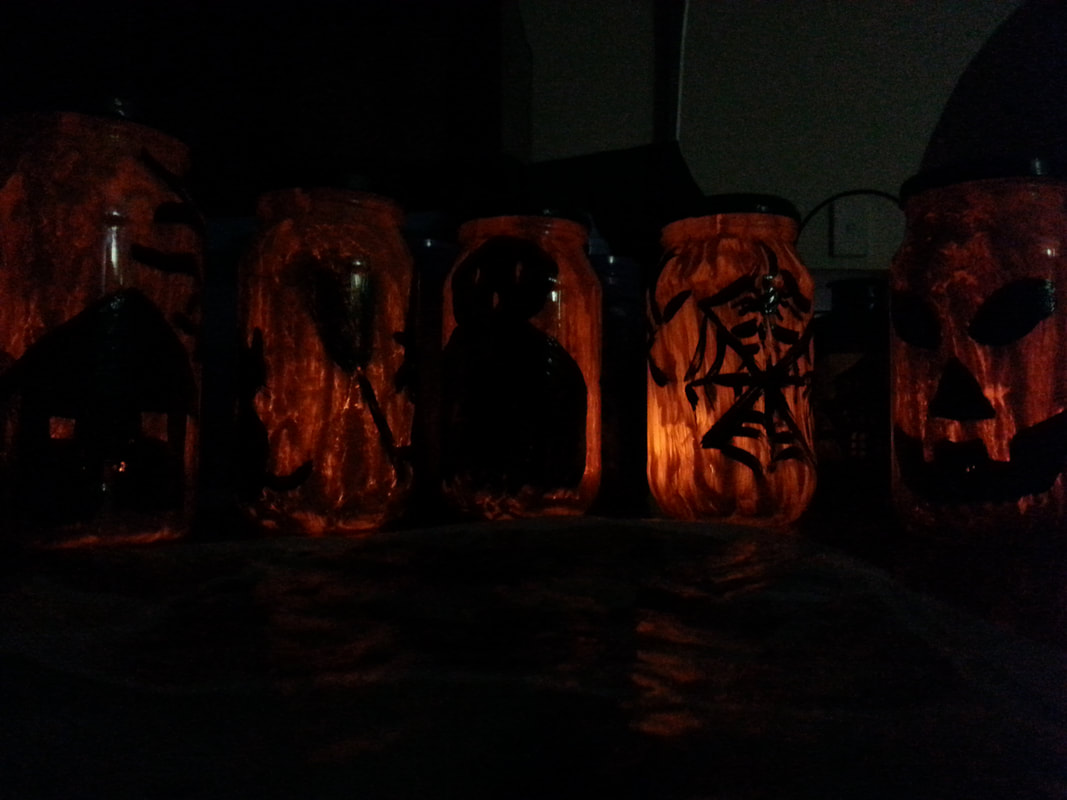
Most of the creepy jars I have made have been from washed out jam, honey and spaghetti sauce jars. I use LED t/lights in them now but originally I used normal lit t/lights which are brighter however the LED's are so much easier and safer around children and silly cats that think candles are toys.
Painted Jars
Materials Used
Glass Jars
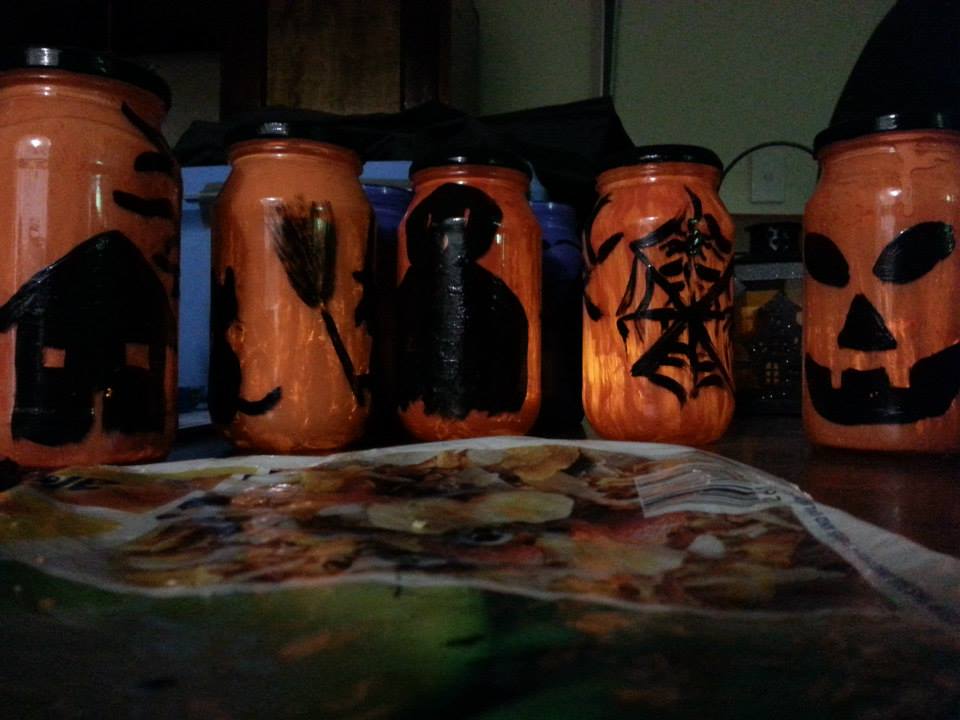
Acrylic Halloween Colour Paints - orange, purple, lime green and black
Paint Brushes
Designs - pumpkin faces, trees, witches, spiders or even scenes
Marker Pen/Sharpie
LED t/light
Extra Jar - for water to wash brushes
Drop Sheet - to protect your work surface
Start by painting the inside of the jars with the either purple, orange or lime green and let dry. When that's dry draw out your design on the jar with a sharpie (don't worry if you make a mistake markers easily rub off glass, if it's a bit stubborn use some hand sanatizer/perfume or anything with alcohol ethanol base and a cotton bud). When you have the design the way you want it use the black paint to finish.
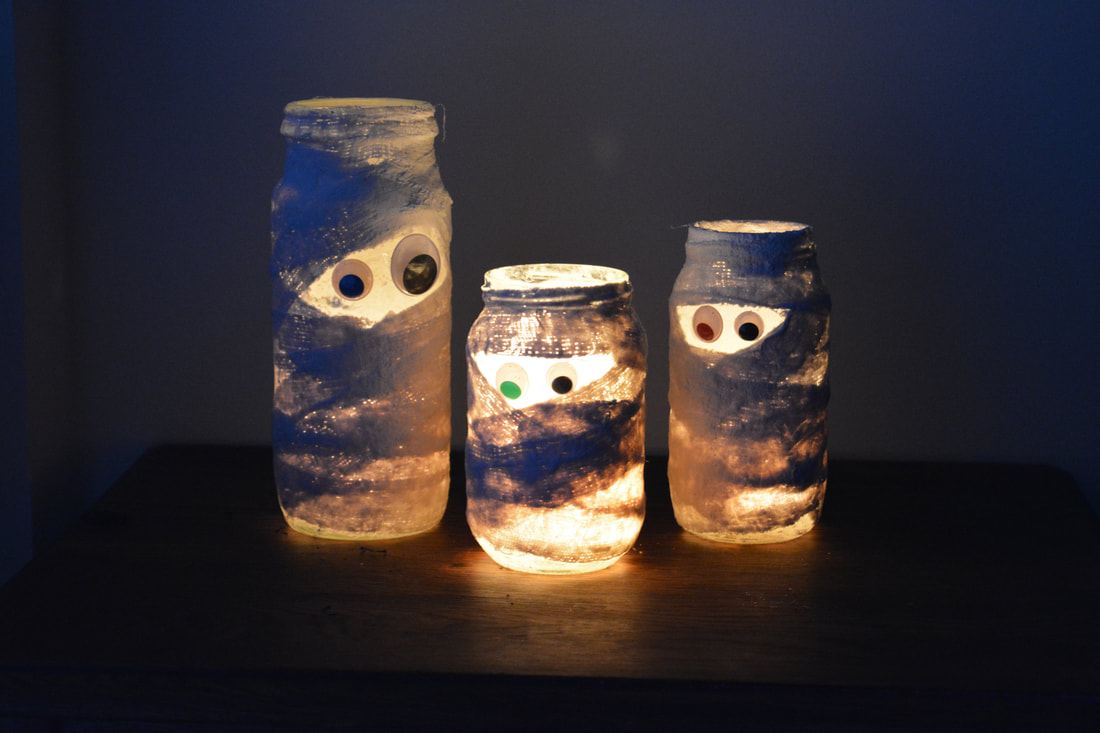
Mummy Jars
Materials Used
Glass Jars
Googly Eyes
Mod Wrap Plaster Bandage - or crape bandage and plaster of Paris
Hot Water - not too hot you have to be able to put your hands in it
Glue Gun
LED t/lights
Follow the directions on the Mod Wrap, basically it's dipped into hot water then slather it on the jar working it into shape. You don't want it sloppy wet or all the plaster will wash off. If you are using plaster of Paris follow the direction to make that up then dip the bandage in it and remove the excess before you start to slather it on your jars. Once they are covered in a mummy wrap pattern allow them to dry. When dry use a glue gun to stick on googly eyes. Be careful with glue guns both the nozzle and the glue will burn if it contacts skin. Although having said that even being careful I still manage to burn myself occasionally with hot glue.

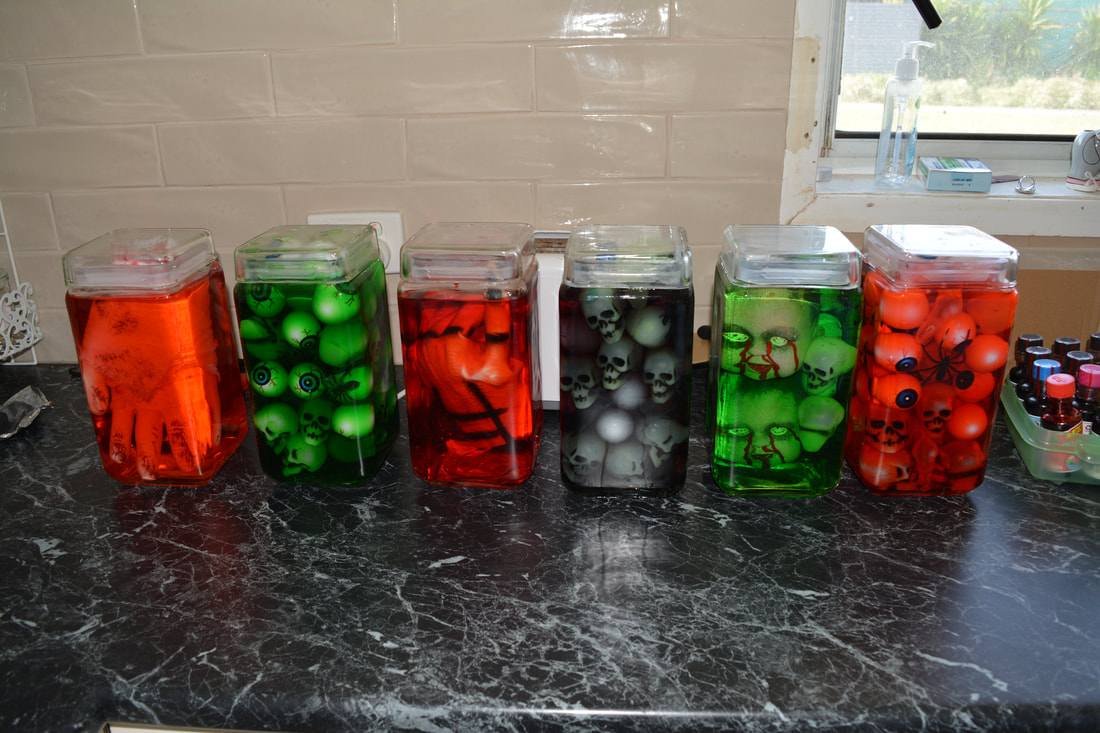
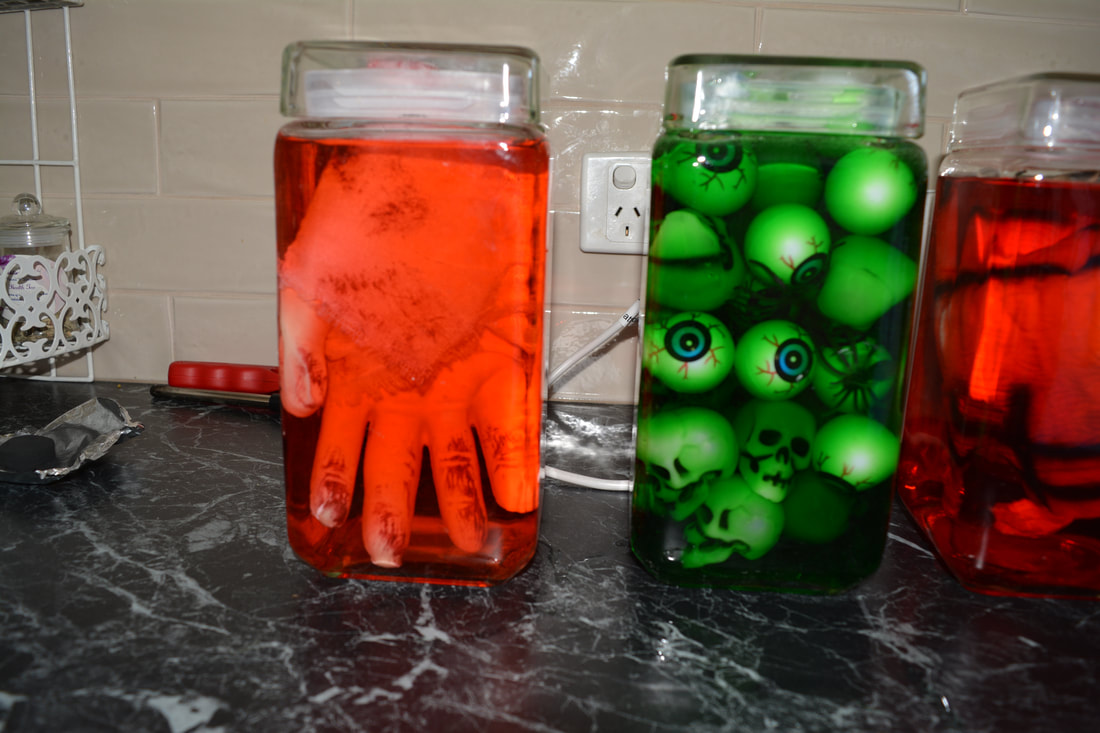
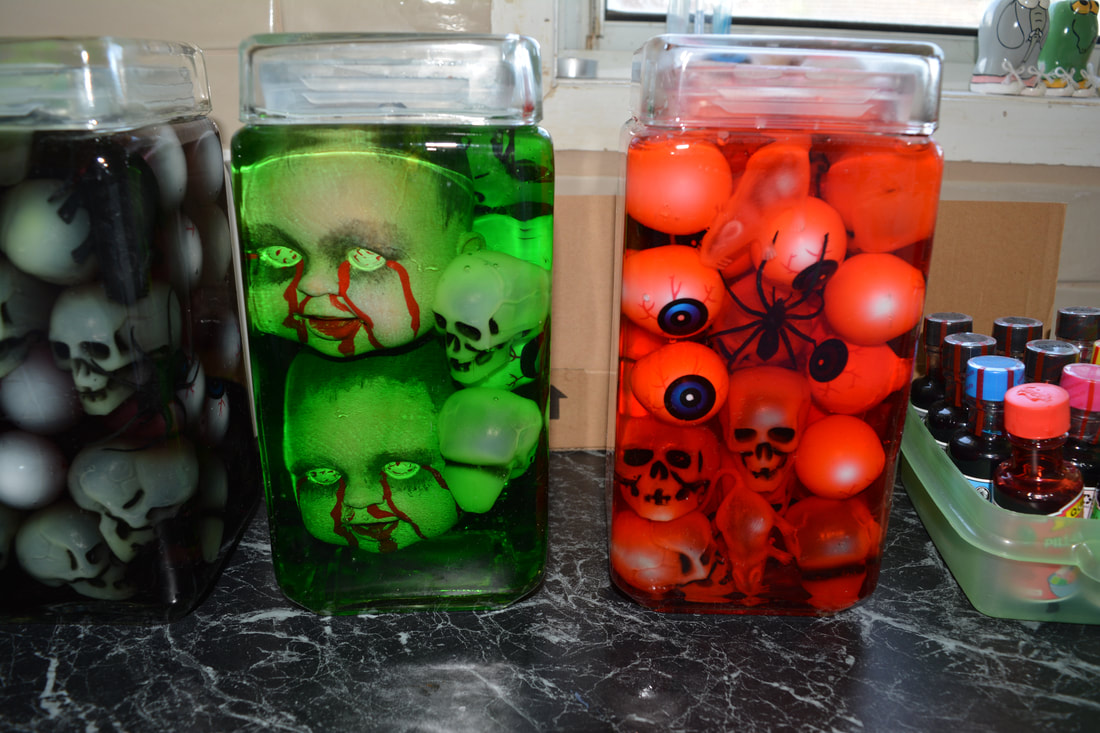
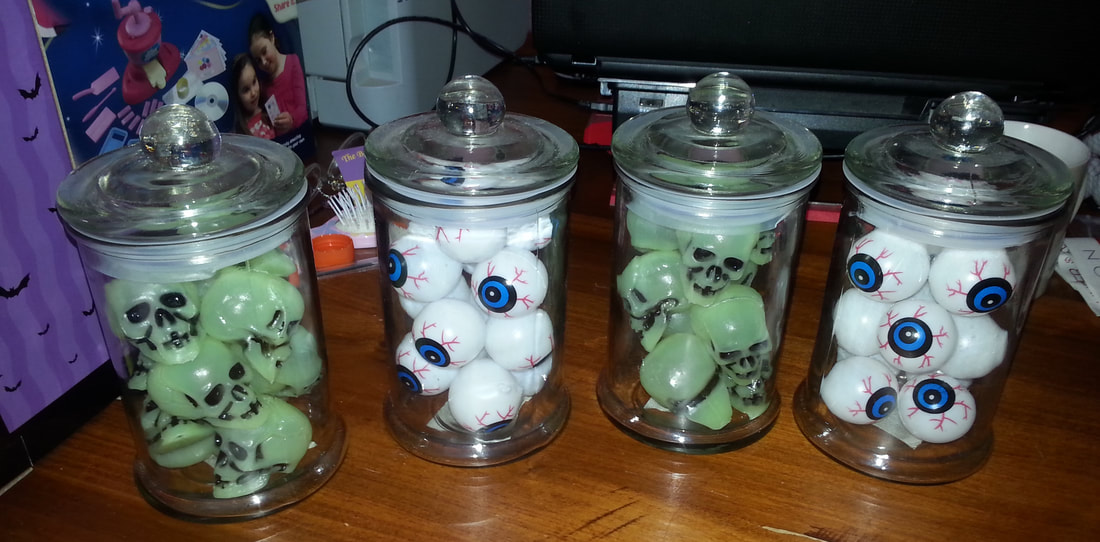
Creepy Jars
Materials Used
Glass Jars
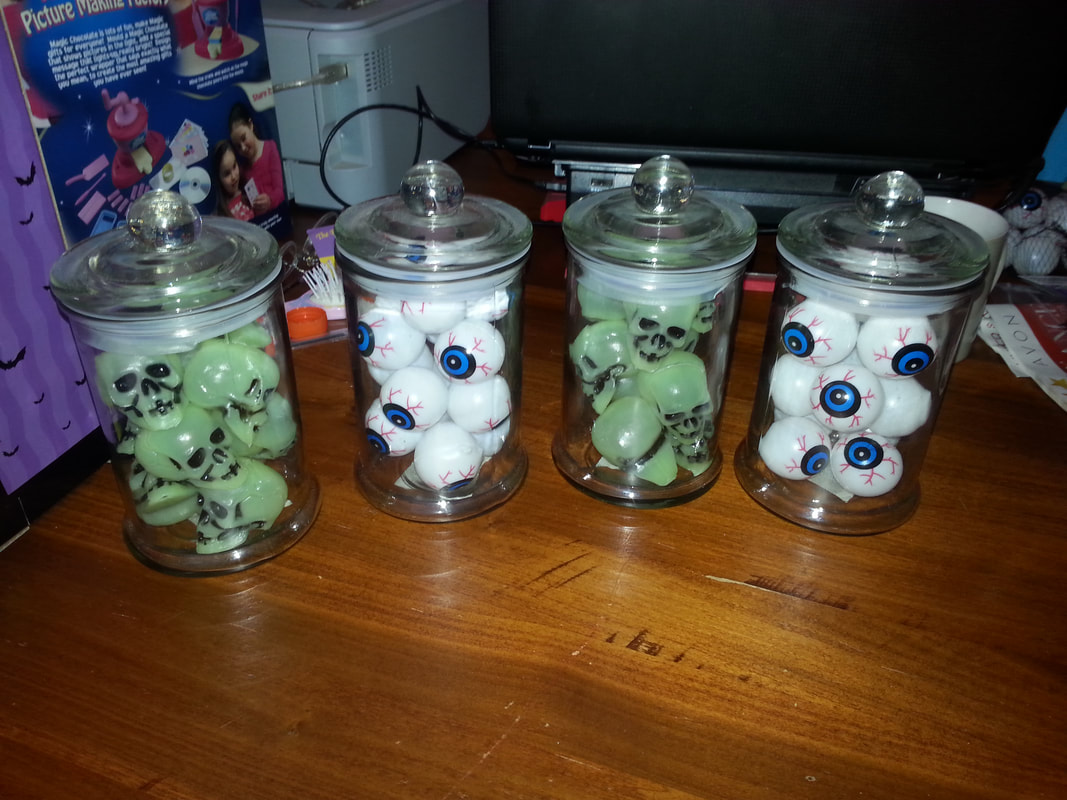
Halloween Nick Nacs - spiders, eyeballs, little skulls, old dolls heads, arms and/or legs, plastic hands/feet, rubber monster gloves etc
Food Colouring
Water
Take Halloween nick nacs and jam them into jars, ad water and a few drops of food colouring (I use black, green and red) and fill jars. It can get messy here you may have to hold the plastic bits down as the water fills the jars because they will try to escape and them cram the lid on quickly once full. This is messy best to do it over a sink and have a rag towel handy to dry them off. Also good idea to use jars with water tight lids. The square jars in the pictures are not water tight and they make a huge mess (doesn't stop me using them every year though). I painted the dolls heads first to look dead and creepy. You could just take the eyes out which would also look really creepy. I also stuffed the monster hands with plastic bags to fill them out and get them to hold their shape in the fluid.
Materials Used
Glass Jars
Halloween Nick Nacs - spiders, eyeballs, little skulls, old dolls heads, arms and/or legs, plastic hands/feet, rubber monster gloves etc
Food Colouring
Water
Take Halloween nick nacs and jam them into jars, ad water and a few drops of food colouring (I use black, green and red) and fill jars. It can get messy here you may have to hold the plastic bits down as the water fills the jars because they will try to escape and them cram the lid on quickly once full. This is messy best to do it over a sink and have a rag towel handy to dry them off. Also good idea to use jars with water tight lids. The square jars in the pictures are not water tight and they make a huge mess (doesn't stop me using them every year though). I painted the dolls heads first to look dead and creepy. You could just take the eyes out which would also look really creepy. I also stuffed the monster hands with plastic bags to fill them out and get them to hold their shape in the fluid.