Spiders
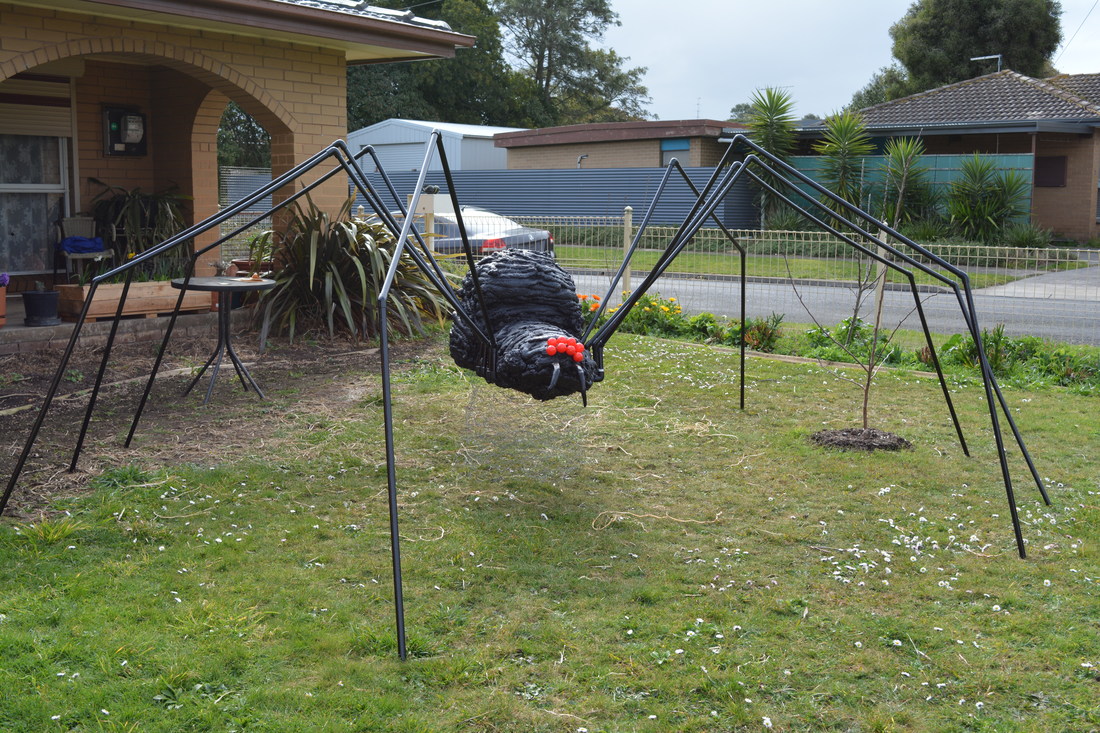
Fluffy Giant Spider
Materials Used
Polly Pipe (I used 15mm but with the size of the body I made should have been 20mm or 32mm)
90 Degree Elbows
45 Degree Elbows
T Joiner
Pluming Glue
Plastic Shopping Bags or Packing Beans
Plastic Garbage Bag
Duct Tap
Cardboard
Expanding Foam Tins (I used 6 but with a smaller body you would only need 3 or 4)
Paint - black, red
Ping Pong Balls
Pool Noodle
Fencing Wire
Chicken Wire 1.2 meters x 90cm
Masking Tape
- I made this spider using 1 meter lengths of 15mm poly pipe with 15mm elbows
- I used three pipes per leg and had a few extra to make the leg holders underneath
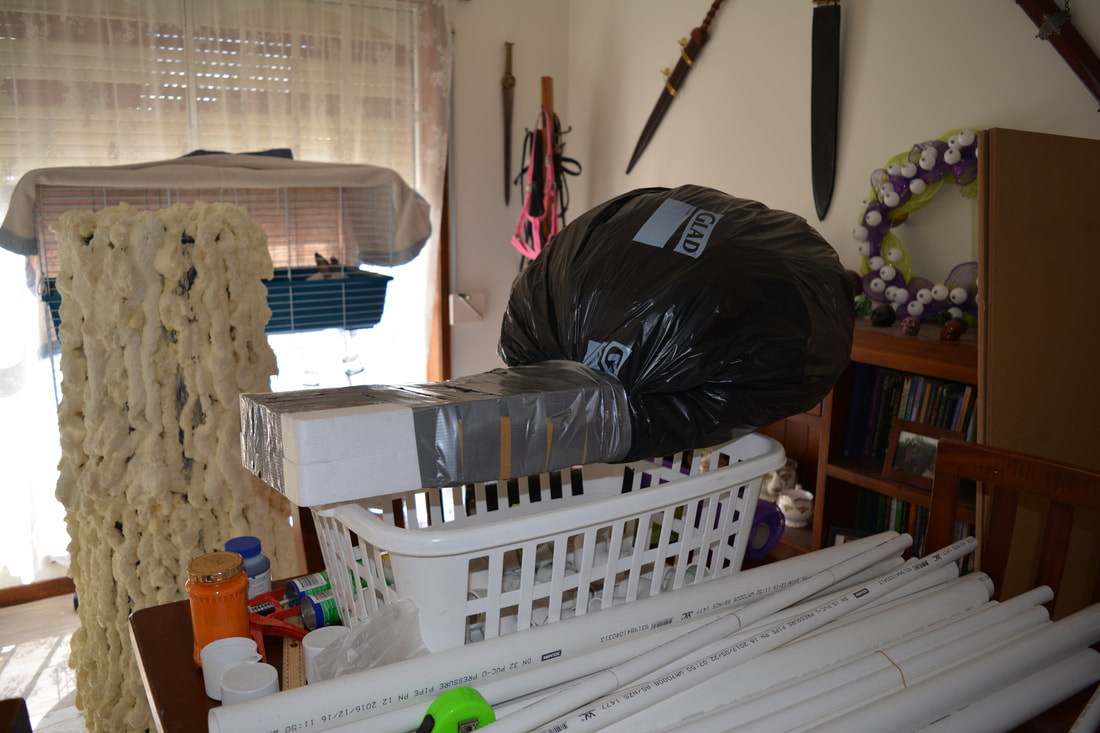
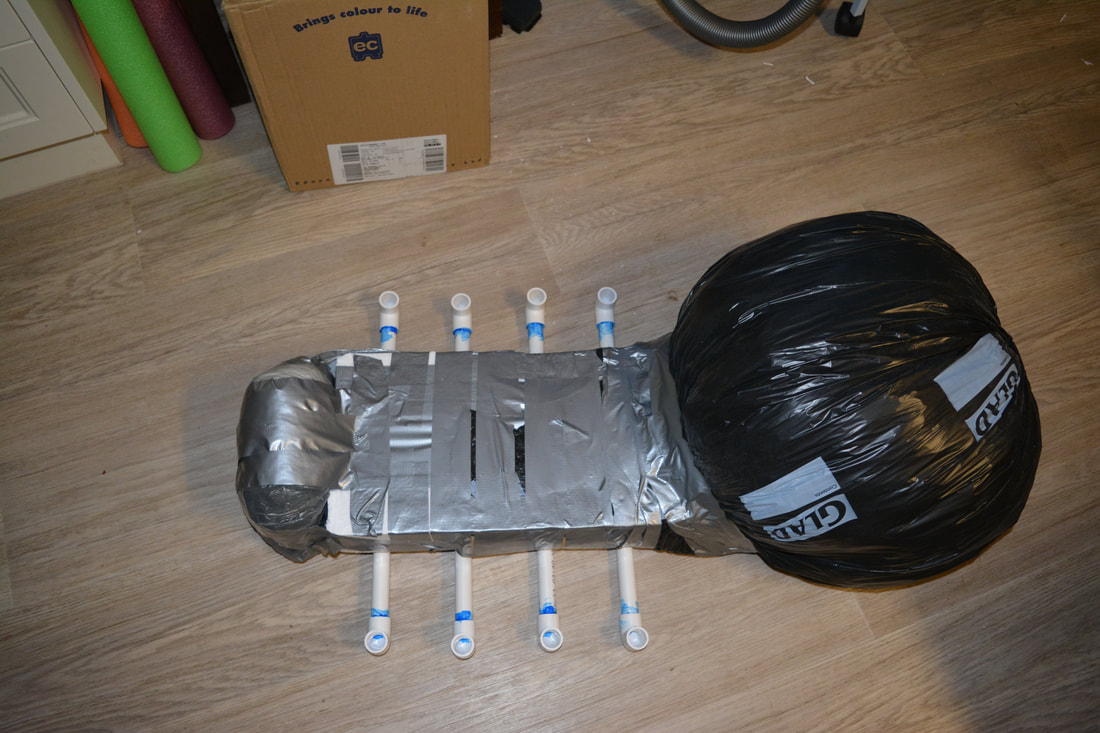
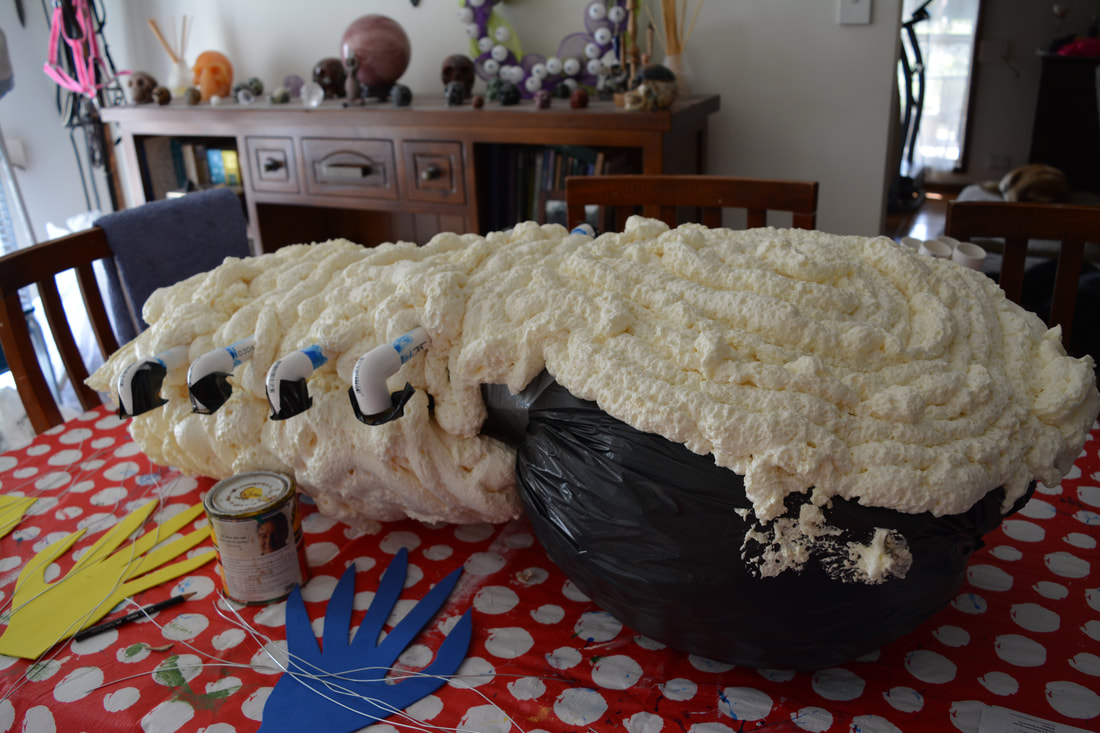
- I also used a scrap polystyrene foam piece for head (thorax) and stuffed the garbage bag with plastic shopping bags (I would have used packing beans if I had them)
- Once the bag is stuffed and rounded I used tape to hold it's shape and then taped the polystyrene thorax to it. I used a piece of cardboard from a scrap box to keep the bag bottom flat.
- I then put another shopping bag that was stuffed with more bags (again I would have used beans if I had them) on the front to round off the head. You can also shape the polystyrene to achieve this but as I didn't use any measurements making this I kept having to adjust it to fit itself. I really should have planned this better don't be like me plan yours properly.
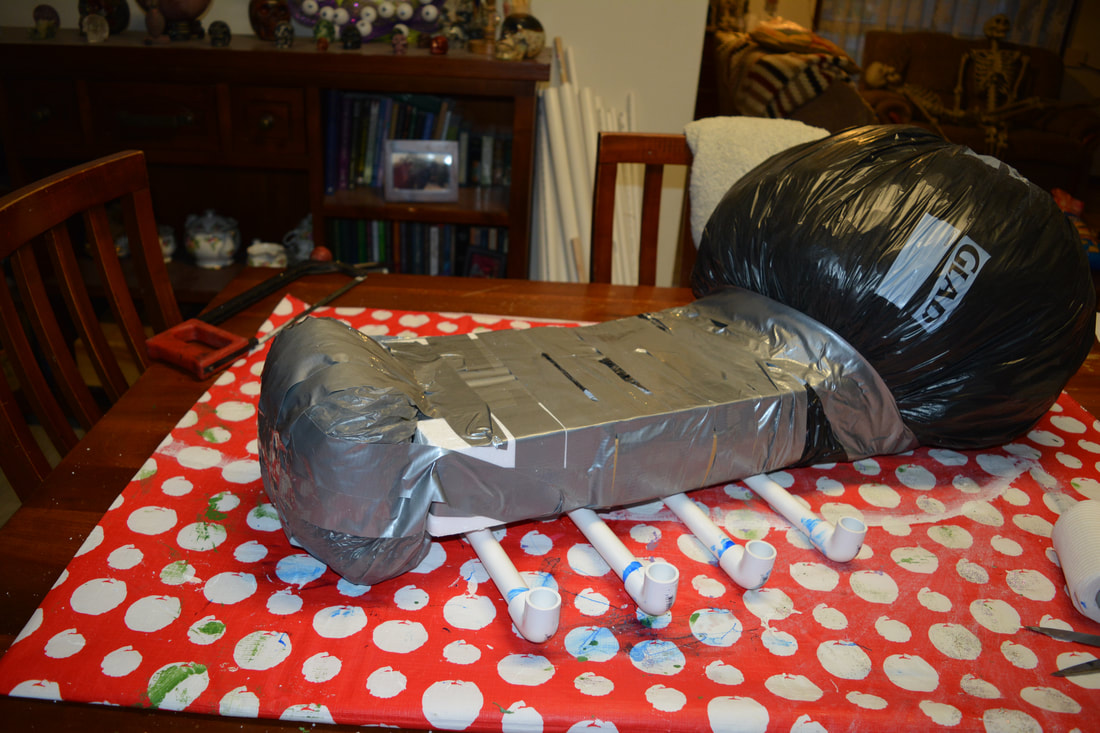
- Cut out the pipes to attach to the thorax (if you plan this you will have measurements but I didn't which is bad)
- Use the T joiner, a 90 degree elbow and three + pieces as well as a sectioned up pipe to make the section to hold the legs
- Glue them all together and tape them to the bottom of the thorax
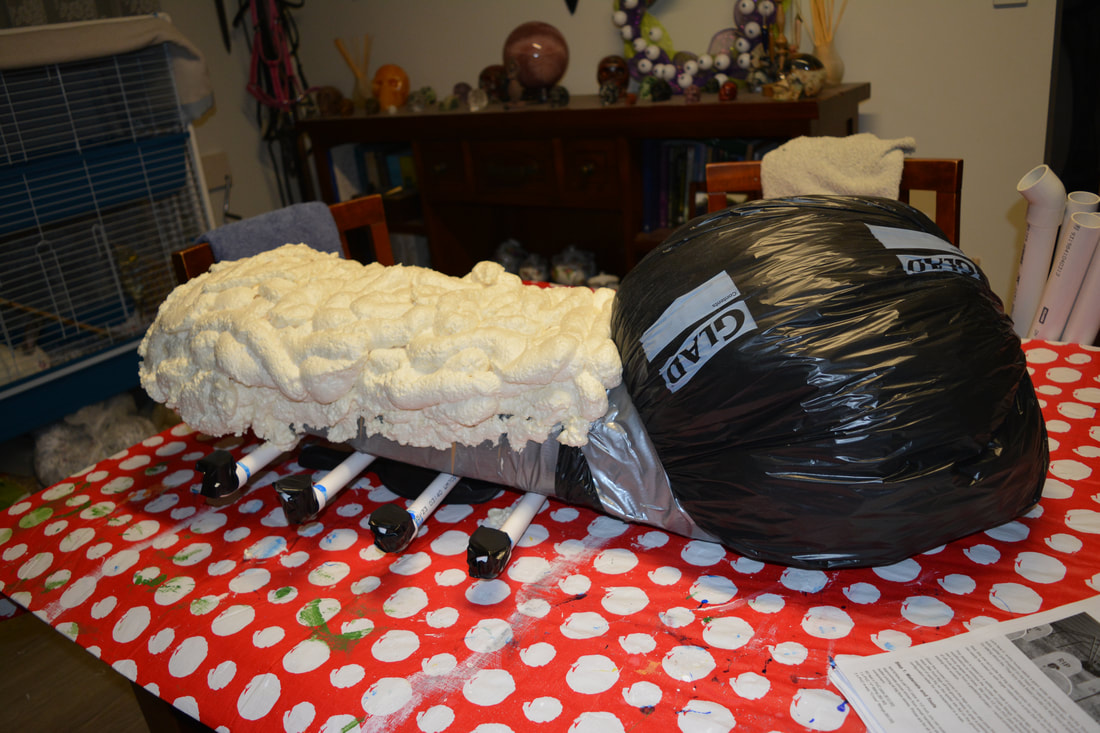
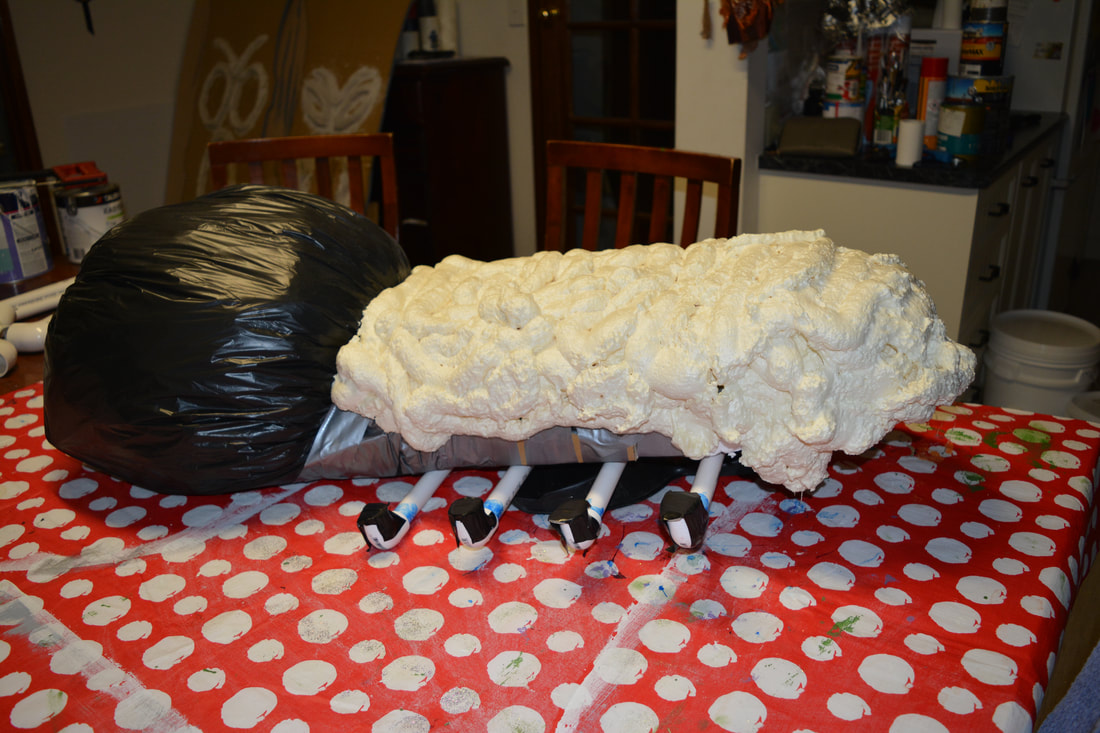
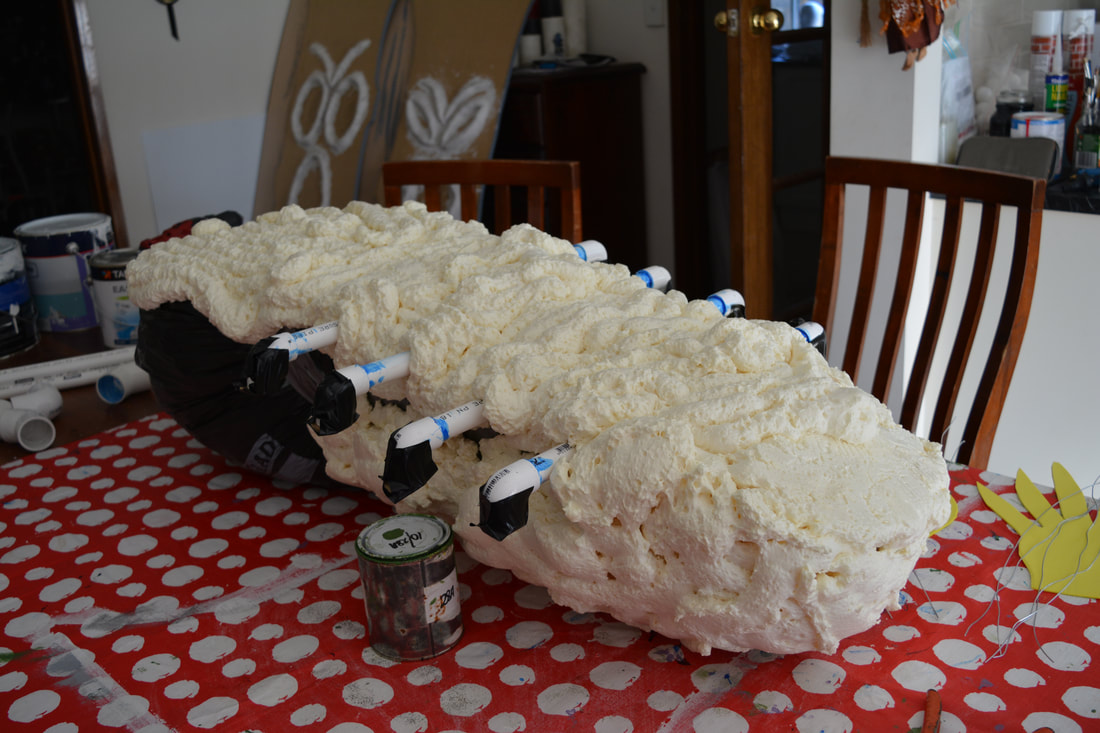
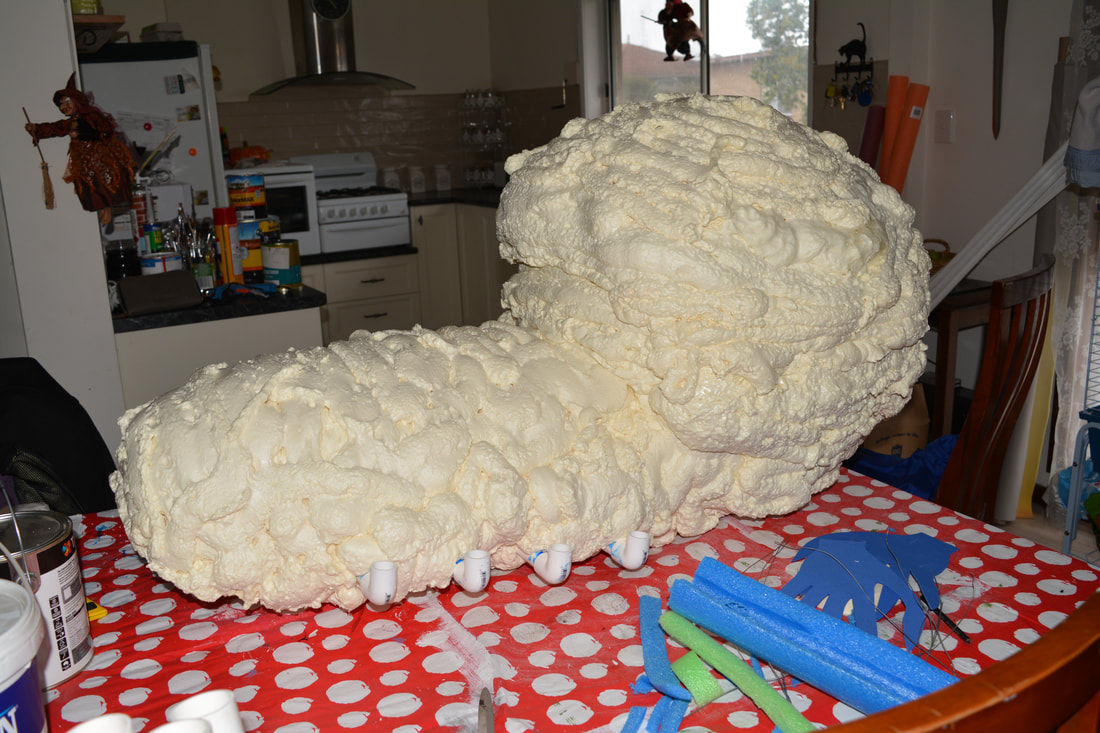
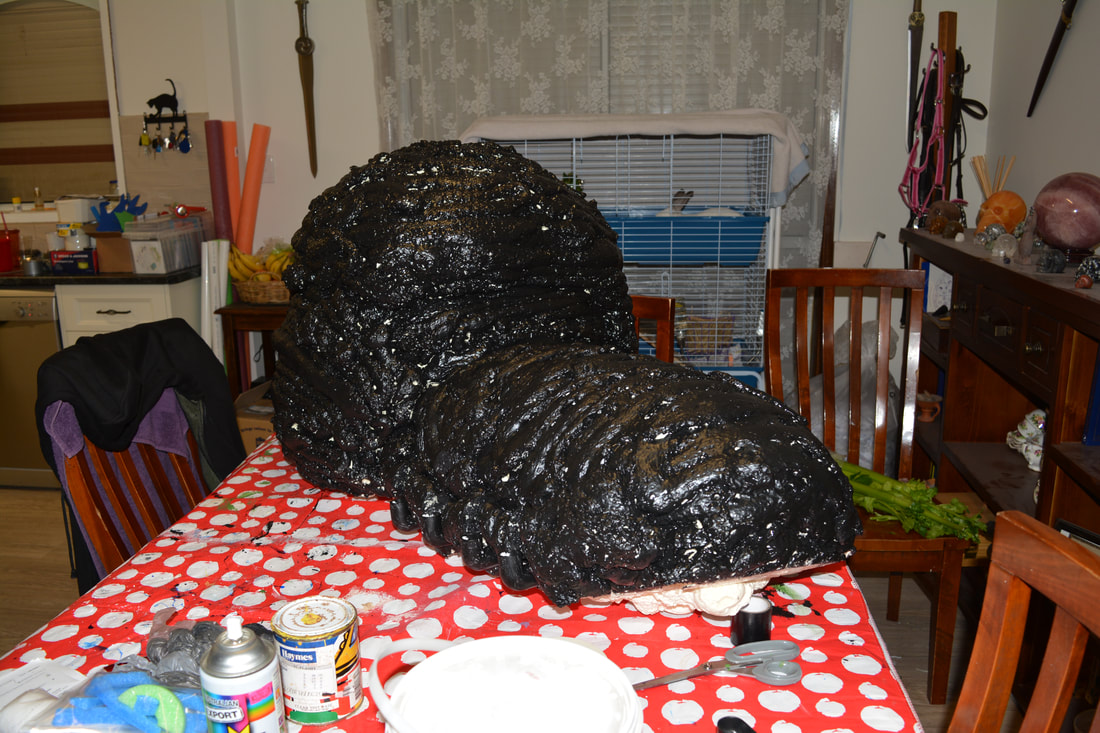
- You are now ready to foam you body, do this one section at a time. It takes ages and you need to allow sections to dry before you do the next one. When getting the top of the bottom piece to dome you might have to wait until it is touch dry then suspend it upside down from the thorax and dry part on the back to get the dome to pull itself into place.
- It is a good idea to do this top doming piece last.
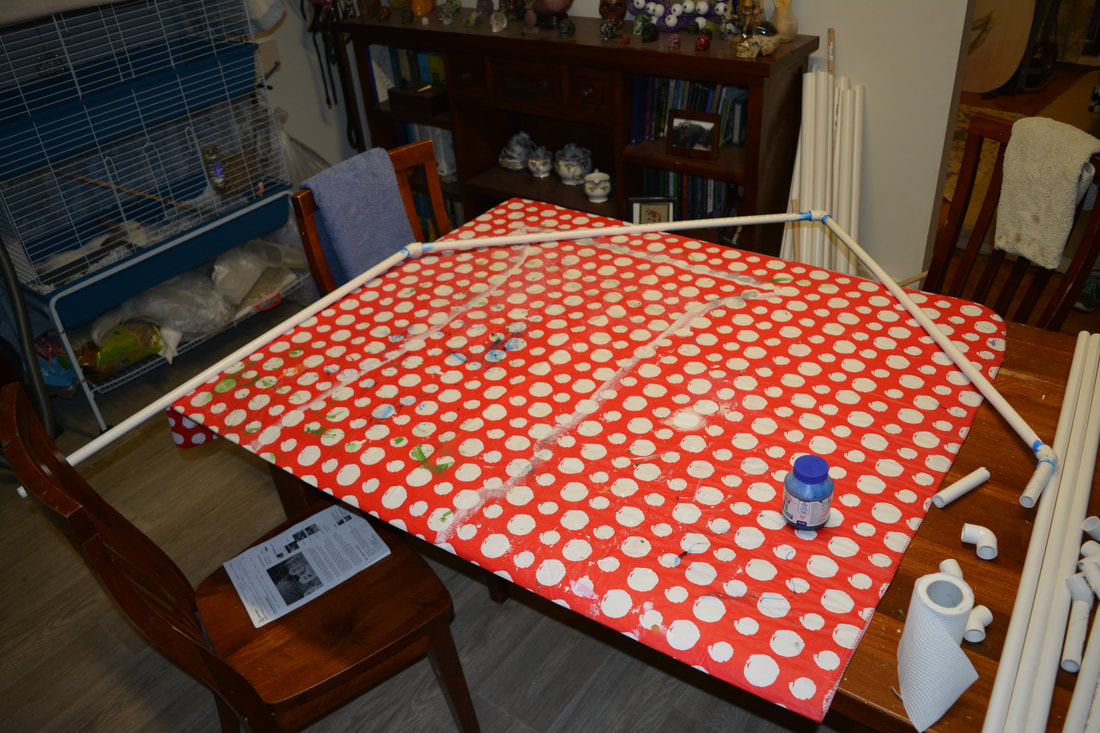
- Using the 45 degree and rest of the 90 degree elbows glue the pipe to make the legs
- One length of pipe the the 45 degree elbow another length of pipe and another 45 degree elbow them the 90 degree elbow and the small legnth of pipe (this small piece pushes into the 90 degree elbows attached to the thorax.
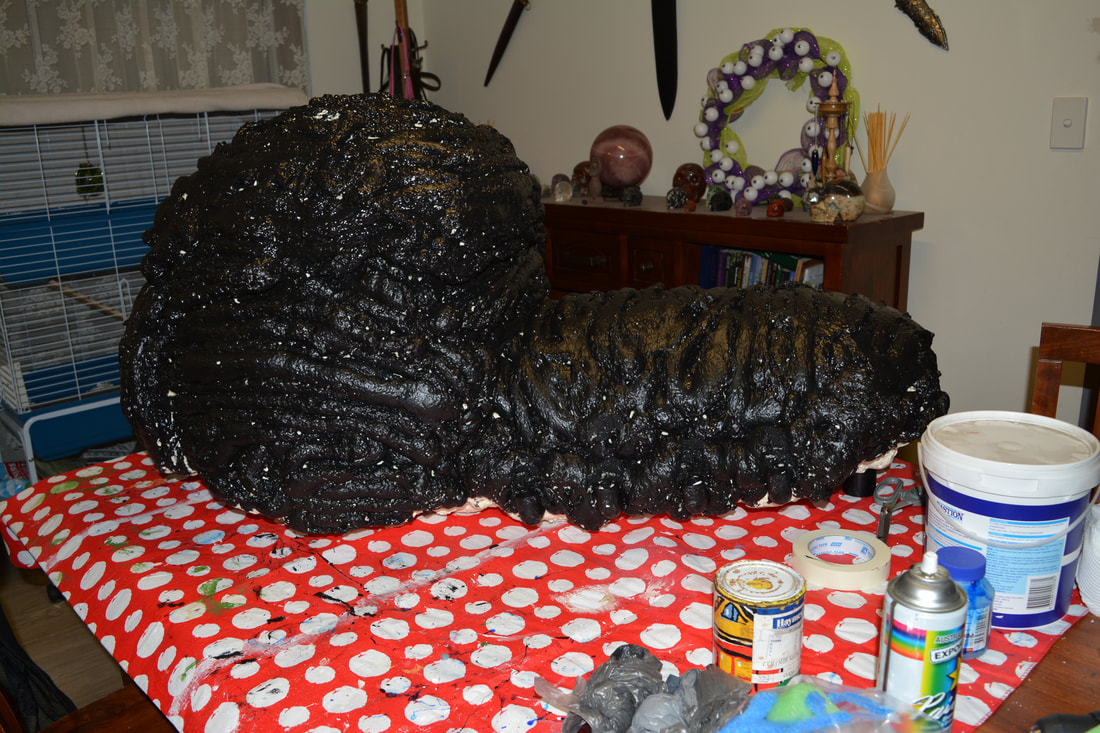
- Once the legs are all glued together and the body is covered in expanding foam you are ready to paint.
- I used acrylic satin/low sheen for the body and gloss black spray paint for the legs.
- Painting the body with a brush is very time consuming however I did just because I had the paint. Using spray paint would be much faster but would use allot of cans to cover it all.
- If you do paint the body with a bush/acrylic paint you will need to go over it with spray paint to get the bits that the brush can't reach.
- When painting the legs don't paint to the very end where the legs will attach to the body
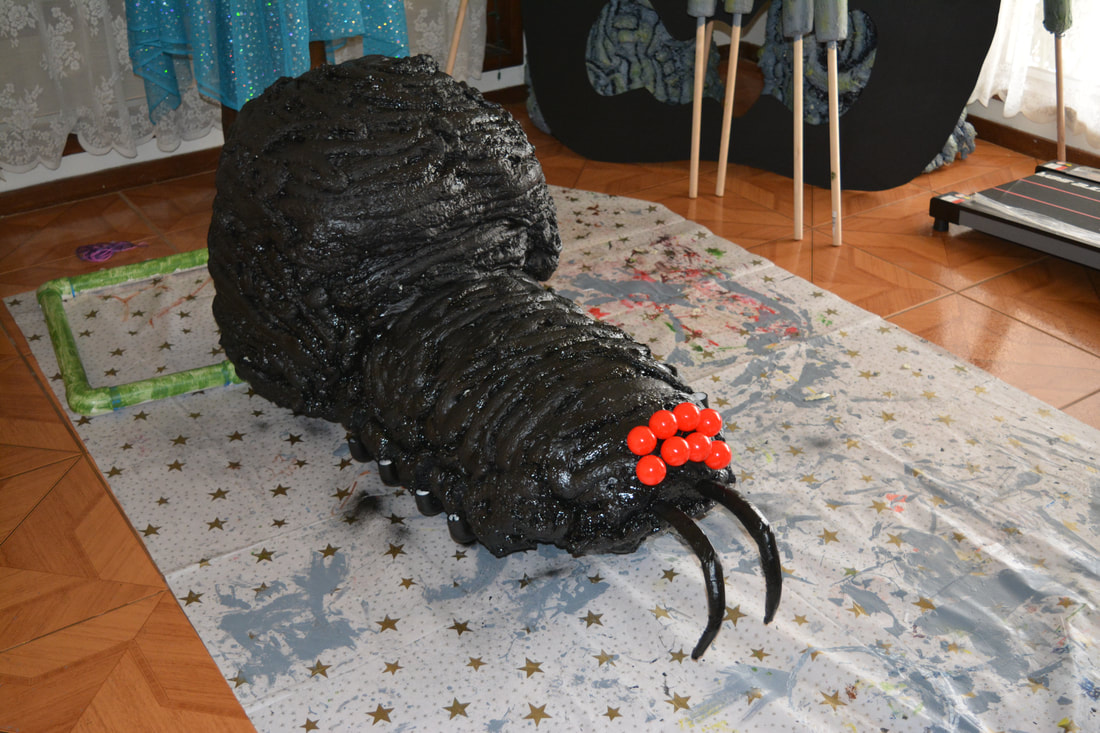
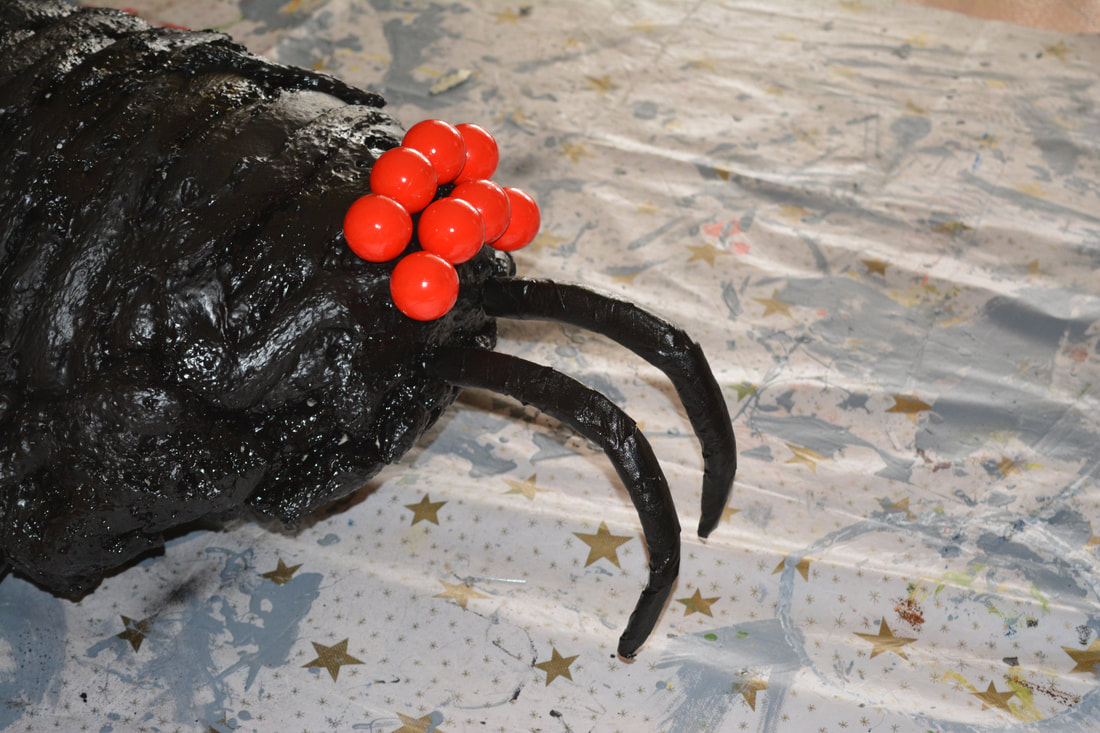
- While all this is drying make the eyes and fangs
- The eyes are ping pong balls painted red. I pushed some thin fencing wire into them to hold onto them while I painted them and to push them into the head.
- For the fangs two pieces of thicker fencing wire leaving a bit at the end so you can push this into the head. Take the pool noodle and cut strips off it.
- Place the noodle strips over the wire and use the masking tape to cover the noodle and attach them to the wire.
- Once this is done paint the fangs
- When everything is dry push the eyes and fangs into the head of the spider.
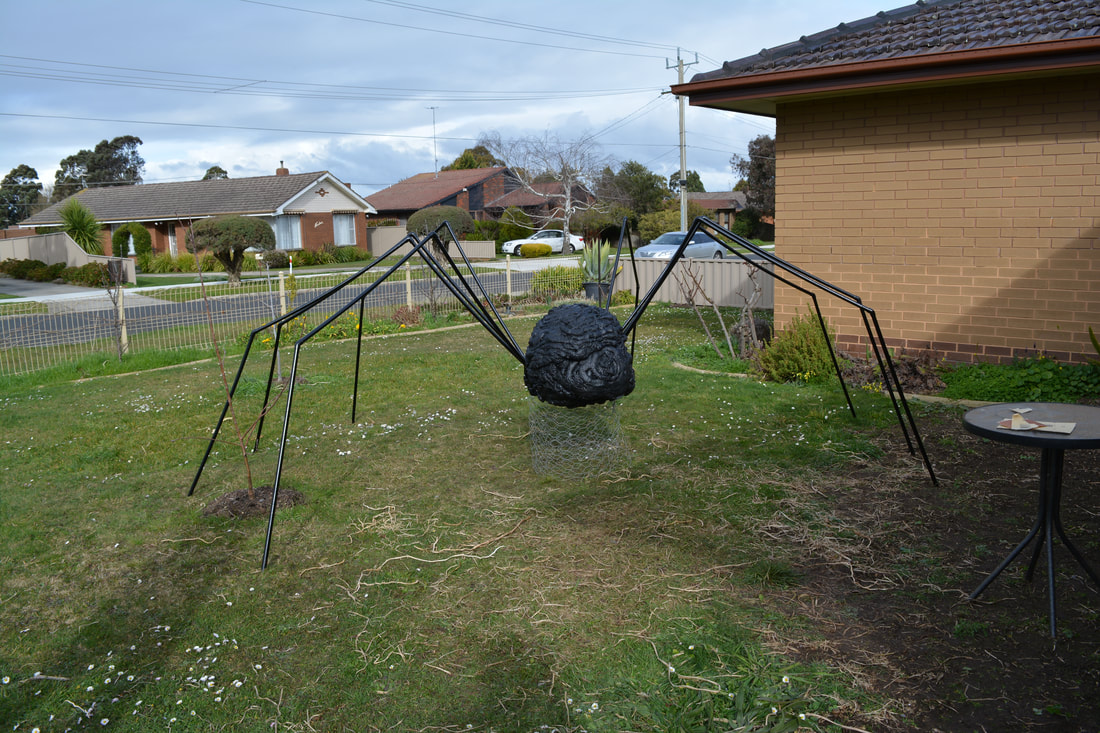
- Take the chicken wire and fold it half, then roll it into a circle and bend the ends into itself to keep it hold it's shape.
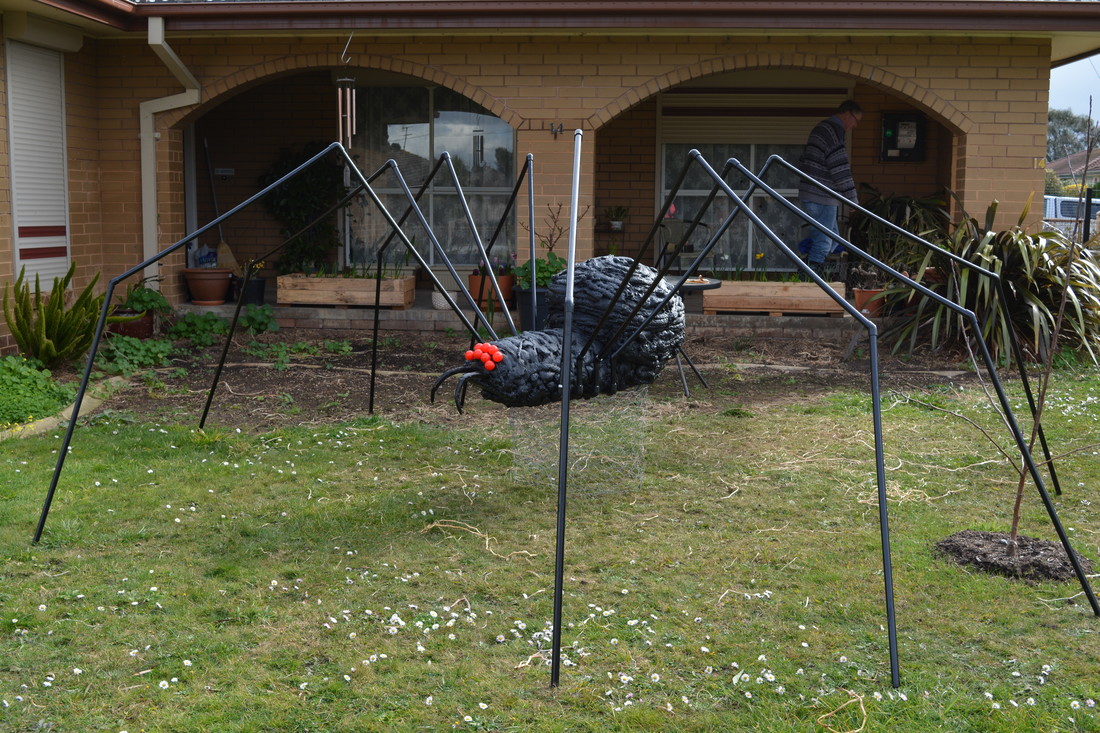
- Put the body onto the wire to hold it off the ground (if you make the spider out of larger pipe with a smaller body it should be able to support it's own weight mine couldn't)
- Attach the legs and position them.
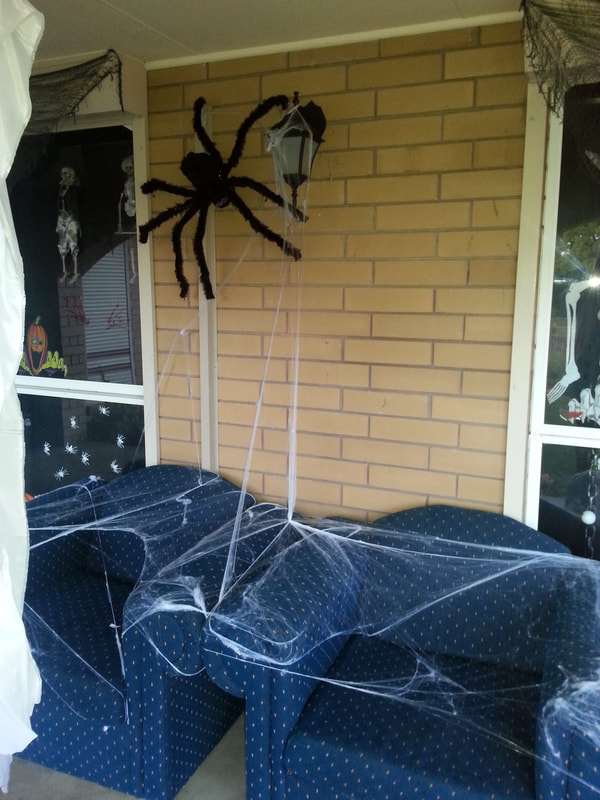
- You now have a giant spider. My kids named ours Fluffy because of the expanding foam look.
- I got this idea from the Indestructibles site 'here' the instructions are better on this site and the creator uses much better measurements than I did.


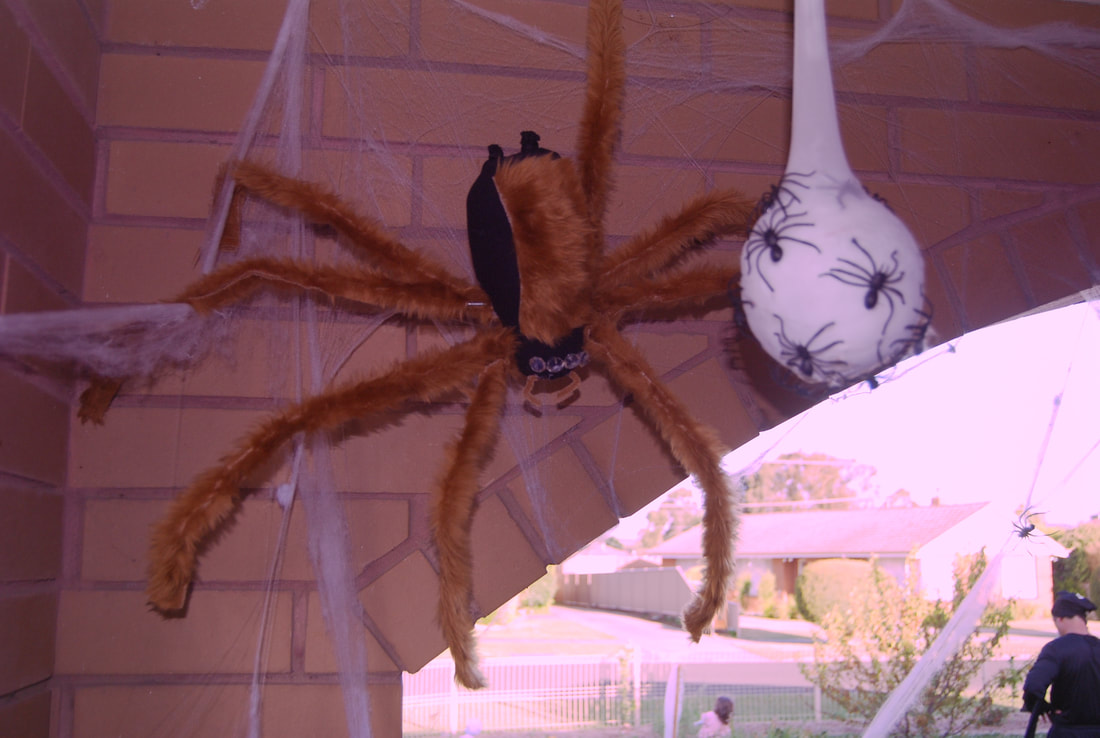
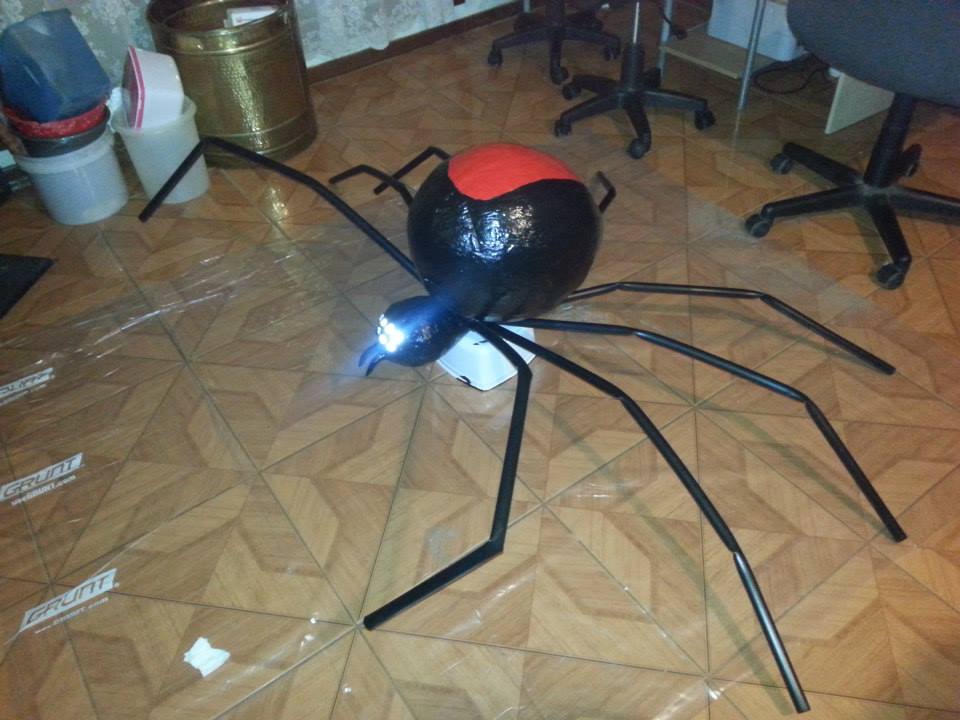
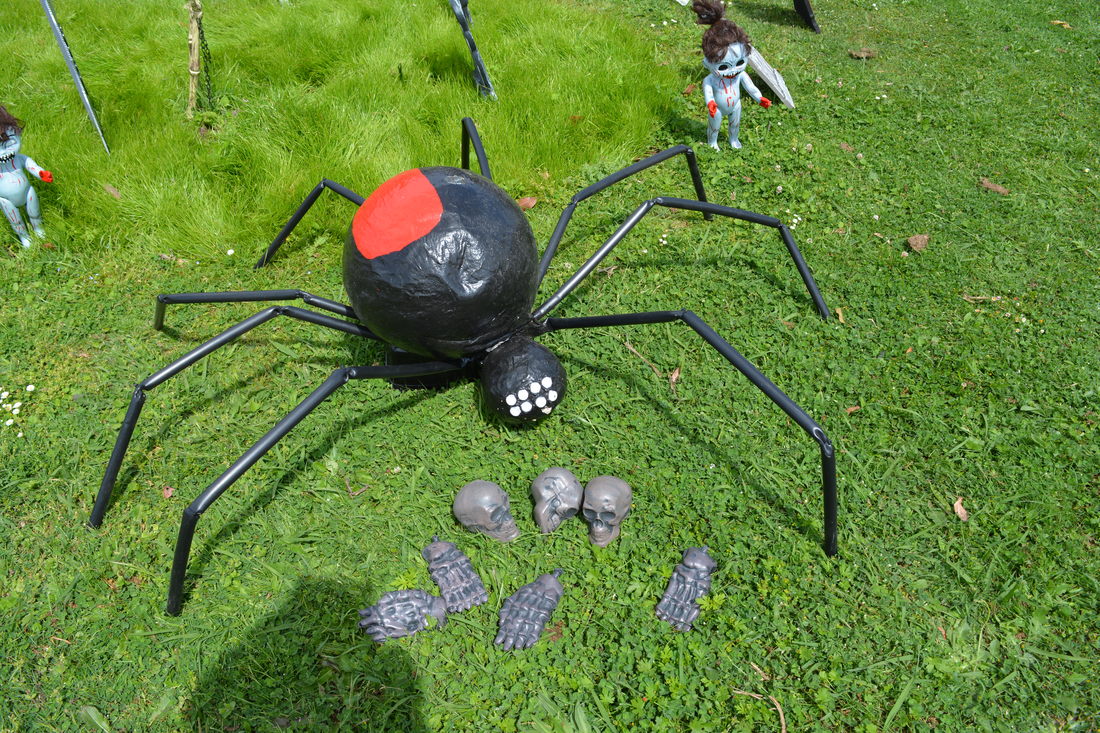
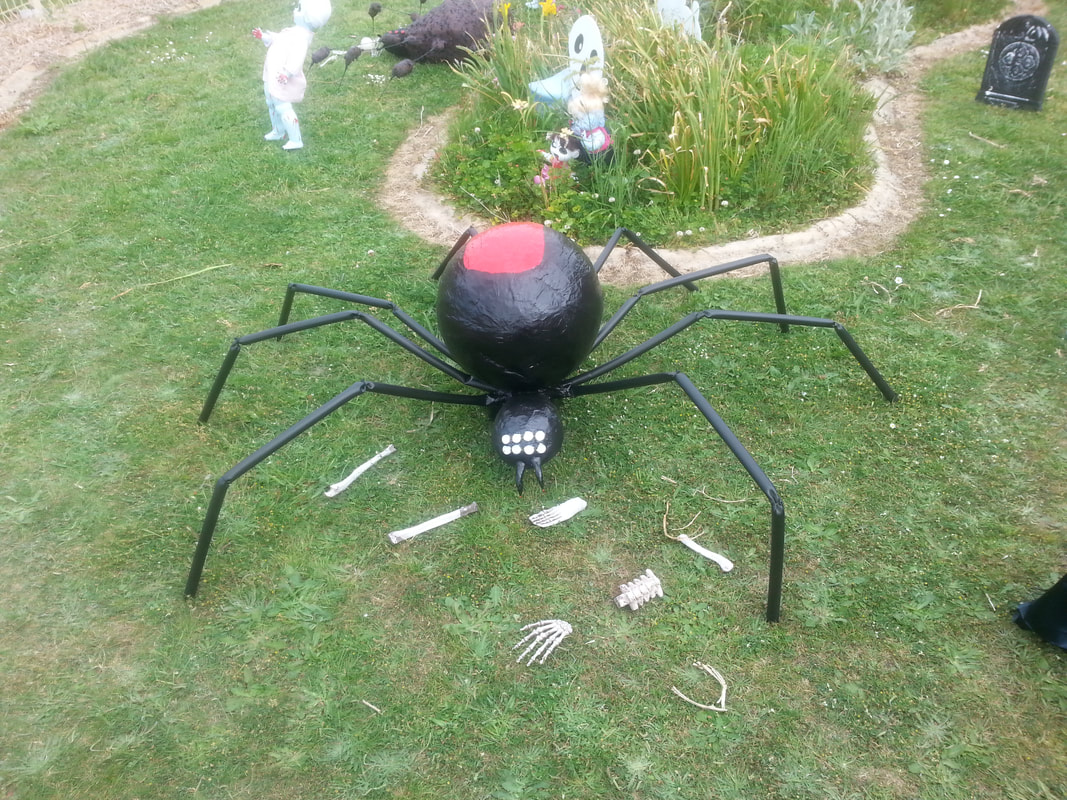
Papermache Spider
Materials Used
Paper Strips
Flour Glue
Liquid Nails
Large Balloon
Smaller Balloon
Agricultural Irrigation Pipe
Fencing Wire/Wire Coat Hangers
Glass Buttons
Reflective Sheet
Paint - what ever coloured spider you want to make I used black and red to make a red back
Materials Used
Paper Strips
Flour Glue
Liquid Nails
Large Balloon
Smaller Balloon
Agricultural Irrigation Pipe
Fencing Wire/Wire Coat Hangers
Glass Buttons
Reflective Sheet
Paint - what ever coloured spider you want to make I used black and red to make a red back
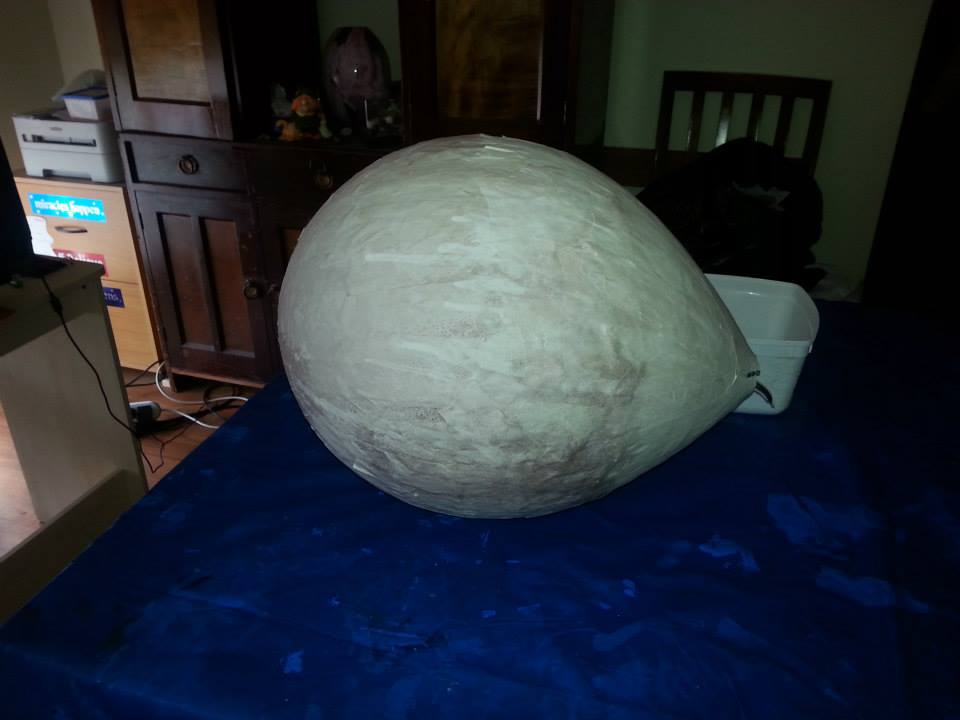
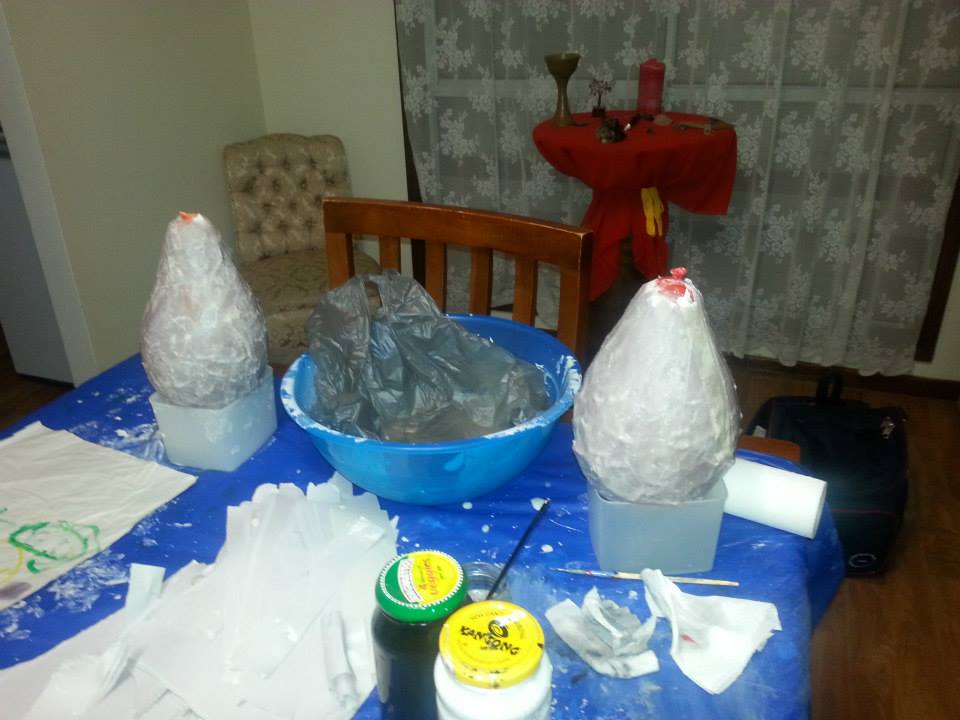
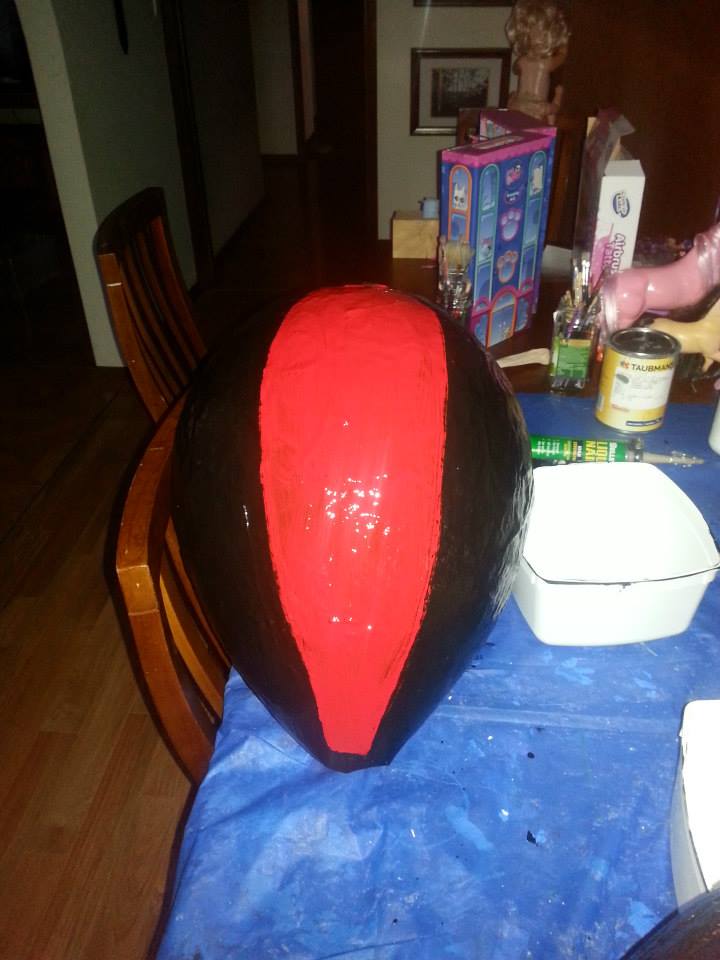
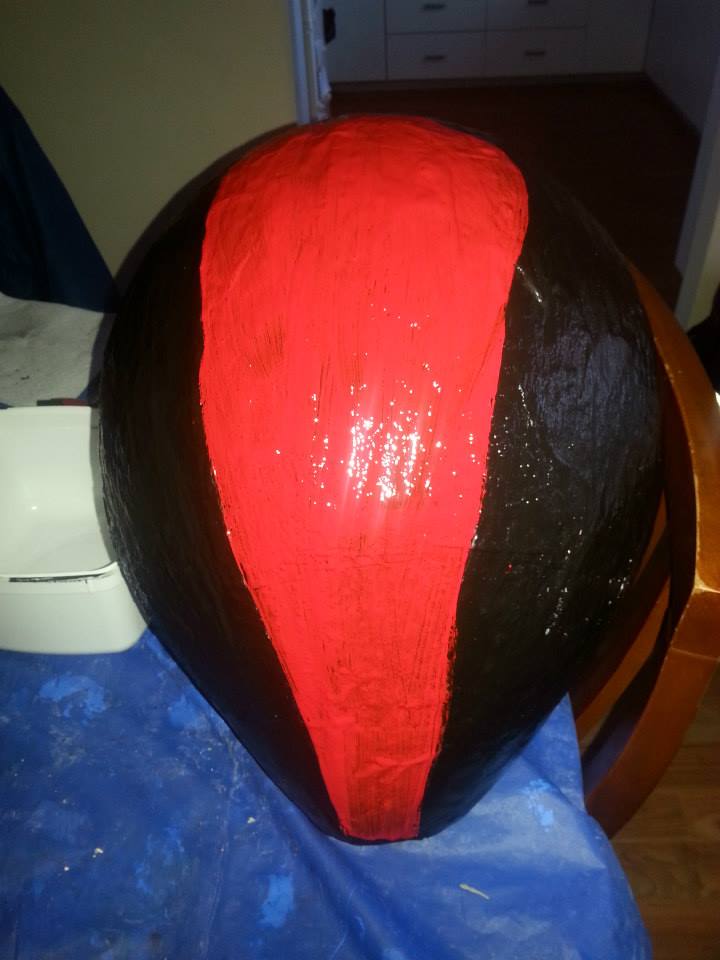
- I used a large balloon as the main part of this spider, with 6 layers of paper mache then time to dry
- A small balloon was used for the head and I used another 6 layers of paper mache then time to dry
- After using liquid nails to attach the two parts I then painted it as a red back
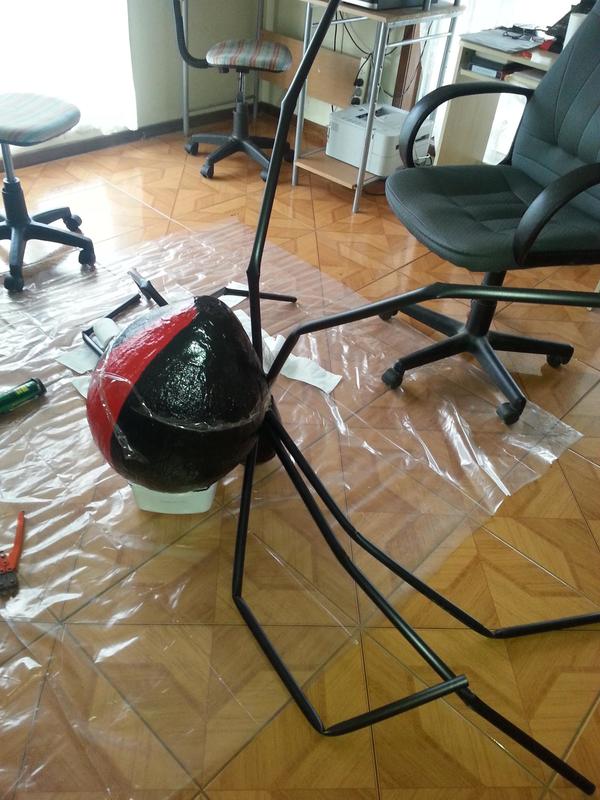
- The black poly pipe legs where threaded with wire to help shape them and glued to the bottom
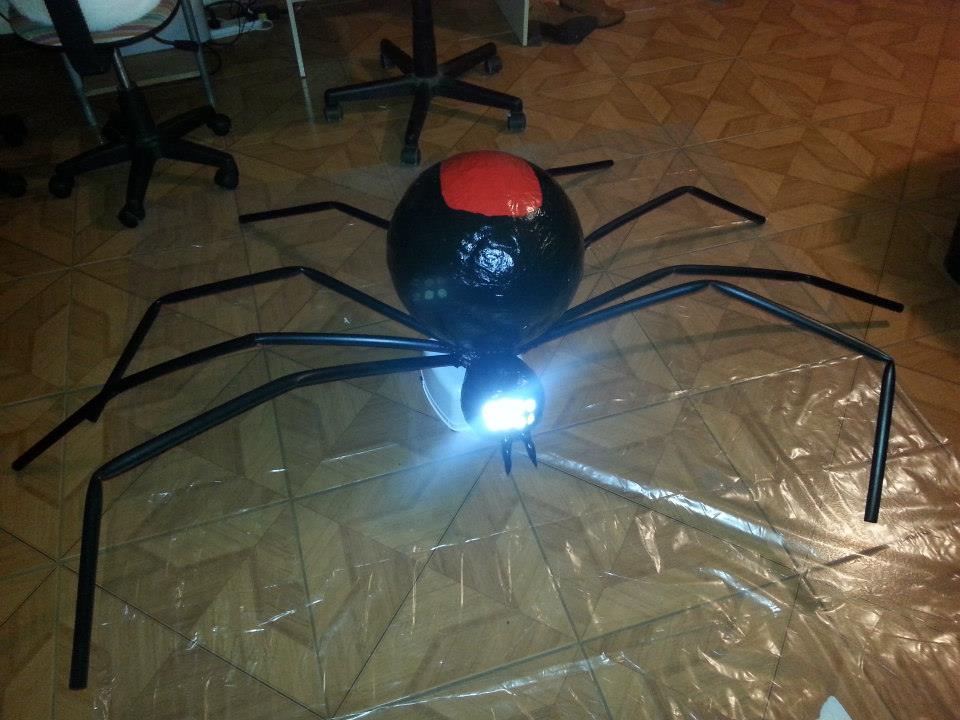
- Once the legs where dry and well attached I glue on reflective plastic for the eyes topping them with clear plastic beads
- I made the fangs with wire covered with air drying clay, painted black with red tips for drops of blood and hot glued them onto the head
- This one didn't last long only a few years because I didn't give it enough time to dry properly and although it stayed in tact for a while it became soft and collapsed


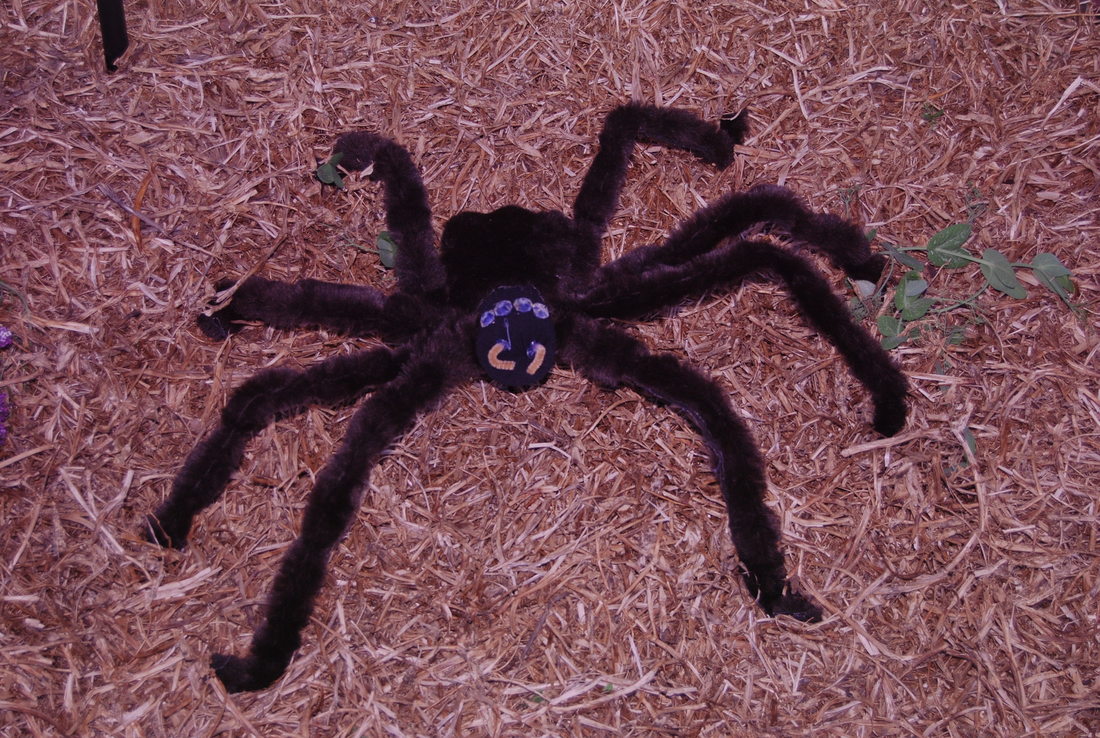
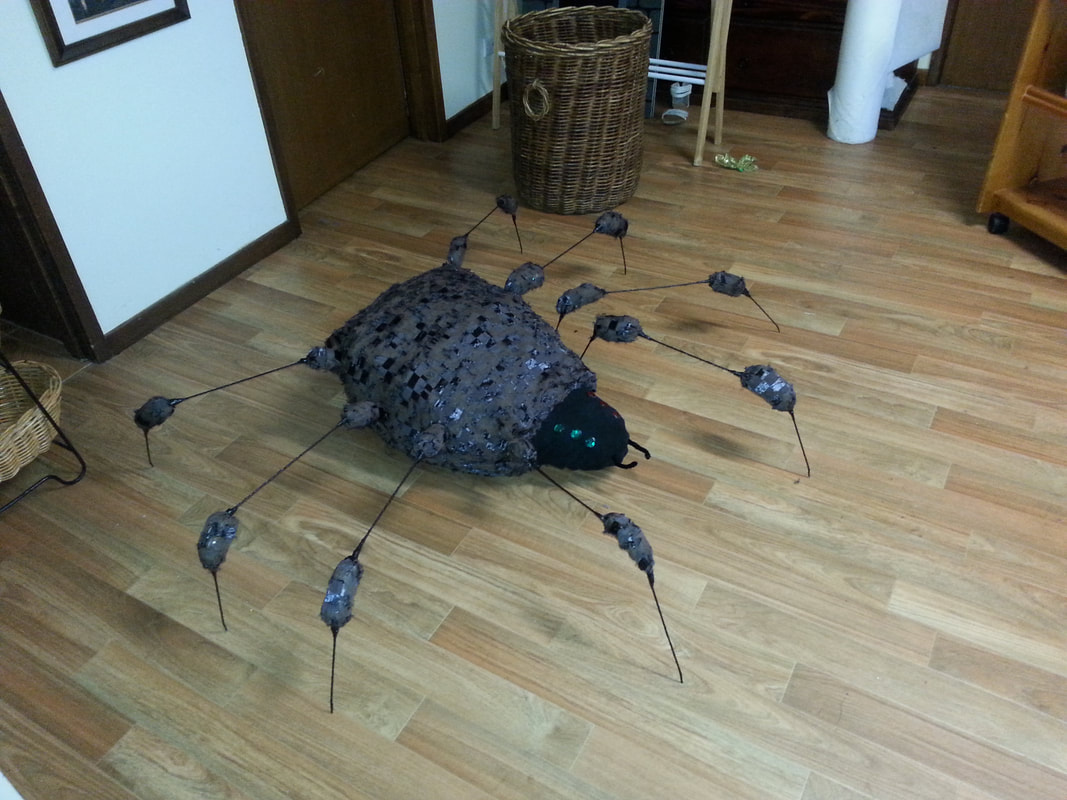
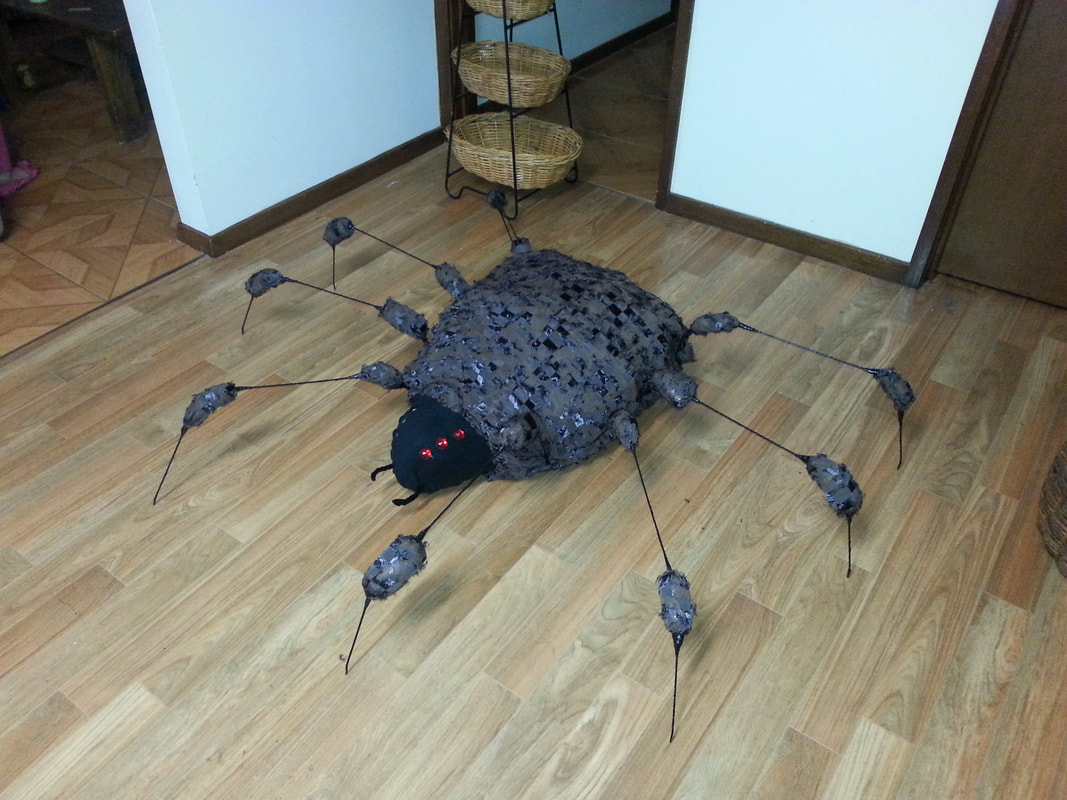
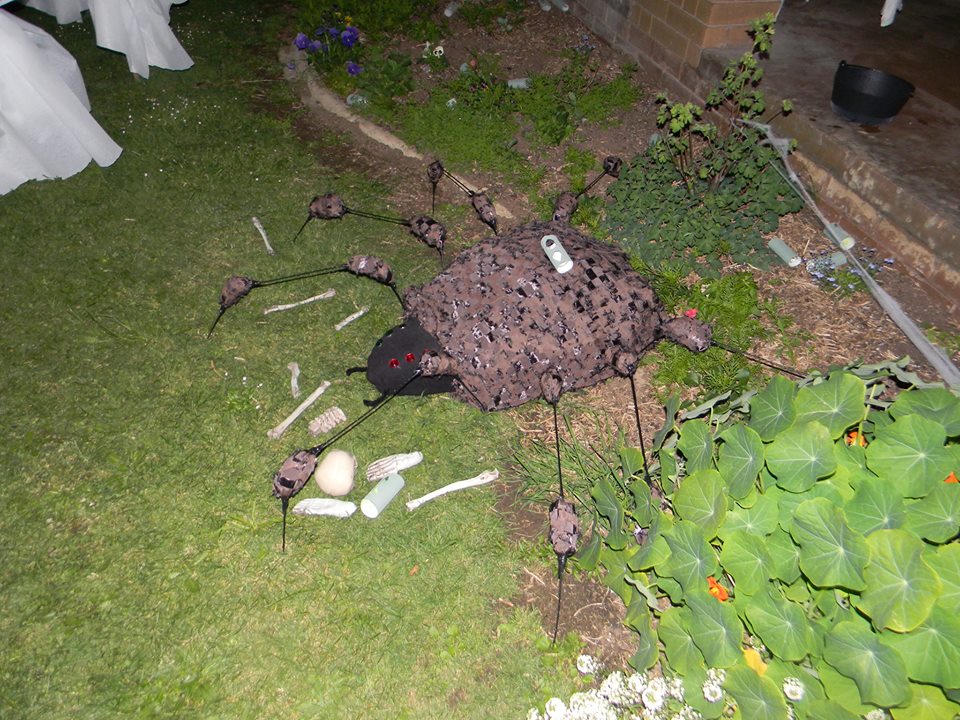
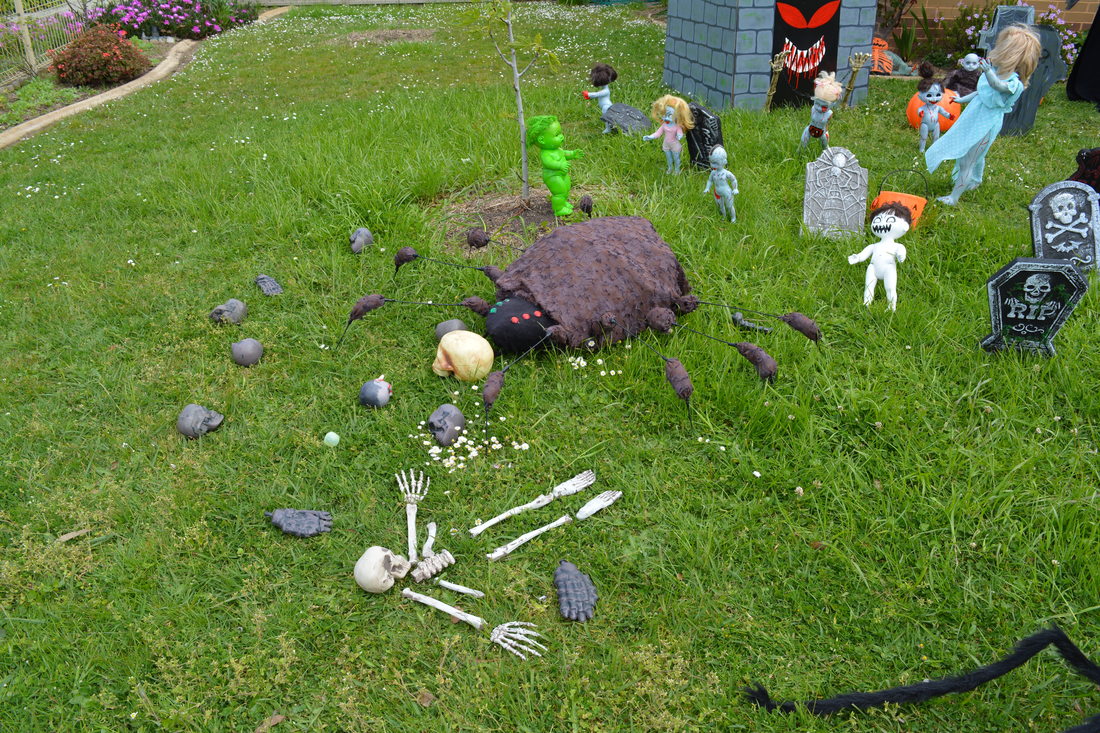
Hairy Spider
Materials Used
Fencing Wire/Wire Coat hangers
Black Electrical Tape
Plastic Shopping Bags
Chicken Wire
Black Pipe Cleaners
Coloured Flat Beads
Black Material (I used polar fleece)
Brown Material with Fur
Hot Glue Gun
Brick (to weight the spider down)
Materials Used
Fencing Wire/Wire Coat hangers
Black Electrical Tape
Plastic Shopping Bags
Chicken Wire
Black Pipe Cleaners
Coloured Flat Beads
Black Material (I used polar fleece)
Brown Material with Fur
Hot Glue Gun
Brick (to weight the spider down)
- First I started with chicken wire folded and attached into one large and one small ball and wired them together for the head and thorax
- I then covered it with material and hand sewed it to the wire frame
- I used plastic coloured beads for the eyes and glued these on with hot glue
- The legs are made from old wire coat hangers with the knees for the plastic bags as the stuffing and the same material as the body wrapped around them but I glued these together instead of sewing them
- Then I wrapped the legs in black electrical tape
- This one is fairly light so to hold him down I use a brick on the inside, the legs are simply positioned around him and pushed into the ground

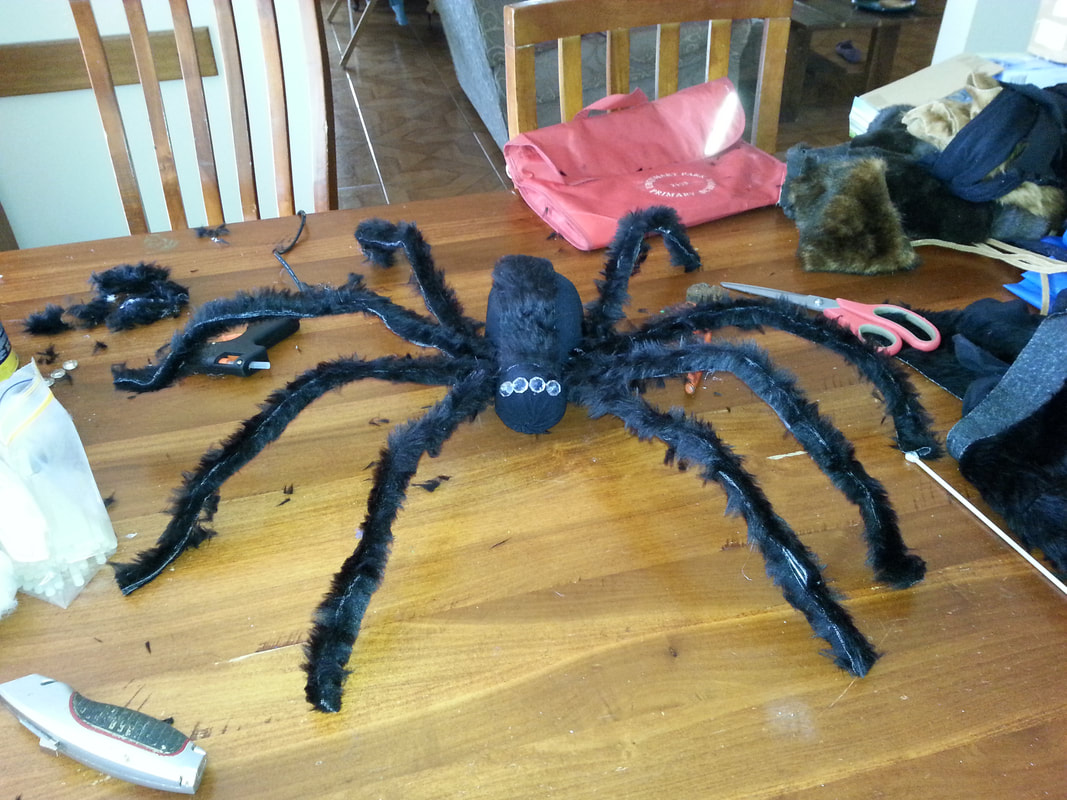
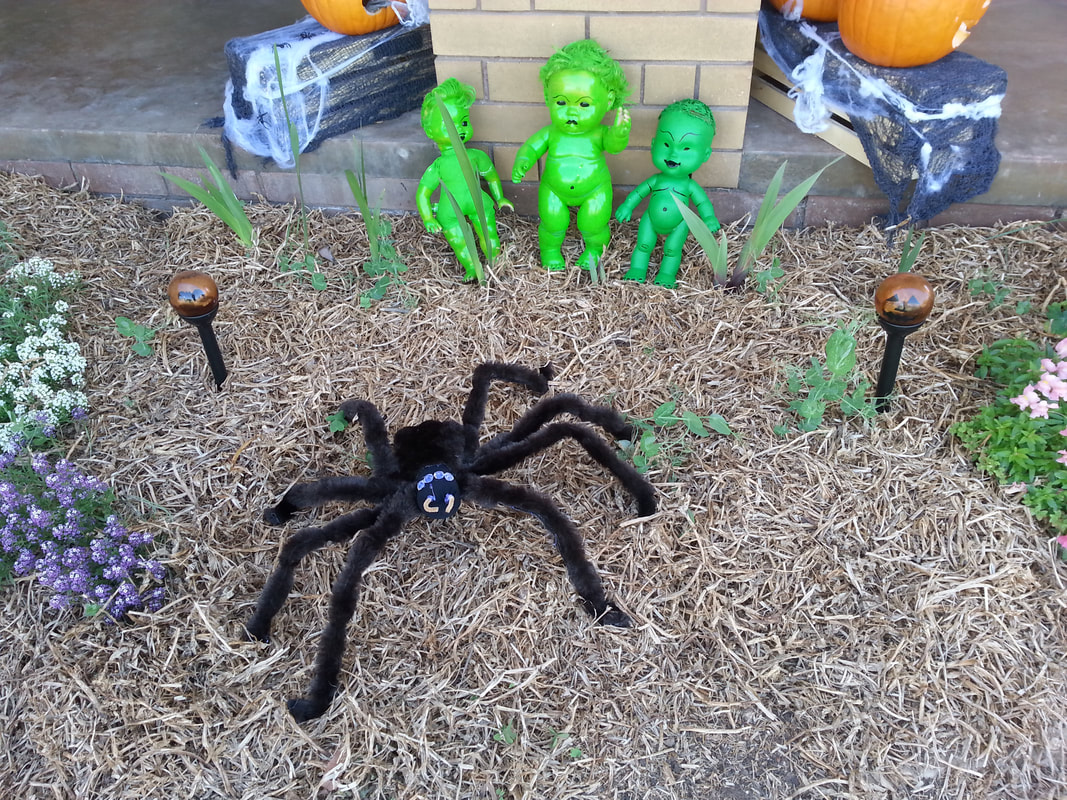
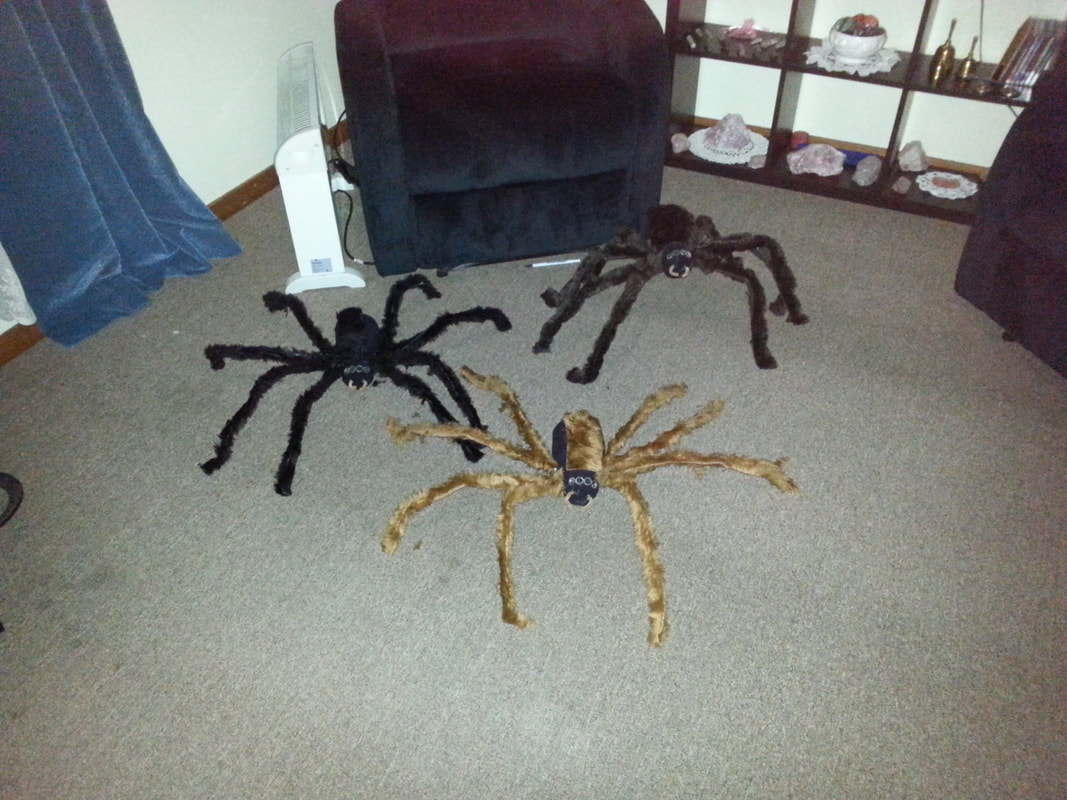
Hairy Spiders
Materials Used
Fencing Wire/Wire Coat Hangers
Ice Tea Plastic Bottles (from Aldi)
Fury Material (Op Shop)
Black Stockings
Craft Filler/Wading
Hot Glue Gun
Glass Beads
Pipe Cleaners
Materials Used
Fencing Wire/Wire Coat Hangers
Ice Tea Plastic Bottles (from Aldi)
Fury Material (Op Shop)
Black Stockings
Craft Filler/Wading
Hot Glue Gun
Glass Beads
Pipe Cleaners
- I used Aldi ice tea bottles for these ones as they have a neck making it easy to make the head and thorax seperate
- I used craft wadding around them before I covered them with the material that I then hot glued, the eyes are small plastic crystal beads and the fangs are cut pipe cleaners
- The thorax's had a piece of fury material glued to them
- For the legs I used old wire coat hangers pushed through the bottles and then covered with the fury material and hot glued
- These poor little guys fell apart after 3 years mostly because of over use from the kids